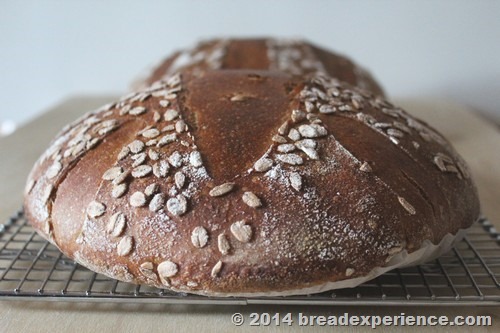
The Bread of the Month (BOM) for the Artisan Bread Baker’s FB group is Spelt-Wheat Sourdough (modified from a Tartine recipe).
I made it exclusively with ancient grains by substituting Einkorn for the regular whole wheat, and all-purpose KAMUT and Spelt flours for the bread flour. I utilized an Einkorn sourdough starter and mixed it with all-purpose Spelt to create the levain.
The loaves were baked in a Cast Iron Dutch Oven Combo like the method outlined in Chad Robertson’s book. However, I used a slightly different proofing, scoring and baking technique.
I let the dough retard in the refrigerator for the bulk fermentation and the final proof (after placing the loaves in the banneton baskets). I did this in order to accommodate my schedule over the weekend, but I also wanted to see how it would affect the bread. For the final proof, I placed the loaves seam side up in the proofing baskets and when it was time to bake them, I took the baskets out of the refrigerator, and carefully flipped the loaves over onto a round piece of parchment paper cut to fit the bottom of the combo-baker.
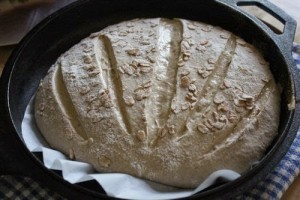
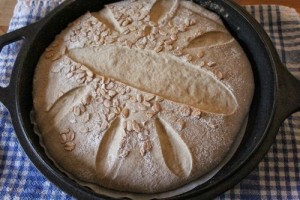
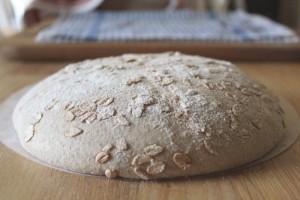
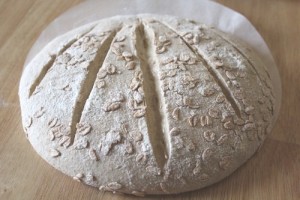
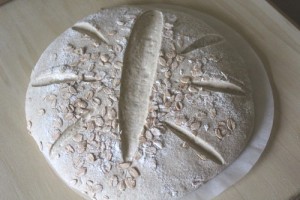
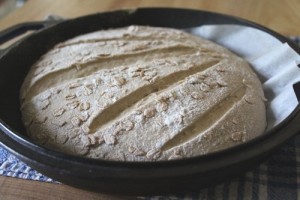
I scored the loaves on the parchment paper and used a pizza peel to transfer them to the hot combo-baker instead of flipping them directly onto the bottom of the baker and scoring them at that time. This proved to be much easier on my arms and reduced the chance of being burned while flipping or scoring the loaves.
 |
 |
 |
 |
Ancient Grain Tartine-style with Einkorn, Spelt and KAMUT
Adapted from Tartine Book No. 3 by Chad Robertson
Makes: 2 Loaves
Ingredients:
- 300 g whole grain spelt flour
- 300 g all-purpose spelt flour
- 300 g all-purpose KAMUT flour
- 150 g Einkorn flour
- 150 g Refreshed Levain (100% hydration) *
- 770 g Warm Water (80ºF or 27ºC) **
- 25 g sea salt
- 30 g warm water
* You only use 150 g of the refreshed starter in this bread so you’ll have some left over. You can use that as your starter and feed it like you normally would going forward. However, since I used a mixture of Einkorn and spelt, I didn’t plan to keep this mixture as my starter. I used the remaining levain to make sourdough crackers instead.
** The original formula calls for 800g of warm water. If you use regular bread flour and whole wheat flour (instead of ancient grains), you’ll probably need the additional water, but Einkorn and Spelt do not absorb water the same way regular wheat does.
Method:
Build your Levain
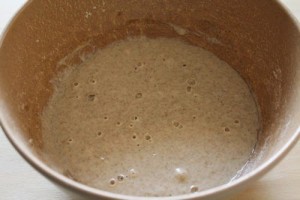
For the best results, you should start by refreshing, or building your starter. To do this, take 50 g of your favorite starter. I used my Einkorn starter (aka EK) and to that, added 200 g water, 100g all-purpose spelt flour, and 100 g whole grain Einkorn flour. Mix well, cover, and let stand at room temperature overnight (or until bubbly and active). It can take anywhere from 12 – 18 hours. It took mine about 14 hours.
Mix the Dough:
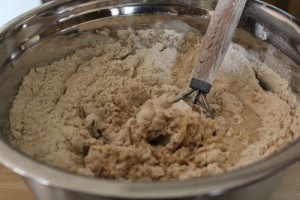
In a large bowl whisk together the flours.
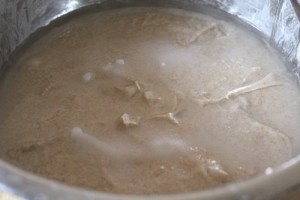
In a separate bowl combine the refreshed starter and the warm water.
Combine the wet and dry mixtures and mix with your hands or with a Danish dough whisk until no dry bits remain.
Autolyse: Cover and let the dough rest (autolyse) for at least 30 minutes.
After the autolyse, add the salt and 30 g of warm water.
Mix well to incorporate into the dough.Transfer dough to large bowl, and cover for bulk fermentation.
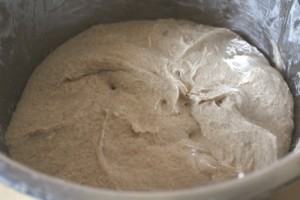
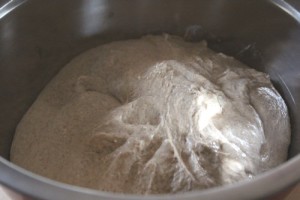
Bulk Rise: During the bulk rise (3 to 4 hours, depending on temperature), fold and turn the dough every 30 minutes for the first 2 ½ hours. To do a fold, scoop the underside of the dough up and stretch it over itself towards you. Rotate the container one-quarter turn and repeat three to four times. Keep dough covered between folding. After 3 hours and six folds, the dough should feel aerated, billowy, and softer. You will see a 20-30 percent increase in volume. If not, continue bulk rising for 30 minutes to 1 hour longer.
 |
 |
 |
 |
At this point, I retarded my dough in the refrigerator overnight. You can continue with the dividing and shaping and the bench rest if you prefer.
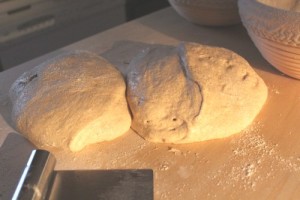
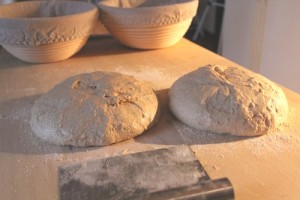
Dividing & Shaping: The next day, or after the bulk rise, turn out the dough onto a clean, un-floured work surface. Lightly flour the top surface of the dough and cut into two pieces. Pre-shape each piece gently into a round by working the dough in a circular motion. Take care to work the dough gently and not de-gas.
Bench Rest: Lightly flour the tops of the rounds, cover with a kitchen towel, and let rest on the work surface for 20-30 minutes. Line two medium baskets or bowls with clean, dry kitchen towels and dust generously with a 50/50 mixture of any wheat and rice flours.
Final Shaping: Refer to the Tartine (Chad Robertson) method for shaping wet dough (here is a helpful video link: http://youtu.be/cIIjV6s-0cA, the shaping starts at the 3:09 minute mark)
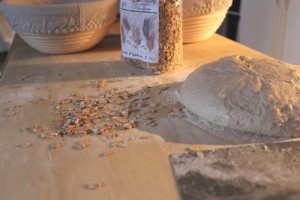
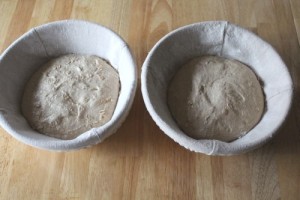
Final Rise: Transfer the dough to the floured baskets, flipping the dough over so that the seam side is facing up and centered. If you want to coat the loaf in seeds or cracked grain, roll the smooth side of the dough in the coating before transferring it to the floured rising baskets, placing the dough coated-side down, seam-side up. Cover with a clean, dry kitchen towel and let rise at warm room temperature for 3 to 5 hours or overnight in the refrigerator (bake directly from the refrigerator, if using this option).
I opted to place the baskets in the refrigerator overnight. As I mentioned, I wanted to see how they performed with the double retardation in the refrigerator.
 |
 |
 |
 |
To Bake: Pre-heat the oven to 500F/260C, adjust the oven rack to its lowest position, and place a cast iron Dutch oven, or any other heavy ovenproof pot with a tight-fitting lid into the oven. Pre-heat for at least 30 minutes.
Carefully transfer one dough round into the preheated Dutch oven, tipping it out of the basket into the pot so it is now seam-side down. Score the top of the dough, Cover the pot and return to the oven. After 20 minutes, reduce the oven temperature to 450F/230C. Bake another 10 minutes, then carefully remove the lid (a cloud of steam will be released). Continue to bake for another 20 to 25 minutes, until the crust is a deep golden brown.
This is where I deviated from the instructions. Instead of tipping the loaves directly into the hot Dutch oven bottom, I flipped the loaves onto round parchment paper cut to fit the bottom of the Dutch oven. Then I scored the loaves on the parchment paper and transferred them to the bottom of the Dutch oven using a pizza peel.
 |
 |
 |
 |
When the loaf is done, turn it out onto a wire rack to cool.
To bake the second loaf, raise the oven temperature to 500F/260C, wipe out the Dutch oven with a dry kitchen towel, and reheat with the lid on for 15 minutes. Repeat the baking procedure as with the first loaf.
Cool completely, then slice, and enjoy!
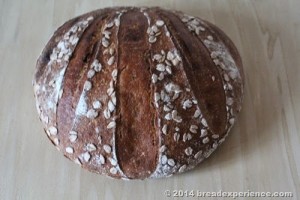
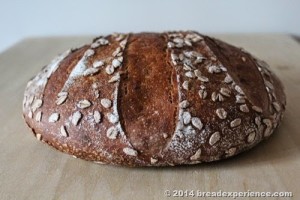
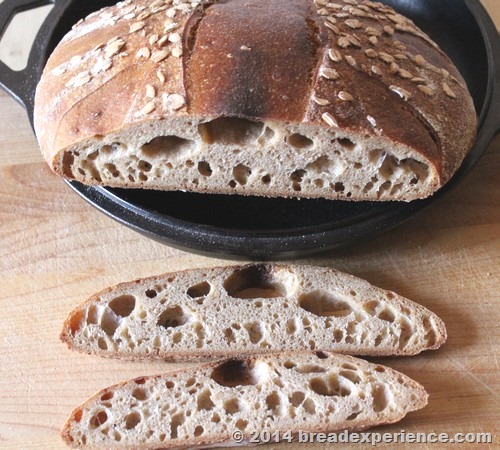
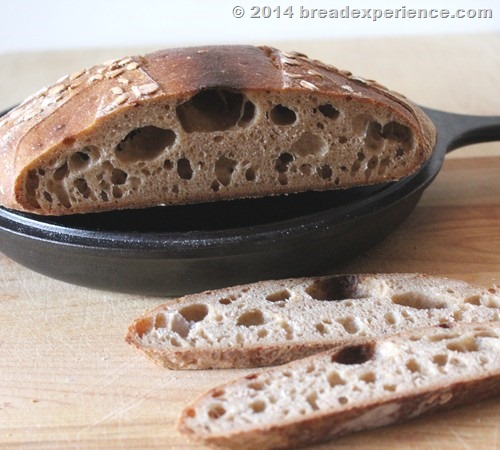
I think I may have proofed the loaves a bit too much, but they sure were good. They were chewy and flavorful due to the sourdough levain.
This was a fun bake. Thanks to Nancy for choosing and providing the instructions and inspiration for this bread.
Happy Baking!
Cathy
sophiesfoodiefiles says
A wonderful very appetizing looking bread, my friend! Yum yum Yummm! 🙂 x
Karen Kerr says
Just beautiful!!!!
Elizabeth says
Too bad about the over-rising. That’s the really tricky part of sourdough, isn’t it? But the colour of the crust is beautiful and I really like the markings from the slashes. And look at all those beautiful variegated holes in the crust!
(I’m like you with overturning my loaves onto parchment paper, instead of dropping them directly into the hot pan. I’ve only done that once and managed to drop the loaf so an edge fell onto one side of the dish. After the cursing, I could only just manage to put the hat over top…. )
Cathy says
Thanks Elizabeth! Flipping the loaf onto parchment paper seems to work better for me. I don’t always have good aim if I’m just plopping it in the pan. I also find that using a “parchment sling” helps to keep me from burning myself.
Rodney says
I do this kind of baking for my sourdough. But I start with a cold Dutch Oven I cover and put in the bottom rung of my oven turn on to 425°F and immediately set timer for 30 mins. After 30 mins remove the lid and continue to bake for 35-45 mins. Got this from America’s Test Kitchen. It works every time great oven spring and a beautiful crust and crumb. This is safer in the long run! I’ve burned myself too often with a super hot pot. I think we insist on heating the pot because the originator if he no knead idea heated it, try it it works beautifully.
Cathy says
Hi Rod, thank you for sharing your thoughts regarding baking bread in a Dutch Oven.
I actually did a test the other day where I baked one loaf in a cold DO and cold oven and one loaf in the preheated DO and preheated oven. Using a preheated DO in a preheated oven produced better oven spring, but both loaves were wonderful.
Since you seem to get good results, I will try the test again.
Do you typically start with cold dough (straight from the refrigerator) or room temperature dough?
Cathy
Bobbie Jo Johnson says
It’s 2022 and I just stumbled onto this site. I am now milling my own Einkorn, Spelt & KAMUT. I have been baking with Einkorn for about a year now. I don’t bake with modern wheat anymore. I cut this recipe by a third to make 2 smaller loaves. But I think I needed to use more water. They turned out beautifully and the bread tastes great, but is denser than I thought it would be. Especially looking at your picture of the cut loaf. The dough did seem dry, but I wanted to follow your ingredients amounts (except for the size change) before I altered it more. I am assuming that because I used all whole grain flours that is the reason.
I perused your web site and see that there are many tips I can use. Thanks for my first adventure into baking with Spelt & KAMUT.
Cathy says
Hi Bobbie Jo,
Thanks for sharing your experience making this bread! I’m glad you enjoyed your first adventure into using spelt and KAMUT.
That’s awesome that you’re milling your own flours from ancient grains.
I haven’t made this particular bread using all whole wheat flours, but typically you will need to add more water with whole grain flour, especially KAMUT. KAMUT is more absorbent that other flours.
Happy Baking!
Cathy