For World Bread Day, the Bread Baking Babes made Apple Bread with Cider and Calvados, a rustic bread with a poolish start.
This lovely bread is dotted with apples throughout the dough and features sliced apples on top. The description says it’s a fantastic bread, tangy, with a strong apple flavor and flaky crust.
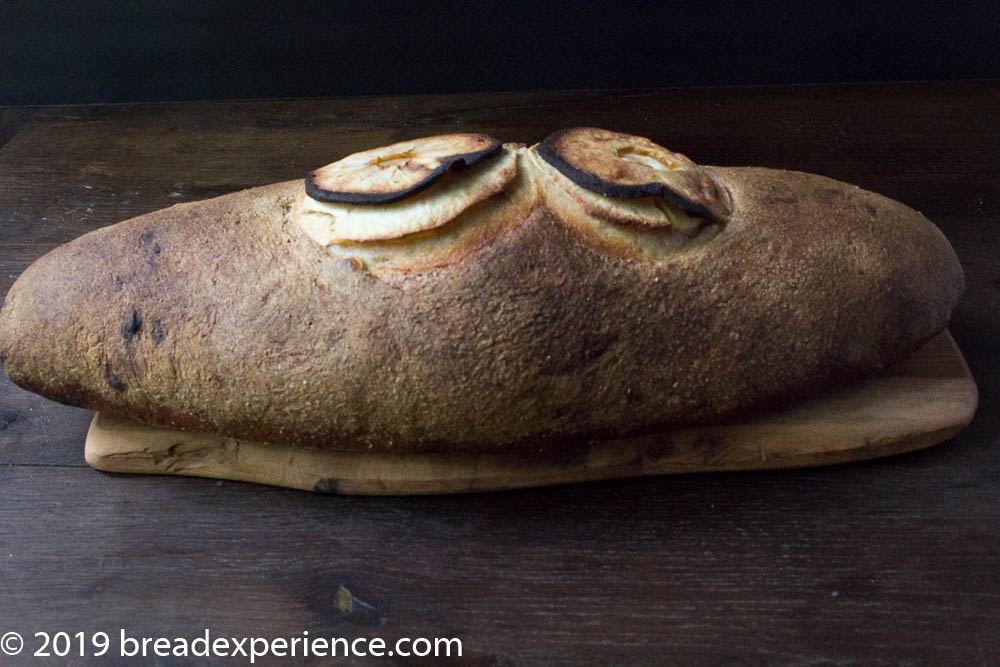
Kelly of A Messy Kitchen is the host kitchen this month for the Bread Baking Babes, and she chose this rustic apple bread.
It is a fantastic bread, and I suppose if you use French cider and Calvados, it will have a strong apple flavor, but I didn’t so I’m not able to validate the description from the book. Time constraints got in the way of good intentions.
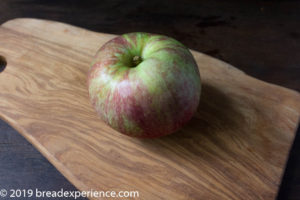
I made the Southern version, meaning, I chose a harvest hard apple cider distilled in the Blue Ridge Mountains and substituted natural apple cider for the Calvados. I also used a great-tasting apple I got from a local farm. It was so good, I forgot the name.
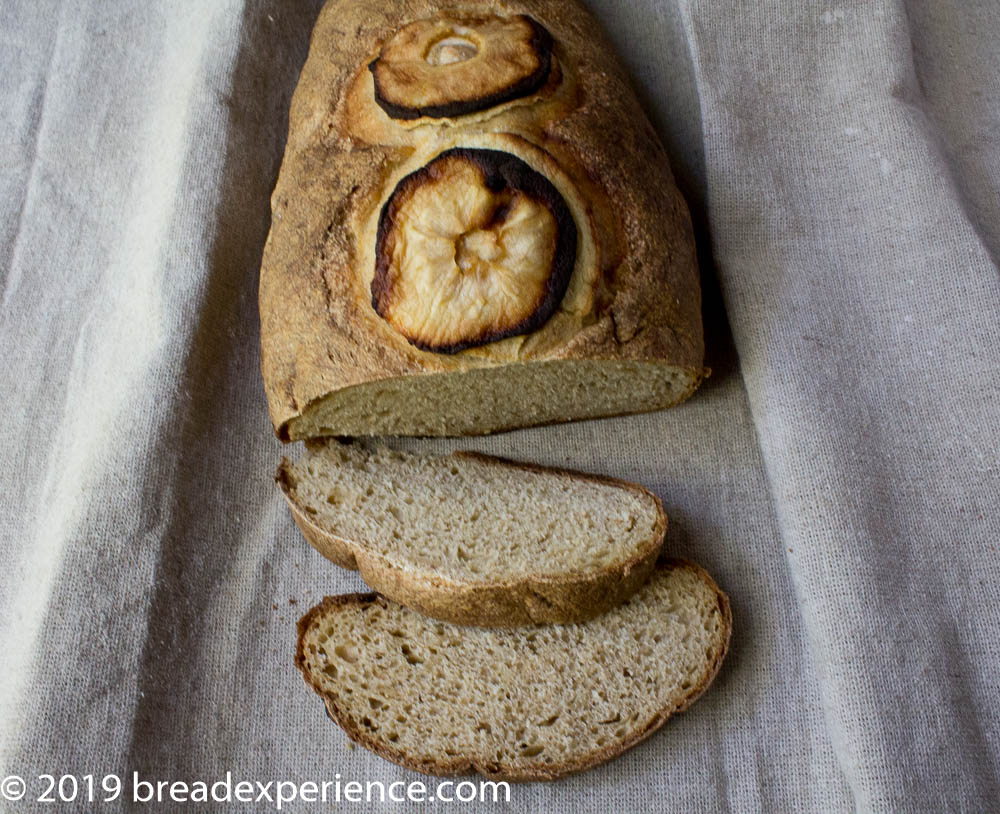
Besides the rustic appeal, and being able to munch on apples while baking this bread, the other thing my bread has going for it is the inclusion of about 32% home-milled white winter wheat flour. Clark’s Cream to be exact. It provides a beautiful color and a wonderful flavor!
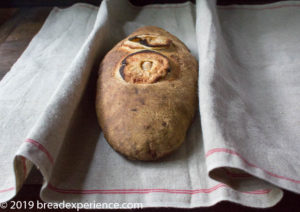
I love the look, texture, and taste of my apple cider bread. It has just a hint of sweetness with each bite, but no strong apple flavor. I’m okay with that, but if you are looking for a strong apple taste, you’ll need to use a more apple flavor.
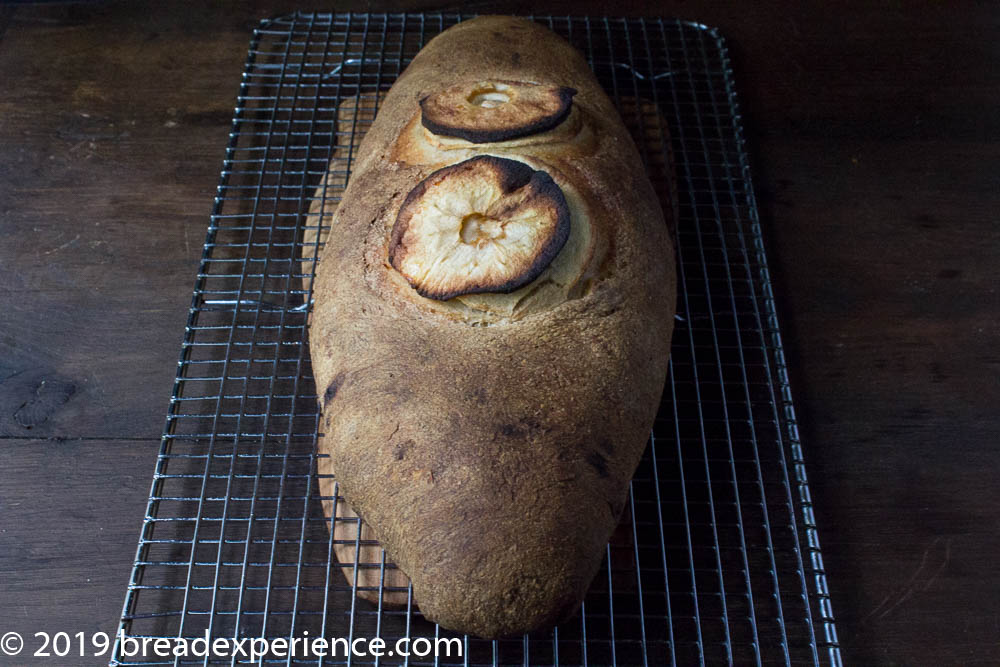
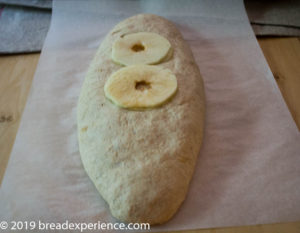
The original bread called for two apple slices on top, but my bread was so big, I thought it needed four slices. The slices didn’t want to stay down, but I kind of liked the effect.
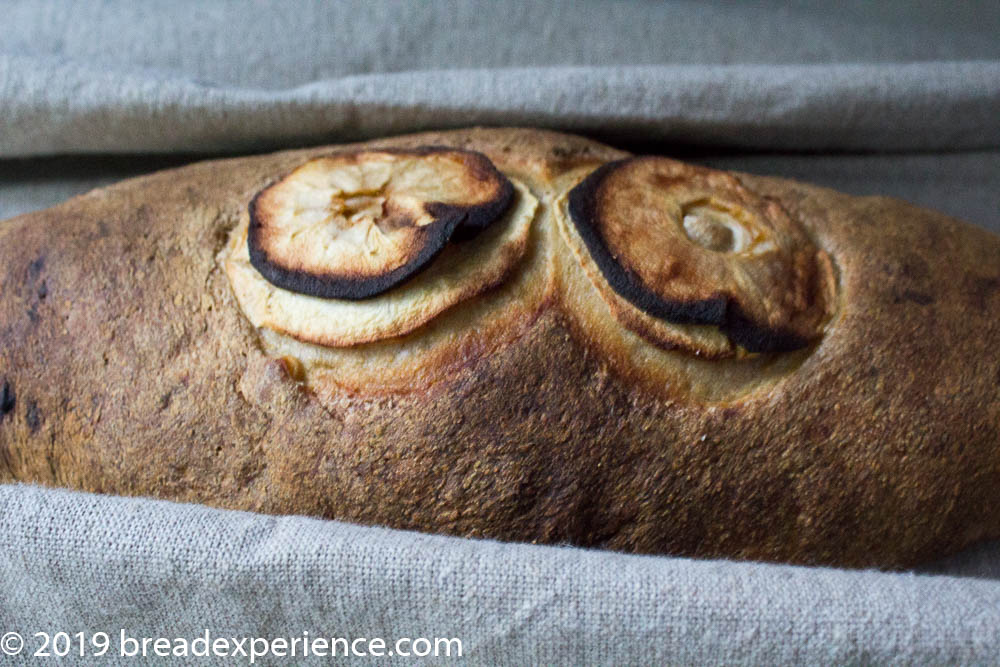
Apple Bread with Cider and Calvados
makes: 1 loaf
Adapted from Artisan Breads: Practical Recipes and Detailed Instructions for Baking the World’s Finest Loaves, by Jan Hedh
Poolish:
- 150 g strong white flour (bread flour), preferably stoneground (I used all-purpose)
- 0.7 g (¼ tsp) instant yeast
- 150 g dry cider (I used hard apple cider)
Add the flour and yeast to a bowl and mix thoroughly. Whisk the cider into the flour/yeast mixture. Cover with plastic wrap or bees wrap, and leave at cool room temperature overnight, 12-16 hours. Poolish will be bubbly and should have risen and fallen slightly in the center when ready.
Final dough:
- 300 g strong white flour (bread flour), preferably stoneground (I used 135 g AP flour and 165 g home-milled white wheat)
- 50 g whole meal (dark) rye flour, preferably stoneground (I used home-milled whole-grain rye)
- 0.9 g (¼+ tsp) instant yeast
- 150 g water (+ 60 grams of water if adding whole grain flour)
- 9 g (1½ tsp) sea salt (+ 10 grams water)
In a large bowl, sift the yeast and flour together.
Heat the water to lukewarm (approximately 35°C/95°F). Add the water to the poolish and whisk to break it up, then add the poolish mixture to the flour/yeast mixture. Mix thoroughly using a Danish dough whisk or wooden spoon until there are no dry bits of flour. Gradually add in additional water, if needed.
Cover and let rest (autolyse) at room temperature for 20 minutes.
Add the sea salt and incorporate thoroughly into the dough. Add 10 grams additional water if needed to dissolve the salt.
Cover with a kitchen towel, plastic wrap, or bees wrap and leave in a warm place (ideally at 24ºC, 75ºF) for about 90 minutes, until doubled in size. Meanwhile, prepare the apple mixture to give the apples time to cool before you need to use them.
Filling and baking:
Apple Mixture:
- 5 grams (1 tsp) unsalted butter
- 150 grams cored, peeled, and diced eating apple*
- 5 grams (1 tsp) soft dark brown sugar
- 25 grams calvados (I used apple cider)
*Choose a more tart, firm variety.
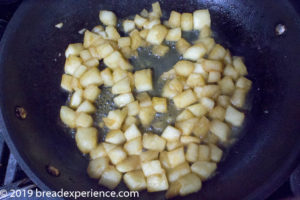
Heat the butter, add the diced apple, and then sprinkle over the sugar. Sauté until golden brown, stirring occasionally. Pour over the calvados (or apple cider) and continue cooking until the pan is dry. Set aside to cool.
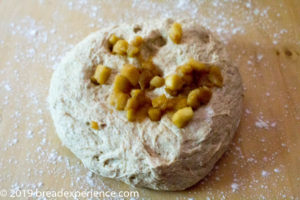
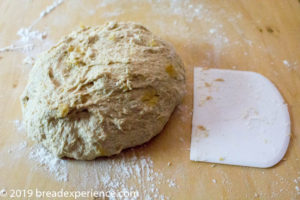
Turn the dough out onto a lightly floured surface, and knead lightly. Add the cooled diced apple and fold it into the dough.
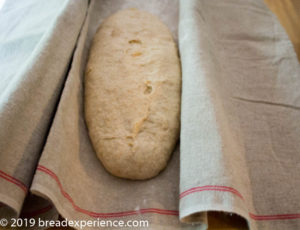
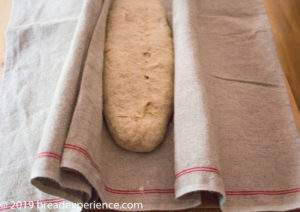
Do this in stages to ensure that the apple is mixed in as evenly as possible. Shape the dough into a round loaf, then let rest on the counter for 10-15 minutes. Continue shaping into an oblong loaf and place on a floured cloth or baker’s couche, if you have one. Cover with a cloth or couche and let rest again for 5-10 minutes. Reshape the loaf into a more elongated shape, if desired. Cover and let rest in a warm place for 30-45 minutes until doubled in size. Final proof will be about 75-90 minutes total, depending on the temperature in your kitchen.
Preheat your oven to 250ºC (475ºF), with a baking stone (I used a baking steel) on the middle rack, for at least 30 minutes.
Cut up a thin apple slice or two or four for the top of the bread.
Carefully turn the loaf onto a parchment-lined baking sheet or peel and gently press the apple slice in the middle. Spritz the loaf with water, then slide the loaf onto the baking stone. Heavily spritz your oven (or just the loaf, if preferred) with a water spray, or cover the loaf with an inverted roasting pan sprayed with water. Bake for 15 minutes, turning down the temperature to 200ºC (400ºF) after 5 minutes.
Remove roasting pan and continue to bake for another 25-30 minutes until the bread is golden and hollow sounding when thumped on the bottom and has reached an internal temperature of about 205ºF.
Remove to a wire rack to cool completely before slicing.
Baking with the Bread Baking Babes
We would love for you to make Apple Bread with us this month! You’ll get your own Buddy Badge!
Check out Kelly’s post for information on how to participate in the monthly bake.
For inspiration, take a look at the breads the Babes made:
- blog from OUR kitchen – Elizabeth
- A Messy Kitchen – Kelly
- Judy’s Gross Eats – Judy
- My Diverse Kitchen – Aparna
- Bread Experience – Cathy
- Feeding My Enthusiasms – Pat
- My Kitchen in Half Cups – Tanna
- Thyme for Cooking – Katie (provides the roundup and commentary)
Remember, new recipes are posted every month on the 16th. Check the Bread Baking Babes Facebook group to see the participants’ baking results during that time.
Happy Baking!
Cathy
Kelly says
Beautiful loaf! I love how your apple slices look, I decided to cut mine thinner after starting about like yours and wished I hadn’t. Clark’s cream, what a lovely sounding cultivar!
Cathy says
Thanks for the challenge Kelly! This was a fun one!
Elizabeth says
Wow!! Your bread looks perfect! And using local apples, local hard apple cider, and natural apple cider instead of Calvados probably added about the same amount of apple flavour as if you had used Calvados. (Granted, I used Grappa instead of Calvados, but it’s hardly any really. The final apple flavour of the bread wasn’t intensely appley – it was very good though.)
I can’t get over the gorgeous crust on your bread! And well done, you, for putting the apple slices on top.
Cathy says
Thank you Elizabeth! I liked the apple slices on top myself.
Aparna says
Your loaf looks so good, especially that apple slice decoration.
I ended up skipping that and just went with apple in the bread.
Cathy says
Thanks Aparna! I think the apple in the bread is the key to this loaf, but I do like them as decoration as well.
Katie Zeler says
I agree – the best part would be munching apples while you work.
Beautiful loaf and love the slices on top.
Cathy says
Thanks Katie! You have to munch on the extra apple. Can’t let them go to waste.
Tanna says
I would say a perfect loaf. When I got to the part about an apple slice on top … I just couldn’t figure it out. You loaf shows me how. I love the look of the apple slices on top!
When the recipe called for water that just seemed wrong when we were going for apple so I used more of my cider. In spite of more apple cider and a little extra apple, I didn’t find the apple overwhelming but just about right.
Really you enjoyed chewing on apple bites while you were baking this, I would never have thought of that … 😂 I simply love apples.
Cathy says
Thank you Tanna! The beauty of only using a few slices of an apple for the top of the loaf means you get to eat the rest of the apple.