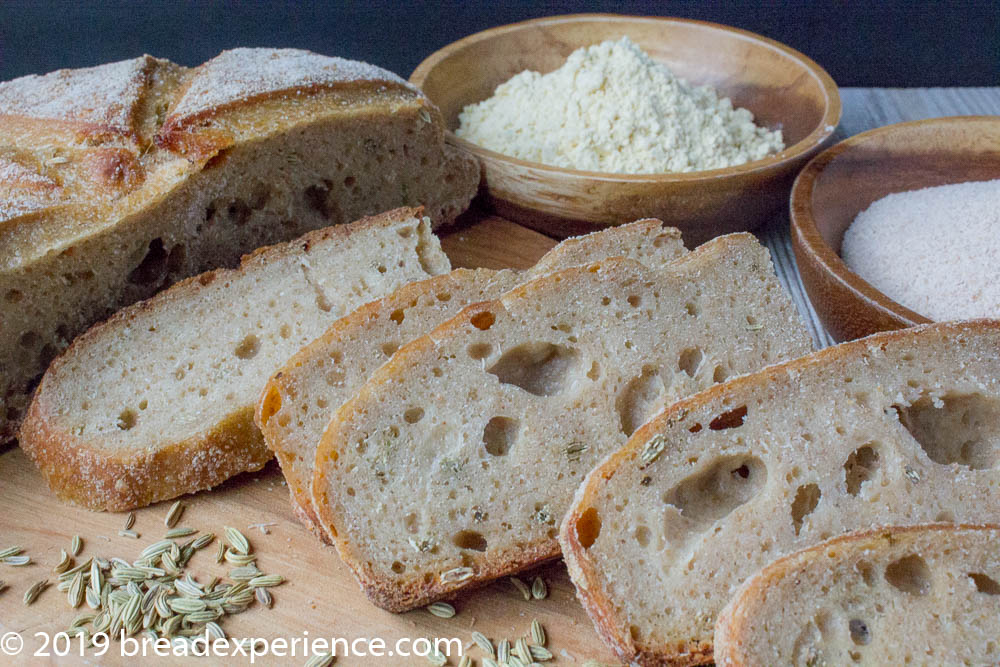
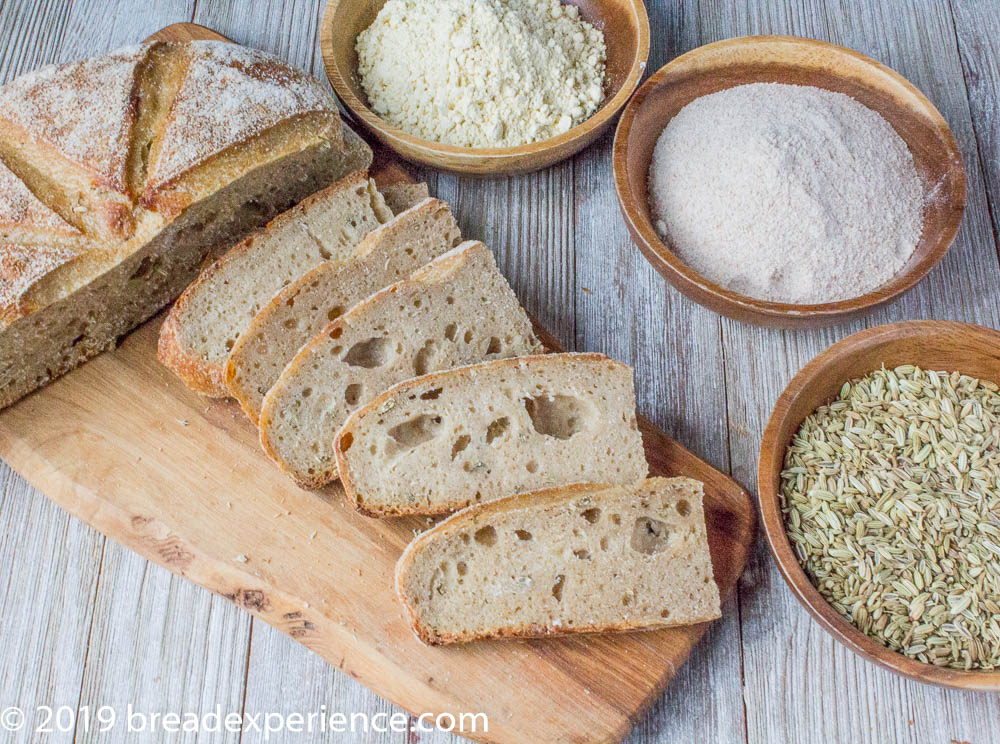
The bread of the month for the Bread Baking Babes is Arkatena Bread. What makes this bread so unique, besides the flavor, is that it is leavened with a chickpea starter.
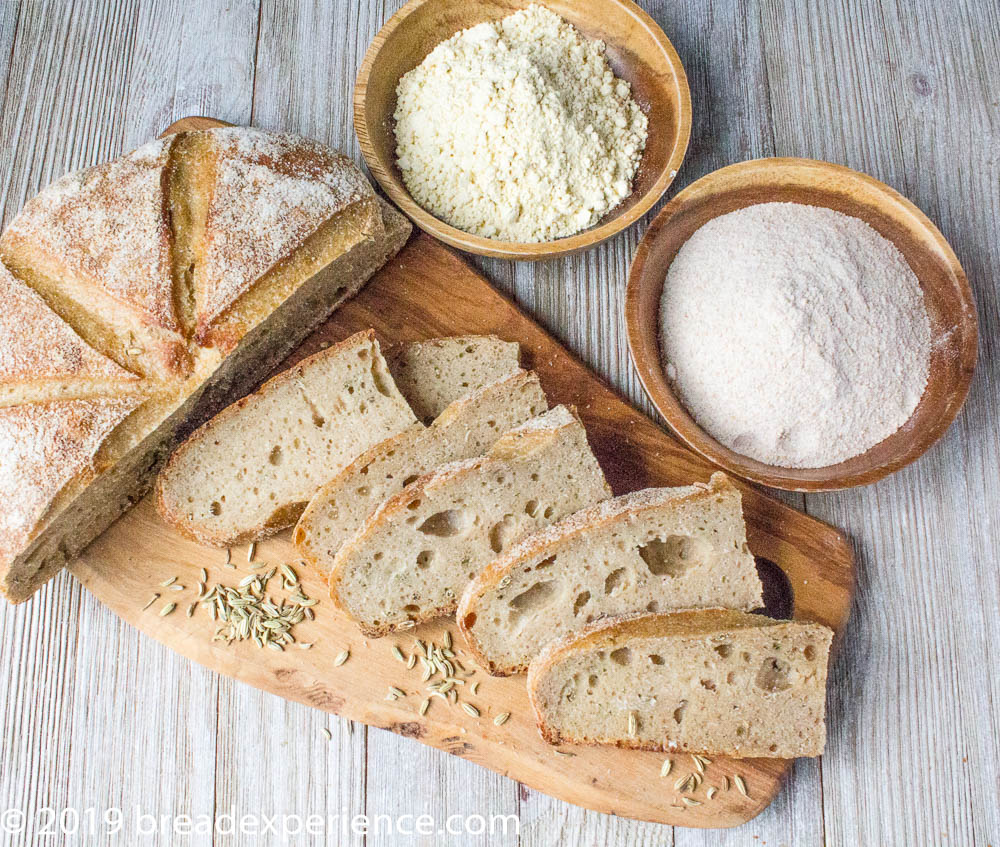
Elizabeth of blog from OUR kitchen chose this Cypriot-style Arkatena Bread from the book Bread Matters by Andrew Whitley.
Since I am a bread book fanatic, I already had the book sitting on my bookshelf, and the chickpea flour in the freezer so I was good to go! I also had some graham flour in the freezer so I used it in this bread as well.
The cool thing about chickpea (gram) flour is that it is teaming with yeasts and ferments in a much shorter time frame than a sourdough starter made with regular flour. It only takes about three days to make the chickpea starter.
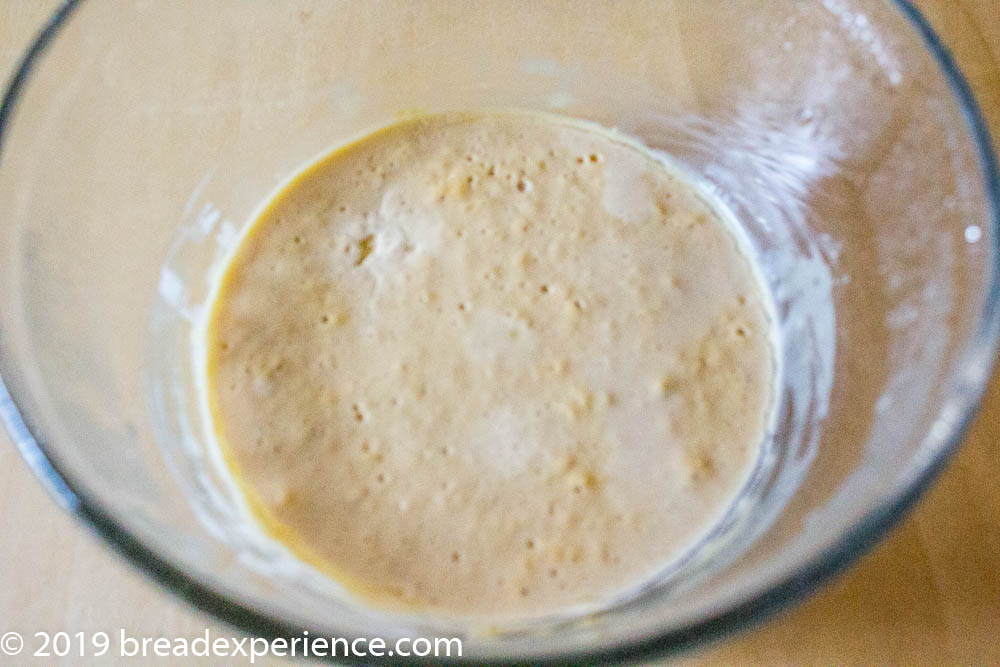
The book noted that for the first day or two the starter would have an uninviting smell, but I didn’t find that to be the case. Perhaps it was because my flour had been in the freezer for I’m not sure how long or that I let it ferment in a bread proofer and it masked the smell. At any rate, I didn’t find the smell to be overpowering.
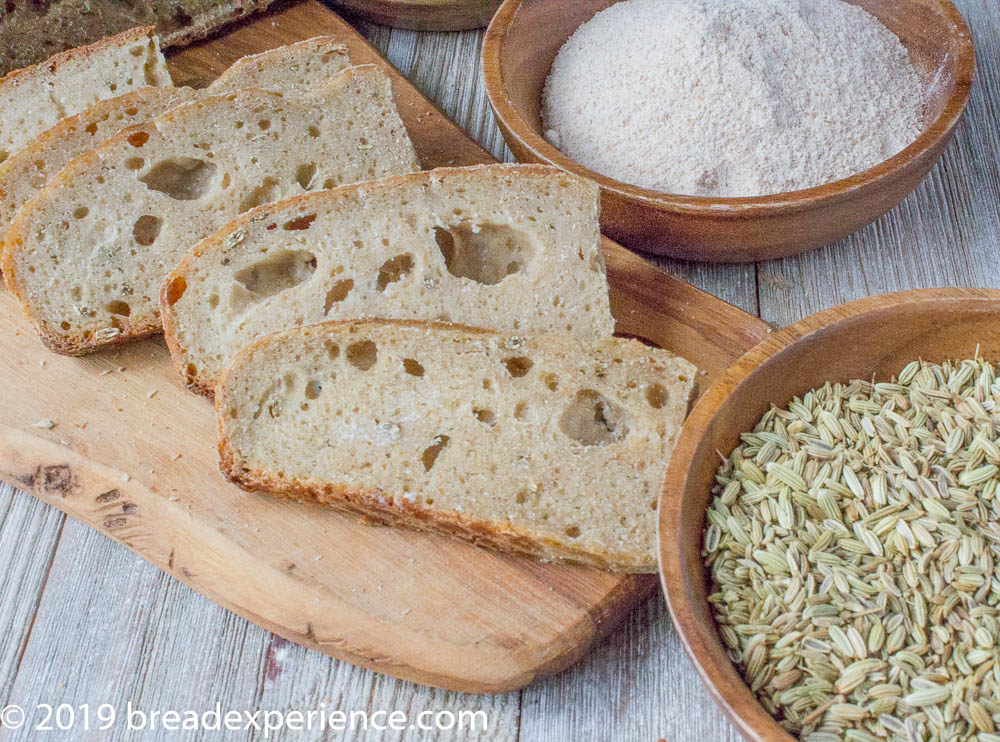
I used fennel seeds in the dough and although Andrew Whitley mentioned they are probably not authentic to this type of bread, I enjoyed the flavor they imparted.
I used the measurements provided in the book and ended up with more starter and leavener than was needed for the bread. Whitley suggested we could “Throw away the remainder, freeze it, or use it in small amounts in other breads.”
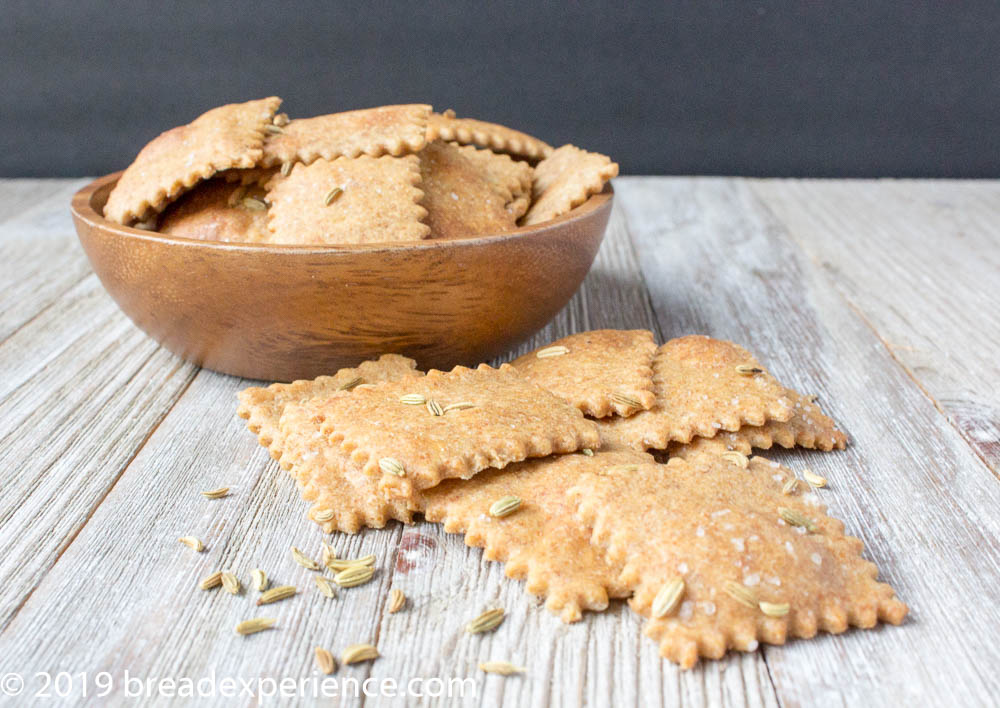
I chose none of the above. Instead, I employed one of my favorite methods for using up extra sourdough. I made sourdough chick pea and graham crackers.
“If you like bread with a hefty crust, chewy crumb, and intense flavor, this bread is for you. It is like a French Country Bread gone rustic.” Andrew Whitley Bread Matters
Arkatena Bread
based on Andrew Whitley’s recipe for Arkatena Bread in “Bread Matters”, pp.190-193
Makes: one large Cob (round) loaf or ring
Notes regarding the formula: Elizabeth recalculated the formula to only make enough starter for one loaf so I referenced her adapted formula below, but edited the instructions to include the method I used.
Please note the Chickpea starter takes 3 days to create.
Chickpea Starter (3-day process…)
Day 1
- 17g chickpea flour (aka gram flour, garbanzo flour, besan)
- 23g water
Day 2
- all the starter from Day 1 (total of 40g)
- 17g chickpea flour
- 23g water
Day 3
- all the starter from Days 1&2 (total of 80g)
- 46g 100% whole wheat flour (I used graham flour)
- 35g water
Leavener
- 50g wholewheat flour (I used graham flour)
- 50g chickpea flour
- 145g unbleached all-purpose flour and 5g vital wheat gluten (or 150g bread flour) (I used all-purpose with no vital wheat gluten)
- all the bubbling arkatena starter from above (161 grams)
- 120g water
Final Dough
- 100g whole wheat flour
- 290g unbleached all-purpose flour and 10g vital wheat gluten (or 300g bread flour) (I used all-purpose with no vital wheat gluten)
- 10g wheat germ (omit if you mill your own flour) (I omitted the wheat germ)
- 300g water, divided (keep back 25g for adding the salt)
- all the leavener (531 grams)
- 10g sea salt
- 6g fennel seeds
- Sesame seeds, optional for sprinkling on top
Instructions:
Day 1 morning: Create chickpea starter
(3 days before you will be baking the bread). Put 17 grams chick pea flour and 23 grams water into a small bowl. Use a wooden spoon to mix it. Cover and let it ferment in a warm place (as close to 82 degrees F as possible).
Day 2 morning: Use a wooden spoon to stir 17 grams chick pea flour and 23 grams water into the mixture in the bowl. Re-cover the bowl and place it in a warm place to ferment.
Day 3 morning: Use a wooden spoon to stir 46 grams whole wheat flour and 35 grams water into the mixture in the bowl. Re-cover the bowl and leave it in a warm place to ferment.
Day 4 morning: Create Leavener
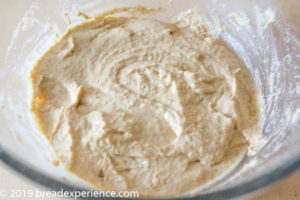
Put all the leavener ingredients into a medium-sized bowl and stir with a wooden spoon to combine. Cover and leave in a warm place. Whitley writes that this takes about 4 hours and that the leavener is ready when it has “expanded appreciably but not collapsed on itself.”
Day 4 afternoon: Final Dough
Put flours, leavener, and all but 25 grams of water into a large mixing bowl. Stir with a dough whisk (or wooden spoon). Cover and set aside on the counter for 30 to 40 minutes.
Add the salt: Sprinkle the salt over the dough and pour the remaining 25 grams of water over the salt to dissolve it. Use one of your hands to squish the salt and water into the dough; use the other hand to steady the bowl – this way you always have a clean hand. At first, the dough might be a bit messy and seem like it’s coming apart. Persevere. Keep folding it over onto itself until it is relatively smooth. Cover and let it rest for about 30 minutes.
Add the fennel seeds to the dough at this point, if using.
Stretching and folding the dough: Turn the bowl as you fold and re-fold the dough into the center. Cover the bowl and let it rest at warm room temperature or in a proofer. Repeat the folding step about 3 times in all at 30-minute intervals. You’ll notice that after each time, the dough will feel significantly smoother. After the final time of folding, the dough is ready to pre-shape.
Pre-shaping: Transfer the dough to a work surface lightly dusted with all-purpose flour. Fold the dough over in half, gently patting off any extra flour that might be there. Continue folding in half until the dough is shaped into a ball. Cover with a clean tea towel and let rest for about 30 minutes.
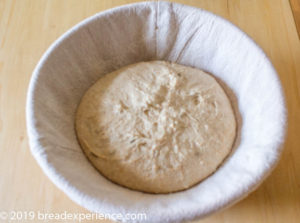
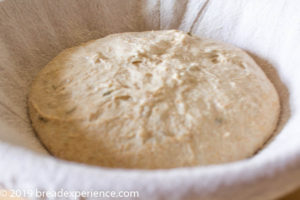
Shaping a cob loaf: Without breaking the skin, use the dough scraper on the sides to tighten the dough ball further. Place the shaped loaf in a rice-floured round banneton proofing basket. Cover with the tea towel again and let sit for an hour or so to allow the loaf to almost double.
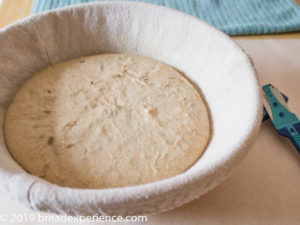
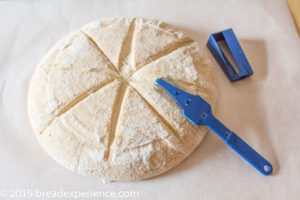
Optional cold ferment: After the dough rests in the proofing basket for an hour or so, cover tightly and place in the refrigerator overnight to cold ferment. The next day, after the oven is sufficiently preheated, remove the dough from the refrigerator, gently turn it over onto a piece of parchment paper, score the loaf in the pattern of your choice, and then proceed to baking.
Preheat the Oven: Place a Dutch Oven or baking stone on the middle shelf of the oven and preheat to 400F for 30-45 minutes before baking.
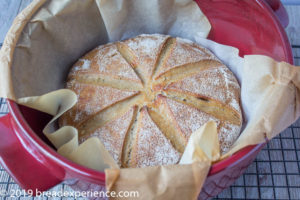
Dutch Oven: Use the parchment paper to lift the shaped loaf onto the bottom of the Dutch Oven Pot. Immediately put the lid on top. Put the bread in the oven. Bake for 20 minutes with the lid on. After 20 minutes, remove the lid and continue baking for another 15 minutes, until the crust is a lovely dark golden brown and the bread sounds hollow when knuckle-rapped on the bottom.
Freeform on Baking Stone: Transfer the shaped loaf (including the parchment paper) onto the hot stone. Place an overturned stainless steel mixing bowl to cover the bread, if desired. Immediately turn the oven down to 375F. Bake for 30 minutes with the lid on. After 30 minutes, remove the lid and continue baking for another 30 minutes, until the crust is a lovely dark golden brown and the bread sounds hollow when knuckle-rapped on the bottom.
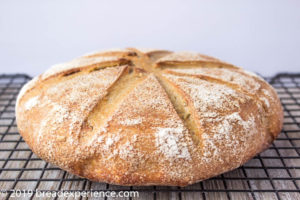
Cooling: When the bread has finished baking, remove it from the oven and allow it to cool on a footed rack before slicing and eating.
I think I sliced my bread a bit too soon because it was a wee bit gummy, but it still tasted good. It was dense and chewy as the description in the book indicated it would be.
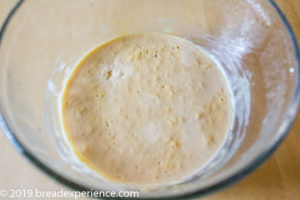
- Chickpea Starter
- Leavener
- Dough Proofing in Basket
- Closeup of Dough in Basket
- After cold ferment
- Scored Loaf
- Dutch Oven Bread
- Cooling on Wire Rack
Would you like to bake with us?
I encourage you to bake this Arkatena Bread. It’s a unique method and bread. Our Kitchen of the Month is Elizabeth. Please visit Elizabeth’s blog, blog from OUR kitchen, to read her process and notes.
For inspiration, take a look at the Arkatena Bread posts from the other Babes:
- blog from OUR kitchen – Elizabeth
- A Messy Kitchen – Kelly
- Feeding My Enthusiasms – Pat
- Bread Experience – Cathy
- My Kitchen in Half Cups – Tanna
- Thyme for Cooking – Katie (provides the roundup and commentary)
Remember, new recipes are posted every month on the 16th. Check the Bread Baking Babes Facebook group to see the participants’ baking results during that time.
Happy Baking!
Cathy
Kelly says
You got some beautiful holes in your crumb. My first attempt was so dense and hard, I almost couldn’t slice it. But I am tempted to perhaps try the three-day method again and stir it with a spoon I have dipped in my wheat starter! 😉
Cathy says
Stirring with a spoon dipped in a wheat starter is an interesting idea.
Elizabeth says
Yay!! It worked. And how beautifully too! I’m planning to try to redeem myself by fermenting chickpea flour and actually paying attention to the recipe. Perhaps I should follow Whitley’s measurements and make too much chickpea starter. I really like your idea of turning the extra into crackers. (There’s no way I’d throw it away, or that there is room in our freezer (it would get lost anyway), or that any of my friends will accept the extra starter – wasn’t that one of Whitley’s options? To give away the extra?)
I like the fennel seed too. But my husband wasn’t wild about it. Next time, I’m going to try using Paula Wolfert’s idea of making an aromatics infusion and using that to make the starter, leavener, and dough.
Cathy says
Thanks Elizabeth! And thank you for challenging us to try something different.
I guess giving away some of the starter was another option, but using it to make crackers worked better for me. In fact, I might be tempted to make the chickpea starter again just to make some more crackers.
I’ll have to check out Paula’s aromatics infusion idea. That sounds interesting.
Katie Zeler says
Interesting to learn about the chickpea flour. I may have to go to our Bio store and see if they carry it. The bread looks wonderful – I love heavy, chewy bread
Cathy says
Thanks Katie! For a heavy and chewy bread, it’s very tasty.
Tanna says
LOVE the crackers, wish I’d remembered, I think I’ve seen you do that before.
Gorgeous loaf and that scoring is a marvelous! You certainly got many more lovely holes than I did.
Watching some videos yesterday someone used their throwout to just make fried bread in a skillet. I thought that sounded interesting and not much different than a waffle. This morning I added some salt, butter and buttermilk to some throw out and made two very nice waffles!
Crackers with the chickpea started sound really excellent.
Cathy says
Thank you Tanna! Making waffles with discarded sourdough sounds like a great idea. I might try that sometime, but then I couldn’t make crackers. 🙂