This basic savory bread, an easy artisan loaf that utilizes an overnight sponge, can be made into a basic loaf or used as the basis for other delicious breads. I decided to make the basic loaf and serve it with some homemade vegetable soup.
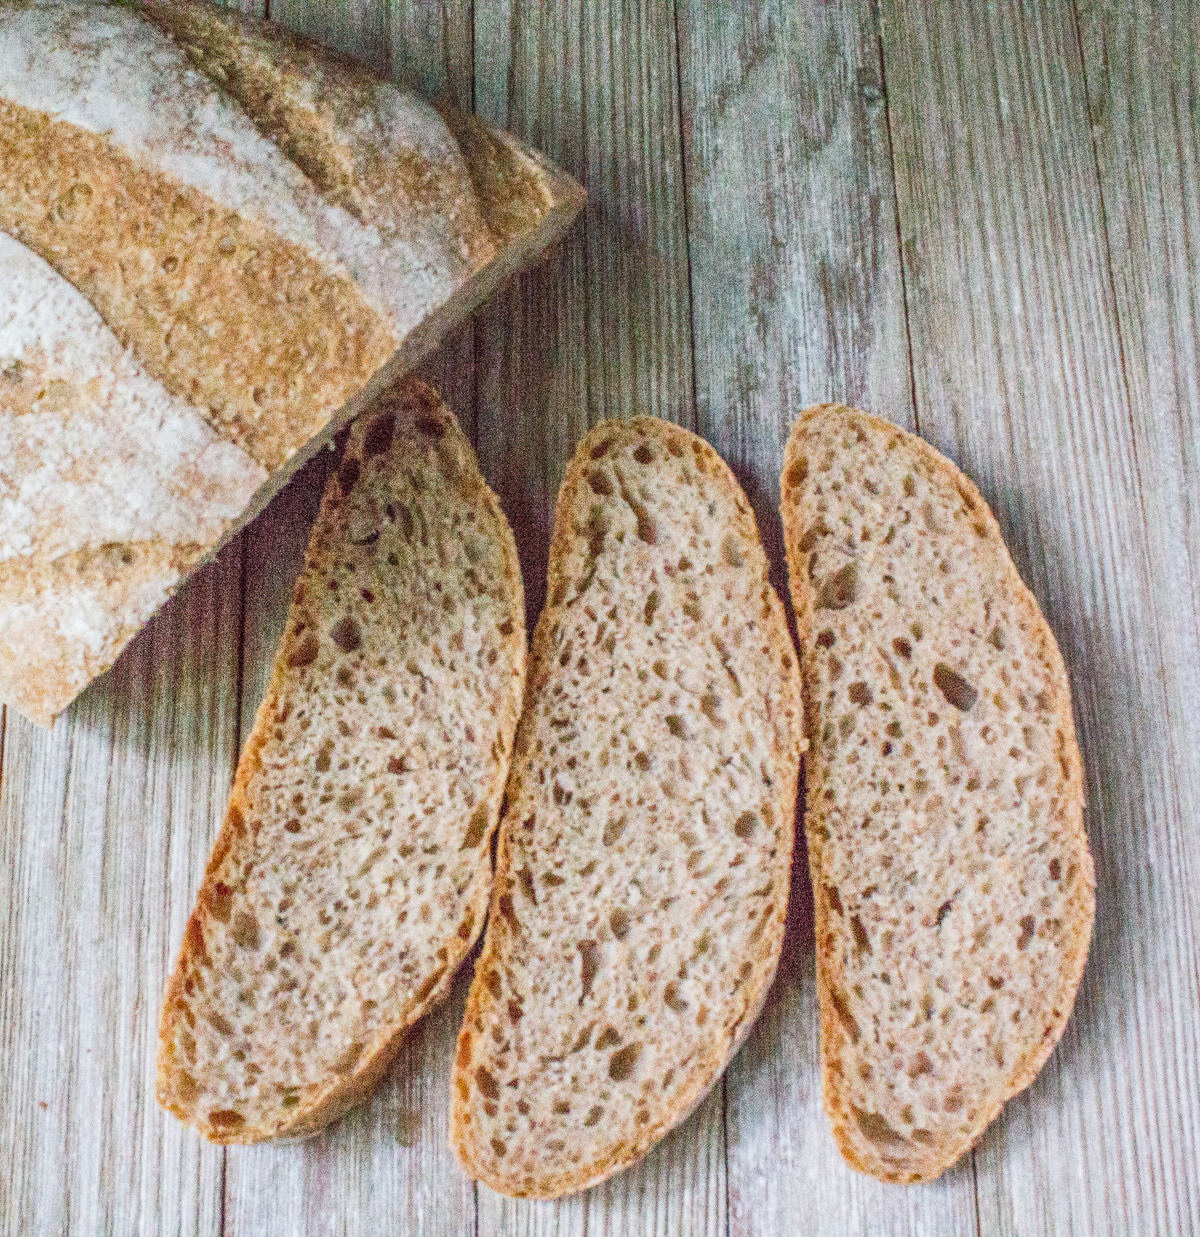
I had gotten a little bored with the bread I’d been making lately. So, I decided to break out of the bread box and try some different recipes.
I’ve had the book Bread Matters by Andrew Whitley for a while but hadn’t tried any of his bread recently. I decided to remedy that by making this artisan loaf.
THIS POST MAY CONTAIN AFFILIATE LINKS. FOR MORE INFORMATION, PLEASE VISIT THE PRIVACY POLICY PAGE.
Updated 06.24.22
I made this bread again and edited the ingredients slightly. I also updated the process.
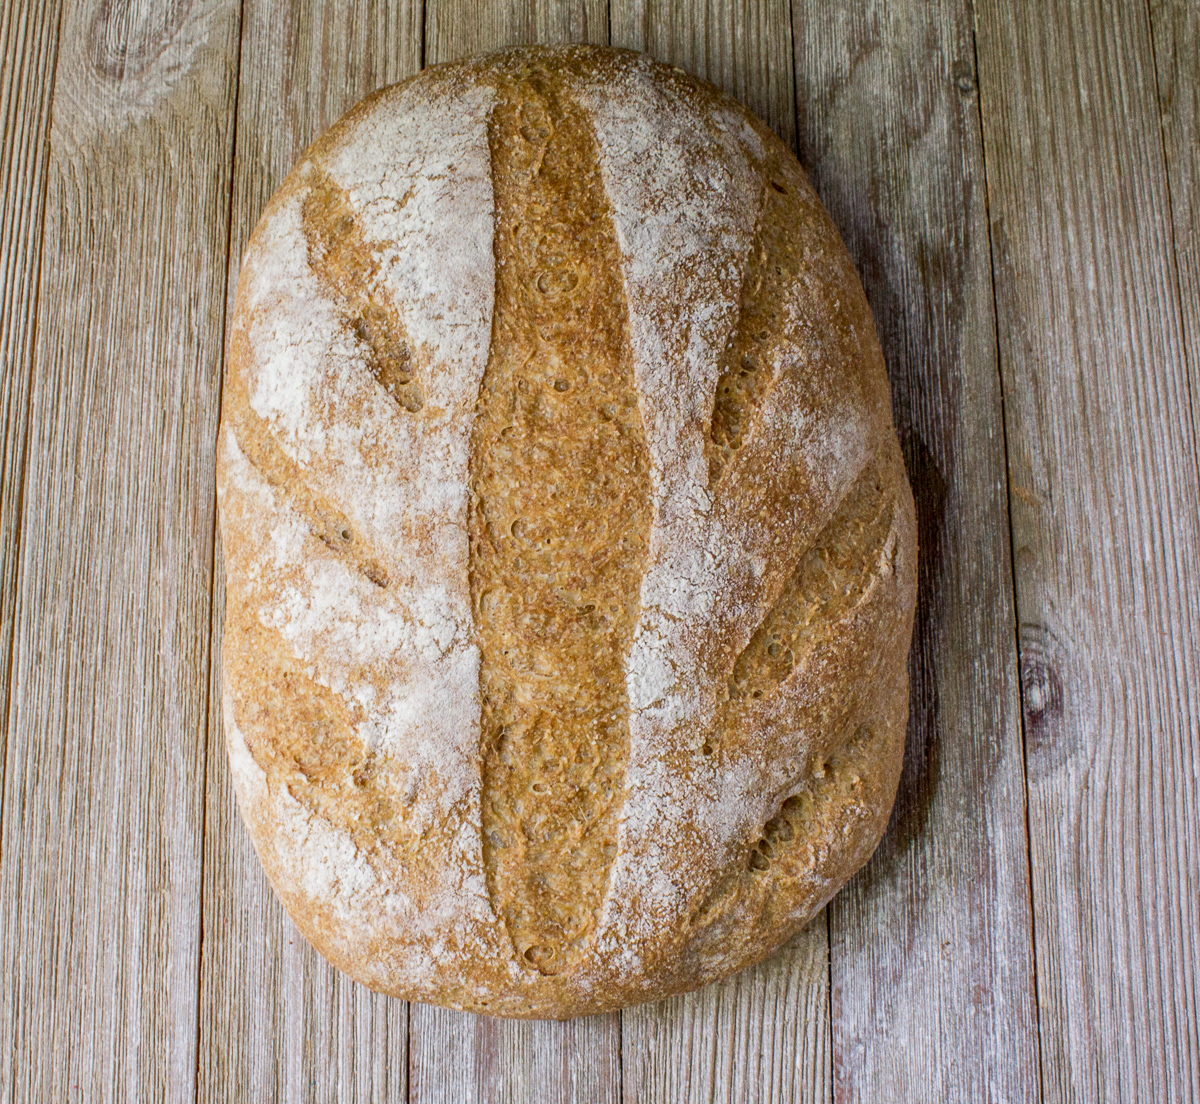
For the whole grain, I used red fife flour that was stone milled in a MockMill 100. The red fife gives the bread a lovely red hue.
I reduced the amount of dried yeast used in the sponge from a heaping 1/4 teaspoon to 1/8 teaspoon. I used instant yeast rather than active dry yeast so I didn’t need to activate it with water before using it in the sponge.
Depending on the temperature in your kitchen, this bread can overproof quickly.
Basic Savory Bread
Adapted from Bread Matters: The state of modern bread and a definitive guide to baking your own by Andrew Whitley
Makes: 1 loaf
This dough can be shaped into loaves or rolls.
Prepare the Sponge
- 1/8 tsp. instant dry yeast
- 150 grams / 2/3 cup water
- 75 grams / 1/2 cup plus 1 T. unbleached all-purpose flour
- 75 grams / 1/2 cup plus 1 T. stoneground whole-wheat flour
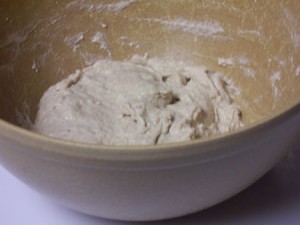
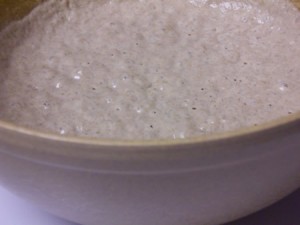
In a medium bowl, whisk together the flours and yeast. Pour in the water and mix thoroughly to form the sponge. Cover with plastic wrap and let the sponge ferment at room temperature for 16 – 48 hours. During the fermentation period, the sponge will rise up and then collapse. Depending on the temperature in your kitchen, it could take less time.
Make the Final Dough
- 225 grams / 1 cup (8 fl oz) Sponge (from above)
- 150 grams / 1 cup plus 2 1/2 tablespoon unbleached all-purpose flour
- 75 grams / 1/2 cup plus 1 tablespoon stoneground whole-wheat flour
- 4 grams / 3/4 teaspoon sea salt
- 15 grams / 1 tablespoon olive oil
- 105 grams / scant 1/2 cup water + more if needed
Use this formula to determine desired water temperature
If the sponge has been at room temperature in a cool place, you’ll need to use fairly warm water to bring the final dough to the desired temperature – 81 degrees F.
To figure out how hot the water should be, use the following formula. For the purposes of the calculation, treat the sponge as part of the flour. Add the temperatures together, then divide by two to arrive at an average.
2 x desired dough temperature minus actual flour temperature equals required water temperature.
If your desired dough temperature is 81 degrees F, the flour temperature in the Winter is probably around 43 degrees F and in the Summer it’s probably around 68 degrees F. Mine fell somewhere in between.
Winter: 2 x 81 = 162 – 43 = 119 degrees F
Summer: 2 x 81 = 162 – 68 = 94 degrees F
Using the formula, I figured out I needed to warm the water to about 110 degrees F.
Mix, Shape, Proof, Bake
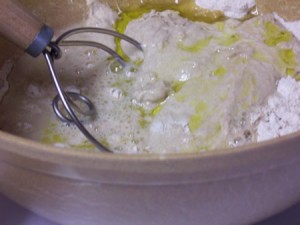
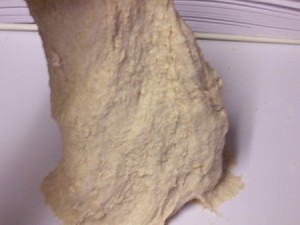
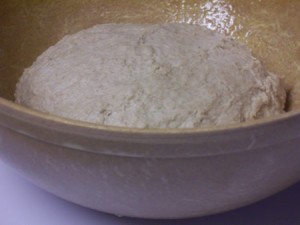
Mix all of the ingredients together and stretch and fold the dough in the bowl until there are no dry bits of flour. Add more water or all-purpose flour, if needed to create a workable dough.
Cover and allow to bulk ferment for an hour or so. Perform two stretch and folds at 15 minutes intervals. Then allow the dough to rest for 30 minutes.
The dough can be shaped into loaves or rolls.
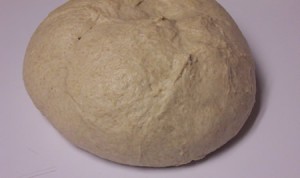
To bake it as a freeform loaf, remove the dough to a lightly floured surface. Preshape into a rough round. Let rest on the counter seam side up for 10 minutes.
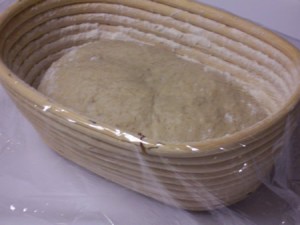
Shape into a batard (oval) and place in a rice-floured lined or unlined oval banneton proofing basket.
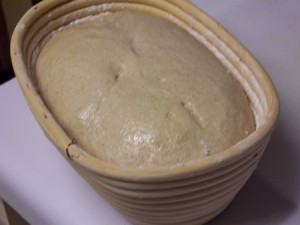
Let the loaf proof in the basket for about an hour and a half. If it’s hot in your kitchen, reduce the proof to 45 minutes to one hour.
Meanwhile place a baking stone on the next to lowest rack of the oven and a steam pan or iron skillet on the lowest rack. When using a baking steel (which can get hotter than a baking stone), I place the steel on the middle rack to keep the bottom of the loaf from burning.
Preheat the oven to 400 degrees F. during the final 30-40 minutes of the final proof.
Carefully release the loaf from the banneton onto a parchment-lined baking sheet (sprinkled with cornmeal if desired) and score the loaf down the middle with a serrated knife or a bread lame.
Transfer the loaf (on the parchment paper) to the preheated baking stone. Place a cup of ice cubes in the steam pan or skillet.
Immediately close the oven door and let the loaf bake for about 25 minutes. Rotate the loaf partway through the baking cycle for even baking.
Remove the loaf to a wire rack to cool before serving.
The loaf is a beautiful golden brown color due to the inclusion of whole wheat flour. It’s a very nice basic bread.
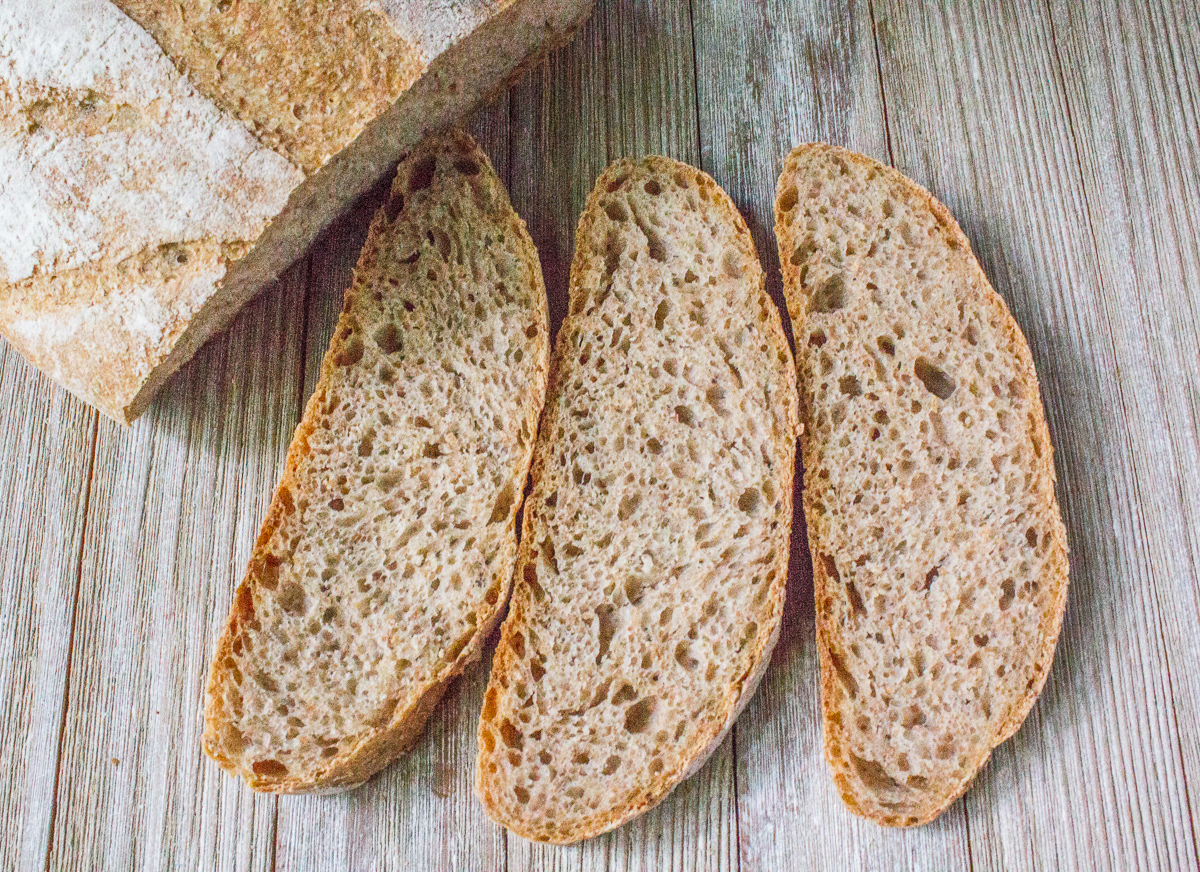
This bread tastes good warm with butter and pairs well with homemade vegetable soup.
It also tastes better after a day or so. It keeps well due to the sponge.
Happy Baking!
Cathy
Janae says
made this yesterday as my first loaf ever. followed directions exactly and it came out wonderfully. would make again. thanks
mark says
wonderful. worked perfectly
Jay Dubz says
How long did you let the dough rest before you placed it in the banneton, and could I bake this type of loaf without a banneton and how would I proceed with such an approach?
Cathy W. says
Hello Jay, I let the boule rest for about 10 minutes before placing it in the banneton. I added that to the post. This rest period helps develop the gluten further and allow it to keep it’s shape.
If you want to bake the loaf freeform without using a banneton basket for the final proof, just shape it into a boule (ball), let it rest and then reshape it again a little tighter into a ball. Place it on a baking sheet or parchment paper and bake it on a baking stone if you have one.
Anonymous says
Hi,
I noticed that in the non-sponge part there is no more yeast–is this correct? Could I add a bit more yeast when I am combining the other ingredients with the sponge?
Cathy W. says
That is correct. There isn’t any additional yeast in the final dough because the sponge provides the leaven for the bread.
Why do you want to add more yeast?
If you don’t think your sponge is active enough to provide the structure, do the float test by dropping a teaspoon of the fermented sponge in cold water to see if it floats. If it doesn’t float, you can let the sponge ferment a little longer.
Z says
I am not familiar with a baking stone. How important is it? Where can I get it?
What about the steam pan? Is it simply a container with some water, that would fit in the oven?
Is the oven you used gas or electric? I do not have gas here. Do I need any kind of adjustment because of the electric oven? Is it advisable to spray water into an electric oven?
Thanks: Z
Cathy says
Hi Z, a baking stone is similar to a pizza stone. You can find one here https://www.breadexperience.com/pizza-ingredients/ or do a search on Amazon.
You can also use unglazed tiles. The baking or pizza stone is a round or square stone that is used to generate heat in the oven so that it gets hot enough to bake crispy artisan loaves – about 450 degrees. The steam pan generates steam like a steam-injected-type oven that bakeries use to generate steam. It helps the loaves to rise and the outside to get crispy during the bake cycle.
These days, I use an old iron skillet for a steam plan and place it on the top rack while the oven is preheating. After I place the bread on the baking stone, I carefully toss a few ice cubes in the skillet to generate steam.
I have an electric oven. I haven’t had any problems spritzing water in my oven, but you don’t necessarily have to spritz the walls if you are using a steam pan. You can spritz the loaves instead. Or just use the steam from the steam pan.
Happy Baking!
Cathy
Z says
Thank you. I did not know this much effort goes into making a loaf of bread!
barry kenty says
can you take some of the final dough and save it for the next batch like a sourdough starter or do you have to make a new sponge for each batch…….TY
Cathy says
I haven’t tried saving some of the dough with this bread, but it would probably work. You could use some of your starter instead of the yeast in the sponge if you prefer. You can also reduce the sponge. If I remember correctly, this makes more than you need.