For Day 8 of the BBA Challenge, we made Cinnamon Rolls. These cinnamon rolls are so good, they melt in your mouth. I had a house full of teenagers just waiting for the rolls to cool. I had to fight them off to get photos. Not really, they were actually very patient because they knew the reward would be heavenly… and it was.
Peter Reinhart said he developed this formula because his students kept asking him to teach them to make cinnamon buns as good as the ones you get at the mall. The dough falls in the enriched category because the fat content is slightly under 20 percent. However, this dough definitely does not need any extra fat. The shortening, eggs, sugar, and milk, provide plenty of enrichment to tenderize the dough without the additional fat. Who needs it anyway?
This version tastes better than any cinnamon buns I’ve ever had. My taste testers agreed. In fact, the dough tasted so good it almost didn’t make it to the oven (because I kept eating it – not my sons).
Cinnamon Buns (or Sticky Buns)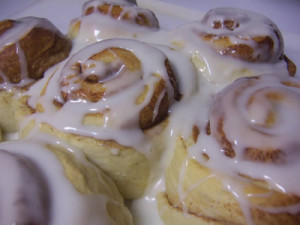
This post demonstrates the process for shaping and glazing the cinnamon buns. Refer to recipe in the Bread Baker’s Apprentice to locate the list of ingredients.
You can also make sticky buns with this formula or thumbprint sweet rolls, filled with jam or jelly or pastry logs. They all sound great! I’ll have to try one of these next time.
Shaping Cinnamon Buns
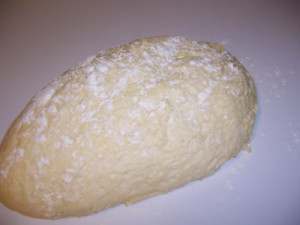
Mist the counter with spray oil and transfer the dough to the counter. Sprinkle the top of the dough with flour to keep it from sticking to the pin.
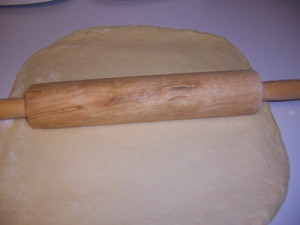
Roll the dough into a rectangle.
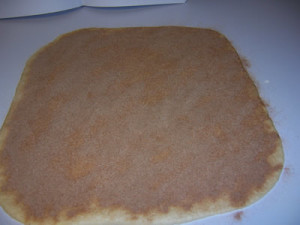
Don’t roll out the dough too thin or the finished will be tough and chewy rather than soft and plump. Sprinkle the cinnamon sugar over the entire surface.
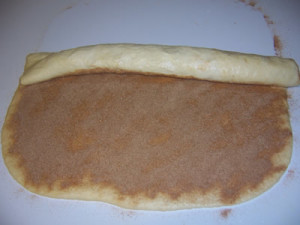
Roll the dough up into a cigar-shaped log, creating a cinnamon-sugar spiral as you roll.
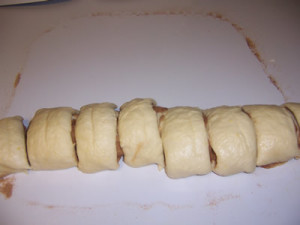
With seam side down, cut the dough into 8 to 12 even pieces each about 1 3/4 inches thick for larger buns; or 12 to 16 pieces each 1 1/4 inch thick for smaller buns.
Proofing Cinnamon Rolls
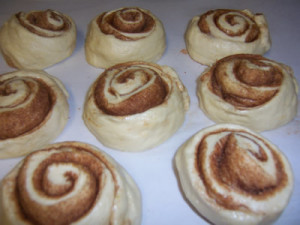
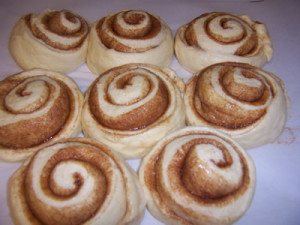
Line one or more baking sheets with baking parchment. Place the buns about 1/2 inch apart so that they aren’t touching but are close to one another.
Let them proof until they are doubled in size.
Glazing Cinnamon Buns
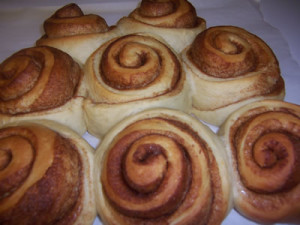
Bake the buns and let them cool in the pan for about 10 minutes.
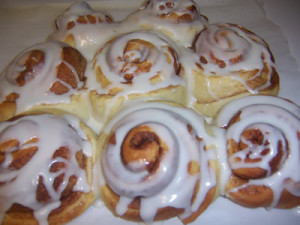
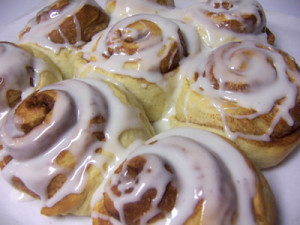
Streak them with white fondant glaze across the tops while the buns are warm but not too hot.
We tried to wait 20 minutes, but it didn’t work. These cinnamon buns didn’t even make it to the cooling rack. They were gobbled up right away.
Thanks for joining me this week in the Bread Baking Blog.
Happy Baking!
Cathy
susies1955 says
Perfectly perfect. 🙂
Again, you have a great write up and great photos.
Nice baking along with you,
Susie
Cathy (breadexperience) says
Susie,
Thanks for your support as always! It’s great baking along with you as well eventhough you’re way ahead.
Cathy
susies1955 says
Cathy,
Don’t worry. You will ALL be ahead of me soon. I’m taking August off. 🙂
Have fun,
Susie
Laurie Ashton Farook says
Great looking cinnamon buns!
I’m making the sticky buns today. Should be interesting. 🙂
Kelly says
Scrumptious!! They look delicious, and your step by step is great! I love this recipe, too. 🙂
Cathy (breadexperience) says
Thanks Laurie! I bet your sticky buns will be delicious as well! I’ll check them out.
Cathy (breadexperience) says
Thanks Kelly! They were delicious! I had a house full of teenagers that devoured them. I did manage to save a couple for myself and a friend, however. 😉