These Birotes Salados Mexican Sourdough Sandwich Rolls are very crusty and have a nice sour flavor. To make the traditional sandwich, they need to be “sturdy” so they can stand up to being drenched with a ladle full of tomato sauce.
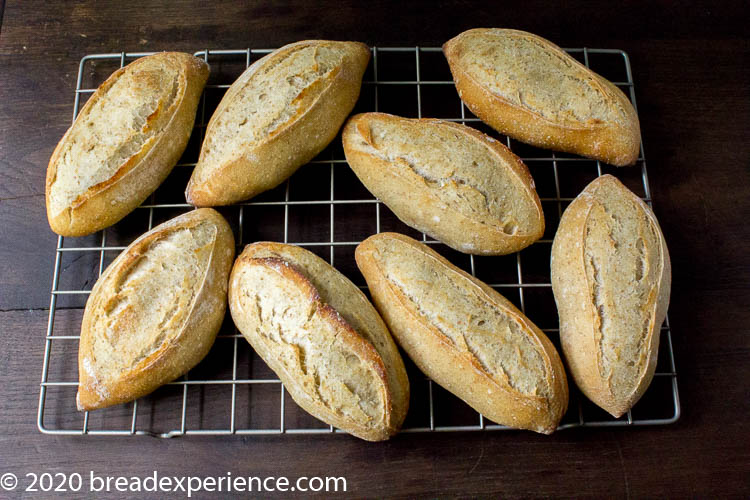
This bread is unique to Guadalaja, Mexico, and is used for Tortas Ahogadas — sandwiches made with carnitas, pickled onions, refried beans, and two sauces, one for spicing things up, and one for drowning/dunking the entire sandwich. You can read more about the sandwiches here.
I should also mention they taste great warmed and spread with just butter. Very chewy, but so filling you can make a meal out of them without anything else. Just saying.
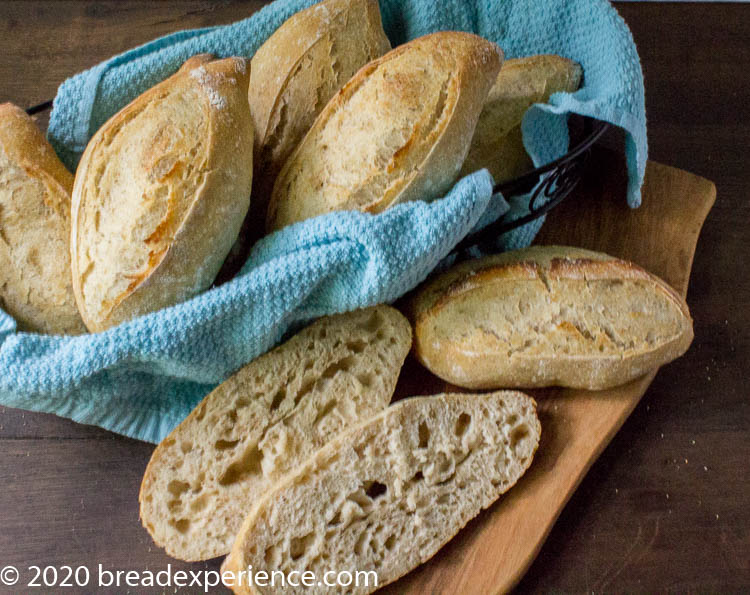
These delicious rolls are the bread of the month for the Bread Baking Babes. Karen of Karen’s Kitchen Stories is the host kitchen, and she chose this roll recipe from the book, Bread on the Table by David Norman.
Check out the Quest for Sourdough’s video
In this fun video, Quest for Sourdough demonstrates how they make Birote – Sourdough with eggs and lime. They also include a bit of the culture surrounding Birote. Click here to watch the video on YouTube.
Note: The rolls in this post utilize a different formula than the one in the video.
Suggested timeline for making these rolls:
You’ll need a couple of days to make these sourdough rolls so plan your timeline accordingly. You can begin with any sourdough starter you have on hand.
Day 1:
10:00 a.m. Feed your starter to wake it up. If your starter is already very active, you can skip this step.
8:00 p.m. Prepare the final feed of your starter and let it rest at room temperature overnight.
Day 2:
8:00 a.m. Mix and knead your final dough, including a few stretches and folds.
9:15 a.m. Let the dough rise at room temperature until doubled.
11:15 a.m. Shape the rolls and let them proof until puffy.
12: 30 am. Score and bake the rolls.
Notes on creating steam:
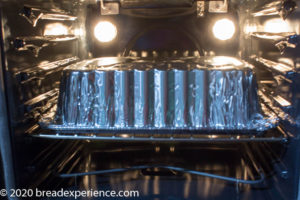
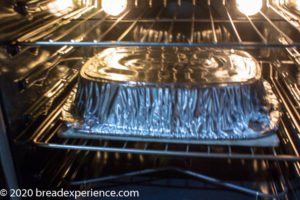
I just got a new oven and because it has vents, it doesn’t work with my normal steaming methods. So instead of using the steam pan mentioned in the recipe, I baked half of the rolls on a baking steel and the other half on a baking stone both covered with an inverted foil pan.
My new oven has two ovens so I was able to use both ovens for this recipe. I’m not sure if you can tell by the photos below but both of the foil pans hang over the edges of the baking steel and the baking stone so I added some aluminum foil around the sides to close the gap and keep the steam in. I thought it was pretty clever, but I forgot to take a photo of that part.
- Top Oven with Foil Pan on Baking Steel
- Bottom Oven with Foil Pan on Baking Stone

Birotes Salados – Mexican Sourdough Rolls
- Total Time: 0 hours
- Yield: 8 Bread Rolls 1x
Description
Birotes Salados Mexican Sourdough Sandwich Rolls are very crusty and have a nice sour flavor. They need to be “sturdy” so they can stand up to being drenched with a ladle full of tomato sauce.
Ingredients
Wake Up Feed for Your Starter
200 grams (7 ounces) sourdough starter. Because you will be feeding it twice, it doesn’t matter what hydration it is to begin with.
200 grams (1 1/2 cups) all-purpose flour
120 grams (1/2 cup) lukewarm water (90 degrees F)
Final Feed
20 grams (1 tablespoon) of the “wake up feed”
270 grams (2 cups plus 1 tablespoon) of all-purpose flour
175 grams (3/4 cup) Mexican lager beer (I used Modelo)
Final Dough
344 grams all-purpose flour
86 grams Red Fife flour, home-milled *
20 grams (1 tablespoon plus 1 teaspoon) granulated sugar
18 grams (1 tablespoon plus 1/2 teaspoon) salt
All of the starter
212 grams (3/4 cup plus 1 tablespoon) water
Extra flour for dusting
* I added 50 add’l grams of water because of the wholegrain flour
Instructions
Mix the “wake-up feed” in a clean bowl with your fingers, cover with plastic wrap or a damp tea towel, and let ferment for 8 to 10 hours.
Mix the final feed ingredients with your hand until well incorporated. Cover and let ferment at room temperature for 12 hours.
Whisk together the flour, sugar, and salt in a large bowl or dough-rising bucket. Divide the starter into small pieces and add it to the dry ingredients.
Add the water and blend everything using your hands. “Stir, squeeze, and pinch” the dough ingredients together until the dough comes together. You can use your dough scraper to help incorporate everything. This process should take about 2 minutes.
Turn the dough out onto a clean work surface and stretch, fold, and flip the dough about 5 times.
Form the dough into a rough ball and place it back into the bowl. Cover and let rest for 15 minutes.
Lightly flour your work surface and place the dough, seam side up, onto the surface. Gently flatten the dough into a 2-inch thick circle. Stretch and fold the dough from all four “sides.”
Flip the dough over and form it into a ball, return it to the bowl, cover, and let rest for 15 minutes.
Repeat the stretch-and-fold process three more times at 15-minute intervals.
After the final stretch and fold, place the dough back into the bowl, cover it with a damp towel, and let rise in a warm place for about an hour, until doubled.
Turn the dough out onto a lightly floured work surface with the smooth side down. Gently flatten until the dough is about 2 inches thick. Gently stretch and fold one side of the dough about halfway over the dough. Turn the dough, and repeat from all four “sides.”
Flip the dough over, seam side down, and form the dough into a ball.
Return the ball to the bowl, seam side up, and cover until doubled, about an hour.
Lightly flour your work surface.
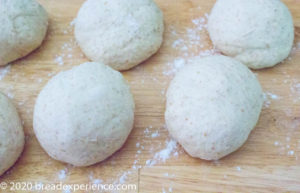
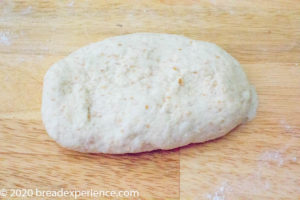
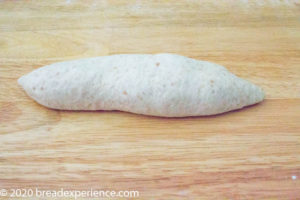
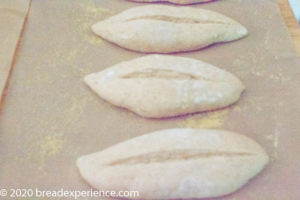
Divide the dough into 8 pieces, about 150 grams each. Form each piece into a ball. Press each ball into a rough rectangle and then fold each “side” over each other to create a cylinder. Using your hands, roll each cylinder back and forth until you have an eight-inch long roll with tapered ends.
Heat your oven to 475 degrees F with a baking stone and steam pan.
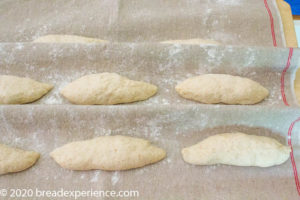
Place the rolls, seam side up, side-by-side lengthwise, between the folds of a couche or flour-dusted tea towel to proof. Cover with plastic wrap or another towel for about 60 to 90 minutes, until puffy and airy, but not doubled.
You will probably need to bake these in two batches unless you have two ovens.
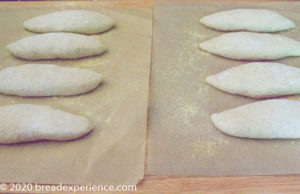
Place the risen rolls onto parchment paper on top of a pizza peel, seam side down with space in between.
Add 2 cups of boiling water to your steam pan and close the oven door to let it get steamy.
Score the rolls with a sharp knife or lame the length of the roll down the center with the blade at an angle.
Place the loaves on the stone, along with the parchment, and close the oven door. If you like, you can also spray the oven with more water to get it extra steamy.
Lower the oven temperature to 400 degrees F and bake the rolls for 20 to 25 minutes. They should be deep golden brown and hollow sounding.
Cool on a wire rack. Repeat with the rest of the rolls.
Notes
Adapted from the book, Bread on the Table by David Norman.
- Cook Time: 20-25 minutes
- Category: Sandwich Rolls
- Method: Sourdough
- Cuisine: Mexican
You Need to Make this Bread!
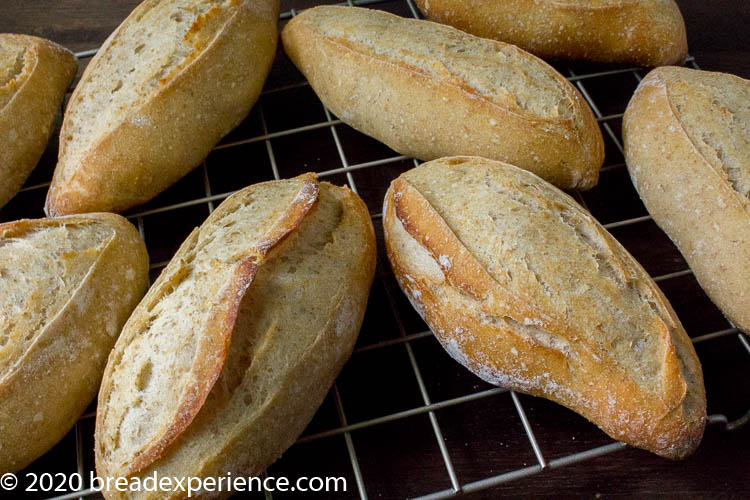
I encourage you to make these rolls. They are so good.
Our Kitchen of the Month is Karen of Karen’s Kitchen Stories Please visit Karen’s post to review her instructions and find out how to submit your bread for the monthly roundup.
For more inspiration, check out the other Babe’s posts below:
- Karen’s Kitchen Stories (Host Kitchen)
- My Kitchen in Half Cups – Tanna
- My Diverse Kitchen – Aparna
- blog from OUR kitchen – Elizabeth
- A Messy Kitchen – Kelly
- Feeding My Enthusiasms – Pat
- Judy’s Gross Eats – Judy
- Bread Experience – Cathy
- Thyme for Cooking – Katie (roundup)
Remember, new recipes are posted every month on the 16th. Check the Bread Baking Babes Facebook group to see the participants’ baking results during that time.
Happy Baking!
Cathy
Aparna says
Congratulations on the new double oven. Your rolls are really good looking. 🙂
Cathy says
Thanks Aparna! I had an almost double oven before but this one has 2 full size ovens. It’s been interesting learning how to use it.
Karen says
I love that you used the foil pans! Aren’t they great! Thanks so much for baking along.
Cathy says
Thanks for choosing this one Karen! The rolls are delicious! And yes, the foil pans are working great!
Tanna says
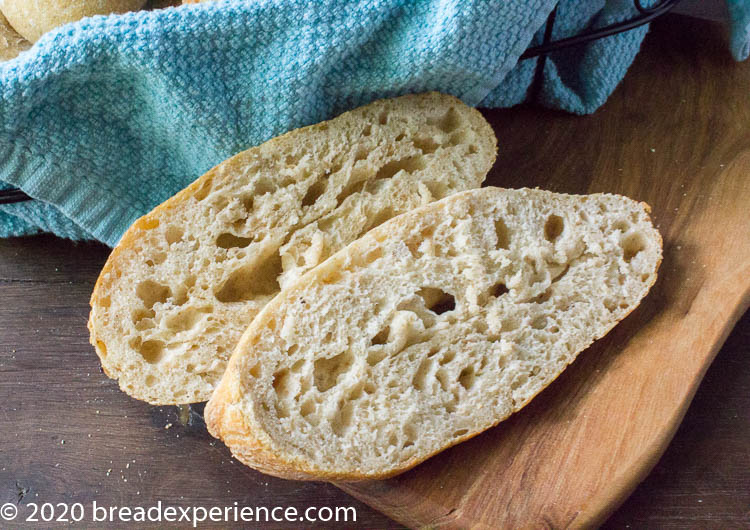
Oooo Cathy your crumb is gorgeous! Happiness is new ovens even when you have to experiment learning how they best perform. Yes, I’d go with you are clever closing the gap on the pans ☺️.
Cathy says
Thanks Tanna! Well, considering I bought the new oven reluctantly (actually kicking and screaming), I’m learning to like and use it properly. I’m also having to unlearn some of the workarounds I had with my (very) old oven.
Katie Zeller says
Sturdy, then drenched with tomato sauce. I think I like that….
Cathy says
Indeed…
Elizabeth says
Wow, your rolls look beautiful! You got such wonderful oven spring. (I’ve GOT to remember the overturned roasting pan method. How clever are you to have found one that is so deep.)
Cathy says
Thanks Elizabeth! Yes, I was happy to find the deep foil pans. The one on the right (bottom oven) isn’t quite as deep but it still works well for a lot of breads.
Kelly says
I need to try your foil trick on my roaster, which also overhangs the stone!
Cathy says
Yes, do try it and see if it helps. I thought the added foil worked really well to keep the steam from escaping the sides.
BG says
What about the egg and the lime? It’s mentioned twice in the video but it’s not in the recipe.
Cathy says
Hi BG,
The Birotes in this post utilize a different formula than the one in the video. We only shared the video to show the shaping and the culture of the rolls. We added a note under the video to alleviate any confusion.
I hope you enjoy these rolls.
Happy Baking!
Cathy