The theme for the November Can It Up! Challenge is Cranberries. I had a hard time deciding what to make for this month’s challenge. I’ve never been a fan of canned cranberry sauce so I don’t eat it. It wasn’t until I tried fresh cranberry relish that I actually enjoyed it. When I found this recipe for cranberry jam, I thought it would be a good alternative to cranberry sauce/relish. It has fresh cranberries and oranges and frozen strawberries. I figured you couldn’t go wrong with those ingredients.
The recipe called for frozen strawberries in light syrup. I had some strawberries in the freezer from my strawberry-picking excursion in the Spring so I used those instead. I had more than the recipe called for but less than enough to double the recipe so it ended up making about half again as much. I added more cranberries and oranges. My adapted recipe is listed below.
This jam was perfect for Thanksgiving Dinner. Due to the additional cranberries and oranges and the lack of sweetener in the frozen strawberries, this jam turned out more like a relish than a jam. We enjoyed it as relish on slices of turkey and as jam on the Pocketbook Dinner Rolls I brought. You’ll learn about the rolls in another post.
Cranstrawberry Jam
Makes: About 8 cups
Adapted from: The Complete Book of Small-Batch Preserving by Ellie Topp and Margaret Howard
Ingredients:
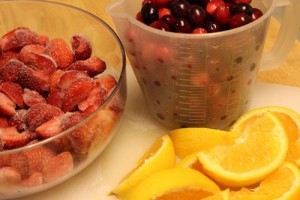
- 24 ounces frozen sliced strawberries, thawed
- 12 ounces fresh cranberries
- 2 large unpeeled oranges, cut into large pieces
- 5 cups granulated sugar
- 2 pouches liquid fruit pectin
- 3 tablespoons orange juice
Directions:
Step 1: Prepare the fruit
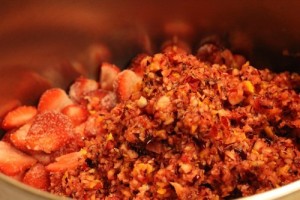
Place the strawberries in a large non-reactive pot. Coarsely chop the cranberries and orange in a food processor. Add to the pot with the strawberries.
Step 2: Cook the jam until it thickens
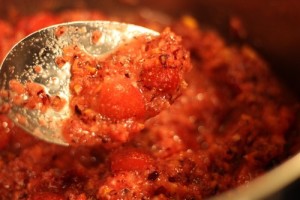
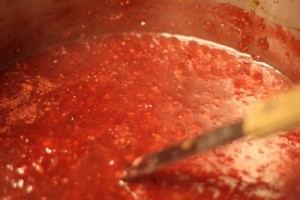
Stir in the sugar and bring the pot to a full boil over high heat and boil hard for 2 minutes, stirring constantly.
Step 3: Add the pectin
Remove the pot from the heat and stir in the pectin and liqueur, if using.
Step 4: Ladle the jam into jars
Ladle the jam into hot, sterilized mason jars, leaving 1/2-inch headspace. Release the trapped air using a Bubble Remover and Headspace Tool. Then add the lids and rings, and process the jars in a boiling-water bath for 10 minutes. For more information on water-bath canning, refer to the National Center for Home Preservation web site.
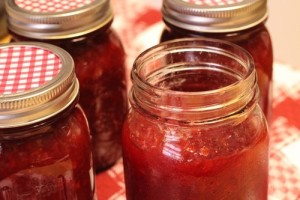
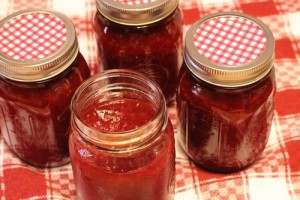
I ran out of jelly jars so I used pint-size jars. I didn’t quite have enough jam to fill four jars completely so one jar went in the refrigerator instead of being processed in the water-bath canner. That’s the jar I took with me to Thanksgiving Dinner.
Step 5: Let jars rest on counter overnight
Turn the heat off. Remove canner lid. Wait 5 minutes, then remove the jars, and let them sit on the counter for 24 hours to cool and ensure they are sealed correctly. You should hear the lids pop if they are sealed properly.
Step 6: Store jars in a cool, dry place.
Place the sealed jars in a cool, dry place for storage for up to a year. If any of the jars do not seal properly, place them in the refrigerator. They will last for a couple of months in the refrigerator.
Thanks to Hima of All Four Burners for hosting the Challenge. It’s time to Can It Up!
Happy Canning!
Cathy
Canning resources:
- Ball Complete Book of Home Preserving
- The Complete Book of Small-Batch Preserving
- Keeping The Harvest: Discover the Homegrown Goodness of Putting Up Your Own Fruits, Vegetables and Herbs
- National Center for Home Preservation
hima | allfourburners says
Cathy, wow…this sounds absolutely amazing! The Small Batch book is my 2nd favorite preserving book, but I clearly don’t use it enough since I don’t remember this recipe. Thanks for sharing!