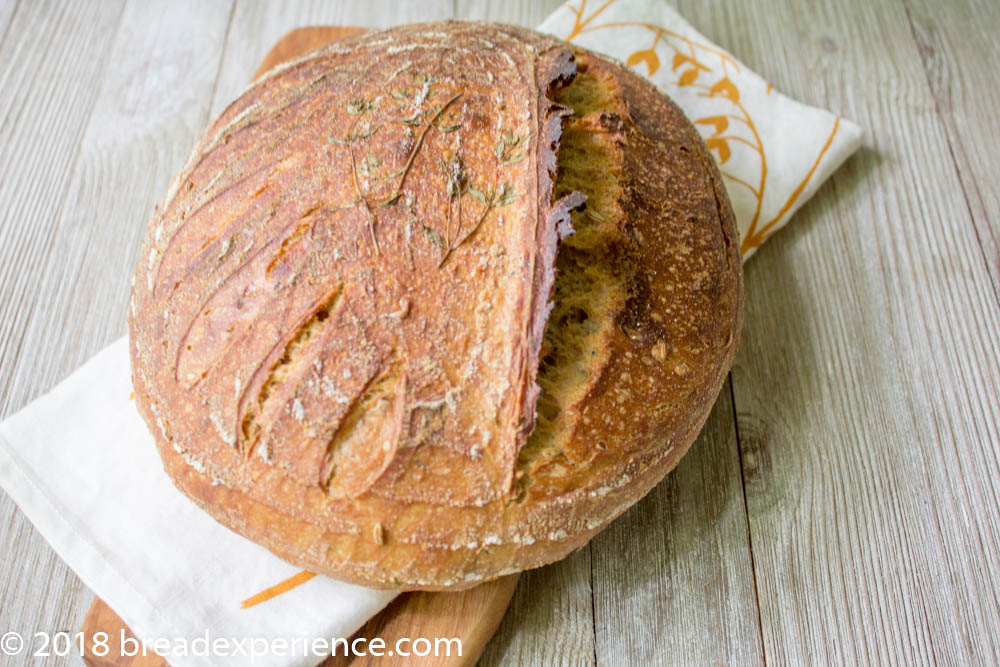
This Citrus Pain au Levain with Thyme and Fennel Seeds is a naturally leavened bread and just happens to be one of my favorite artisan breads.
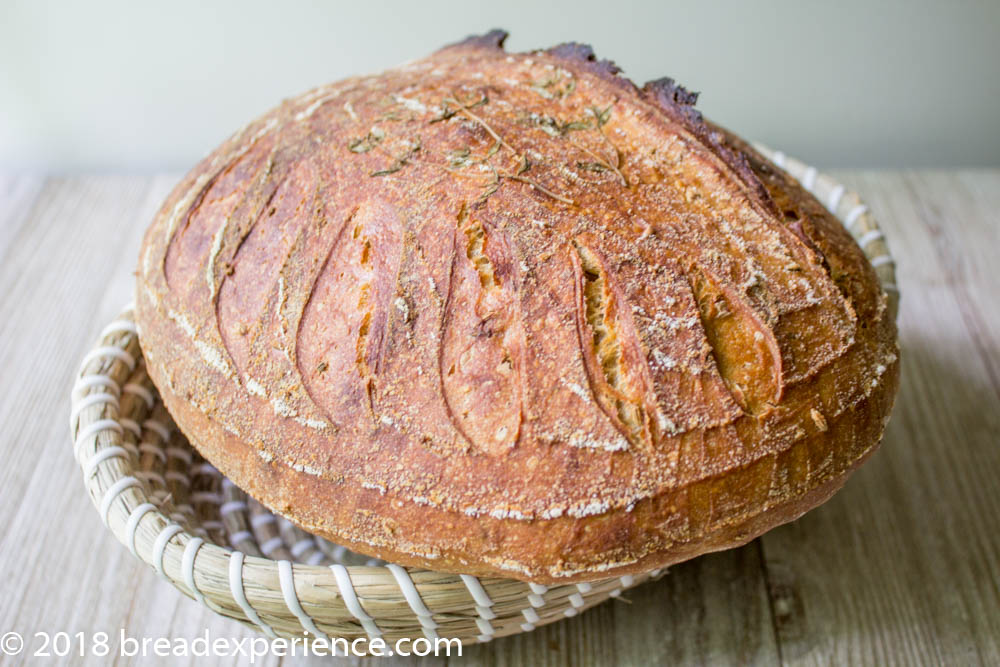
I’m the host kitchen for the Bread Baking Babes for June and Pain au Levain is my bread of choice. I love it for the flavor but also because it is such a versatile bread.
If there is any bread I could make over and over again, it’s Pain au Levain.
I have made it over and over, and each time, it’s been slightly different.
Here are a few of the versions I’ve made:
https://www.breadexperience.com/einkorn-spelt-pain-au-levain-with/
https://www.breadexperience.com/kamut-pain-au-levain-75-hydrated/
https://www.breadexperience.com/rosemary-spelt-semolina-pain-au-levain/
We made Pain au Levain during the Charlotte Bread Symposium:
I had this bread on my radar, but I wasn’t sure which formula I wanted to use. So, when I attended the Charlotte Bread Symposium a few weeks ago and found out it was one of the breads we were making in the master class, I figured that was confirmation that this was the one.
We made two different versions during the Charlotte Master Class. One utilized a mix of flours – bread flour, rye flour, and poly crop flour. The other one included nuts and raisins, a little bit of sugar, bread flour, and a portion of polycrop flour. The poly crop flour was awesome! However, poly crop flour isn’t on the market (yet) so, it’s baker’s choice as to the type of flour you use.
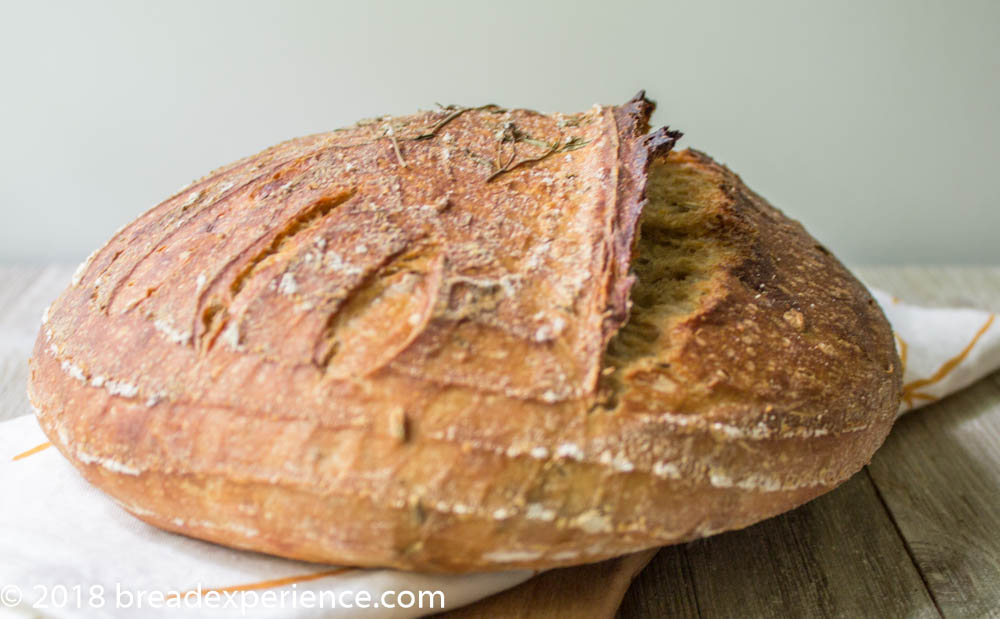
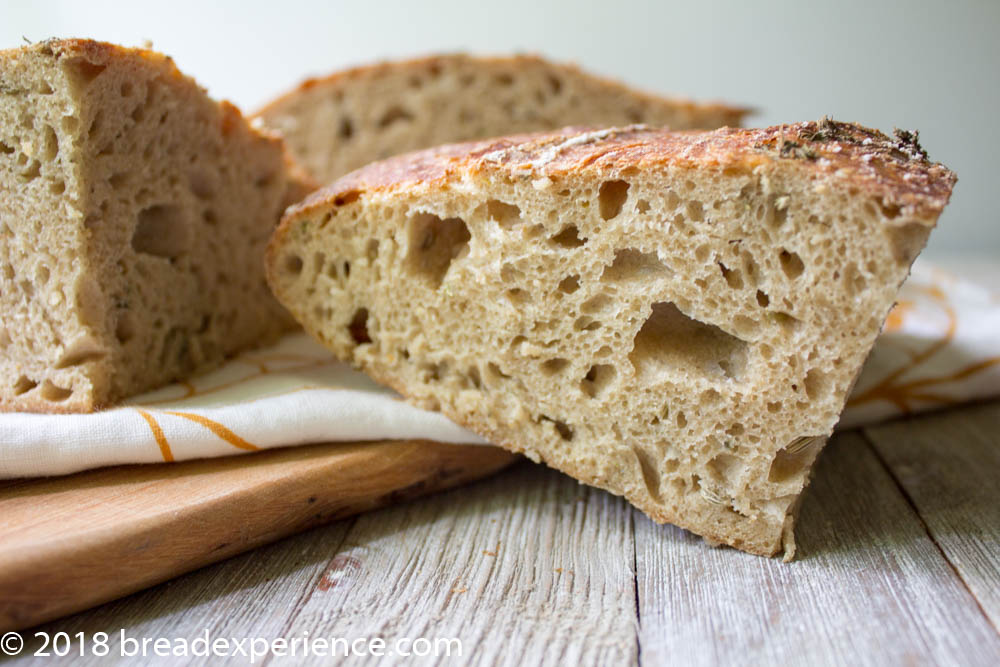
Pain au Levain is not necessarily a sandwich bread, but it is a lovely bread to take on a picnic. I’ve used it as a base for egg salad, and although it was a bit messy keeping the egg salad from dripping out of the holes in the crumb, boy was it good! I’ve also used it for grilled cheese sandwiches and as a dipping bread, as well as for bruschetta. It also pairs well with wine and cheese.
I served this bread with BBQ chicken for a grill out on Memorial Day Weekend.
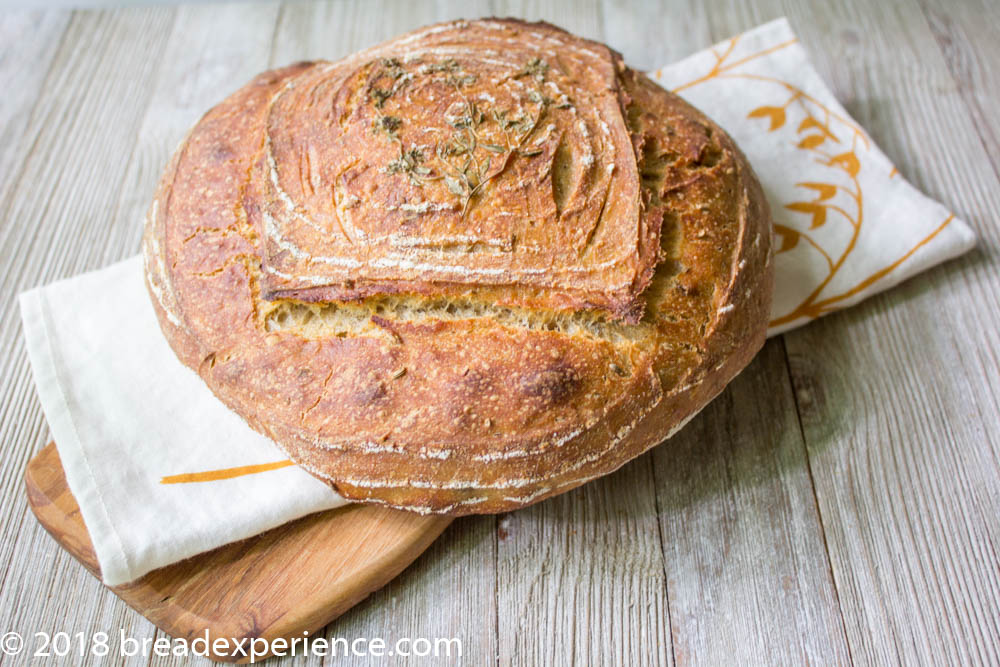
I typically opt for the citrus/herb combination of orange and rosemary, however, to mix things up, this time I used lemon zest, thyme, and fennel seeds.
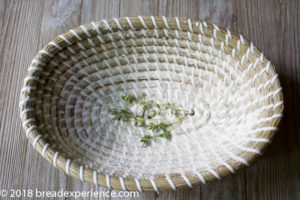
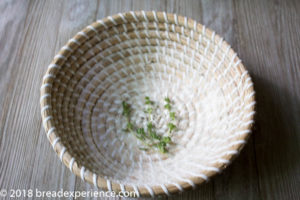
I decided to spruce things up a bit by adding some sprigs of thyme to the bottom of proofing baskets before placing the loaves in them to proof. The herbs added a nice touch to the top of the loaves.
Adding the sprigs on top determined the type of scores I used. I didn’t want to score through the herbs so I scored around them.
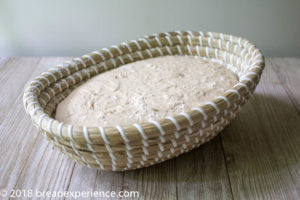
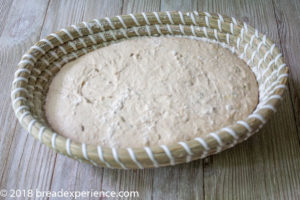
I made one round loaf and one oval loaf to test out my new proofing baskets. I didn’t use liners because I wanted the decorative rings on the loaves. Luckily the dough came out fairly easily by using a dough scraper to gently release the dough from the basket. The heavy dusting of flour helped as well.
I’m so glad I switched things up and used the lemon, thyme, and fennel. The texture and flavor of these loaves were exceptional! The extra hydration (about 100 grams more water) gave it some nice holes while keeping it moist, even with the added whole grain emmer flour. And, the best part! It got rave reviews from my oldest son and his girlfriend.
Let’s bake some Pain au Levain:
- Use at least 30% of some type of whole wheat flour
- The remainder of the flour can be all-purpose. We used bread flour in the class but the instructor said it was Sir Galahad, from KAF, which is actually an all-purpose-type flour.
- Include some citrus flavoring of your choice – orange, lemon, lime, other
- Include some seeds or herbs or both
- You may pick any combination you like
Citrus Pain au Levain with Thyme & Fennel Seeds
Makes 1 Very Large Loaf or 2 Medium Loaves
Timing: It takes 2-3 days, depending on how long you let it cold ferment, but it can work in your schedule. Just plan it around your other activities.
Adapted from From the Wood-Fired Oven by Richard Miscovich
Levain: *
227 grams | 1 1/2 cups + 1/2 cup all-purpose flour
227 grams | scant 1 cup + 2 Tbsp water
45 grams | 3 Tbsp liquid sourdough starter
499 total grams **
* If you don’t have or don’t want to use a sourdough starter, you can make an overnight poolish. In that case, you will need to add a bit of yeast (about 2%) to the final dough.
** The total weight of the levain is 499. You are supposed to remove 45 grams of sourdough to keep as your starter for future use which would leave 454 grams of levain. If you choose to use all of the levain, just adjust the final dough accordingly.
Final Dough:
400 grams all-purpose flour (I used a white/whole wheat AP blend)
290 grams whole wheat flour (baker’s choice) (I used Emmer)
375 – 500 grams water + 25 – 50 grams (to mix with salt) ***
14 grams fine sea salt (I reduced the salt from 17 to 14 grams)
1-2 Tbsp Citrus zest, or as desired (I used the zest of one medium lemon)
20 grams chopped herbs, or to taste (I used 2 tablespoons fresh thyme from my garden)
and/or
150 grams seeds, or to taste (I used 1 1/2 tablespoons fennel seeds)
*** Adjust the hydration according to the type/blend of flour used. The addition of whole wheat flour makes the dough thirsty and the coarser the blend, the more water it soaks up.
Day 1: Evening – Mix the Levain or Poolish
Mix the water and starter in a large bowl. Add in the flour and mix until completely hydrated. Cover with plastic wrap and let rest at room temperature for 8 – 10 hours.
Day 2: Mix the Final Dough/Shape Loaves:
Pour the water over the levain and mix thoroughly with a wooden spoon or whisk to disperse.
Whisk the flours together and add on top of the water/levain mixture. Hold the salt until after the autolyse.
Mix thoroughly using a Danish dough whisk or wooden spoon to begin developing the gluten.
Add the citrus zest, seeds, and/or herbs. Mix thoroughly using your hands. Cover and let rest (autolyse) for 20 – 30 minutes.
Sprinkle the salt over the top and dissolve it with the 25 grams of water. Use your fingers to pinch the dough to incorporate the salt evenly throughout.
Cover and let the dough bulk ferment for 120 minutes. Stretch twice, every 40 minutes.
Divide the dough, pre-shape, and then it rest (covered) for 20 minutes before final shaping to allow the dough structure to relax.
Heavily dust lined or unlined bannetons with rice flour and place a sprig or two of thyme or rosemary at the bottom of the basket.
Shape the dough into an oval or round shape and place the dough seam-side up in the baskets. If you don’t have a proofing basket, place the loaf seam-side down on a parchment-lined baking sheet to proof.
Proof for about 30 minutes at room temperature. Cover the loaves and place in the refrigerator to cold ferment overnight, 8 – 10 hours.
Day 3: Bake the Loaves
Place a baking stone or steel on the bottom shelf of the oven and preheat to 450 degrees F. for at least 45 minutes. If you plan to use steam, place a steam pan on the top shelf.
Instead of baking them on a baking stone with a steam pan, you could bake these loaves in a preheat bread cloche, Dutch oven or Dutch oven combo baker. I baked them in a preheated ceramic bread cloche which worked well for both the oval and round loaves.
When the oven is sufficiently preheated, remove the loaves from the refrigerator. Carefully invert the loaves from the banneton proofing baskets (if used) onto parchment paper or a heavily dusted peel. I’ve found that using a lined basket aids with this process. You just carefully peel it off after flipping it over onto the parchment.
Score the loaves in the pattern of your choice. Slide them onto the preheated baking stone or steel (if using) and bake for 35 – 45 minutes. A larger loaf will take longer.
Remove the loaves to a wire rack to cool completely before slicing and serving.
I am the host kitchen this month and would love for you to bake along with us!
- Just bake your version of this bread and post about it on your blog (by June 30th).
- If you don’t have a blog, no worries, just post a photo in the Bread Baking Babes FB Group
- Mention Bread Baking Babes with a link to the Kitchen of the Month, that’s me – Cathy of Bread Experience.
- Then send an email to breadexperience (at) gmail (dotcom) with BBB June Pain au Levain, and I will send you your Buddy badge to display on your blog.
- I’ll also do a roundup with a list of all the Bread Baking Buddies and showcase your breads.

For inspiration, take a look at the breads the Babes made:
- blog from OUR kitchen – Elizabeth
- A Messy Kitchen – Kelly
- Judy’s Gross Eats – Judy
- Karen’s Kitchen Stories – Karen
- Bread Experience – Cathy
- Feeding My Enthusiasms – Elle
- Thyme for Cooking – Katie
- My Kitchen in Half Cups – Tanna
Happy Baking!
Cathy
Karen says
Your bread is gorgeous. I’m going to have to try using emmer one of these days! Thanks so much for the creative challenge!
Cathy says
Thanks Karen! You really should try emmer. I love the color it provides to loaves. So glad you enjoyed the challenge.
Tanna says
Cathy I hardly know where to start. This was truly a marvelous bread. Your loaf is stunning: color, height, score, and the herb touch! Using all the whole grain I did, I’m never going to get the height you did but I baked it twice and Gorn is still asking for more! Thanks much for this one.
Cathy says
Tanna, I am so thrilled that you and Gorn enjoyed this loaf and that he is asking for more. I can understand that! Just something about this bread.
Tanna says
And those baskets! Wow where did you get those?
Elizabeth says
Yes!! Those baskets are gorgeous. (Great, yet more things to envy; I’m not doing well at all with this deadly sin….)
Cathy says
Yes, I fell in love with these baskets as well.
Elizabeth says
This was really fun and I can see why you can’t stop making this recipe!
Cathy says
Elizabeth! I’m so glad you enjoyed this one. It is a fun one!
Kelly says
Great pick, beautiful loaf, awesome baskets, love the thyme and fennel. One big post of happiness!
Cathy says
Ha ha! Thanks Kelly!
Katie Zeller says
Your bread is beautiful, I covet your baskets and I wish I could have beamed over some of the lemon thyme from my garden for you. Great choice!
Cathy says
Thanks Katie! Yes, lemon thyme would have been wonderful! Sounds like something I need to plant next year.