I attended a Progressive Dinner Friday night with my Dinner for 8 Group, which is now a Dinner for 10 Group, but who’s counting.
We began the evening with appetizers, then moved on to the second house for a salad with spinach, dried cranberries and nuts and a beautiful and tasty cranberry congealed-type salad. At the third house, we enjoyed chicken and broccoli casserole and bread. Then we visited the last house for several different kinds of dessert. All of the houses were festively decorated for Christmas and looked so lovely. One of the ladies in the group described it as a tour of homes with food. Yum! The food was delicious and we had so much fun!
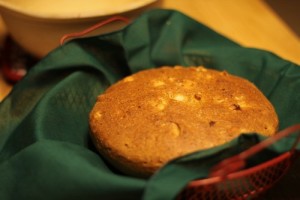
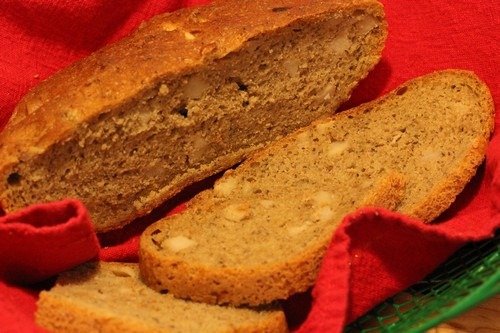
I’m the Breadie in the group so even though I wasn’t one of the hostesses for the dinner, I offered to bring bread. The ladies didn’t refuse my offer so I brought this Roasted Garlic and Potato Einkorn Bread.
I had been extolling the virtues of Einkorn so I wanted everyone to try it. I decided to experiment with a no knead bread using the Healthy Bread in Five Minutes method. I made the Roasted Garlic & Potato Bread using a mixture of 80% extraction Einkorn and whole grain Einkorn flour. I didn’t use any vital wheat gluten (like most of the Healthy Bread in Five Minutes’ breads call for) because I felt like that would sort of defeat the purpose of using Einkorn. The bread did fine without it.
I transported the warm bread straight from the oven and let it cool on the way. Several of us rode together and the bread came along with us to the first two houses. The aroma of the bread tantalized us along the way. We finally got to eat it at the third house. It was received well.
No Knead Einkorn Bread in a Pot
Makes:
One 2-pound loaf
Adapted from: Healthy Bread in Five Minutes by Jeff Hertzberg, M.D., and Zoe Francois
Ingredients:
- 1 head of garlic, roasted
- 1 3/4 – 2 cups 80% extraction Einkorn flour (from Jovial Foods)
- 1 3/4 cups whole grain Einkorn flour (home-milled from Einkorn grains)
- 1/8 cup ground flax seed
- 5/8 teaspoon herbes de Provence
- 1/2 tablespoon + 1 teaspoon instant yeast
- 1/2 tablespoon kosher salt
- 1 medium raw potato cut into 1/4-inch cubes (I used a red potato that I washed and peeled because it had spots, but you don’t have to peel it if it looks good; just wash it real well)
- 1 cup lukewarm water
Directions:
Step 1:Roast the garlic
Wrap the head of garlic in aluminum foil and bake at 400 degrees F. for 45 minutes. Allow it to cool slightly, then cut off the top of the head. Squeeze out the roasted garlic and set it aside until ready to use.
Step 2: Mix the Dough
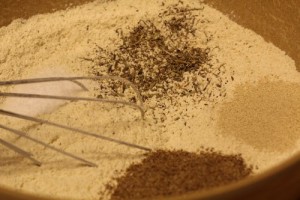
Mix the flours, flaxseed, herbes de Provence, yeast, and salt in a large bowl or a lidded container.
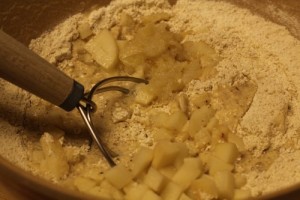
Add the potatoes, water, and roasted garlic to the dry ingredients, then mix without kneading. I used a Danish dough whisk for this part, but you can use a wooden spoon.
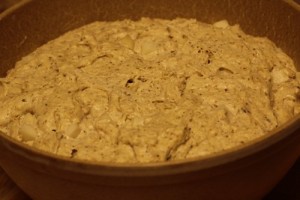
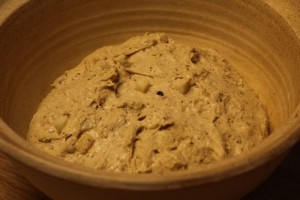
Cover the dough and allow it to rest on the counter at room temperature for 2 hours. The dough should rise and collapse during this time.
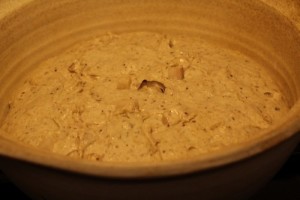
You can use the dough immediately after the two hour rise, but it will perform better if you place it in the refrigerator to ferment overnight. Just cover the dough with plastic or a lid that is not tight. I let my dough ferment for about 36 hours before baking the bread. You can leave this dough in the refrigerator for up to 10 days before it goes bad.
Step 3: Shape and Proof the Loaf
On the day you plan to bake this bread, take the dough out of the refrigerator and shape it into a ball, then elongate it into an oval loaf if you plan to bake it freeform on a baking stone. Or, if you want to bake the loaf in a pot, form it into a rough ball and place it seam side up in the pot.
Cover the loaf or pot with plastic wrap and let the dough rest on the counter for about 1 1/2 hours until it comes to room temperature.
Step 4: Bake the Loaf
About 30 minutes before you’re ready to bake, preheat the oven to 400 degrees F. If you are using a baking stone, preheat it on the middle rack with a steam pan underneath. If you’re using a bread pot, just preheat the oven and place the bread pot in it once it’s ready.
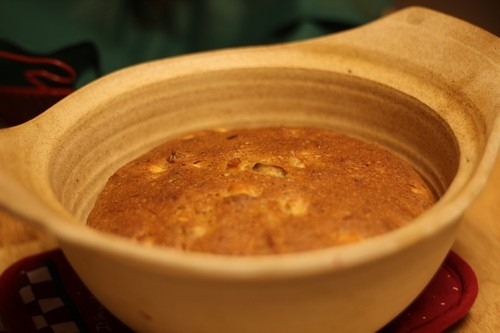
Bake the loaf in the pot with the lid on for 30 minutes, then take the lid off and bake another 15 minutes to ensure it is completely baked through. I used a wooden skewer to test for doneness.
Step 5: Cool and Slice the Loaf
Allow the loaf to cool on a wire rack before slicing and eating. As I mentioned, I let the bread cool in the car while we were driving from house to house. This actually worked out really well. It was still a little warm when we got to the third house so we didn’t have to spend time heating it up.
This bread is good. It has an interesting flavor due to the roasted garlic. This might not have been the best time for me to experiment with a bread I hadn’t made yet, but the ladies humored me by being my test tasters. Everyone seemed to like it. They are looking forward to my next bread.
Happy Baking!
Cathy

Leave a Reply