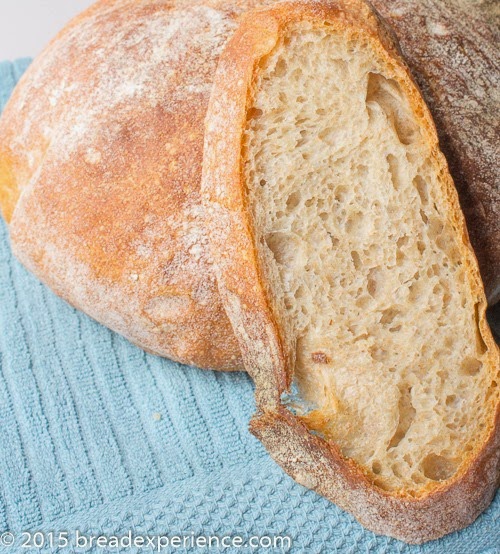
This Dutch Oven Emmer Bread with Poolish is made with twenty-five percent emmer flour, an overnight poolish, and baked in an Emile Henry Ceramic Dutch Oven.
I experimented with the ancient grain emmer a few years ago, but haven’t worked with it lately because I was having fun using other ancient grains.
Recently, I decided it was time to come back to emmer so I ordered some whole grains, and I’ve been itching to bake with them. The opportunity presented itself last weekend when my new Emile Henry Ceramic Dutch Oven arrived.
The folks at Emile Henry contacted me several weeks ago to see if I would like to test and blog about some of their products. Are you kidding? Of course, I would! I’ve been using their ceramic bread cloche for about a year, and I really enjoy using it. It makes a delightful crust and crumb.
I was delighted to have the opportunity to use some more of their products. Once their new colors were released for Spring, they sent me a beautiful 4.2-quart Dutch Oven and a ceramic baguette baker to test and share my experiences. This post is about the first bread I made in the Dutch Oven. I’ll write about my experiences with the baguette baker in a future post.
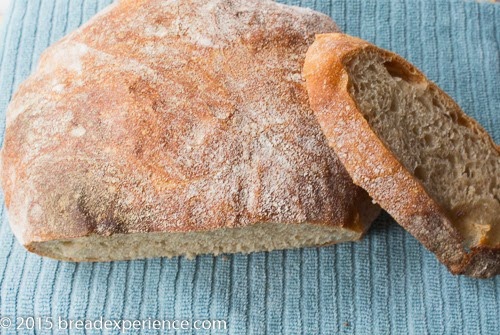
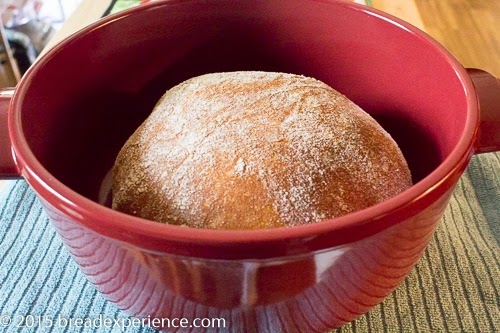
I started with 500 grams of flour because Ken Forkish (in his book Flour, Water, Salt & Yeast) indicated that this amount worked well in 4-quart Dutch ovens. I used 25% whole grain emmer flour and 75% bread flour. My cute little loaf seemed to get lost in the pot, but the crust, crumb, and flavor were delightful.
As you’ll notice, I didn’t score this loaf. I did that on purpose to see if it would open up during baking. Well, it didn’t open up because the dough was a bit too small for the Dutch Oven. Even so, I was very pleased with the results.
Dutch Oven Emmer Bread with Poolish
This Dutch Oven Emmer Bread with Poolish was inspired/adapted from the white bread with poolish in Flour, Water, Salt, and Yeast by Ken Forkish
Makes: 1 Loaf
Overnight Poolish:
- 250 grams (50%) white bread flour
- 250 grams (50%) water, 80 degrees F.
- scant 1/8 teaspoon instant yeast
Mix the poolish ingredients in a large container or bowl. Cover and let the mixture rest overnight for 12 –14 hours at room temperature. When the poolish is fully ripe, it will be bubbly and ready to be used in the final dough.
I started the poolish at 7 pm on Friday and mixed the final dough at 9 am on Saturday. The bread was ready by early afternoon.
Final Dough:
- 125 grams (25%) whole grain Emmer (I used home-milled flour)
- 125 grams (25%) white bread flour
- 190 grams (76%) water
- 8 grams sea salt
- 1/2 teaspoon instant yeast
Mixing the Final Dough
The next day, mix the flours and yeast in a separate large bowl. Pour the water over the poolish and loosen it from the sides of the container or bowl using a spatula or bowl scraper.
Pour the water/poolish mixture over the flour mixture and using wet hands, mix the dough until there are no dry bits of flour. Mixing the dough using the fold-and-turn method in the bowl makes things easy and keeps the work surface cleaner.
Cover the bowl and let the dough rest for 10 to 15 minutes. Sprinkle the salt over the top of the dough and work it in thoroughly using your fingers.
Bulk Ferment: 2 – 3 hours
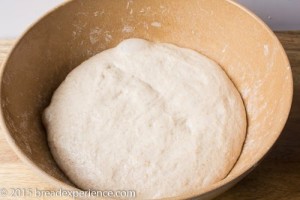
Scrape down the bowl using a plastic dough scraper or a spatula, then cover the bowl with a kitchen towel or plastic wrap and allow the dough to bulk ferment for 2 to 3 hours. During the bulk fermentation, perform 3 folds every 20 minutes for the first hour, then let the dough rest for the final 2 hours. The dough should be about 2 1/2 times its original size when it’s ready to be mixed.
Final Proof in Banneton Basket – 1 hour
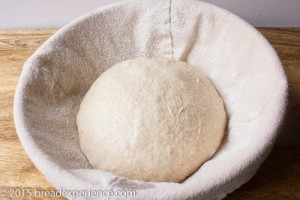
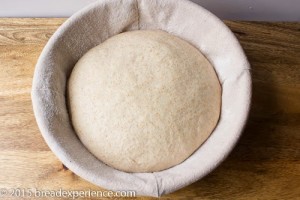
Dust the work surface and your hands. Transfer the dough to the floured work surface and shape the dough into a rough boule. Let it rest for 15 to 20 minutes. Then shape it into a medium-tight ball and place it seam side down in a floured banneton basket.
Lightly flour the top of the loaf and cover it with a kitchen towel or plastic wrap. Let the loaf proof for an hour in the proofing basket. To determine when the loaf is fully proofed, do the finger-dent test. If the indention stays, it is ready.
Preheat the oven and Dutch oven – at least 45 minutes
At least 45 minutes before baking, preheat the oven to 475 degrees F. with a Dutch oven (with the lid on) on the bottom rack.
Bake the Loaf
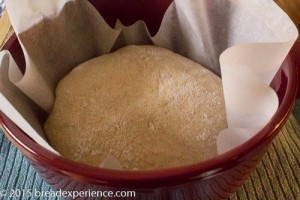
Note: Transferring the risen dough from the proofing basket to the preheated and very hot Dutch oven can be tricky so I utilized what’s called a ‘parchment sling’ to reduce my chances of getting burned.
You can also sprinkle cornmeal on the bottom of the baker or cut a circle of parchment paper to fit the bottom, but it’s quite easy using the parchment sling.
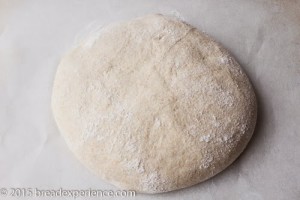
Right before you are ready to bake the bread, gently ease the loaf out of the proofing basket onto a piece of parchment paper. I use the long precut sheets of parchment paper so I have plenty of room to grab the ends.
Using a heavy-duty oven mitt, remove the Dutch oven onto a towel or pad. Carefully lift the parchment paper (with the loaf on it) and place it in the bottom of the Dutch oven. Place the Dutch oven in the preheated oven (using heavy mitts) and then place the lid on top.
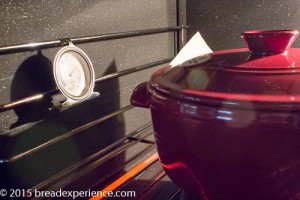
Let the loaf bake covered for about 30 minutes at 475 degrees F. Then uncover it, turn the oven temperature down to 450 degrees F., and let it bake an additional 20 to 30 minutes or less if your oven runs hot like mine. As you’ll notice, I keep an oven thermometer in the oven to measure the temperature (see photo below).
 |
 |
 |
 |
 |
 |
Remove the Dutch oven to a heavy towel or pad and carefully tilt the bread out. Let the loaf cool on a wire rack for at least 30 minutes before slicing.
Enjoy!
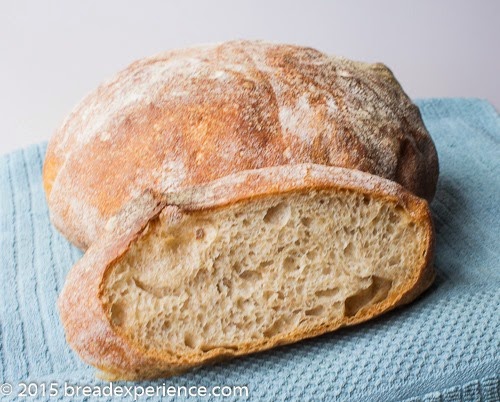
My first loaf in the Emile Henry Ceramic Dutch Oven worked beautifully even if the loaf was a little small. For my next experiment, I’m going to make a bigger loaf and see how it does.
Happy Baking!
Cathy
Disclaimer: I received a free Emile Henry Ceramic Dutch Oven to test. Thank you Karla with Emile Henry.
Leave a Reply