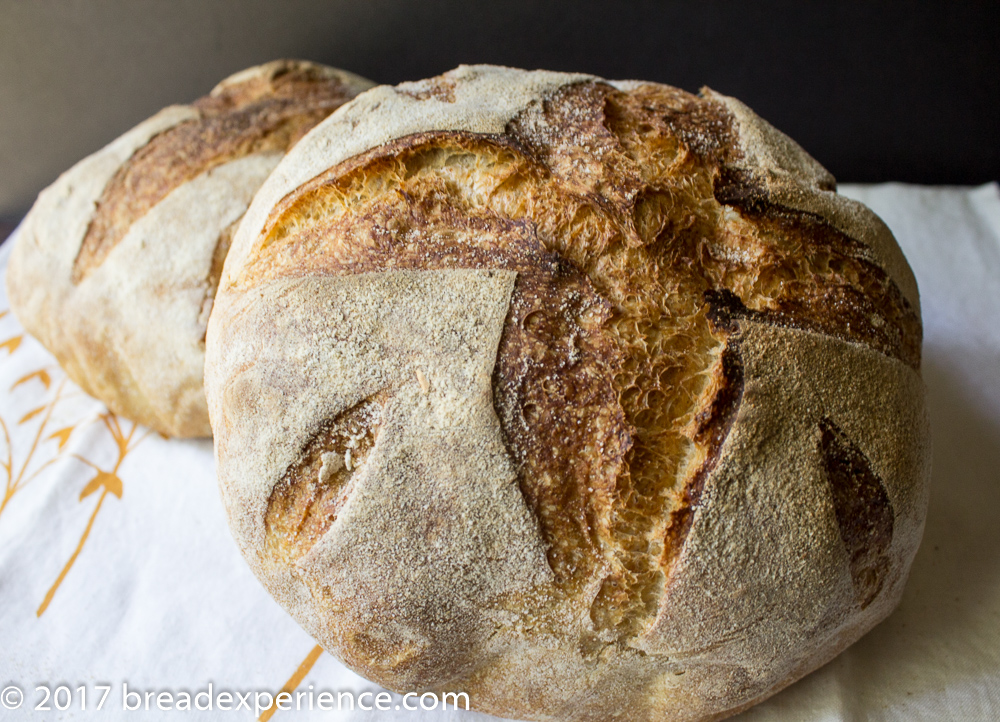
This easy Dutch Oven Pain de Campagne integrates two of my favorite bread-baking techniques – the BBA method, as outlined in the Bread Baker’s Apprentice by Peter Reinhart, and the Forkish process, as presented in Flour, Water, Salt, Yeast by Ken Forkish.
The resulting loaf is baked in a ceramic Dutch Oven to produce a delightfully crispy crust and an airy, but not too open, crumb.
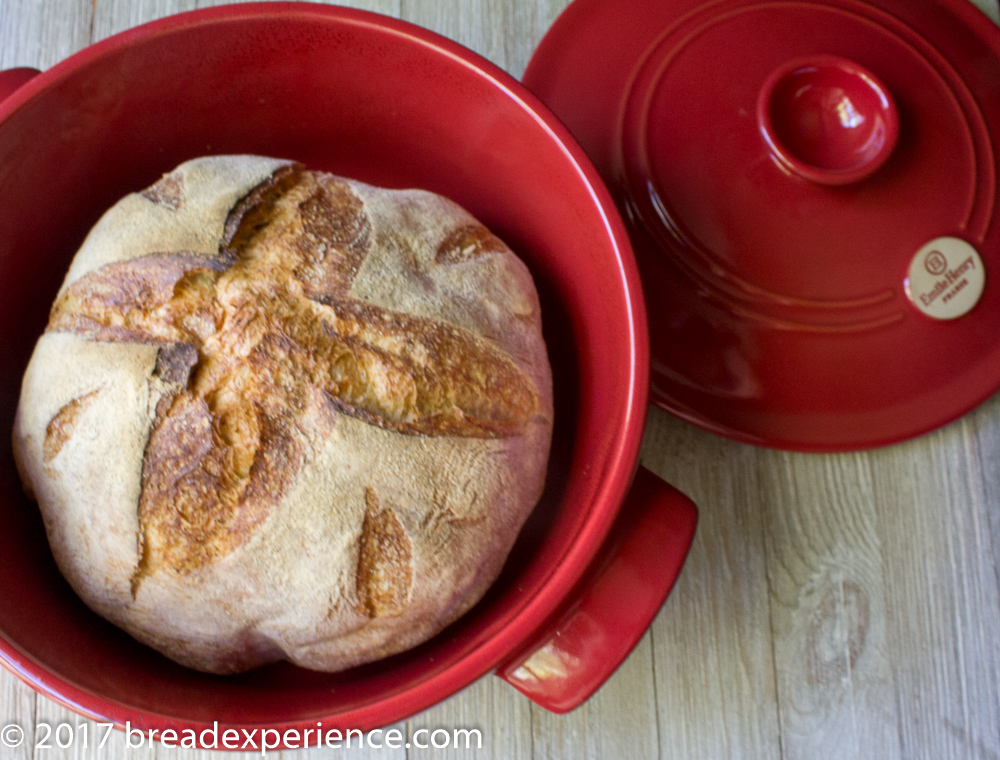
How this Pain de Campagne came to be
I enjoy baking bread for the sheer pleasure of creating something; however, I find it more enjoyable when I’m able to share my bread creations with others.
A couple of months ago, a friend of mine hosted some exchange students at her house for several weeks. The students are bread eaters who typically eat bread at every meal. My friend knows I’m an avid bread baker so she asked if I had any extra bread in the freezer.
Do I have any bread in the freezer? Of course I do but that didn’t seem appropriate for this occasion. I decided a gift of fresh bread was in order. The students were fans of French bread so I thought Pain de Campagne would be a nice treat.
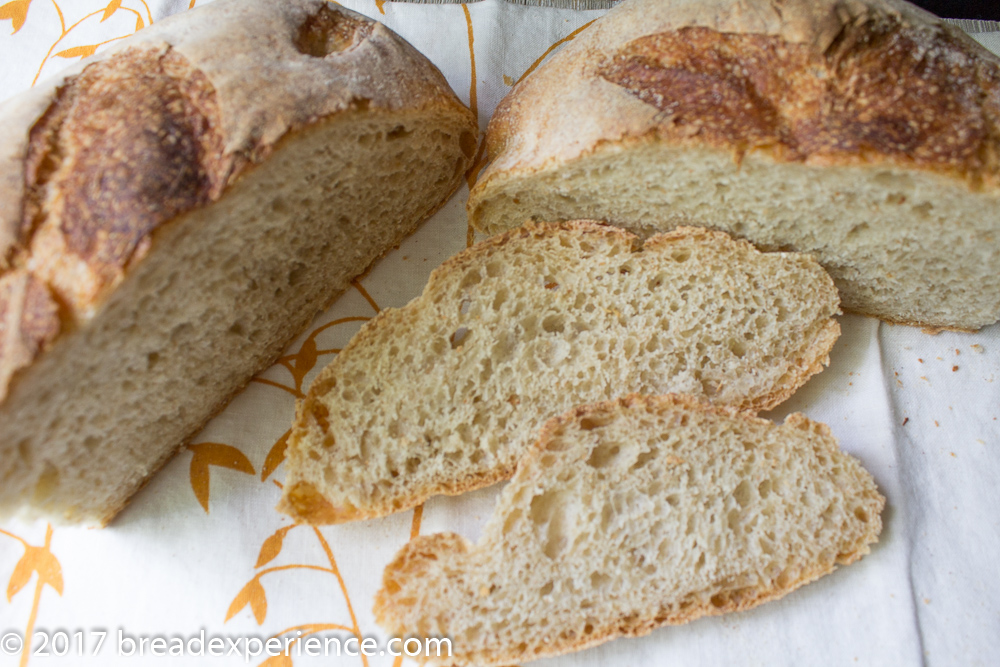
This loaf utilizes a Pâte fermentée (overnight preferment) to produce a more flavorful loaf. The preferment can be made exclusively with all-purpose or bread flour or a 50/50 mixture of all-purpose and bread flour; however, I chose to add a bit of einkorn flour in the preferment and the final dough for added texture, color, and flavor.
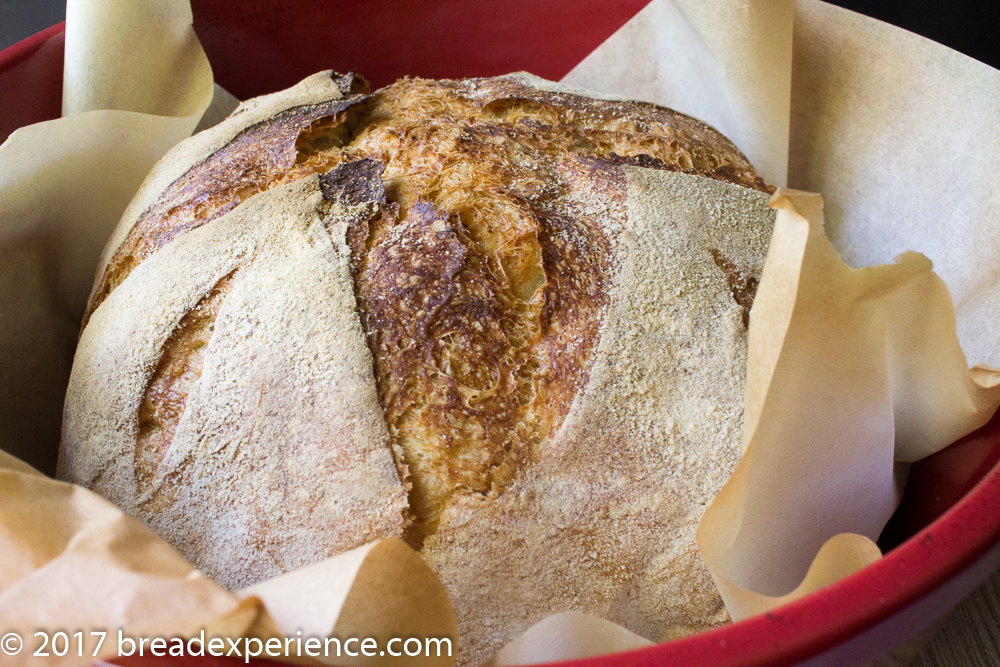
Using a parchment sling made the baking process fuss-free
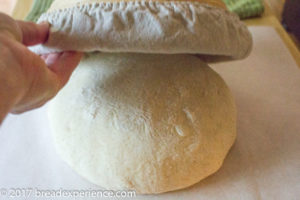
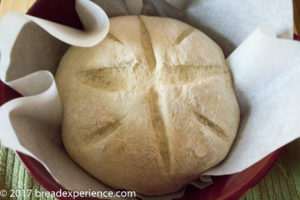
I used a parchment sling to lower the loaf into the preheated Dutch Oven. The loaf was nestled in the parchment sling the entire bake cycle.
This made things very easy! It prevented the dough from sticking to the baker and me from burning myself while trying to invert a banneton into the preheated Dutch Oven or when removing the baked loaf.
Equipment used to make this bread:
- Wondermixer Deluxe Kitchen Mixer
- Emile Henry Ceramic Dutch Oven Pot
- Lined Banneton Baskets
- Longuet Bread Scoring Lame
- Mixing Bowls
- Bench Knife
- Danish Dough Whisk
Easy Dutch Oven Pain de Campagne
- Yield: 2 Loaves 1x
Description
This easy Dutch Oven Pain de Campagne integrates two of my favorite bread-baking techniques – the BBA method, as outlined in the Bread Baker’s Apprentice by Peter Reinhart, and the Forkish process, as presented in Flour, Water, Salt, Yeast by Ken Forkish.
Ingredients
Pâte fermentée:
- 400 grams all-purpose flour
- 100 grams whole wheat flour (I used freshly milled einkorn flour)
- 325 – 375 grams water
- 1 teaspoon fine sea salt
- 1/4 teaspoon instant yeast
Final Dough:
- 280 grams all-purpose or bread flour
- 32 grams whole grain flour (I used freshly milled einkorn)
- 170 grams water
- 3/4 teaspoon fine sea salt
- 1 teaspoon instant yeast
Instructions
First Day: Make the Pâte fermentée:
- In a medium bowl, whisk together the flours, salt and yeast. Pour in the water gradually and incorporate using a large wooden spoon or Danish dough whisk until everything comes together to form a smooth ball. Adjust the water or flour as necessary to make a dough that isn’t too sticky or stiff.
- Transfer the dough ball to a work surface dusted with flour. Knead the dough until it is soft and pliable and tacky but not sticky, about 4 to 6 minutes.
- Transfer the dough to a clean bowl and cover with plastic wrap or a kitchen towel. Ferment at room temperature for 1 hour. The dough should swell to about 1 ½ times its original size.
- Remove the dough from the bowl and degas it by kneading it gently. Return the dough to the bowl and cover tightly with plastic wrap. Place in the refrigerator overnight or up to 3 days. Or freeze in an airtight freezer bag for up to 3 months.
Next Morning/Afternoon: Make the Final Dough/Bake Bread:
- The next day, remove the Pâte fermentée from the refrigerator. Cut it into 10 – 12 small pieces using a bench knife or serrated knife. Place the pieces in the bowl of a stand mixer and allow them to warm up for about 1 hour.
- In a separate bowl, whisk together the flours, salt and yeast.
- Add the water to the Pâte fermentée and mix on low speed to break up the pieces. Gradually add in the dry ingredients and continue mixing on low speed until everything comes together to form a coarse ball. Add extra water if necessary to form a soft and pliable dough.
- Mix on medium speed using the dough hook and adjust with flour if necessary to make a soft, pliable dough that is tacky but not sticky.
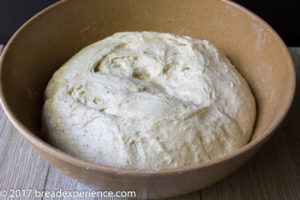
- Transfer the dough to a clean large bowl and cover with plastic wrap or a kitchen towel.
- Let the dough ferment at room temperature for 2 hours. Stretch and fold the dough after the 1st hour, then let it rest the final hour.
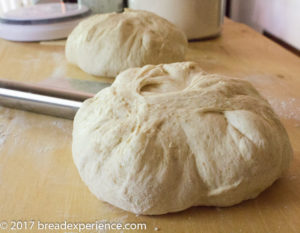
- Remove the dough to a work surface dusted with flour. Divide the dough into two pieces and shape roughly into rounds. Let them rest on the counter for 15 minutes.
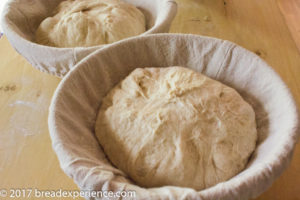
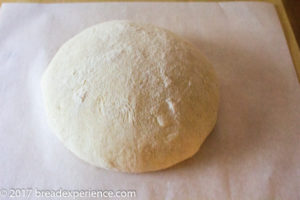
- Shape the pieces into tighter boules, and place in lined banneton proofing baskets, between the folds of a heavily floured baker’s couche, or on cornmeal-dusted parchment paper. Let them proof 1 hour or until 1 ½ times their original size.
- About 45 minutes before you plan to bake the loaves, place a Dutch Oven on the middle rack of the oven and preheat the baker to 450 degrees F.
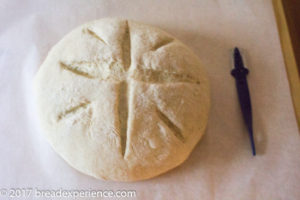
- Invert one of the boules onto parchment paper dusted with cornmeal. Score the loaf in the pattern of your choice.
- Remove the preheated Dutch Oven baker from the oven and place the lid and pot on a heavy towel. Carefully lift the scored loaf (on the parchment paper) and place it in the pot.
- Transfer the Dutch Oven baker to the oven and place the lid on it. Bake for 15 – 20 minutes with the lid on and another 20 – 25 minutes with the lid off. The loaf should be a rich golden brown all around and register 200 – 205 degrees F in the center of the loaf. It should sound hollow when thumped on the bottom.
- Remove the Dutch Oven to a heavy towel. Transfer the loaf to a wire rack to cool for at least 40 minutes before slicing or serving.
- Repeat the process with the other loaf allowing the oven and Dutch Oven baker to preheat to 450 degrees F. before baking.
Notes
This process worked really well, but I did find that the second loaf got a little over proofed while waiting for its turn to be baked. Placing the loaf (in the proofing basket) in the refrigerator while the other loaf is baking will slow down the process.
- Category: French Bread
Happy Baking!
Cathy
Leave a Reply