I needed some stale bread for a couple of dishes I’ll be making in a few days so this gave me an excuse to make more bread. Not that I need an excuse.
I chose this easy no-knead sourdough bread. It takes a couple of days to make from start-to-finish, but doesn’t require much hands on time. Most of the time is spent proofing the culture and the dough.
I got the idea from the book Classic Sourdoughs by Ed and Jean Wood. They have a very scientific, yet uncomplicated approach to making sourdough bread. Supposedly this method provides a reliable way of controlling the sourness and leavening of the sourdough. I liked the results of this bread even though I wasn’t able to proof at the recommended temperature.
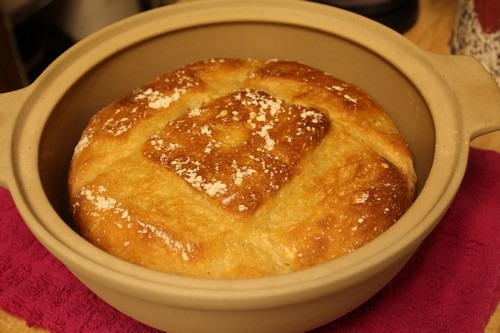
Basic No-Knead Sourdough Bread
Adapted from Classic Sourdoughs by Ed Wood and Jean Wood
Makes: 1 Loaf
Ingredients:
- 1 cup (240 mL) culture proof (see method below)
- 1 cup (240 mL) water
- 3 1/2 cups (490 g) unbleached all-purpose flour or bread flour (I used 50/50 mix of AP and bread flour)
- 1 1/2 tsp salt
Process:
Step 1: Activate the culture (sourdough starter)
:
I used my apple starter which hadn’t been fed in a couple of weeks so it needed to be activated. It was also really acidic (sour smelling) so I needed to reduce the culture’s acidity level as well. This process is supposed to help with both.
To activate the culture, take the jar of starter out of the refrigerator and fill it with warm water while you stir it vigorously. Leave a little more than 1 cup in the jar and discard the rest. Feed what’s left in the jar with 2/3 cup (90 g) of flour and enough water to restore the culture to the consistency of pancake batter. If you are using a 1-quart jar, the jar should be slightly more than half full.
It’s best to proof at 70 degrees to 75 degrees F. for about 2 to 4 hours. It will be ready for the next step, the culture proof, as soon as it forms foam and bubbles and the volume increases by about 2 inches. If your starter has been refrigerated (or dormant) for longer than 2 weeks, you may have to repeat this process. My starter had been in the refrigerator for about 3 weeks or so, but I only had to do this step once. It’s really hot here so I proofed it at about 80 degrees F. It didn’t take quite as long for it to foam and bubble.
Step 2: Create a Culture Proof
This step is similar to the liquid-levain build that Jeffrey Hamelman uses in his breads. You need to start with a fully active culture (step 1).
Stir the culture vigorously and put half of the mixture in another quart jar. In each jar, add 2/3 cup (90g) flour and enough water to maintain the pancake-batter consistency. If it is thick, you’ll need about 1/2 cup (120 mL). My culture was more liquid so it didn’t need as much water. Proof the culture for 8 to 12 hours.
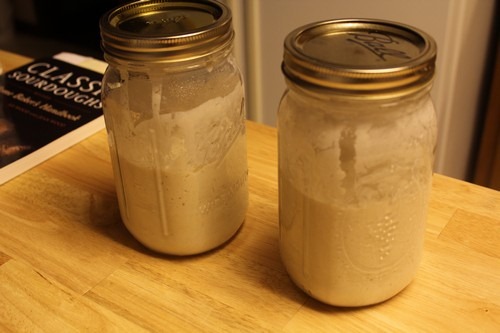
The book states that to get a good concentration of both yeast and bacteria to produce good flavor, leavening, and sourness, they like to proof their cultures for 2 to 3 hours at 65 degrees F, then another 6 to 10 hours at 80 degrees F. I didn’t have that option so I let mine proof for about 8 hours or so at 80 degrees F. They said the higher temperature will cause the culture to have good flavor and sourness, but could have moderate to poor leaving ability. I found that the culture was moderately acidic which added to the flavor of the bread, but the yeast wasn’t inhibited. I’ll have to experiment some more with this method to see if I get the same results each time with the higher proof temperature.
Step 3: Mix the Dough
Take the amount of culture needed (from the 1st jar), and place the remaining culture (from the 2nd jar) in the refrigerator to use another day. Combine the cup of culture and water in a large mixing bowl.
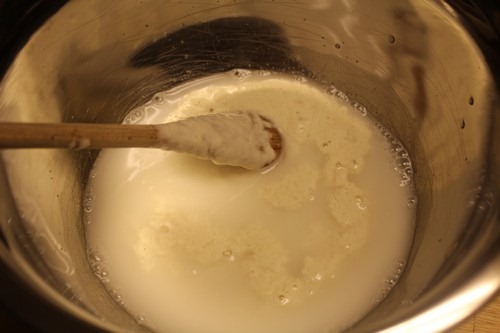
Mix together the flour and salt in a separate bowl, then add the dry ingredients to the liquid ingredients.
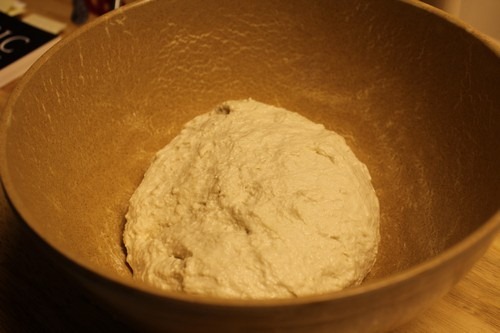
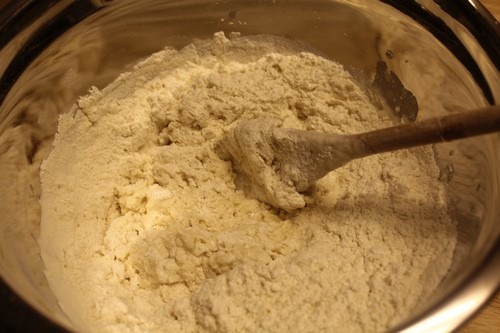
Mix just until you have a dry, firm, shaggy dough. Add up to 1/2 cup (120 mL) more water as needed. Cover the bowl with plastic wrap and proof for 8 to 12 hours at about 70 degrees F.
Step 4: Bulk Fermentation
After the 8- to 12-hour fermentation, use a plastic spatula to ease the sticky dough away from the sides of the bowl.
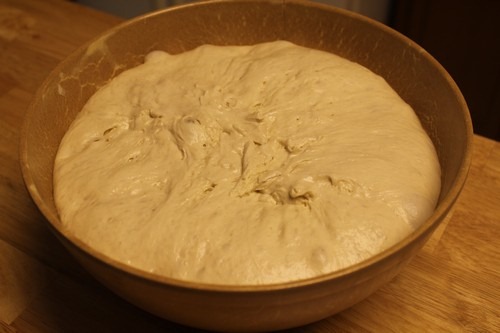
Turn it out onto a lightly floured surface. Sprinkle the surface of the dough with additional flour and let it rest for 15 to 30 minutes to relax the gluten.
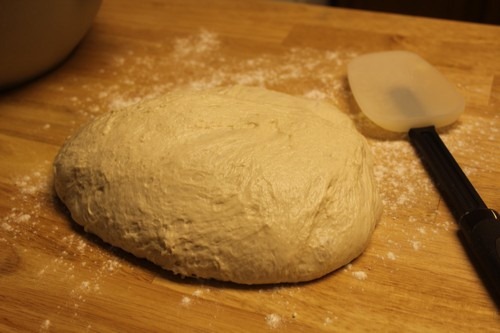
Step 5: Shape the Loaf
Gently form a loaf, without degassing the dough, and place it in a baking container. You can use a loaf pan or a covered casserole dish or baking pot. I used my Bread Dome.
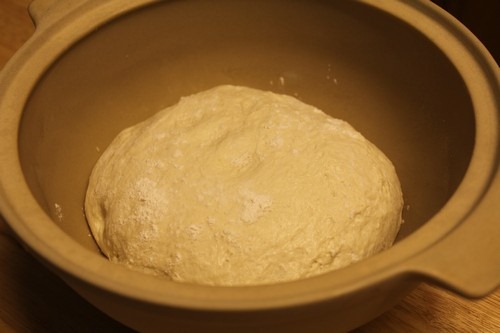
Step 6: Final Proof
Proof the dough at room temperature (70 degrees F) for 3 to 4 hours, or until doubled in bulk. Since I proofed my dough at 80 degrees F., it only took about 2 hours or so to double in size.
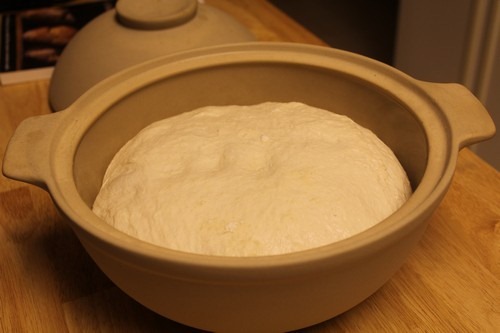
Step 7: Bake the Loaf
Place the pot (with the proofed loaf in it) in a cool oven, then turn the temperature to 375 degrees F (190 degrees C) and bake for 70 minutes. I removed the lid of the bread dome after about 55 minutes and let it finish baking with the lid off. It wasn’t browned after 70 minutes so I let it bake about 5 more minutes.
When the loaf is finished baking, remove it from the pan and let it cool on a wire rack for at least 15 to 20 minutes before slicing.
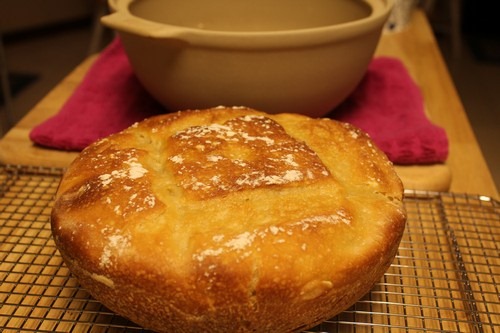
Step 8: Slice and Enjoy
I wasn’t as gentle with the dough as I should’ve been so the crumb doesn’t have a lot of holes. I’m okay with that because I actually need a tighter crumb for the recipe I’ll be using the bread in.
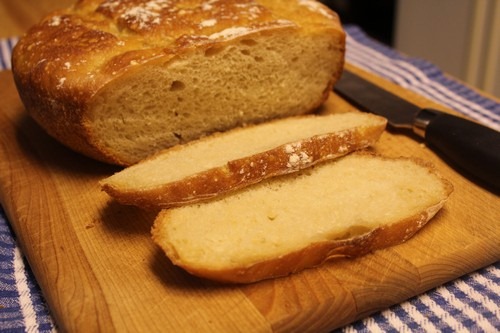
This bread tastes really good! It’s chewy with a hint of sourness, not too much, but enough to notice. It tastes great plain with butter or as a sandwich with peanut butter and strawberry jam. Yum!
Happy Baking!
Cathy
IdaBaker says
I might right about bread baking, but I’m so glad I have a lot to learn and experiment with, like starters.
I’ve never used one.
And from the looks of this, it might be a great one to begin.
Oh, and I love your oven pan. 🙂
Cathy (breadexperience) says
Hi IdaBaker!
Thanks for dropping by. There’s always more to learn about bread. I learn new things everyday. This is a good sourdough bread to begin with for sure. Try the apple starter. It’s fun and easy to get going.
Happy Baking!
Cathy
Anonymous says
Hi Cathy,
Great site! Lovely pictures, and yum-yum looking bread – wish we were neighbours!
Have always baked bread, but mainly yeast-based with a few attempts at sourdough, which, although giving me acceptable results, have not yet given me the satisfaction I remember from my growin up days in a remote village o the south of France…. aaaah the paradise of childhood memories… Your bread looks like the taste I remember and so I decided to give a try to make my own following your tutorial / recipe. The only thing I wonder is: in step 2, we divide the culture starter into two jars and proof, and in step 3, we are to ‘combine the culture and water’ – am I correct in assuming that would be just one of the jars?
I suspect that is the case, and you save the other for future use, but I am old enough now to know that one should always ask rather than steam ahead on the basis of assumptions… and I have baked enough bread to know for a fact that nowhere is it more important than in baking…
Thanks for the recipe and instructions – looking forward to trying it
Bern from London, UK
Cathy (breadexperience) says
Hi Bern,
Thanks for visiting my blog. I updated step 3 to clarify the process a little better. You only use 1 cup of culture in this bread so any remaining culture should be refrigerated for use another day. Hope that helps.
Happy Baking!
Cathy
Anonymous says
Hi Cathy,
I am looking to buy either the bread dome or the la cloche. I can see the physical differences of each from the pictures in your blog. When it comes to bread baking, what is the real difference between the two? They both are supposed to have similar steaming affect. Which do you find is more useful? Does the la cloche create more naturally shaped breads?
Thanks,
Cindy
Cathy (breadexperience) says
Hello Cindy, Thanks for your inquiry. I like them both. It just depends on the type of bread I want to bake as to which one I use. I mainly use the Bread Dome for baking round loaves that otherwise wouldn’t hold their shape. It works really well with no knead breads. It’s also works well for wet dough if you want to let it rise in the pot instead of proofing it in a proofing basket and then transferring it to the pot.
The La Cloche works really well for freeform artisan loaves. You can also use the bottom of the la cloche for baking deep dish pizza. The la cloche is currently on back order until March, but the Bread Dome is available. I offer both products in my baking store.
pat says
Finally got around to trying this because it looks so good. Just put it in the proofing pan but the dough is so sticky that I had a lot of trouble doing that without working the dough a lot. If I add more flour then I’ll have to work it even more. It didn’t seem too sticky when I put it in the bowl for fermentation. Any suggestions for what I should do if it happens again?
Cathy W. says
Hi Pat, the dough will degas a little when you remove it from the bowl and perform the final shaping. Just remove it carefully to a work surface sprinkled with flour. Try to keep the flour on the outside of the loaf so that it doesn’t get incorporated into the dough. That way, you won’t be working the flour into the dough, you’ll just be using the flour on the outside to keep it from sticking too your hands.
Pat says
Thanks Cathy. I had a lot of trouble with the dough because after I removed itfrom the bowl, which wasn’t difficult to do , it fell into a big blob on my work surface. No matter how fast I worked and how well floured everything was, that big blob just kept flopping around. I finally just threw it into the bowl, left it there to rise and then baked it in a cast iron dutch oven. I thought it would be a disaster BUT I was so surprised when I removed it from the oven and saw my beautiful loaf. I was very surprised at how wonderful it turned out. Any suggestions for preparing my cast iron so the bread won’t stick? I had to do a bit of work to get it out of the pot even though I greased and sprinkled cornmeal in it.
Cathy W. says
I’m glad your loaf turned out. Cast iron dutch ovens work wonders. I would say make sure your dutch oven is seasoned well. Then just dust it with flour before placing the loaf in it to bake. If it’s seasoned properly, you shouldn’t need to grease it.
Pat says
Hi Cathy,
Still having trouble baking bread in my cast iron dutch oven. The dutch oven is well seasoned and I usually preheat it before baking my bread. The problem is, after the loaf is baked it’s stuck to the dutch oven and cannot be removed. If I wait until the bread cools, then the bread comes out very easily but the crust becomes soggy from sitting in the pot so long. The top crust is very crunchy and I’m sure the bottom would be crusty if I can get it out of the pot right away. Any suggestions on what I can do to solve the problem?
Cathy W. says
Hi Pat, if sprinkling the bottom with flour or cornmeal isn’t working; you could line the bottom of the Dutch oven with parchment paper. I’ve had to do that a few times with one of my bakers. Just cut the parchment paper to fit the bottom of the baker and carefully place it in the pot right before you add the loaf. Then you should be able to easily remove the loaf once it’s baked. You might even want to remove the parchment paper towards the end of the bake cycle (if possible) to make sure the bottom of the loaf gets firmed up. Hope this helps.
Jen says
Great recipe, thanks for posting. I didn’t allow it to proof quite as long (warm oven did the trick) but the bread turned out very well.
For those of you having issues with sticking or moving to the pot after the second step: I poured the dough onto a large, square, floured piece of parchment paper. When the time came to move it to the pot, I just grabbed the corners of the paper and dropped the whole thing in. It barely disturbed the dough and allowed it to form a perfect round loaf.
No trouble removing it from the pot and it cooked perfectly, too.
Cathy says
Hi Jen, I’m glad the bread turned out well for you. Thanks for sharing your tips for using parchment paper to transfer the loaf. I just love parchment paper!
Rosette says
I don’t have any of the specialty pots you described. Is there any substitute? Is aluminum foil (well sealed) adequate to create the steam?
Cathy says
Hi Rosette, You can use a shallow stainless-steel pan filled with water to generate steam. Or, if you have an old iron skillet that you don’t mind giving up for bread, then that works great! I use a small iron skillet and preheat it with the oven, then I throw a few ice cubes in it after I place the loaf on the baking stone. You can use a baking sheet if you don’t have a stone.