These flaky and delicious mini Sourdough Crescent Rolls utilize a much easier lamination method than their cousin, the croissant.
They are very versatile and perform admirably when leavened with sourdough instead of dried yeast.

I have a love/hate relationship with croissants
Over the years, I’ve had my issues making croissants. In fact, on several occasions I had to remind myself to smile because I got so frustrated when rolling out the dough and working with the butter block.
Croissants are delicious, mind you, but I’ve often wondered if they are really worth the effort it takes to prepare them. Of course, once you bite into one, you forget all of the effort it took to create it. You just enjoy the morsel one flaky bite at a time.
That being said, when Kelly, of A Messy Kitchen, presented the Bread Baking Babes with these “Easier Flaky Crescent Rolls” as the monthly bake, I was totally onboard. Easy and flaky. What’s not to love about that!
Now that I’ve tried this lamination technique, I’m happy to report that you can have deliciousness and less fuss at the same time. And, you don’t have to remind yourself to smile.

A butter block is not needed for these easy crescent rolls
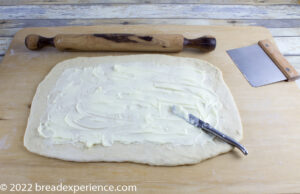
What makes this method so easy is that instead of using a butter block (that you pound into submission when laminating croissants – or maybe that’s just me), you just easily and gently spread softened butter over the chilled and rolled out dough, then fold it and place it in the freezer.
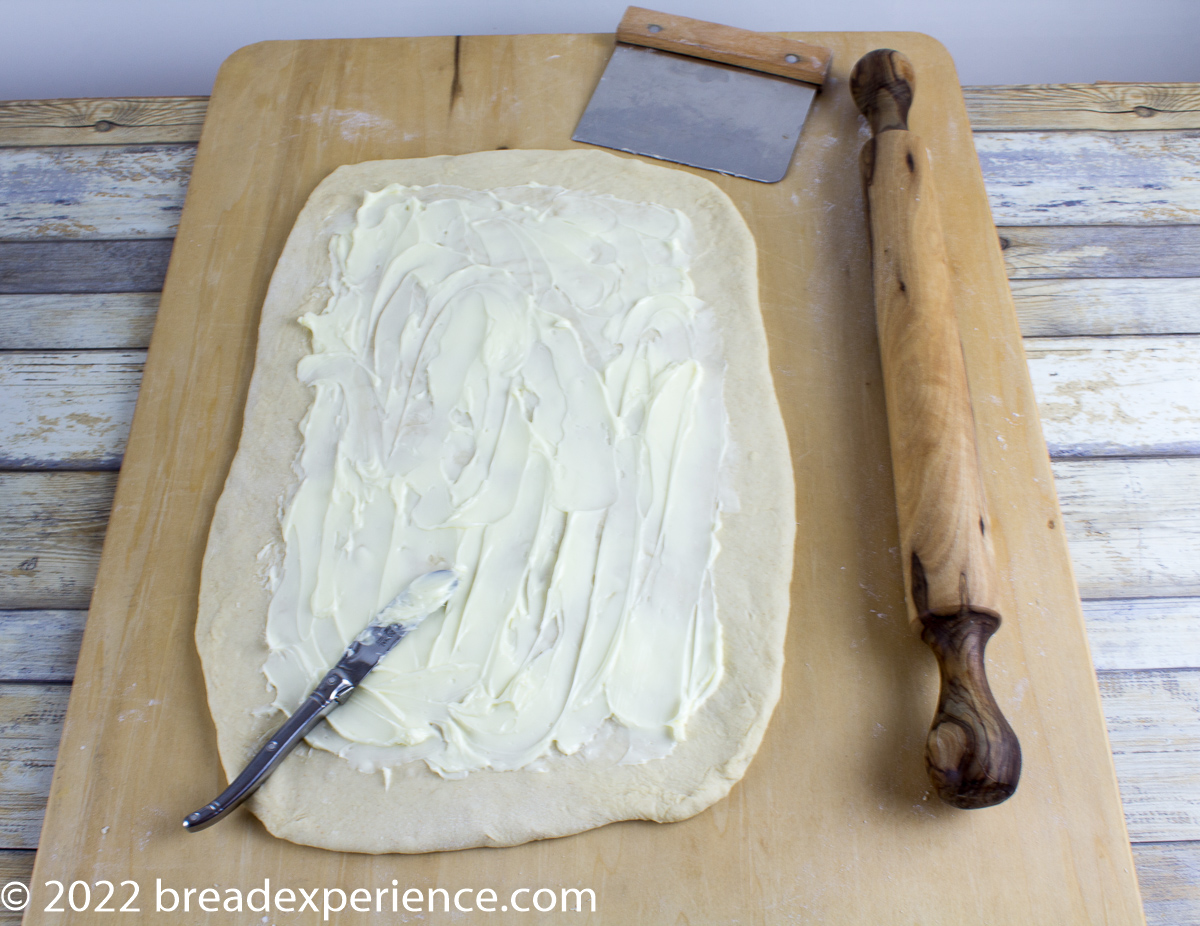
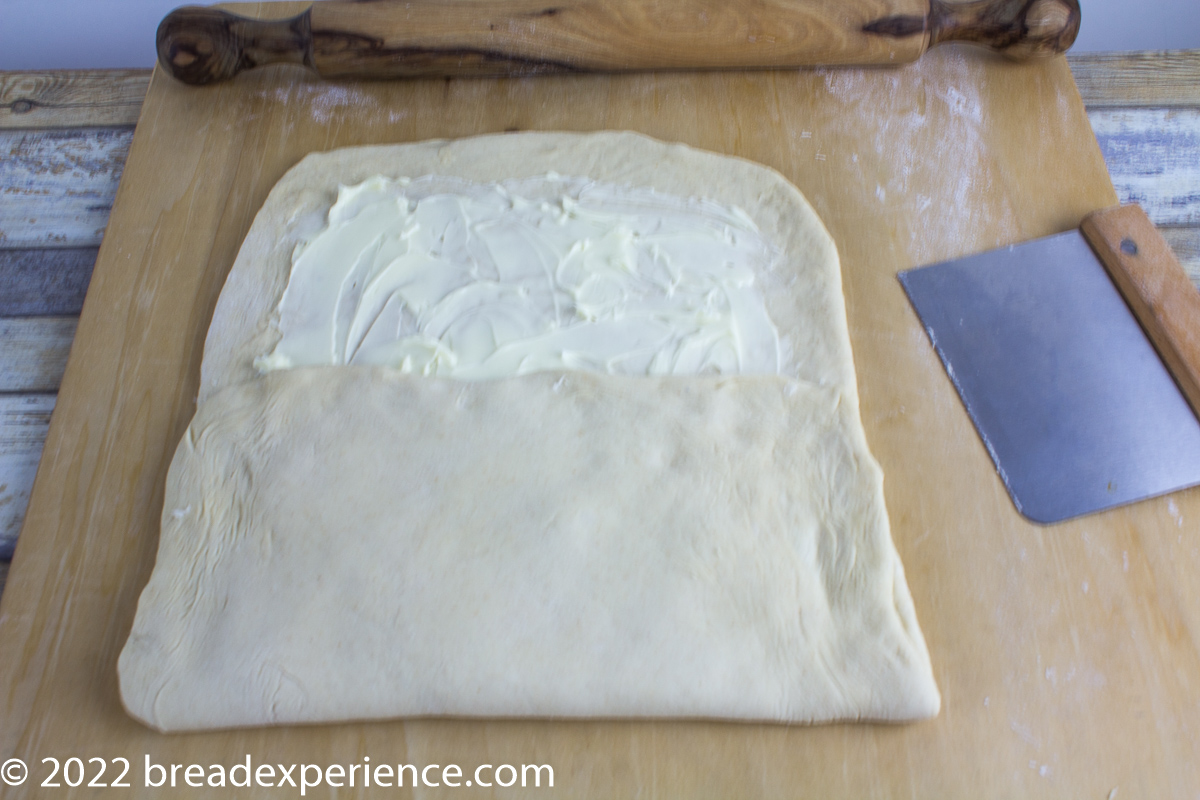
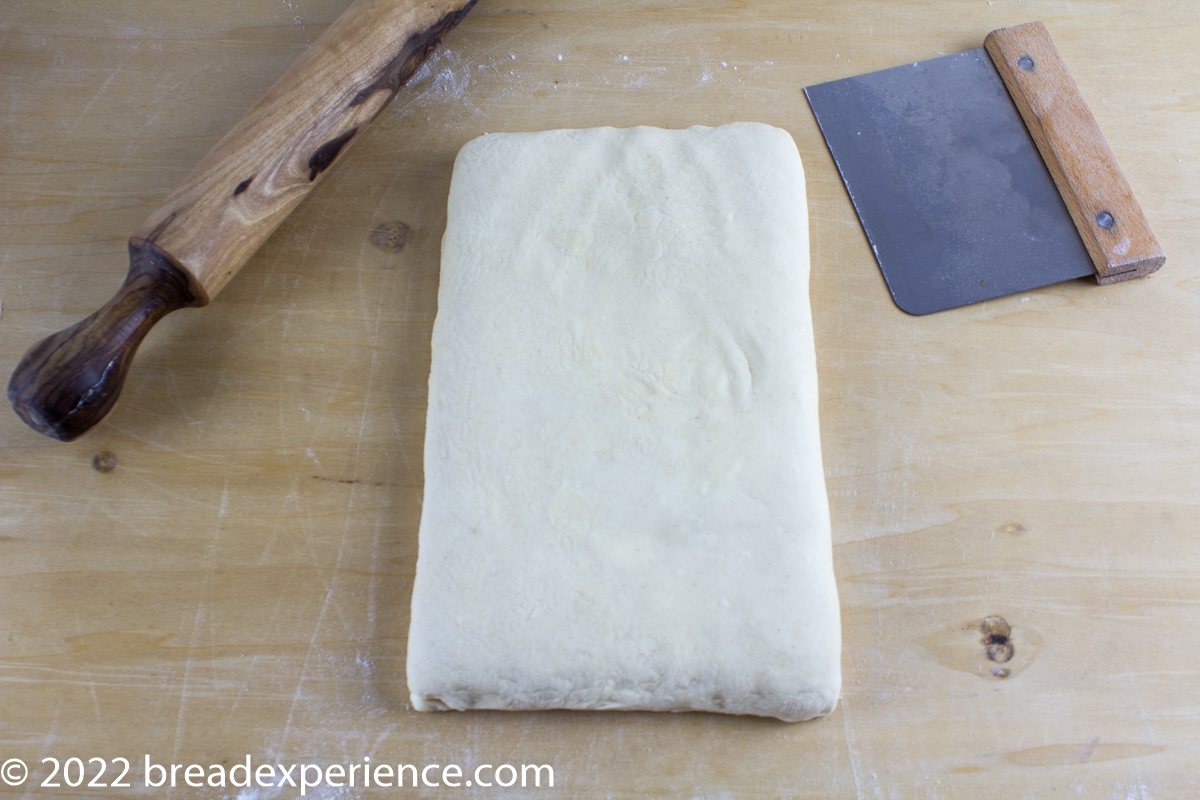
After the dough chills for several minutes in the freezer, you roll it out, fold it in thirds, and chill it again. You repeat the rolling, folding and chilling a couple more times, and then you’re ready to shape the rolls, or let the dough cold ferment in the refrigerator.
I enjoyed making these sourdough crescent rolls
I’ve always enjoyed making crescent rolls because they don’t require a lot of fuss. Now I have another reason to love them. Butter!
I’ve made these rolls several times already, and I’ll probably serve a rendition of them for the Holidays. I’ve already started dreaming of different combinations that could work well for a Holiday dinner.
I’ve made the sourdough version several times and even tried a 50/50 all-purpose/spelt version.
For this post; however, I’m focusing on the sourdough method made with all-purpose flour.
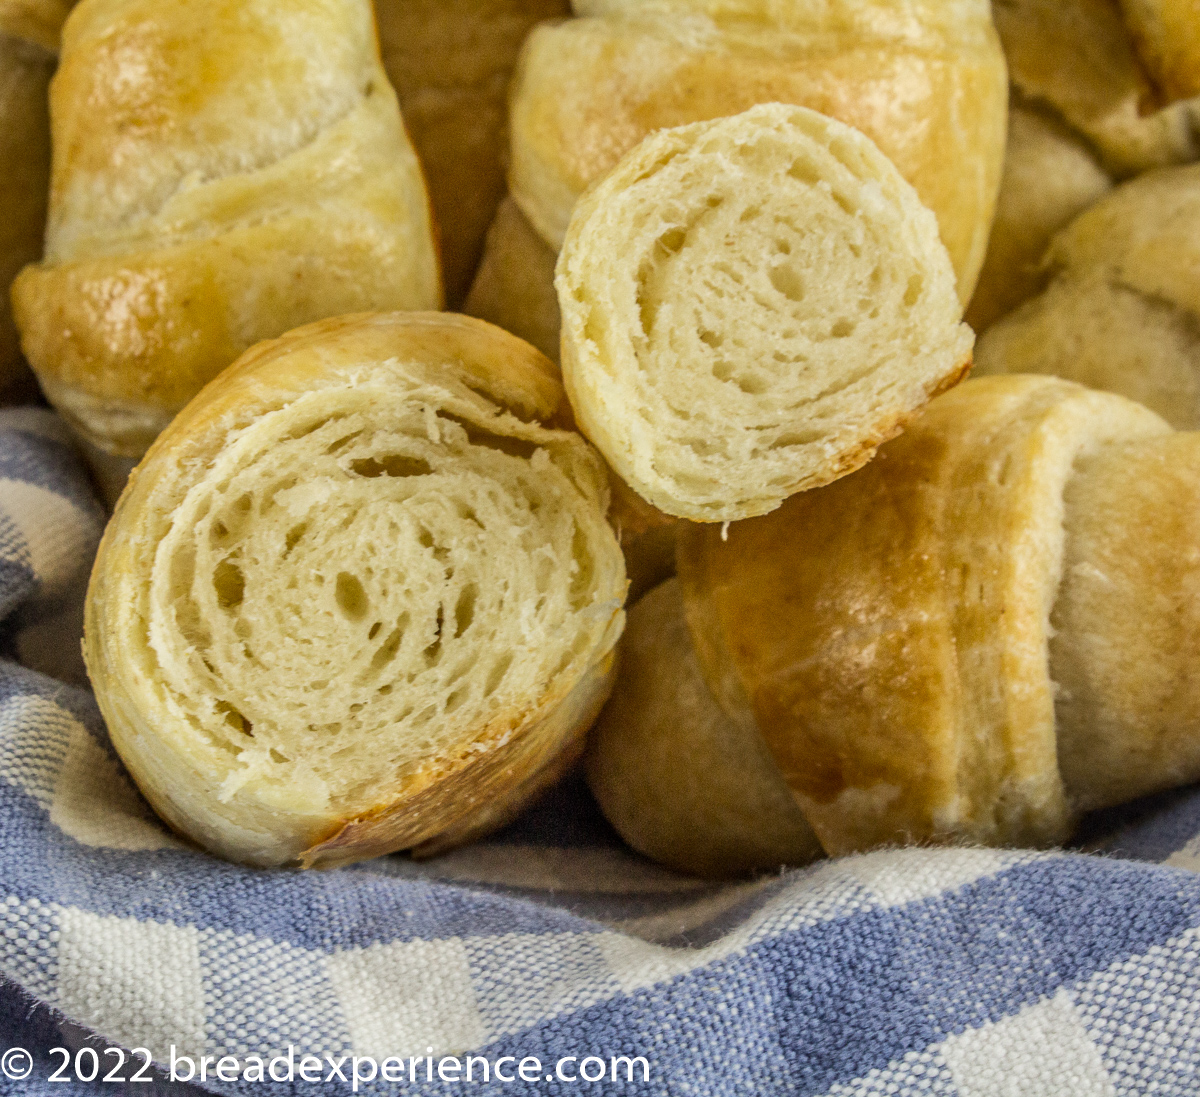
First Batch: No egg wash; Brushed tops of rolls with butter
For the first batch, I chose not to add an egg wash mainly because I didn’t have an extra egg.
Instead, I brushed the crescent rolls with butter after removing them from the oven and before they cooled down. They were very tasty and flaky, but a bit on the light side in terms of color.
I decided for the next batch of crescents, I would add an egg wash and see how much of a difference it would make.

Next Batch: Egg wash brushed on top of rolls
For the next batch, I did use an egg wash, and the color was definitely an improvement. I mixed a little bit of water with the egg so the color wasn’t quite as dark as it might’ve been had I just used the beaten egg, but it was still a lovely golden-brown color and added a light crispy crunch to the outside.
The original recipe called for an oven temperature of 400 degrees F.; however, that temperature was a bit too high for my oven. I adjusted the temp down to 375 degrees F. after the first bake, but that was too low.
After several experiments, 385 degrees turned out to be the sweet spot for my oven. I started baking the rolls on the middle rack of the oven, then moved them up a level during the last few minutes to achieve the browning on top.

Control the temperature to ensure flaky crescents
Controlling the variables is all part of the process when making any kind of bread and these rolls are no different.
The main thing you need to pay attention to with these crescents is the temperature, particularly when rolling out the dough. If the dough gets too warm, the butter could melt and there will be fewer layers. The rolls will still be delicious, just not as flaky.
It was a little tricky keeping the dough and butter from getting too warm in my hot kitchen. I found that starting the process in the morning the first day and letting the dough cold ferment until the next morning, was the key, at least during the warmer months.
I’m looking forward to trying these again when it’s a bit cooler in my kitchen, but don’t let a hot kitchen stop you. Just work quickly.


Mini Sourdough Crescent Rolls
- Yield: 36 rolls 1x
Description
These mini-Sourdough Crescent Rolls are flaky and delicious and much easier to laminate than their cousin, the croissant. They are very versatile and perform admirably when leavened with sourdough instead of dried yeast.
Ingredients
- 375 grams [3 cups] all-purpose flour plus more for mixing and rolling
- 183 grams [2/3 cup] warm milk, not boiling (I used almond milk)
- 40 grams [~2 Tbsp. + 1 Tsp.] sourdough starter, 100% hydration, active
- 8 grams [1 1/4 tsp] fine sea salt + 15-30 grams water, as needed
- 1 large egg
- 8 grams [2 tsp] sugar
- 14 grams [1 tbsp] unsalted butter, melted or softened
- 113 grams [8 tbsp /1 stick /1/2 cup] salted butter, softened
- 1 egg beaten and or melted butter, for brushing
Instructions
- In the bowl of a stand mixer, combine the flour and warm milk. Mix on low speed just to combine. The mixture will be a little dry at this point. (Refrain from adding extra hydration at this point because the dough will be too sticky once you add the egg and butter.)
- Let the flour/milk mixture sit for 15-20 minutes. Then add in the starter, salt and 15-30 grams of water as needed to dissolve the salt and break up the starter.
- Add the egg and sugar and mix thoroughly. Sprinkle additional flour, one tablespoon at a time, if needed to form a workable dough. Let the dough rest for 5-10 minutes.
- Add the butter and mix thoroughly on low speed. Using the dough hook, knead the dough until it is smooth and elastic. The dough will seem sticky at first, but it will eventually become smooth and springy. Adjust with additional flour or water, if needed.
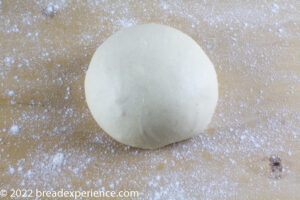
- Turn out the dough onto a floured work surface. Lightly knead into a smooth ball. Put the dough back in the bowl, cover and allow it to rest on the counter, at room temperature for 1-2 hours. Stretch and fold the dough in the bowl 2 times at 30-minute intervals during the first hour. Let the dough rest for the remaining hour.
- Then place the dough in the refrigerator for 30 minutes to 1 hour. Remove the dough from the refrigerator, and turn it out onto a lightly floured surface.
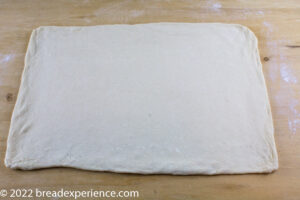
- Roll out a large rectangle that is about ¼-inch thick. Gently spread the 8 tbsp softened butter all over dough, leaving about an inch around the sides of the rectangle.
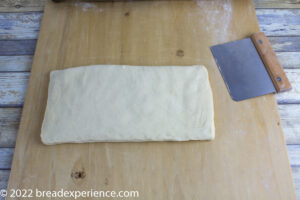
- Fold the dough in thirds by folding one side of the rectangle towards the center and folding the other side over as well on top of the first layer so that there are three dough layers.
- Carefully move the dough to a baking sheet, cover with plastic wrap and place in freezer for 7-10 minutes. (If you find the butter getting too hard, chill for less time, especially on subsequent roll outs, and allow to warm up until butter is pliable.)
- Roll the dough again into a long rectangle (being careful of the butter – if it is breaking, let it warm up for a while longer) and fold dough again into thirds like a book. Place back in freezer for 5-7 more minutes. Repeat this process two more times for a total of three folds (and 30 minutes in the freezer.)
- After the three folds, you can either go ahead and shape for baking or you can wrap your dough tightly with plastic wrap and place in the fridge overnight or up to three days.
- To shape, roll the dough out on a lightly floured surface into a rectangle about ¼-inch thick. (I was aiming for a 15×18 inch rectangle to make larger crescents, but ended up with a 12×17 rectangle so I made mini crescents.)
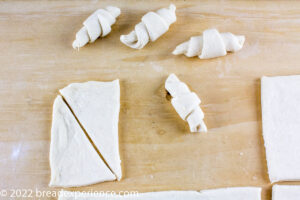
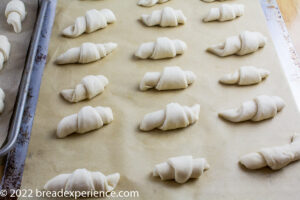
- Using a pizza cutter or sharp knife, cut the dough in half lengthwise, cut the strips into triangles. Roll each crescent up using both hands. Place on a lined baking sheet about 2-3 inches apart. Cover with a tea towel and set in a room temperature place to rise for 30 minutes to 1 hour, or longer if needed. (Not too warm or the butter will melt and there will be fewer layers.)
- While the rolls rise, position a rack in the middle of the oven and preheat to 400ºF. (If your oven runs a little hotter, you may want to preheat at a slightly lower temperature.)
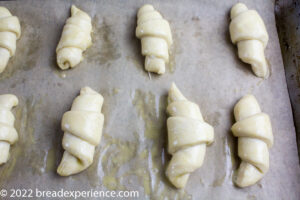
- Before baking, brush each crescent with the beaten egg wash.
- Bake rolls for 10-14 minutes or until lightly golden brown. If desired brush with melted butter. Serve warm with butter and honey or jam.
- Category: Crescent Rolls
Who are the Bread Baking Babes?
We are a group of bread bakers who get together every month and bake bread! We have a Facebook group if you’d like to bake along. New recipes are posted every month on the 16th.
Kelly, of A Messy Kitchen, is the host kitchen this month. If you want to bake along with us as a Buddy, check out her blog for details on how to participate. She’ll send you a Buddy badge, and feature you in the round-up. Deadline to get your e-mail to her is July 29th.
Check out the different variations for this month’s bake:
A Messy Kitchen – Kelly (Host Kitchen)
Karen’s Kitchen Stories – Karen
Bread Experience – Cathy
blog from OUR kitchen– Elizabeth
Judy’s Gross Eats – Judy
Feeding My Enthusiasms – Pat
Thyme for Cooking – Katie (roundup)

Happy Baking!
Cathy

Karen's Kitchen Stories says
I’m going to have to try these with sourdough next! Yours are gorgeous and so flaky!
Cathy says
Thanks! The sourdough version was fun! I don’t think you can go wrong with any version of these crescents.
Elizabeth says
I bow down to you, Cathy! I only briefly considered using wild yeast instead of commercial yeast, and then privately decreed that it would make the project not at all easy. (I had already complicated matters by refusing to add the egg. In place of the egg wash, I used milk.)
How great to learn that my decree about the yeast was wrong wrong wrong. Your crescent rolls look wonderful!
Cathy says
I think it was smart that you didn’t change too many variables at one time. I tend to do that too often.
For this project, when I focused on just converting it to sourdough, and using all-purpose flour, it worked fine.
However, when I converted the dough to using 50/50 AP/spelt in addition to the sourdough, it presented s a different challenge altogether. Mostly, it was the variable of working in my hot kitchen that presented issues with the whole grain version because I ran out of cooler mornings.
The rolls tasted great, but the rolling and shaping, not so great. I’m going to come back to that project another time. This technique is worth experimenting with over and over.
Elizabeth says
You are wise. I have a terrible habit of changing too many things.
I think your rolling and shaping went brilliantly. Your idea to cut the dough into rectangles and then cut those in half diagonally is really good. That way (instead of eyeballing it the way I did) you know exactly how many crescents you will be making.
Cathy says
What you see in this post, is the 3rd bake. The first and third were made with all-purpose flour. The 2nd bake was made with 50% spelt. That one still needs a little work. Perhaps I’ll make bigger rolls next time. Although it’s easier to justify having more than one with the mini rolls.
Katie Zeller says
Soft butter – now that makes sense – and much easier.
It’s so hot here right now that I wouldn’t be able to keep a block of butter hard anyway lol
Cathy says
The soft butter does make more sense. So much easier!
Kelly says
They look wonderfully flaky! I will definitely have to try out the sourdough version next time.
Cathy says
Thanks Kelly! I was very pleased at how well the sourdough version performed. But I think any version of these crescent rolls would be good.