As I was thumbing through Maria Speck’s new book Ancient Grains for Modern Meals, I ran across this Floating Sesame Loaf recipe. I had never heard of a floating loaf before so I was intrigued to say the least.
The head notes to the recipe state, “If you are intimidated by yeast dough, try this surprising technique, which turns bread making into a game and puts an impressive loaf of bread on your table – effortlessly. This method takes all the guesswork out of yeast breads: no need to fuss with rising times, rising volumes, and temperatures.”
I don’t know about you, but the terms “impressive and effortless” in the same sentence captured my attention. So I decided to try this unique method of making bread.
Since I’m trying to do things one-handed as much as possible these days to let my injured arm heal, I needed a dough that I could manipulate fairly easily. This method turned out to be fun and easy. It did require a little bit of shaping, but it was quick and didn’t hurt my arm. I was able to document most of the steps with my camera so you can try this fun bread for yourself.
Floating Sesame Loaf Recipe
Reprinted with permission from Ancient Grains for Modern Meals by Maria Speck, copyright © 2011. Published by Ten Speed Press, a division of Random House, Inc.
Ingredients:
- 2 1/2 cups regular whole wheat or white whole wheat flour (10 3/4 ounces), plus 3 – 7 tablespoons as needed
- 5 tablespoons toasted sesame seeds (see page 37)
- 2 teaspoons instant or rapid-rise yeast
- 1 teaspoon sugar
- 1 teaspoon fine sea salt
- 1 1/4 cups lukewarm water (90 degrees F to 100 degrees F)
- Medium or coarse cornmeal for sprinkling
Directions:
- Fill a stockpot or a 4-quart saucepan (about 5 inches high) with cold tap water to 1 inch below the rim.
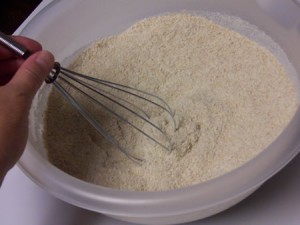
- Whisk together the whole wheat flour, 3 tablespoons of the sesame seeds, and the yeast, sugar, and salt in a large bowl.
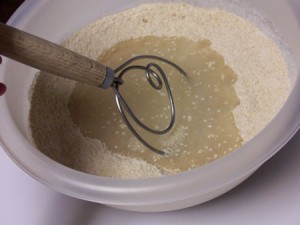
Make a well in the center of the flour mixture and add the water.
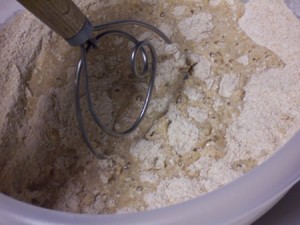
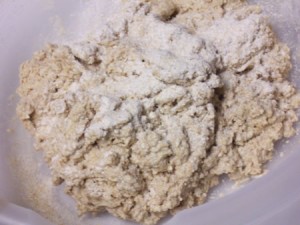
Using a wooden spoon or dough whisk, and starting from the center, gradually stir in the flour until a pretty moist dough forms and all the flour has been incorporated.
- Scrape the sticky mass onto a well-floured work surface. Sprinkle with 1 scant tablespoon of flour. Knead the dough with floured hands, incorporating additional flour by the 1/2 tablespoon just until the dough is supple and smooth with a slight tackiness, about 2 minutes. I kneaded the dough in the bowl using one hand rather than kneading the dough on the counter using both hands.
Depending on the flour you use and the humidity, you should need only 2 to 5 tablespoons of flour (the dough will continue to absorb more flour at the expense of lightness, but don’t add more!).
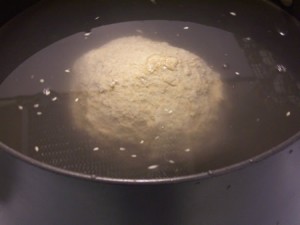
Quickly form a round ball, folding any loose ends into the bottom, and gently deposit the dough into the water in the stockpot.
- Meanwhile, position a rack in the bottom third of the oven and place a large baking sheet (or a 10-inch cast-iron skillet) on it. I used a baking stone. Preheat the oven to 425 degrees F. While you wait for the dough to rise, which typically takes 7 to 15 minutes (up to 30 minutes), sprinkle a 12 by 16-inch piece of parchment paper with cornmeal. Generously flour your work surface.
-
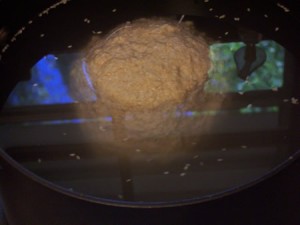
Once the dough rises to the surface of the water (it will slowly puff like a balloon before popping up), remove it with both hands, letting excess water drain between your fingers. Transfer the dough – it will feel like wet clay – to the work surface. Dry and then flour your hands, and dust the wet surface of the dough with 1 scant tablespoon flour.
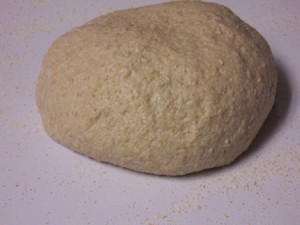
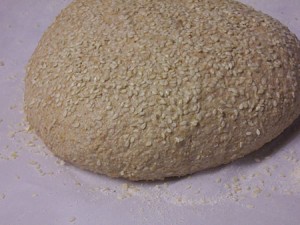
Working briskly, give the dough not more than a few gentle turns, adding flour by the 1/2 tablespoonful, and then gently stretch the “skin” or surface of the dough from the top to the bottom all around to form a ball with a few loose ends at the bottom. (This stretching is a handy little step – otherwise your loaf might crack around the sides.) Kneading and shaping should not take longer than 40 seconds and should not incorporate more than 1 to 2 tablespoons of flour. The dough can be quite slack, even stretchy.
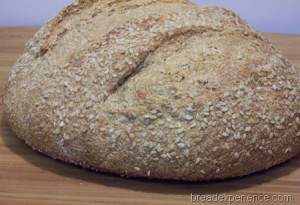
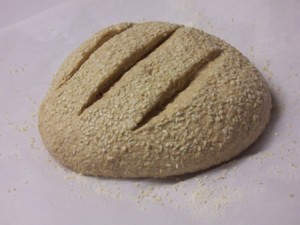
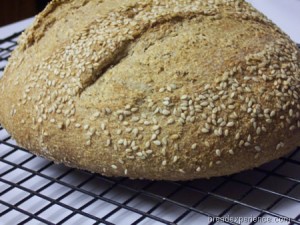
- Transfer the dough to the parchment paper. It will look somewhat flat. Cover with a dish towel (not terry cloth) and let rest for 15 to 20 minutes. After that, brush with water and gently press the remaining 2 tablespoons sesame seeds all over the surface.
Using a sharp knife, make three 1/4-inch-deep cuts across the loaf.
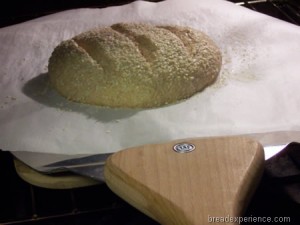
Transfer the parchment paper with the dough to the baking sheet (or set in the cast-iron pan or on the baking stone).
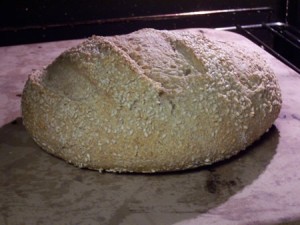
- Bake until the loaf is well risen and light golden brown and the bottom sounds hollow when tapped (or when an instant-read thermometer inserted into the center registers 200 degrees F.), 25 to 30 minutes. Remove the parchment paper 10 minutes before the end of baking for a better crust.
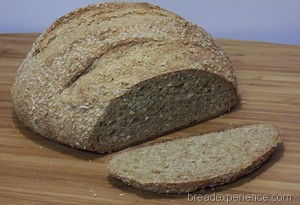
Transfer the bread to a wire rack to cool completely – about 2 hours, for best flavor and texture – before cutting. The loaf might have quite a crust at first, but it will soon soften nicely.
I liked this method of making bread. I thought the bread tasted best toasted with butter or jam. It reminded me of sesame seed bread sticks. My main taste tester really liked it!
You might also enjoy these variations of the recipe:
Form a sesame ring: At the end of step 5, once you have formed the dough ball, create the ring. Flour your hands. Holding the dough in both hands, gently form a hole in the middle by pulling the center apart – first with both your thumbs from the top, and then molding it with the rest of your fingers from the bottom. The hole should be at least 3 inches wide.
Make a hazelnut-raisin loaf: Use naturally sweeter white whole wheat flour (instead of regular whole wheat) for a more appealing loaf, and add 1 tablespoon sugar (not 1 teaspoon). Instead of sesame seeds, measure 1/4 cup dark raisins and 1/2 cup toasted chopped hazelnuts. Add the raisins and 1/4 cup of the hazelnuts to the dough in step 2 (instead of sesame seeds). And in step 6, gently press the remaining 1/4 cup hazelnuts (instead of sesame seeds) all over the surface.
Thanks for joining me in the bread baking blog. This bread has been YeastSpotted. Please visit Wild Yeast to view all of the lovely breads in the roundup.
 Sara Remington © 2011
Be sure to check out the Ancient Grains for Modern Meals Facebook page.
You can read my review of the book here.
susies1955 says
What an interesting recipe. Sounds great and as always your photos are excellent. 🙂
I’ve been MIA for a quite a while…………what happened to your arm?
Susie
Cathy (breadexperience) says
Hi Susie! Good to hear from you. I got tennis elbow from gardening of all things. It’s in my left elbow and I’m right-handed so I’m still able to bake bread. I just have to limit my activities until it heals. Thanks for asking.
susies1955 says
OUCH! I had that in my right arm once. It was from playing catch with the boys years ago and then trying to carry ALL the grocery bags in at one time. 🙂 It sure takes a long time to heal.
Hope you heal up soon,
Susie