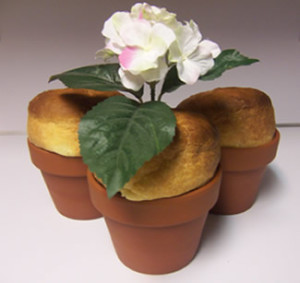
For Mother’s Day, I decided it would be fun to make a Spring Flower Pot Bread using earthenware clay pots as molds. This type of baking was made popular in the 1960s.
Edited text: May 11, 2019
This flower pot bread is made with a basic yeast bread dough and baked in food-grade terra-cotta flower pots. These loaves provide a whimsical and tasty presentation for a Mother’s Day brunch or for any special occasion.
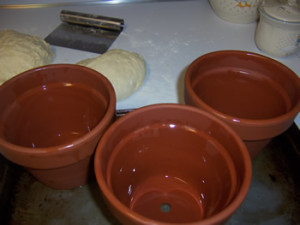
Note about the flower pots: I used clean, unused, 5-inch wide by 5-inch deep food-grade terra-cotta flower pots for this bread. If you don’t have access to clean, food-grade terra-cotta flower pots, you could search for food grade silicone pots on Amaz0n.
Preparing the clay pots for baking:
Before you can use clay pots for baking bread, the pots need to be tempered. The method I used is a little different than the instructions in the recipe, but I found that baking the pots a little longer helped temper them better.
Using food-grade clay pots:
Brush clean, new pots liberally inside and out with oil and place in a hot oven (about 400°F) for about 30 minutes.
For convenience, you can do this while you’re cooking something else. Repeat this process several times until the pots are infused with oil. They can then be used for baking bread and will need very little greasing. Source: “BREAD: The breads of the world and how to bake them at home” by Christine Ingram and Jennie Shapter.
Whimsical Flower Pot Bread
This recipe is from an article that appeared in the Los Angeles Times in 1969.
Sources:
- Flower Pot Bread on Spring Menu, Amy Vanderbilt, Los Angeles Times, May 29, 1969 (p.F8)
- Food Timeline http://www.foodtimeline.org/foodbreads.html#flowerpot)
Makes:
3 loaves
Ingredients:
- 2 cups milk
- 3 tablespoons sugar
- 3 tablespoons shortening
- 3 teaspoons salt
- 1 cup lukewarm water
- 2 teaspoons sugar
- 2 envelopes dry yeast
- 6 cups sifted flour
- Melted shortening (or cooking spray)
Directions:
1) Wash and thoroughly grease three red clay flowerpots 5-inch wide and 5-inch deep. Bake pots at 375 deg. 5 to 10 minutes. Repeat the process. (Or, follow the process listed above)
2) Scald milk in saucepan. Remove from heat and add 3 tablespoons sugar, shortening and salt. Stir until shortening is melted, then cool to lukewarm. Combine lukewarm water, 2 teaspoons sugar and yeast, then stir in 4 cups flour and beat well. Add remaining flour and mix well. This is a sticky dough.
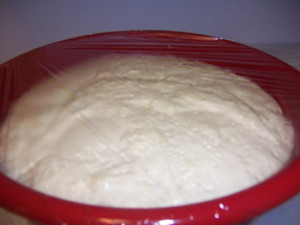
3) Transfer dough to a lightly greased bowl and brush the top with melted shortening (or spray with cooking spray). Cover with waxed paper (or plastic wrap) and towel and allow to rise in a warm place until doubled, about 30 to 45 minutes. I covered my dough with plastic wrap then a towel and let is rise on the counter.
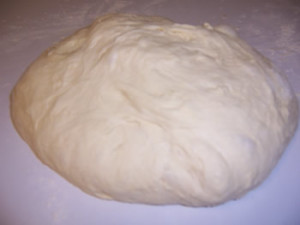
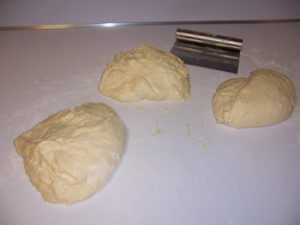
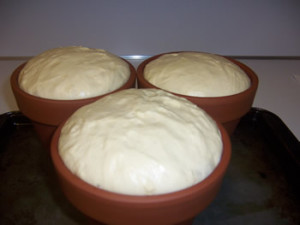
4) Turn dough onto lightly floured surface and knead lightly. Divide dough into three equal parts and place in well-greased flower pots.
Even though I tempered the pots really well, I still found it helpful to grease them before placing the dough in them. The bread usually comes out clean this way. You can also line the pots with foil for easy removal.
5) Cover the pots with plastic wrap and let the loaves rest in a warm place until doubled in bulk.
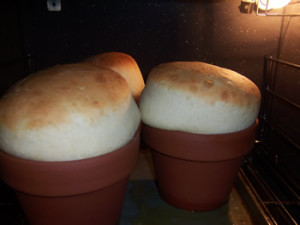
6) Bake at 375 degrees F. for 35 to 40 minutes.
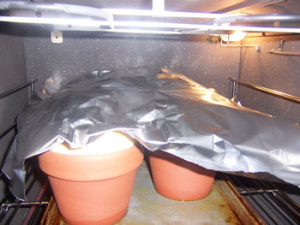
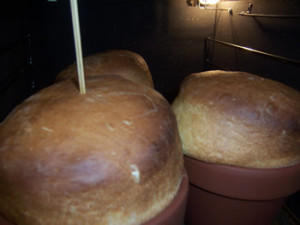
I put the pots on a baking sheet to bake. When the tops started to brown, I tented them with foil to keep them from burning. I baked the loaves for about 35 minutes then tested them with a skewer to make sure they were done.
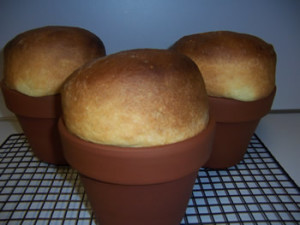
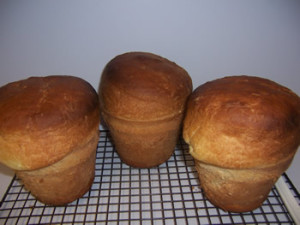
7) Let the finished loaves cool in the pot for about 10 – 15 minutes before removing to a wire rack to cool completely. This helps prevent the loaves from tearing when you remove them from the pots.
 |
 |
 |
 |
 |
 |
 |
 |
 |
 |
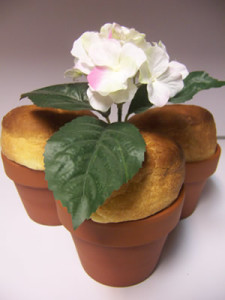
This flower pot bread makes such a lovely presentation, you’ll want to put the loaves back in the pots after they’ve cooled completely and before serving or giving them away. Be sure to decorate the bread with fresh or fake flowers to simulate a real flower pot.
Your family and friends will love this whimsical bread. It tastes good spread with butter or jam. I gave one pot of bread to my mother and another one to my sister and kept one for myself.
Happy Baking!
Cathy
Anonymous says
Please add a picture of the finished loaves interior.
Cathy (breadexperience) says
Hello Anonymous! Thanks for your request, but I did not take any photos of the interior of the loaves. This post was written a couple of years ago. It’s a basic yeast recipe so the crumb looks like a regular yeast bread on the inside.
Anonymous says
could you please tell me where I can get one from I really would like to try this method but can’t find any. when I ask some bakery’s they look at me like i’m daft
Cathy Warner says
Hello, Thanks for visiting. I got my food-grade flower pots from Rabbit Creek products. This is a fun bread to make. If you try it, let me know how it turns out. Happy Baking!