When I reactivated my rye sourdough starter to make Kontinenbrot, I ended up with extra culture. And, as you’ve probably heard me say, I have a hard time discarding sourdough so I decided to make another rye bread with the extra starter.
Many, but not all, German breads contain rye flour. This German Rye Bread would be considered a Krustenbrot. Don’t you just love those brots!
Krustenbrot means just what it sounds like, a crusty bread. This version is baked in a regular loaf pan or freeform, but typically this type of bread is baked in a square pan and would be scored using the cross-hatched pattern. Source: Bread: the breads of the world and how to bake them at home by Christine Ingram and Jennie Shapter.
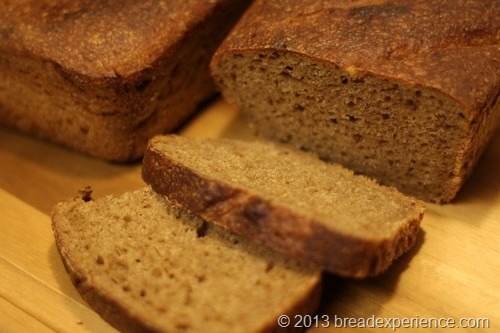
This German Sourdough Rye is made with a blend of rye and wheat flours and utilizes a long fermentation process. It is also made with a sourdough so it has a noticeable, but mild, sourdough flavor. It makes a good sandwich bread. I particularly enjoyed it as a grilled cheese sandwich. I think it would also go well with sausages if you enjoy that sort of thing.
German sourdough Rye
Adapted from: Classic Sourdoughs by Ed and Jean Wood
Makes: 2 Medium Loaves
Ingredients:
- 2 cups (480 ml) rye culture (see process below)
- 1 cup (240 mL) almond milk
- 2 teaspoons salt
- 2 tablespoons molasses
- 2 tablespoons oil
- 1 cup (115 g) rye flour
- 4-5 cups (560g – 700g) unbleached all-purpose flour
- 1 egg, beaten (for egg wash)
- Caraway seeds, optional
Process:
1) Making the culture proof
Begin by activating the culture and creating the culture proof. Use 2 cups of the culture proof in this bread. Put the remainder of the culture proof in the refrigerator to use as your new starter going forward.
2) Mixing the Dough:
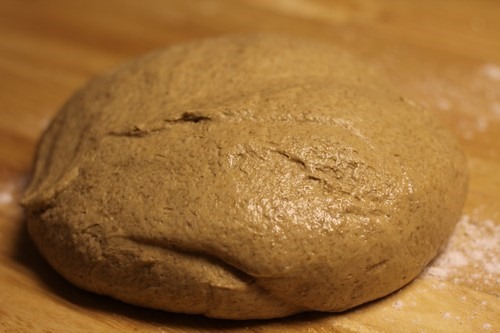
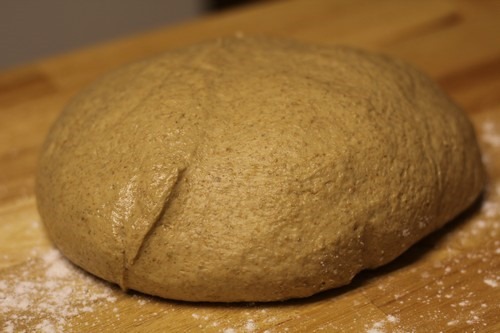
Add the rye culture, milk, salt, molasses, and oil to a large mixing bowl and combine. Mix in the rye flour and the all-purpose flour, one cup at-a-time until it is too hard to mix by hand. Transfer the dough to a floured work surface and knead it until it is smooth and elastic.
3) Proofing the Dough
Place the dough in a greased bowl and cover it with plastic wrap. Put it in proofing box if you have one. Let it proof overnight for 8 to 12 hours at room temperature, about 70 degrees F. After it proofs, remove the dough gently from the bowl onto a floured work surface and let it rest for 30 minutes. If the dough flattens a lot during the rest, add in a little more flour to give it structure before shaping.
4) Shaping the Loaves
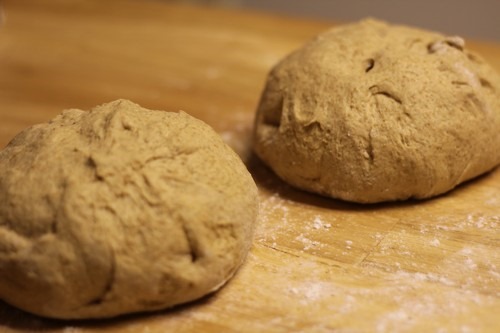
Divide the dough in half and shape into two rough balls. Let the dough balls rest seam side up for 5 minutes.
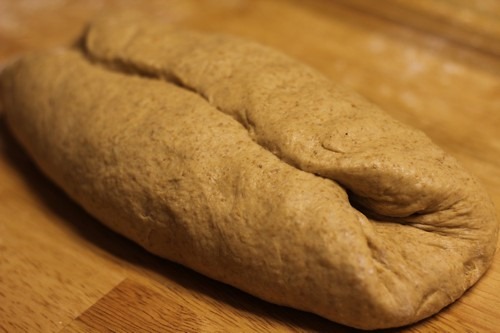
Flatten one dough ball slightly and shape it into a rough rectangle. Fold the top third down and the bottom third up and gently press the edges together.
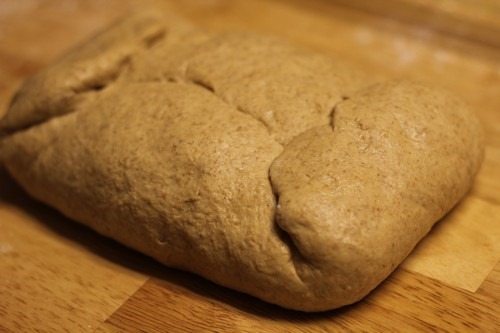
Bring the sides in to form an envelope shape and gently press the edges down.
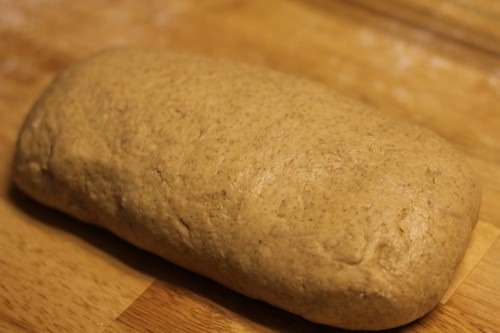
Turn the loaf seam side down. Repeat the shaping process with the other dough ball.
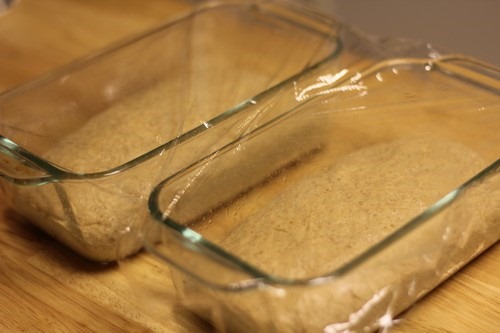
Place the loaves in greased loaf pans and cover with plastic wrap. I used 8 1/2” x 4 1/2” glass loaf pans.
5) Proofing the Loaves
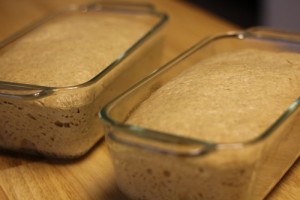
Proof the loaves for 2 to 4 hours, until almost doubled in bulk. The dough should be almost level with the tops of the pans. Proof the loaves for the first hour at room temperature. Then let them rise in a proofing box, if you have one, at 85 degrees to 90 degrees F.
6) Scoring the Loaves
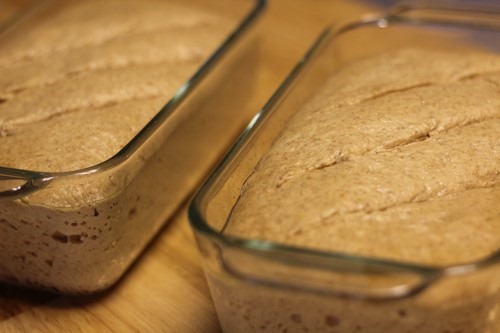
Brush the loaves with an egg wash and sprinkle with caraway seeds if you like. I omitted the egg wash and caraway seeds because I didn’t have any. Make diagonal slashes on the tops of the loaves using a lame or serrated knife.
7) Baking the Loaves
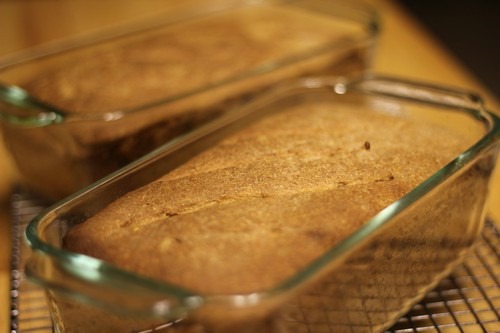
Places the loaves in a cool oven, then set the temperature to 375 degrees F. Bake the loaves for 70 minutes. Partway through the baking cycle, rotate the loaves for even baking.
8) Cooling the Loaves
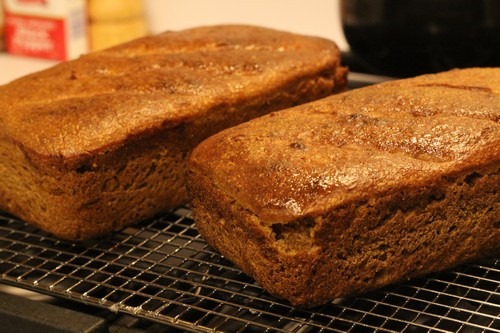
Remove the baked loaves to a wire rack to cool. If you’re using glass loaf pans, let them cool for 10 minutes before removing from the pan.
Remove the loaves from the pans and cool 15-20 minutes before slicing and serving. Since I didn’t use an egg wash, I brushed the loaves with a little bit of olive oil after I removed them from the baking pans.
I enjoyed these rye loaves. They are slightly tangy due to the sourdough, but not overly so. The texture is a little lighter due to the inclusion of the all-purpose flour.
Happy Baking!
Cathy
Leave a Reply