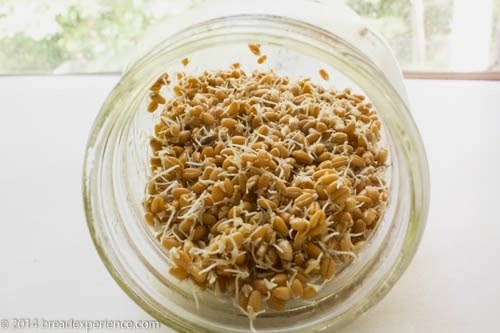
Have you ever let your wheat berries sprout too long?
I’ve baked a lot of sprouted breads over the years, and I can’t tell you how many times this has happened to me. In fact, it happened just the other day.
Sprouted breads are some of my favorite types of bread because they are healthy and taste great. However, the sprouting process can be a bit tricky. Getting the timing down is particularly important if you’re trying to make bread with all sprouted wheat and no flour. If you let the grains germinate too long, they turn to starch, and when you bake the bread, it turns out like a brick.
Refer to these posts: sprouted wheat bread with no flour – take one and sprouted wheat bread with no flour – take two if you want to see what I’m talking about.
I get questions about this issue all the time, and up until now, all I could offer was encouragement. I know firsthand how frustrating it is to have to throw away a bunch of grains that have sprouted too long to use in bread.
I was faced with this issue recently. I wanted to make some sprouted wheat bread, but the grains sprouted too fast. I just couldn’t bring myself to throw the sprouts away so I left them in the refrigerator for a couple of days.
One morning, as I was driving to an appointment (in slow Atlanta traffic), a light bulb went off in my head, and it occurred to me that the sprouts might actually work well in crackers. I love to make crackers so this sounded like a fun experiment.
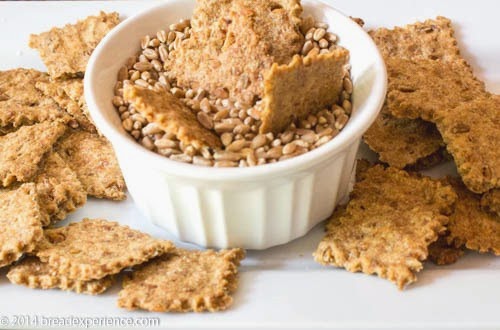
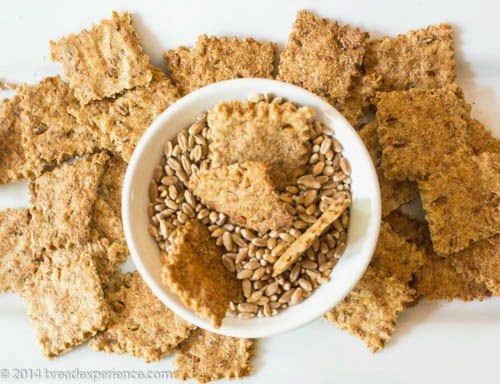
I’ve been working on these crackers for a couple of weeks. I’m not sure why I haven’t tried this test before, but I’m happy to say that my idea worked. I really like the flavor and crunchiness of these crackers.
Homemade Sprouted Grain Crackers
Makes
: About 8 dozen (depending on how you cut the crackers)
Ingredients:
- 2 cups sprouted wheat (from 1/2 cup wheat berries)
- 4-6 tablespoons water
- 1 tablespoon honey (optional) *
- 3 tablespoons coconut oil (or olive oil) **
- 3/4 cup whole wheat flour (more for dusting, if necessary)
- 1 teaspoon salt
* I’ve made these crackers with and without honey. I liked both versions, but I enjoyed the crackers with honey a little bit more. If you have a sweet tooth like me, you might enjoy adding a little honey.
** I used olive oil and coconut to test these crackers. Either one works, but I prefer the coconut oil.
Sprouting the grains:
1) Take 1/2 cup of dried wheat berries. Place them in a bowl and cover them with about 1 inch of water. Cover the bowl with a kitchen towel, and let the berries soak for 6 to 8 hours or overnight.
2) Drain the berries, rinse and drain again. Transfer the rinsed berries to a quart-size canning jar or something similar. Place a piece of cheesecloth over the top of the jar and fasten it with a rubber band.
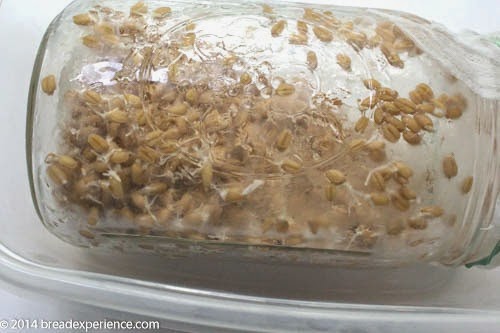
3) Place the jar in cool, dark place. I placed the jar on it’s side in a plastic container and put it in one of my kitchen cabinets.
4) Rinse the berries twice a day until they germinate.
I started this process in the evening and by the next evening (18 – 24 hours), the sprouts already had long shoots (see photo below). I placed them in the refrigerator until the next day when I planned to make the crackers.
Making the Crackers:
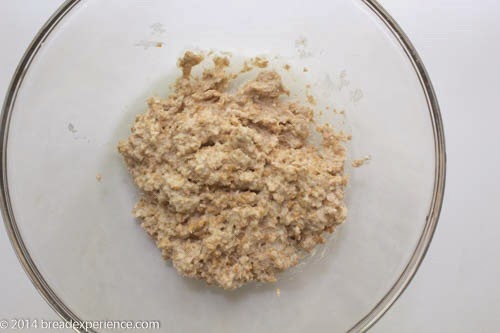
1) Process the wheat berries. Transfer the sprouts to a blender or food processor. Add a couple of tablespoons of water and process the berries until smooth. I used 4-6 tablespoons of water each time I made these crackers. If your sprouts are more liquid, you may need less water so add it in a tablespoon at a time to be sure. If you add a little bit too much water, it’s okay, just add more flour to the final dough.
This is what the sprouts look like after being blended with the water.
2) Transfer the mixture to a medium-size mixing bowl and add the oil and honey (if using). Mix well.
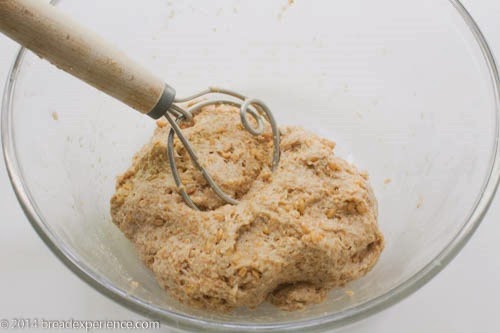
3) Add the dry ingredients. Mix the salt and flour together and add to the sprout mixture. Stir with a Danish dough whisk or your hands until the mixture is thoroughly combined.
Note: At this point, you can go ahead and make the crackers or place them in the refrigerator for a couple of hours, or overnight. I tested this process three different ways. For the first attempt, I baked the crackers right away; for the next attempt I let the dough rest in the refrigerator a couple of days; and the third time I made the crackers, I let the dough rest in the refrigerator a couple of hours before baking the crackers. Each method worked, but I prefer letting the dough rest in the refrigerator for a couple of hours, then baking the crackers. This makes it easier to roll out the dough.
Preheat the oven to 350 degrees F.
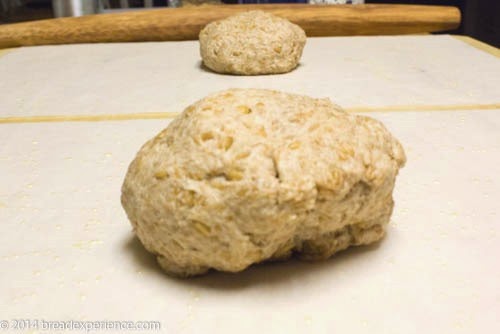
4) Divide the dough into two equal pieces and roll out each piece onto a piece of parchment paper sprayed (or greased) with oil. Try to roll the pieces out to the same thickness so they bake evenly.
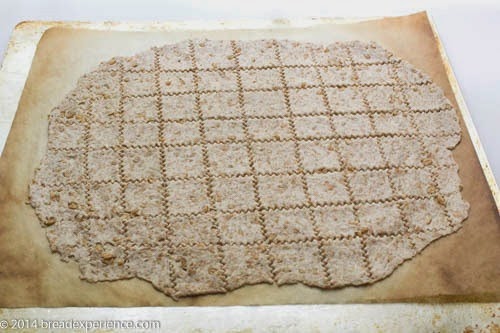
5) Cut the crackers into the desired shape using a pizza wheel or decorative cutter.
6) Bake the crackers. Slide each piece of parchment paper onto a baking sheet and place one baking sheet on the middle shelf and the other sheet on the bottom shelf. Bake the crackers for 10 minutes, then switch the baking sheets from top to bottom and bake for 10 minutes more.
To ensure the crackers get crispy, turn the oven off and leave the crackers in the oven until it cools down. Keep an eye on the crackers to make sure they don’t burn. If you rolled some out more thinly than others, they will bake faster. Remove those while the rest of the crackers continue baking.
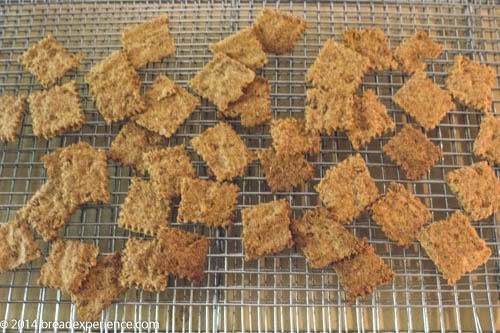
7) Remove the crackers from the oven and let them cool on a wire rack.
These crackers store really well and will stay fresh for several days. To store them, place them in an airtight container after they have cooled completely. However, if you’re like me, they’ll disappear pretty quickly.
If you have grains that have germinated a bit too much to use in breads, just make sprouted wheat crackers. Or, go ahead and sprout some berries just to make these crackers. They are really good.
Happy Baking!
Cathy
james Putney says
My wife can’t eat gluten. Do you think this will work with buckwheat or some other non-gluten grain?
Thanks
Cathy says
Hi James, Although I have used buckwheat in breads, I haven’t tried sprouting it for crackers. You can certainly give it a shot. I have made sprouted sorghum crackers using the sprouted flour from To Your Health. They were pretty good.