I enjoyed two of my favorite things this weekend: bread and the mountains. I went to a cabin in the mountains with some of my hiking buddies. These ladies know I’m a bread baking fanatic so they asked me if I would bring some homemade bread and jam to sample. I’m sure you know they didn’t have to ask me twice.
When I found out that Honey Oatmeal Bread was the BOM (Bread of the Month) for the Artisan Bread Bakers, I decided to make it for my weekend adventure. I substituted Graham flour for the regular whole wheat flour so my version became Honey Graham Oatmeal Bread.
There is nothing like enjoying homemade bread and nature in the same setting. This Honey Graham Oatmeal Bread was just the right bread for a relaxing weekend. It is a delicious and homey bread. We enjoyed it spread with homemade peach and lavender butter and other goodies for an afternoon snack and as PB&J sandwiches with fruit and veggies for a fuss-free dinner.
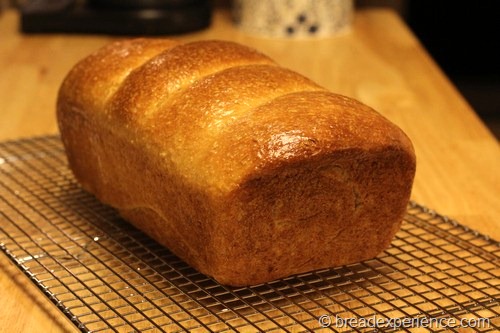
Honey Graham Oatmeal Bread
Makes: 1 Loaf
Adapted from King Arthur Flour
Ingredients:
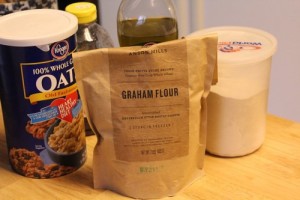
- 2 cups bread flour
- 1 cup coarsely ground Graham flour
- 1 cup old-fashioned oats
- 2 tablespoons vital wheat gluten
- 2 tablespoons olive oil
- 1 1/2 teaspoons salt
- 3 tablespoons honey
- 2 teaspoons active dry yeast
- 1 1/4 – 1 1/2 cups milk
Directions:
Place all of the ingredients into the pan of your machine (in the order specified by your manufacturer), program machine for the dough cycle, and press Start.
If you don’t have a bread machine, see King Arthur’s site for traditional instructions.
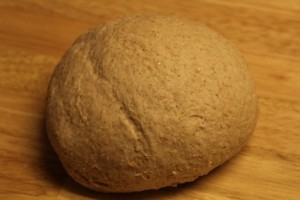
About 10 minutes into the cycle, check the dough and adjust its consistency as necessary with additional flour or milk. It should be holding together well and forming a nice ball of supple dough.
I checked the bread pan a few times and my dough seemed really dry even after adding a little bit more milk. This was probably because I used coarse ground flour. So I took the dough out of the bread machine and added more milk, then kneaded it by hand until it was soft and supple.
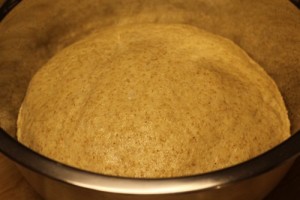
Then I placed the dough ball in a lightly oiled bowl, covered it with plastic wrap, and let it bulk ferment for an hour or so until it had doubled in bulk.
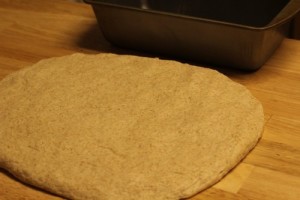
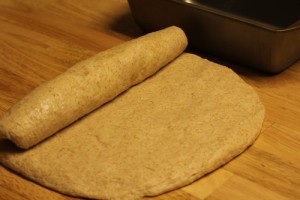
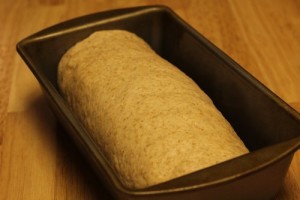
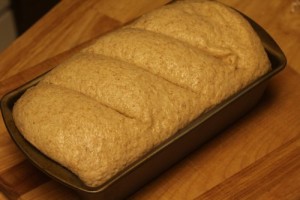
Transfer the dough to a lightly oiled surface, and shape it into a log. Place the log in a lightly greased 9 x 5-inch loaf pan.
 |
 |
 |
 |
 |
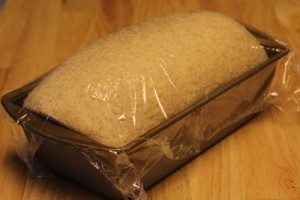 |
Cover the pan with a clean kitchen towel or plastic wrap, and allow the dough to rise in a warm place for 1 to 1 1/2 hours, till it’s crested 1″ to 2″ over the rim of the pan. If desired, score the bread with 3 diagonal slashes using a lame or serrated knife.
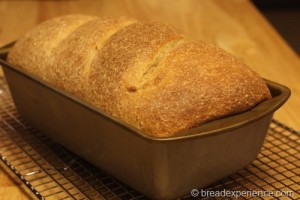
Bake the bread in a preheated 350°F oven for 35 to 40 minutes, until an instant-read thermometer inserted into the center registers 190°F or the dough sounds “hollow” when you thump the top of it. If the bread appears to be browning too quickly, tent it with aluminum foil for the final 10 minutes of baking.
Remove the bread from the pan to a cooling rack and brush with melted butter (optional). Let the bread cool completely before slicing and serving.
 |
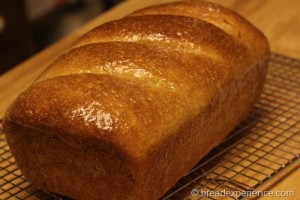 |
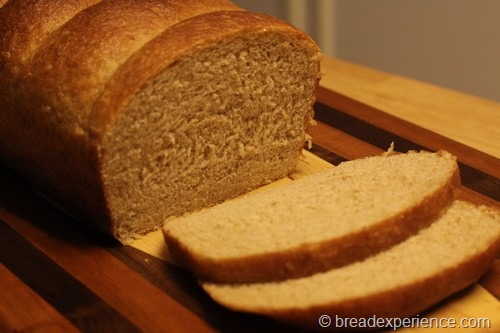
I made this bread the day before the trip and sliced the whole loaf right before it was time to go. I placed the sliced loaf in a plastic bread bag. This way, I didn’t have to bring a bread knife with me.
My hiking buddies (and I) really enjoyed this bread. It tastes great spread with butter, jam, peanut butter or plain. I’m sure it would also make a great grilled cheese sandwich or French Toast, that is, if there was any left to try it.
Happy Baking!

Heather @girlichef.com says
Beautiful! I’ve never used Graham Flour – because I’ve never found any locally. I’m sure I’ll break down and order it online one of these days. Beautiful loaves, Cathy. And it sounds like a fantastic weekend =)