This post on How to Create a Whole Grain Sourdough Starter is brought to you by The Sourdough School.
The Sourdough School is dedicated to educating people on the nutrition and digestibility of sourdough. It works alongside The Sourdough Club course and is run by a small team of passionate bakers, scientists, and best-selling author and sourdough teacher Vanessa Kimbell. The Sourdough School is a platform designed to support Vanessa’s sourdough course and offer readers tons of research to delve into to gain a deep understanding of the role of the gut microbiome and sourdough in our digestion.
The team is constantly working to develop recipes based on scientific findings about sourdough and other types of fermented foods, to benefit those who are unable to digest commercial bread or who struggle with digestive disorders like IBS and diabetes.
All in all, The Sourdough School aims to open people’s eyes to the world of sourdough and the connection between bread and our gut microbiome.
If you are intrigued by the research into sourdough and fermentation, here is a simple sourdough starter recipe to try at home to get started on the journey to baking delicious and easily digestible bread and other treats.

Photo credit: Sourdough School
How To Create A Whole Grain Sourdough Starter
Creating a sourdough starter is surprisingly simple. You just need organic, stoneground wholegrain flour and water. That’s it.
How to prepare:
Ingredients
warm water (28°C/82°F)
organic, stoneground wholegrain flour
Equipment
a measuring jug
a thermometer
a clean jam jar
a spoon
The process:
Day 1
Measure out 120g warm water at 28°C (82°F). In a clean jam jar, mix this water with 100g stoneground wholegrain flour. Stir it really well to add oxygen; this helps the yeast thrive. Cover with a loose-fitting lid and leave to sit somewhere warm for 12–24 hours. During this time, some bubbles might start to develop.
Day 2, morning
Now it’s time to refresh your starter. To do this, measure out 120g of the mixture from the jar and discard it (see my Tip below for ways to use this discarded starter). Now stir in another 60g stoneground wholegrain flour and 60g warm water. Stir vigorously and cover it once again. Leave it somewhere warm for another 12– 24 hours.
Day 2, evening
Repeat the step above.
Days 3–6
For the next few days, you will need to repeat the refreshment above two times a day.
When will my starter be ready to use?
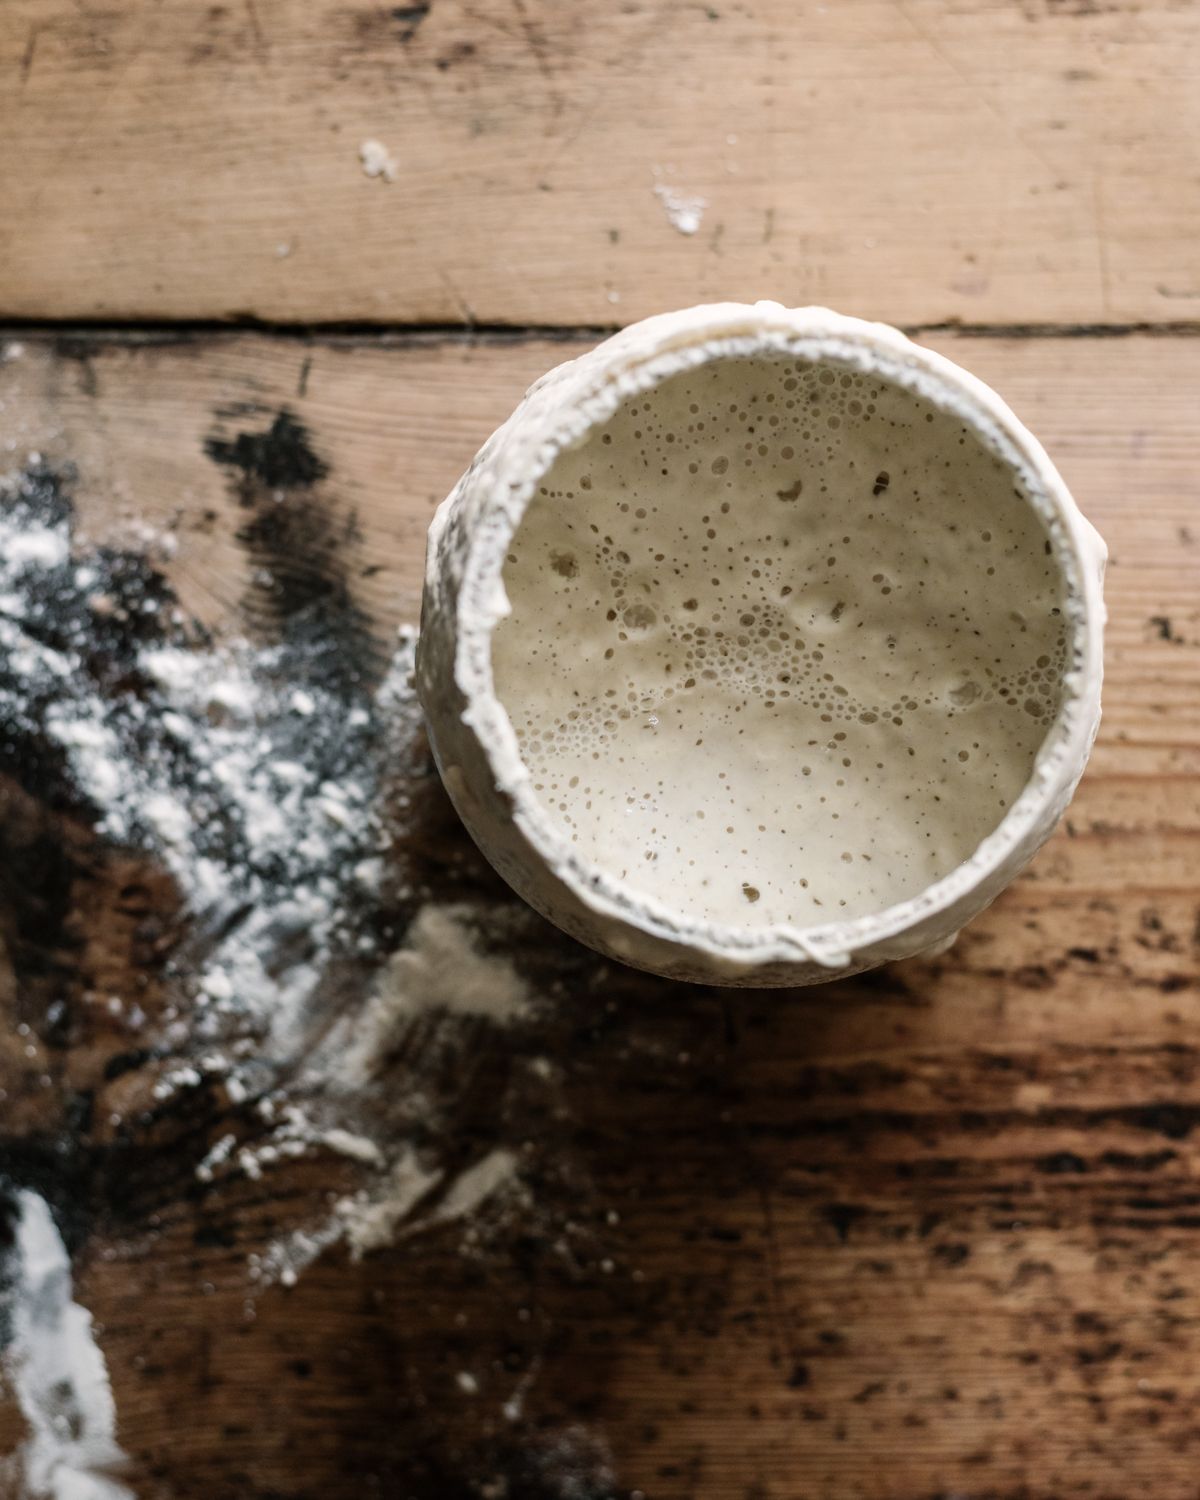
Depending on the warmth of your environment and how microbially active your flour is, you might start to see activity in your starter quickly, after just a few days. When the sourdough starter is bubbly and lively, this means it is active.
When it doubles in size within about five hours of being refreshed, that means it’s active enough to bake with. You can now move on from creating your sourdough starter to maintaining your sourdough starter, which is a different process.
Tip: Try using up the discard from your refreshments to make sourdough pancakes or waffles!
Bake a Loaf of Sourdough
Using the Sourdough School’s basic sourdough recipe for a tin loaf.
Learn how to refresh your starter
Watch this video for a detailed step-by-step guide to the sourdough starter refreshment process.
I want to thank Vanessa Kimbrell and The Sourdough School/Club for sharing this sourdough starter recipe and for providing resources for making sourdough bread.
Happy Baking!
Cathy
Leave a Reply