75% hydration KAMUT Pain Au Levain was my bread experiment last weekend. It has a very mild and wheaty flavor.
The BOM (aka bread of the month) for the Artisan Bread Bakers FB Group was a 69% Hydration Pain Au Levain. My version ended up being 75% hydration because it is made with white and whole grain KAMUT, and KAMUT absorbs more water than regular bread flour. I used 45g of my white sourdough starter which make the final dough 99.98% KAMUT, just shy of 100%.
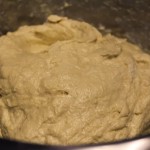
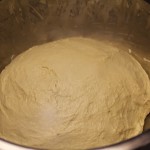
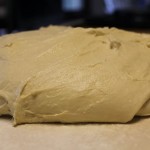
I really enjoy baking with KAMUT flour. The dough is buttery and smooth and a dream to work with. And, as I mentioned earlier, it is more absorbent than white bread flour. It also has good elasticity and extensibility. These are the characteristics you look for in a bread flour.
When it came time to bake the loaves, I was feeling pretty confident so I conducted a test in my Emile Henry Bread Cloche to find out how the bread performed in a cold stoneware baker (in preheated oven) versus a warm stoneware baker in the warm oven.
The first time I used the Emile Henry Baker was a couple of months ago when I made Country Brown Bread. The loaf stuck to the bottom of the cloche so I was a little disappointed with the way it looked, even though it tasted great.
This time, I used parchment paper to prevent the loaf from sticking to the bottom of the baker during the bake cycle. I could’ve used a mixture of cornmeal and flour to dust the bottom of the baker, but I opted for KAMUT-dusted parchment paper instead. The parchment worked really well. I was very pleased with the results.
75% Hydrated KAMUT Pain Au Levain
Adapted from David’s 69% Hydration Pain Au Levain
Makes: Two Loaves
Levain Build:
- White KAMUT flour 227g
- Water 227 g
- Starter 100% hydrated; 45g
Mix the ingredients together and let the build sit at room temperature overnight or for at least 8 hours.
Final dough:
- Water 515g
- Build 454g
- White KAMUT flour 460g
- Whole Grain KAMUT flour 230g
- salt 17g
Mixing the Dough:
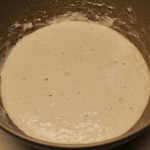
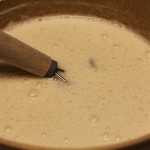
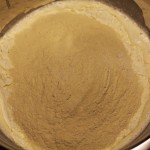
Stir about 465 grams of water into the levain. Reserve about 50 grams of the water (to mix with the salt). Transfer the levain and water mixture to a large bowl and add the flour. Mix using a wooden spoon or Danish dough whisk until a shaggy mass is formed. Cover and allow to rest (Autolyse) at room temperature for thirty minutes.
Add the salt and 50 grams of water and mix using the finger pinch method (grabbing the dough with four fingers) until the salt is thoroughly incorporated and no salt crystals remain.
Bulk Ferment:
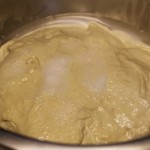
Transfer the dough to a lightly greased bowl and cover with plastic wrap. Let the dough ferment for 2.25 hours with two folds at 45 minute intervals. The folds will really help the gluten development.
Final Proof:
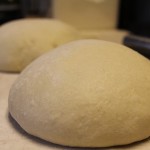
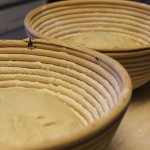
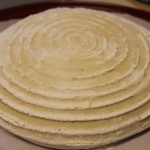
Preshape the dough into boules and allow them to rest for 15 minutes. Then shape the dough into tight boules and place them in linen-lined brotforms or flour dusted brotforms. Let proof for 2 hours.
Prepare the oven for baking:
Adjust the oven rack so that it’s in the bottom third of the oven. Preheat the oven to 450 degrees for at least 30 minutes.
Scoring the Loaves:
Remove the loaves from the baskets.
I baked one loaf at a time so at this point, I put one basket in the refrigerator while the other loaf was baking.
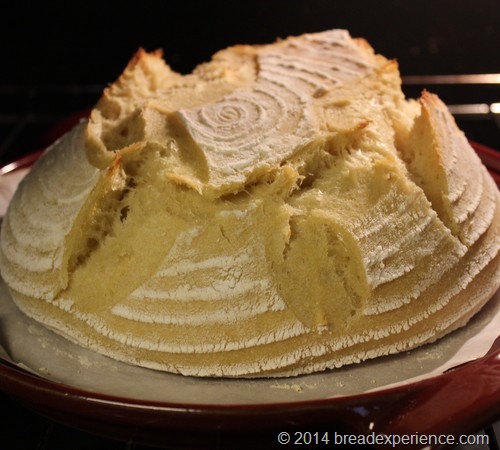
I placed the first loaf in the room temperature Emile Henry Bread Baker on a piece of parchment paper cut to fit the bottom of the cloche. This is my new trick to keep it from sticking to the bottom of the baker.
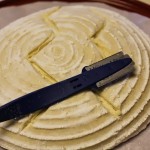
Score the loaves using the pattern of your choice.
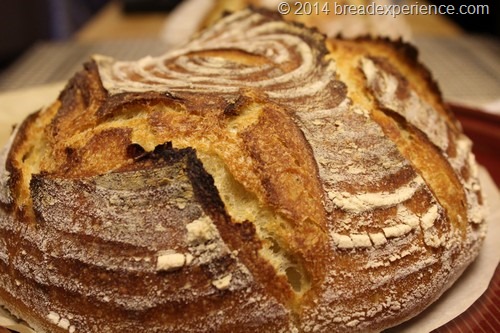
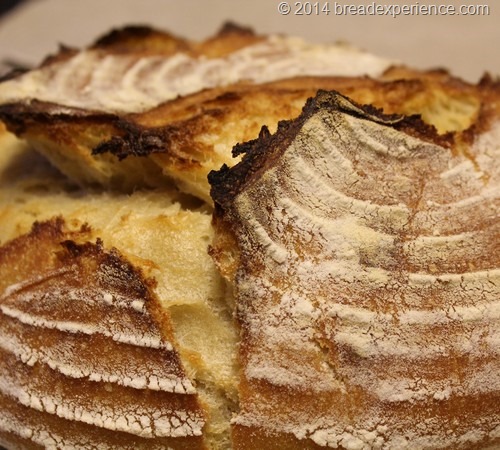
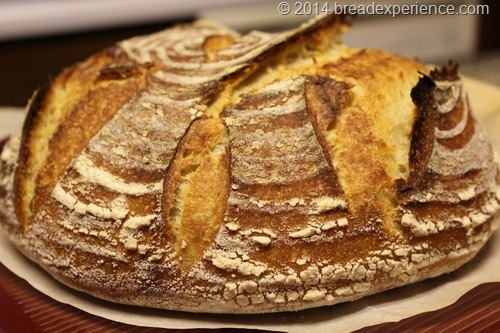
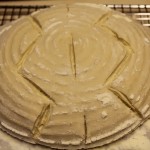
I tried a scoring method similar to the one Chad Robertson uses in his new book Tartine Book No. 3. To make the scores, I used a Mure & Peyrot Longuet Lame with a straight blade. The first loaf tore a little bit so I scored the pattern a little bit differently for the second loaf.
Baking the Loaves:
Carefully place the room temperature cloche in the preheated oven and cover it with the dome-shaped lid.
Bake the bread at 450 degrees for 40 minutes. Carefully remove the cloche lid and check the loaf about 10 to 15 minutes before the end of the bake cycle to see how it’s baking. Remove the parchment paper so the loaf will brown evenly on the bottom. For a darker and thicker crust, remove the cover during the last 5 to 10 minutes of baking.
When the bread is finished baking, carefully remove the cloche lid and place it on a cloth to keep it from cracking from the temperature change. Remove the loaf to a wire rack to cool and place the bottom of the baker on a cloth-covered board.
Turn the oven back to preheat so it warms back up to 450 degrees F.
While the first loaf is baking, remove the second loaf (in the proofing basket) from the refrigerator. Flip it onto on a floured piece of parchment paper. I used the same piece of parchment for both loaves. Score the loaf using the pattern of your choice. As I mentioned earlier, I got the inspiration for this scoring pattern from Tartine No. 3 by Chad Robertson. I embellished this one a bit.
After you remove the first loaf from the cloche, place the second loaf (on the floured parchment paper) on the cloche bottom. It will still be warm so be very careful.
Place the second loaf (on the cloche) in the preheated oven and place the cloche lid back on and close the oven door.
Bake the bread at 450 degrees for 40 minutes. Carefully remove the cloche lid and check the loaf about 10 to 15 minutes before the end of the bake cycle to see how it’s baking. Remove the parchment paper so the loaf will brown evenly on the bottom. For a darker and thicker crust, remove the cover during the last 5 to 10 minutes of baking.
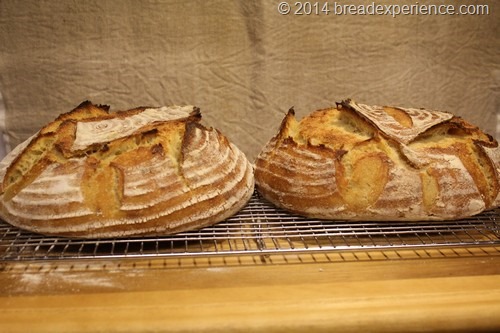
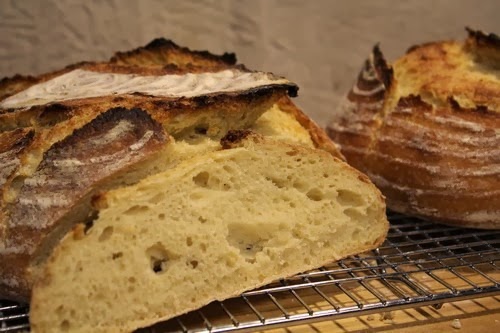
Remove the second loaf to the wire rack to cool. Here are both loaves. The one on the left was baked in the room temperature cloche in a preheat oven. The one on the right was baked in the still warm cloche in the preheated oven. The second loaf got a little darker but I think it’s because I let it bake a little bit longer.
Let the loaves cool completely before slicing. This is the crumb shot of the first loaf. I didn’t get a shot of the crumb of the second loaf because I gave that one away. I actually bartered that one away for a ride to pick up my car from the shop.
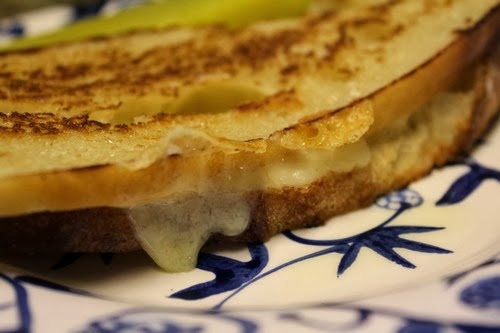
This is one of my favorite ways to enjoy this bread. Grilled cheese with a pickle. Yum!
Happy Baking!
Cathy


Sulpicia (III) says
Hi! This bread looked so delicious that I tried baking it today. I didn’t have any Kamut flour, just kamut berries so I ground the flour myself. However, I just couldn’t get the gluten structure to develop sufficiently– even by significantly increasing the number of stretch-and-folds (and I added a little bit of diastatic malt powder to the original mix to enhance the ability to form gluten bonds). Any ideas on how to fix the problem?
Thanks for the wonderful recipes!
Cathy W. says
Hello Sulpicia,
Thanks for visiting! I have not tried making this bread with all whole grain KAMUT. I used white KAMUT flour in the levain and 66% white KAMUT and 33% whole grain KAMUT in the final dough.
If you used grains that you milled, you might want to add some bread flour (about 30% at least) or try sifting out some of the bran. A longer fermentation time will also help, but since it’s whole grain, it won’t have as strong gluten development as one made with white flour. Also make sure the hydration is between 75% – 80%.
Happy Baking!
Cathy
ted says
I’m new to bread baking (only about a year). I’ve just received my Kamut flour and I found your site and I would love to make this bread. The one question I have is in the levain you refer to the “starter”. Which starter are you refering to or do you have a receipe for the one I should use.
Ted
Cathy says
Hi Ted, I love working with KAMUT. Let me know how you like this bread.
When I made this bread, I didn’t have a KAMUT starter so I used my apple starter https://www.breadexperience.com/you-are-apple-of-my-starter/ which is made with all-purpose flour. I created a KAMUT starter when I made this bread https://www.breadexperience.com/kamut-rye-levain-on-spot/. I don’t have a specific post on creating a KAMUT starter what I did was start with my spelt starter and refresh it a few times using KAMUT. You can use your normal starter. If you don’t have one, here are some recipes https://www.breadexperience.com/creating-a-sourdough-starter/. Hope this helps.
Happy Baking!
Cathy
Jennifer says
Where did you purchase your Kamut flours?
Cathy says
Hi Jennifer, I think I got the white flour and whole grain flour from Montana Grains, but I also use KAMUT grains that I mill into flour.
Hal Hackett says
Hi Cathy,
Just ran into your recipe the other day and got some great tips from you. Thank you! I have a quick question though. I’ve been baking with Kamut for a couple of years and have settled on 70% hydration for my all-white dough. That’s about as wet as I can manage. I calculated the hydration for your recipe and keep getting a little over 81%. That seems a little soupy! Am I misunderstanding something?
Total water weight: 22.5(1/2 of the starter) + 227 +515 = 764.5
Total flour weight: 22.5(1/2 of the starter) + 227 + 460 + 230 = 939.5
Ratio: 764.5/939.5 = 0.8137
Thanks, Cathy
Hal Hackett
Cathy says
Hi Hal,
I got the 75% from the hydration/flour in the final dough not counting the levain. This is how the original formula calculated it. It wasn’t a soupy dough, but keep in mind that I used a portion of whole grain along with the all-purpose Kamut. Whole grain typically soaks up more liquid. If you plan to use an all-white dough, feel free to adjust the hydration to suit your comfort level. But I will say that adding some whole grain definitely enhances this bread.
Happy Baking!
Cathy
Hannah says
Do you have the measurements for white kamut bread without a starter?
My son is allergic to most foods out there. Any bread recipe would be greatly appreciated.
The bread looks amazing. Seems,way beyond my ability. Any thing simple?
Thanks
Cathy says
Hi Hannah, here is a recipe for rolls made with all-purpose KAMUT https://www.breadexperience.com/fluffy-kamut-dinner-rolls-yeast-you-can/ They are really easy!