Light Rye Bread is the second bread we made in the Mellow Bakers group this month. The first bread was a Rustic Bread.
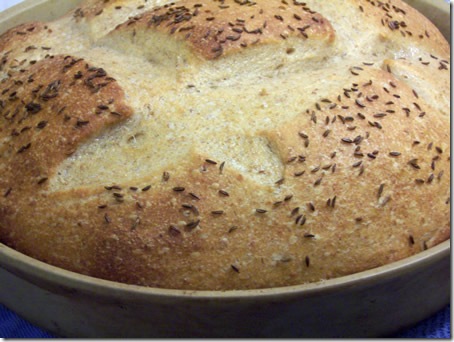
Since we’re baking bread in bread pots for bread baking day, I decided to bake one loaf of the rye bread in my la cloche and the other loaf on a baking stone using a steam pan underneath.
I was in an experimental mood this weekend so I decided to change the formula.
Light Rye Bread
Adapted from Bread: A Baker’s Book of Techniques and Recipes by Jeffrey Hamelman.
Making the Sourdough Pre-ferment
This rye bread is made with a sourdough pre-ferment of medium rye flour, water and 2 teaspoons of mature sourdough starter. I used 1/4 cup (rather than 2 teaspoons) of sourdough starter that I had fed and fermented the day before.
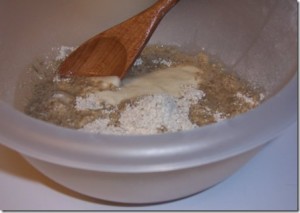
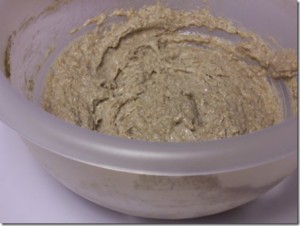
Prepare the sourdough and let it ripen for 14 to 16 hours. I let it ripen for 16 hours. Here is what the ripened sourdough looks like. It didn’t look very bubbly to me but it sure smelled like sourdough.
 |
 |
Ingredients for Final Dough:
- 3 cups clear flour (from white whole wheat & regular whole wheat flour)
- 3 1/8 cups bread flour
- 2 1/8 cups water
- 2 teaspoons caraway seeds for the dough
- 1 tablespoon salt
- 1 teaspoon yeast (optional)
- All of the sourdough (minus 2 teaspoons)
- Additional caraway seeds for sprinkling on the loaves
Making clear flour
I didn’t have any high-gluten flour so I used a mixture of clear flour and bread flour. Clear flour is whole wheat flour sifted once to remove the bran. To make the clear flour, I used a mixture of home-milled whole wheat flour and white whole wheat flour.
Normally, I would just use whole wheat flour to make the clear flour, but I had already mixed the two flours together (for another project) so I decided to try it and see what happened.
Preparing the Dough
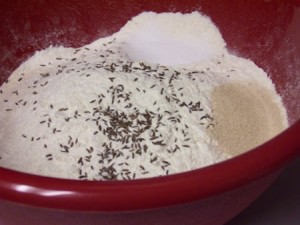
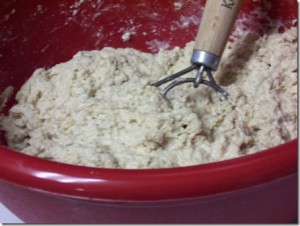
I mixed all of the dry ingredients using a regular whisk. Then, I used my Danish dough whisk to incorporate the liquid ingredients.
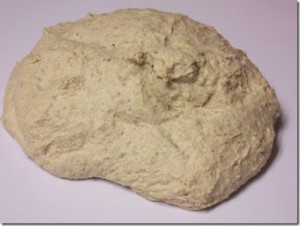
Then, I sprinkled flour on the counter and kneaded the dough for about 8 to 10 minutes. It took awhile for the gluten to develop, but the dough finally became soft and supple.
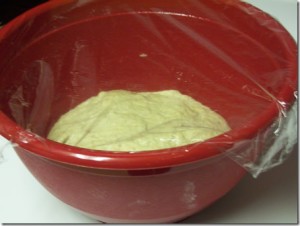
Once the gluten was sufficiently developed, I transferred the dough to a bowl oiled with spray oil and covered it with plastic wrap.
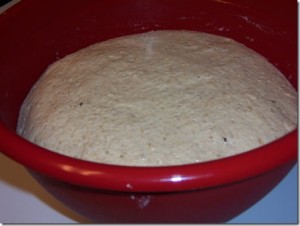
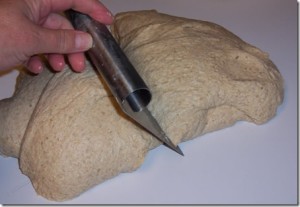
The dough fermented for 1 hour. It doubled in size during the bulk fermentation. After the dough had fermented for an hour, I divided it into two equal pieces using my dough scraper.
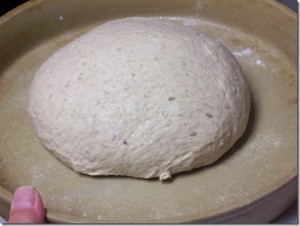
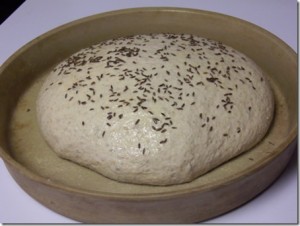
Then, I shaped one loaf into a round ball (boule) and placed it in the greased la cloche sprinkled with cornmeal. I covered the boule with the dome of the la cloche and let it proof for about an hour.
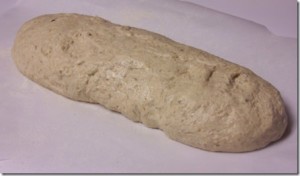
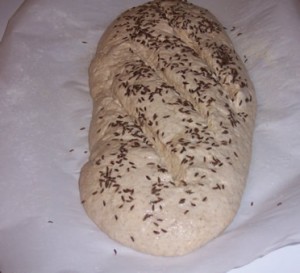
I shaped the other loaf into a torpedo shape and placed in on parchment paper greased and sprinkled with cornmeal. Then, I covered it with plastic wrap and let it ferment for an hour.
 |
 |
 |
 |
 |
 |
 |
 |
Baking the Loaves
I decided to bake the torpedo loaf first since the baking stone needs to preheat in the oven and the la cloche doesn’t.
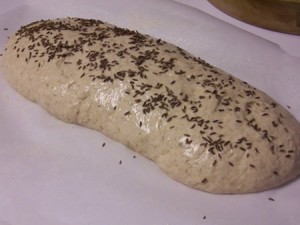
While the baking stone was preheating in the 450 degrees oven, I sprinkled the first loaf with caraway seeds. The instructions in the book say to preheat the oven to 460, then lower it to 440, but I don’t have that option on my oven. So, I set it to 450 degrees.
I scored the loaf by making 3 cuts across the surface. The slashes are supposed to be perpendicular to the length of the loaf, but they ended up a little bit off.
When the oven was sufficiently preheated, I placed the loaf on the hot stone using my pizza peel. Then I baked the loaf for 20 to 25 minutes until it was brown and sounded hollow when I thumped the bottom of the loaf.
Halfway through the baking cycle, I rotated the loaf to make sure it baked evenly on the stone. Once the 1st loaf finished baking, I removed it to a cooling rack to cool while I baked the other loaf.
While the other loaf was baking, I spritzed the second loaf with water, then sprinkled caraway seeds on top. Then, I scored the loaf using a serrated knife.
Then I placed the baker in the 450 degrees preheated oven and covered the la cloche with the lid.
I baked the loaf for about 15 to 20 minutes. Then removed the lid and let it bake for another 10 to 15 minutes or so until it was crispy and brown on top.
When I removed the baker from the oven to cool the bread, I placed it on a towel because extreme temperature changes can crack the la cloche.
 |
 |
 |
 |
 |
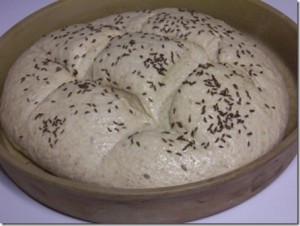 |
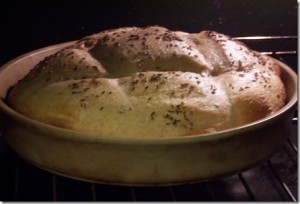 |
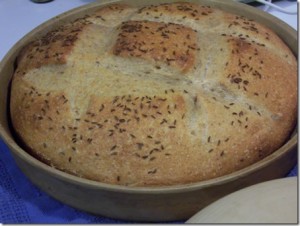 |
The finished loaves of Rye Bread
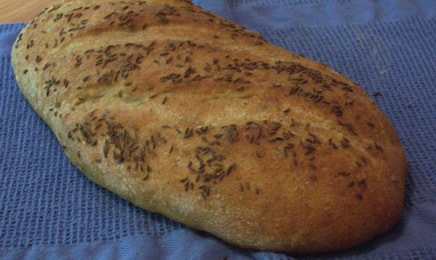
Here is the version that was baked in the la cloche.
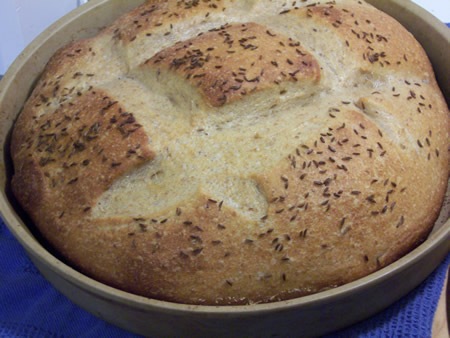 This bread has been YeastSpotted.
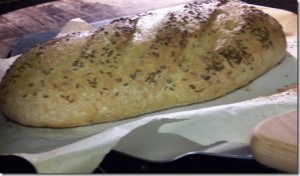
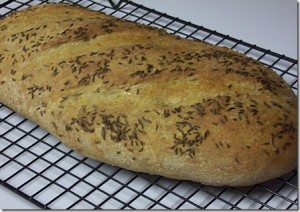
This is the loaf that was baked on the baking stone. This one didn’t have as much oven spring and the slashes didn’t open up as much as the loaf baked in the cloche.
This light rye bread tastes really good, but I forgot to get a crumb shot.

Happy Baking!
Cathy
Those look awesome! Nice job, Cathy!
Did you steam the torpedo? It looks like, as your crust expanded well.
Thanks Paul! Yes, I did use the steaming pan with the torpedo. I guess I should’ve mentioned that in my post.
This looks amazing Cathy – really good, I shall have a go at it myself 🙂
I really like the one from the la cloche – it looks so pretty!
The one in La Cloche looks especially beautiful – love your scoring! Did you notice any difference between the two loaves?
Abby, I usually like breads made in the la cloche since it gives them a thin and crispy crust. I haven’t tried the torpedo loaf yet – it went in the freezer.
Your bread looks perfect. I haven’t bought a La Cloche, as of yet. Do you feel like a certain brand is necessary?
Thanks Cristie! The La Cloche I have is from Sassafras. I’ve had it for a couple of years and I really like it! Unfortunately, they aren’t available right now. Not sure if/when they plan to get more. I believe the bottom part is still available as a pizza baker.
Wow what a great looking bread. I’m just starting to make a sourdough starter myself. This is a great inspiration. Thanks.
Thanks for stopping by Nick! Glad you got some inspiration. Good luck with your bread-baking adventures.
Great looking loaves, I bet they are delicious!
Hi Cathy, I don’t have Cloche, but could I substitute a Dutch oven instead?
Hi Jeanette, I think this bread would work in a Dutch oven. Or, you can bake it freeform on a baking stone, if you have one.
Cathy, there’s a good chance that I missed it, but where is the volume and recipe for the rye sourdough starter? I’ve reread the recipe 3 times and I can’t see it anywhere. (Honestly, I haven’t been drinking)��
Hi Jeanette,
Are you asking how much rye sourdough I used in this bread? I used 1/4 cup minus 2 teaspoons of fed (or ripe) starter (as indicated in the Making the Sourdough Preferment section).
Or, are you asking how to create a rye sourdough starter for use in this bread? If you want to know how to create a rye sourdough starter, refer to this post http://breadmakingblog.breadexperience.com/2011/12/developing-sourdough-rye-starter.html or this post http://breadmakingblog.breadexperience.com/2012/05/seeded-rye-loaf.html
Happy Baking!
Cathy