I named this Light Wheat and Rye Bread with Butter because it tastes great with just butter. It’s the type of loaf that serves as a backdrop to the main dish but could also be the center of attention itself.
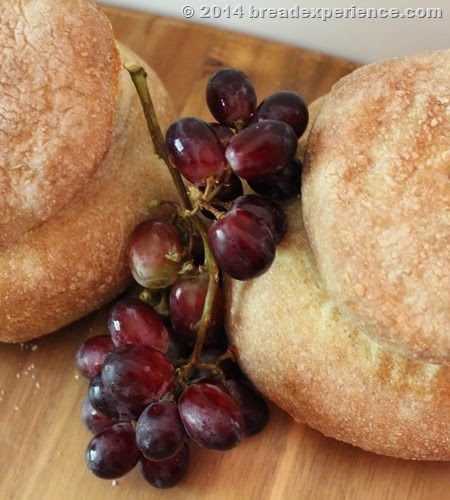
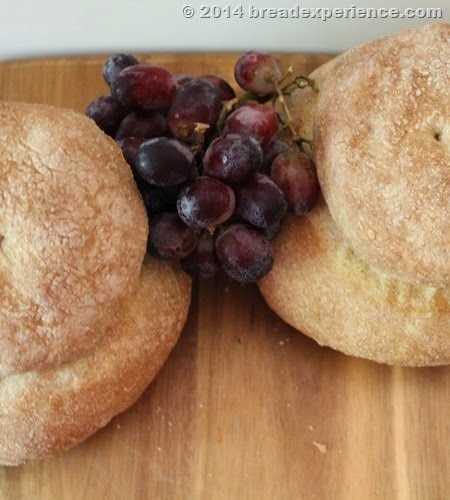
It provides the perfect accompaniment to soup for a light lunch or dinner and also pairs nicely with fruit and cheese. I’ve enjoyed it both ways and just plain with butter.
I learned how to make this shape during a workshop at the Asheville Bread Festival. The baker, Dominique Homo, taught us how to shape different types of loaves from the same rustic-type dough.
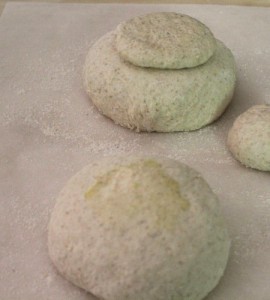
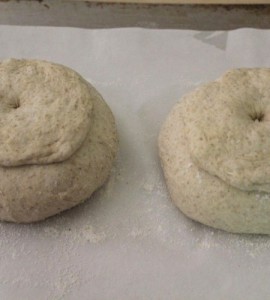
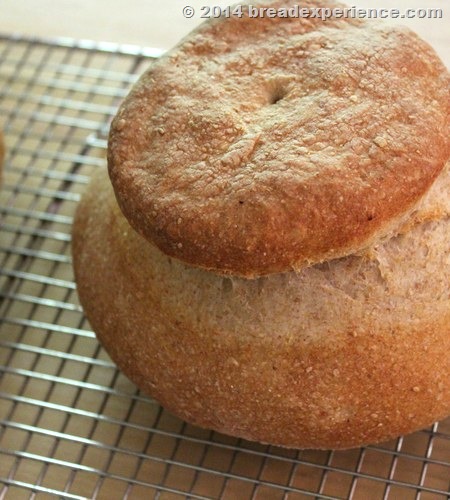
I was pleasantly surprised when he showed us how to shape this loaf. I thought you had to score around the top of the loaf with a knife or lame in order to achieve the desired shape, but this loaf isn’t scored at all. The top part of the loaf is actually an extra piece of dough which you shape into a small round ball, flatten and attach to the larger part of the loaf. It is held in place by a little bit of oil and a fingertip indentation.
I didn’t take notes on how much dough to use for the extra piece so it’s a little rounder and plumper than the one Dominique demonstrated in the workshop. His loaf had a thinner and flatter top with the squared, sharp pointy edges, commonly referred to as “ears” in artisan bread baking.
Next time I try this shape, I’ll use less dough for the top and make it thinner.
I baked this loaf on a baking stone and although I liked the crumb, I think this particular shape might work better in a bread cloche in order to achieve a crustier crust and sharper edges.
Even though the shape is not exactly what I was shooting for, I think the loaves turned out kind of cute.
Light Wheat and Rye Bread with Butter
Makes: 2 Small Loaves (428 grams each)
This loaf is simple and doesn’t take very long to prepare from start-to-finish. I made it Sunday afternoon and served it for dinner that evening. The home-milled flours give it a delicious and rustic appeal.
It is similar to the bread we made for the April BOM, in that it includes wheat and rye, but it differs in several ways: 1) it’s made with yeast instead of sourdough, 2) the crumb structure is tighter on this loaf which makes it easier to spread butter on it, and 3) this bread can be made in an afternoon whereas the Rustic White, Rye & Spelt Loaf takes a couple of days due to the longer fermentation time.
The formula that Dominique gave us was in percentages. This was good practice. I used 500 grams of total flour and adjusted his percentages based on the flours I planned to use. I also reduced the amount of salt and yeast.
Original formula:
- 80% white flour
- 10% whole wheat flour
- 5% dark rye
- 5% light rye
- 75% water, parts by weight
- 2% salt, parts by weight
- 6 parts instant yeast (this seemed way too much so I reduced the % in my adapted formula)
Adapted formula:
- 70% all-purpose white flour
- 20% home-milled white whole wheat flour
- 10% home-milled coarse rye flour
- 75% warm water
- a little less than 2% salt
- 2% yeast
Formula by weight and volume:
- 350g all-purpose flour
- 100g white whole wheat flour
- 50g coarse whole grain rye flour
- 375g (1 1/2 cups) warm water
- 8g (~2 tsp.) salt
- 10g (1 T) instant yeast
Autolyse:
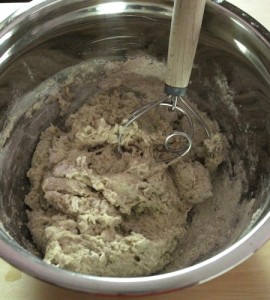
Whisk the flours and yeast together in a large bowl. Gradually add the water and stir with a Danish dough whisk or wooden spoon to form a shaggy dough. Let the dough rest for 30 minutes.
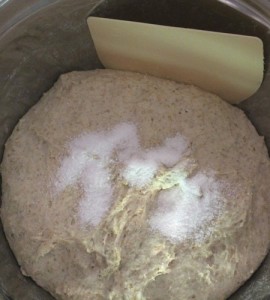
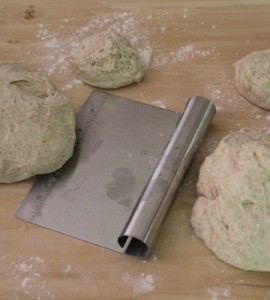
Sprinkle the salt over the top of the dough. Work the dough between your fingers until the salt is thoroughly incorporated. Scrape the bowl down with a bowl scraper. Get it really clean. This way, you don’t need to add oil or wash the bowl before the bulk fermentation.
 |
 |
Bulk Fermentation:
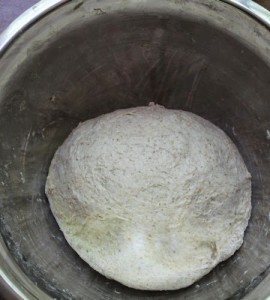
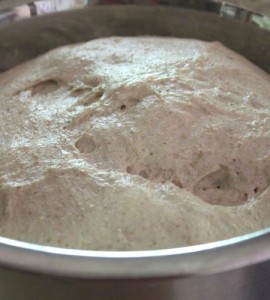
Cover the dough with plastic wrap or a kitchen towel and let it ferment 2-3 hours at warm room temperature.
Uncover and fold the dough after the first hour; recover and let it ferment an additional hour; then uncover the dough and fold it once again. Let the dough rest for the final hour.
 |
 |
Divide and Shape the Loaves:
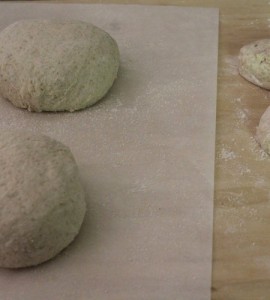
The dough weight was 855 grams. I divided the dough into four pieces: 368g, 367g, 60g and 60g. I shaped the larger pieces into round boules and the smaller pieces into balls. I dipped my finger in a little bit of oil and spread it on top. Then flattened the smaller balls and placed them on top of the larger boules and made a fingertip indention to hold the “hats” in place.
I placed the shaped loaves on parchment paper to proof, but you can let them rest on a floured board or transfer the loaves to a baking sheet if your prefer.
Let the loaves proof for an hour or until doubled in bulk.
 |
 |
 |
 |
Prepare the oven for hearth baking:
Preheat the oven to 475 degrees F. for at least 30 minutes with a baking stone on the bottom rack and a steam pan or cast iron skillet on the top rack.
Slide the loaves (on the parchment paper or directly) onto the preheated baking stone. Carefully place several ice cubes in the preheated steam pan or cast iron skillet.
Spritz the loaves with water and immediately close the door. Spritz the loaves two more times during the first 3 minutes of baking. Close the door and turn the oven down to 450 degrees F.
Bake the loaves for 25 to 30 minutes or until they are golden brown and sound hollow when thumped on the bottom. If using parchment paper, remove the paper partway through the baking cycle to allow the bottom to firm up.
Remove the loaves to a wire rack to cool before slicing and serving.
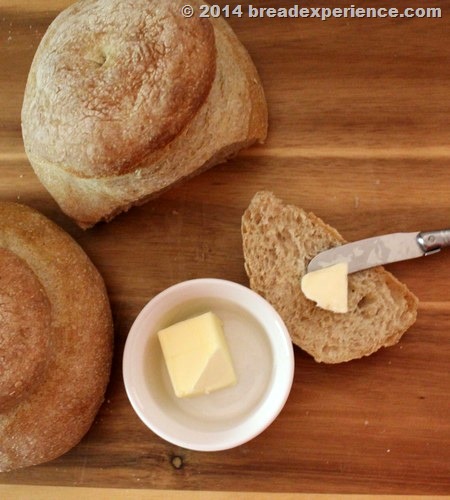 I’m sharing these rolls with BYOB!
My taste tester and I really enjoyed this bread, especially with butter. It’s a simple pleasure.
Happy Baking!
Cathy
MyKitchenInHalfCups says
😉 a classic shape I keep meaning to try!
Sweet and That's it says
It looks wonderful, Cathy.
I love its shape and the combination wheat and rye milled at home.
Many thanks for sharing it with “Bake your Own Bread”.
You’ll make many home-baker happy.
xx Carola
Cathy W. says
Thanks for hosting BYOB Carola!