These bread bowls, made with Italian Bread dough, are edible and make festive containers for soups, chilis, and stews.
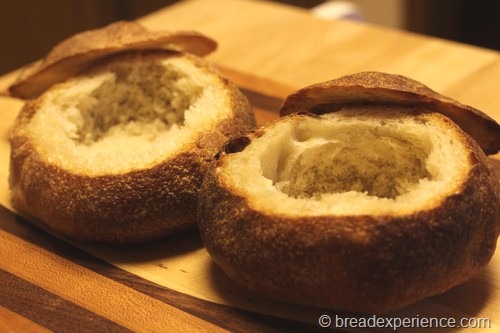
A visitor to my site recently asked me if I had any recipes for bread bowls. I realized I had only made them a couple of times. I sent her a recipe for whole wheat bread bowls and told her about the ones Frieda of Frieda Love’s Bread made during the BBA Challenge.
Making bread bowls using Italian bread dough seemed like such a neat idea, but I had forgotten about it until my visitor asked about recipes for bread bowls.
I decided now was the time to try these bowls for myself. I used an adapted version of the Italian Bread dough from the Bread Baker’s Apprentice.

Making Bread Bowls with Italian Bread Dough
Makes:
Six 6-ounce Bowls
Adapted from: The Bread Baker’s Apprentice by Peter Reinhart
Ingredients:
Biga:
- 1 1/4 cups (5.625 oz) unbleached bread flour
- 1 1/4 cups (5.625 oz) unbleached all-purpose flour
- 1/2 teaspoon (.055 oz) instant yeast
- 3/4 cup plus 2 tablespoons to 1 cup water (7oz to 8oz), at room temperature
Final Dough:
- 3/12 cups (18 oz) biga
- 1 1/4 cups (5.625 oz) unbleached bread flour
- 1 1/4 cups (5.625 oz) unbleached all-purpose flour
- 1 2/3 teaspoons (.41 oz) salt
- 1 tablespoon (.5 oz) sugar
- 1 teaspoon (.11 oz) instant yeast
- 1 teaspoon (.17 oz) diastatic barley malt powder (optional)
- 1 tablespoon (.5 oz) olive oil
- 3/4 cup to 3/4 cup plus 2 tablespoons (7oz to 8oz) water
- Semolina or cornmeal for dusting or use parchment paper
Directions:
1) Making the Biga
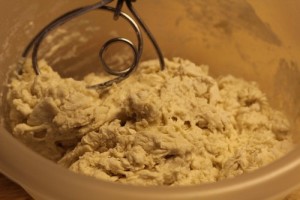
Stir together the flour and yeast in a bowl or you can use your stand mixer if you prefer. I used my Danish Dough Whisk. Add the water and stir until everything comes together and makes a coarse ball. Adjust the flour or water as necessary to ensure the dough is neither too sticky nor too stiff.
Cover the bowl with plastic wrap and let it ferment at room temperature for 2 to 4 hours, or until it nearly doubles in size. Remove the dough and knead it lightly to degas. Return the dough to the bowl and recover with plastic. Place the bowl in the refrigerator overnight or for up to 3 days.
You can use the biga the same day you make it instead of letting it ferment overnight. This is what I did. Since I was making bread bowls that would be filled with chili, I didn’t need the extra flavor you get from letting the dough ferment in the refrigerator overnight.
2) Mixing the Dough
If you let the dough ferment in the refrigerator, remove the biga from the refrigerator 1 hour before making the dough. Cut it into about 10 small pieces with a pastry scraper. Cover the dough with plastic wrap and let it sit on the counter for an hour to take off the chill. I skipped this part.
Stir together the flour, salt, sugar, yeast, and malt power in a bowl. Add the biga pieces, olive oil, and water and stir together until a ball forms. The dough should be slightly sticky and soft, but not batter like or too sticky. Adjust the flour or water as necessary.
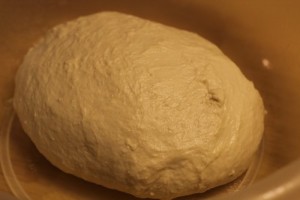
Transfer the dough to a floured counter, and knead for about 10 minutes or until the dough is tacky, but not sticky, and supple.
Transfer the dough to a lightly oiled bowl and roll the dough around to coat it.
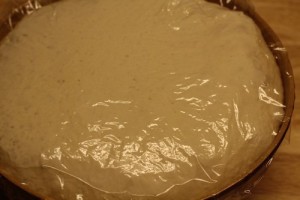
Cover the dough with plastic wrap and let the dough ferment at room temperature for 2 hours or until it doubles in size.
3) Shaping the Bowls
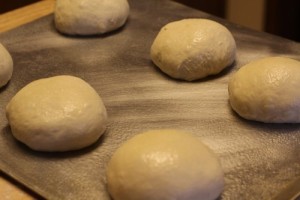
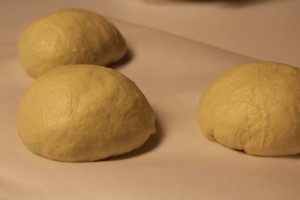
Remove the dough from the bowl and transfer it to a lightly floured counter. Cut the dough into 6 equal pieces (about 6 ounces each). Form the pieces into balls by stretching the surface of the dough around to the bottom on all four sides, rotating it as you go. When it’s correctly shaped, the ball will be smooth and cohesive. This shouldn’t take very long.
4) Proofing the Loaves
I placed the boules (balls) on a greased baking sheet to proof, then changed my mind. It’s best to bake these bowls on a baking stone to achieve a crusty outside that will hold up when you fill it with chili or soup. So I transferred the balls to parchment paper. I put 3 balls on each piece so they would have room to rise and fit nicely on my baking stone when it was time to bake them.
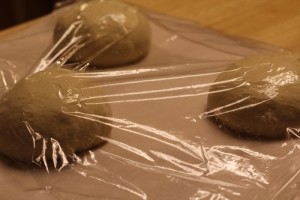
Lightly mist the boules with spray oil. Cover loosely with plastic wrap. Proof at room temperature for about an hour, or until the loaves have grown to about 1 1/2 times their original size.
5) Preparing the oven for hearth baking
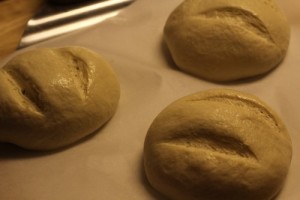
Preheat the oven to 500 degrees F. Place a baking stone on the middle rack and a steam pan on the bottom rack. Score the loaves with 2 parallel, diagonal slashes using a serrated knife or lame.
6) Baking the Loaves
Transfer the loaves to the baking stone using a baker’s peel or the back of a sheet pan. Pour a cup of hot water into the steam pan and close the oven door. After 30 seconds, spray the oven walls with water and close the door. Repeat 2 more times at 30 second intervals.
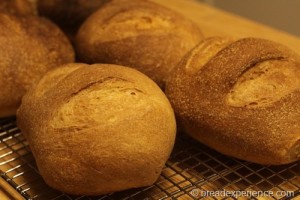
Lower the oven setting to 450 degrees F. and bake the loaves for 10 minutes. Rotate the loaves for even baking and continue baking another 10 minutes, or until the loaves are a rich golden brown. It should take about 20 minutes for the loaves.
7) Cooling the Loaves
Remove the loaves from the oven and cool on a rack before slicing and making the bread bowls.
8) Slicing and Forming the Bread Bowls
Once the loaves have cooled enough, slice off the top using a serrated knife. Just slice off enough to make it easy to scoop out the inside.
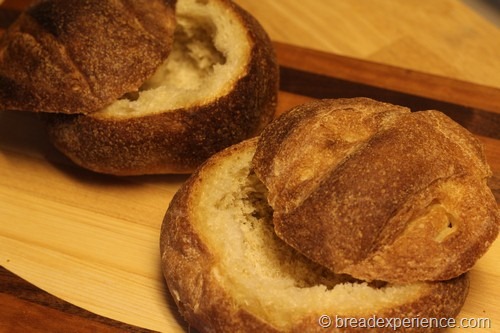
Then, scoop out the insides to form a bowl. You can hollow them out as much as you like, but leave enough to hold the soup.
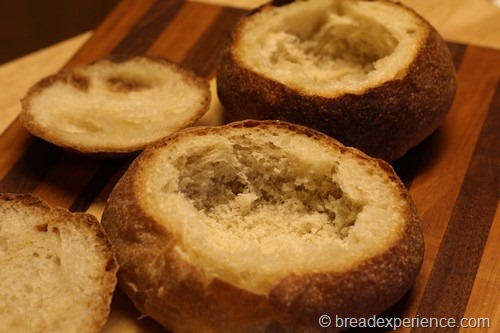
9) Serving the Bread Bowls
Now it’s time to fill the bread bowls with the soup of your choice. I served 5-Alarm Chili in these bread bowls. It was delicious. The bread was too!
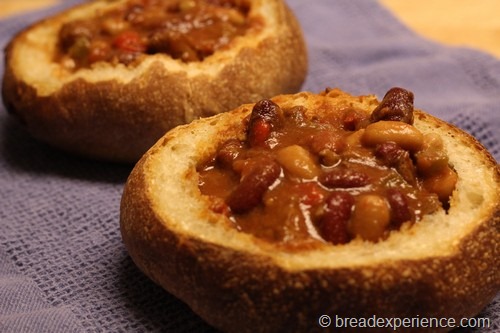
Thanks to Frieda for the great idea! This dough worked really well and the size of the bowl is just right.
Happy Baking!
Cathy
sparecake.com says
Ooh, I’ve wanted to do this for ages. Thanks for the recipe!
Athena says
I attempted some of the Italian bread recipes from this site – THEY WERE GREAT. I am having trouble with the biga here since the last one I made I added the yeast to the water for 15 minutes before mixing with the flour. I think I will try these bowls with that biga and with the biga I made last time and see what happens! Thanks for the recipes!
Cathy says
Hi Athena, what type of yeast are you using? If you are using active dry yeast, then it typically needs to be activated in warm water. The 10 -15 minute wait-period is to allow it to bloom before mixing it with the flour. However, if you are using instant yeast, which I recommend, it doesn’t need to be activated. You mix it directly with the dry ingredients, then add the wet ingredients to the dry ingredients. Some bakers use both types of yeast interchangeably and get good results. However, do what works for you. Let me know how it goes. Happy Baking!
Athena says
Cathy –
I think you’re right – that’s what happened. I am using a small jar of dry yeast which I have bloomed in water previously. Now I have one big batch of biga from the watered yeast and one non watered (both with our dry yeast). The non-watered finally started rising after 2 hrs out – 24 in the fridge – and 2 out again. As a beginner this is a fascinating process to behold. Thank you!
Cheers, Athena
Cathy says
Hi Athena,
I’m so glad you are enjoying the process. It’s still fascinating for me as well.
Happy Baking!
Cathy