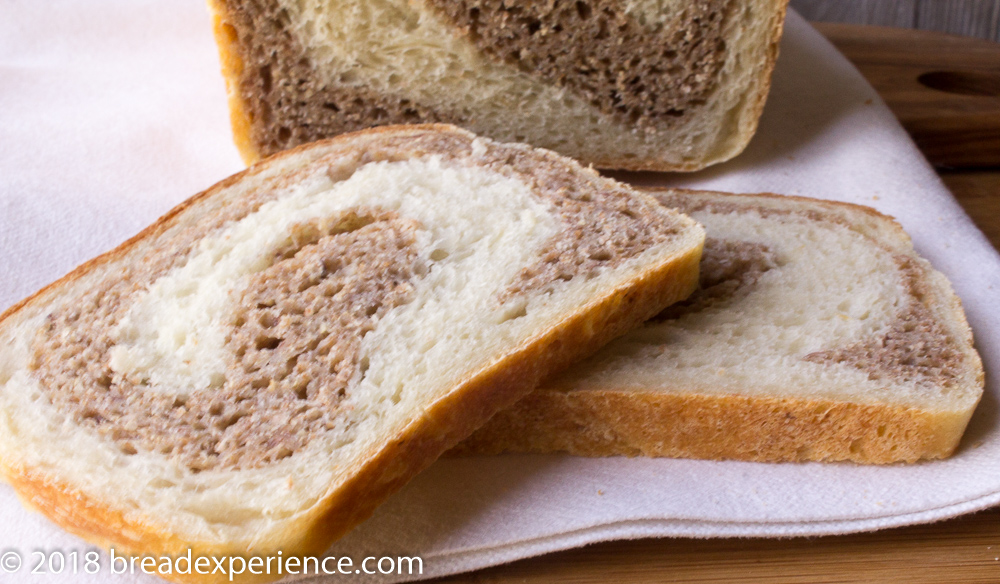
I’ve been envisioning this marbled bean bread for a long time. My idea finally came to fruition a few months ago when I started experimenting and ultimately brought this bi-colored bean bread to life.
What are the benefits of using beans in bread?
Beans add protein, contribute moistness, and provide a velvety smooth, melt-in-your-mouth texture to breads. Plus, it’s fun to play around with different types of beans.
The first time I incorporated beans in bread was last year when I made a velvety White Bean Bread with rosemary for the Bread Baking Babes’ monthly challenge.
Making that bread opened up a world of possibilities and creative ideas for making bread with different types of beans. I was hooked! I mean what’s not to love about beans?
Great way to use up leftover beans
Incorporating beans into bread is also a great way to use up leftover beans.
As I mentioned in a previous post, I’ve been experimenting with making bread with leftovers. I got the idea while I was eating some roasted vegetables one night. You can read more about that bread in my post on making bread with roasted vegetables.
This bean bread can be made with leftovers as well. If you have leftover beans, about 100 grams per layer, just puree them to use in this bread. Or, feel free to cook fresh beans, and then puree them.
Are you ready to make some marbled bean bread?
This post focuses on how to make spiral bean bread and bulls-eye bean bread.
I’m delighted to be able to share it with you and to show you how to make marbled bean bread using two different types of beans and two unique shaping methods.
Hopefully, when you see how easy it is to make this bread, you’ll be convinced that beans make beautiful and tasty bread and you’ll try it yourself.
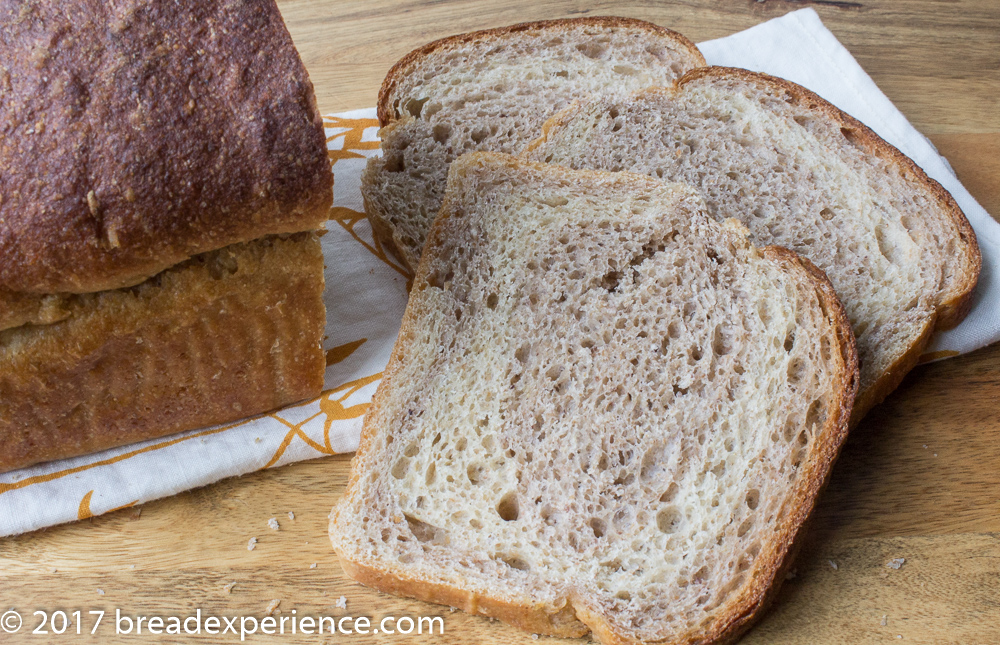
Bulls-Eye Bi-Colored Bean Bread
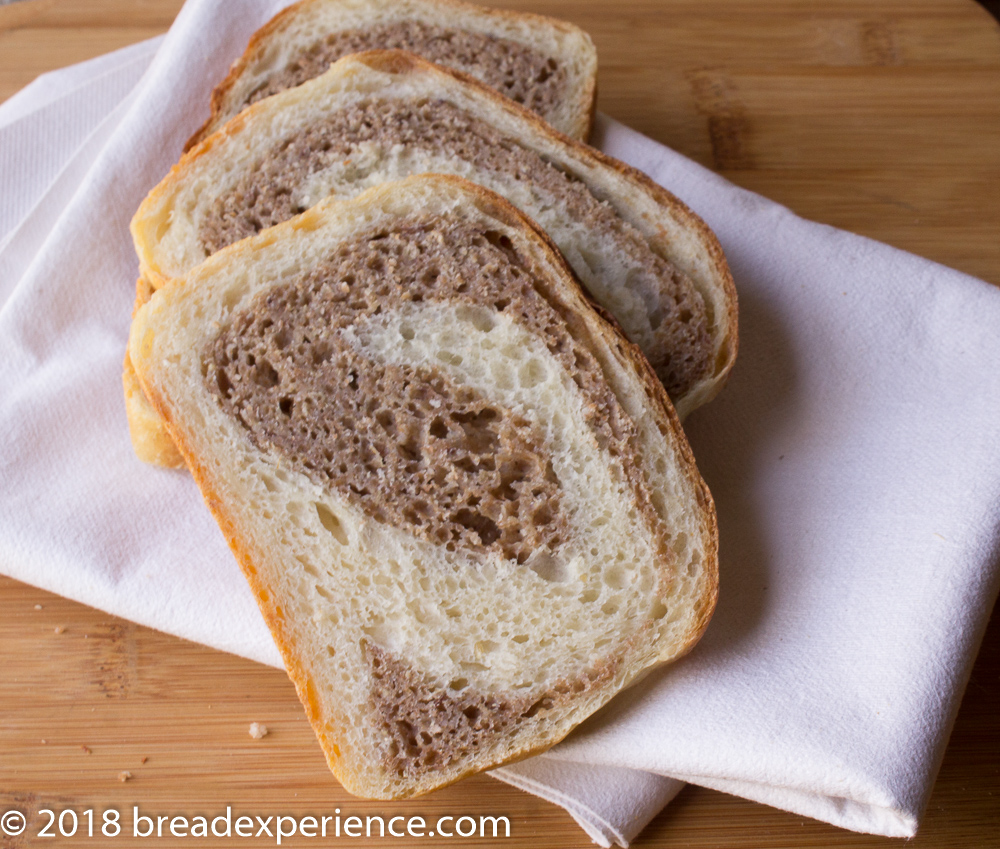
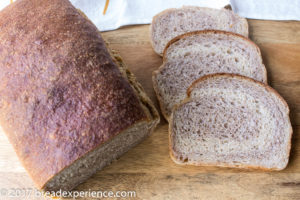
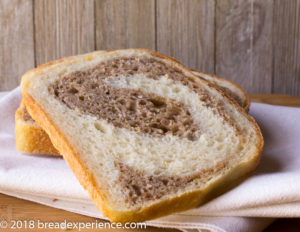
Spiraled bi-colored bean bread
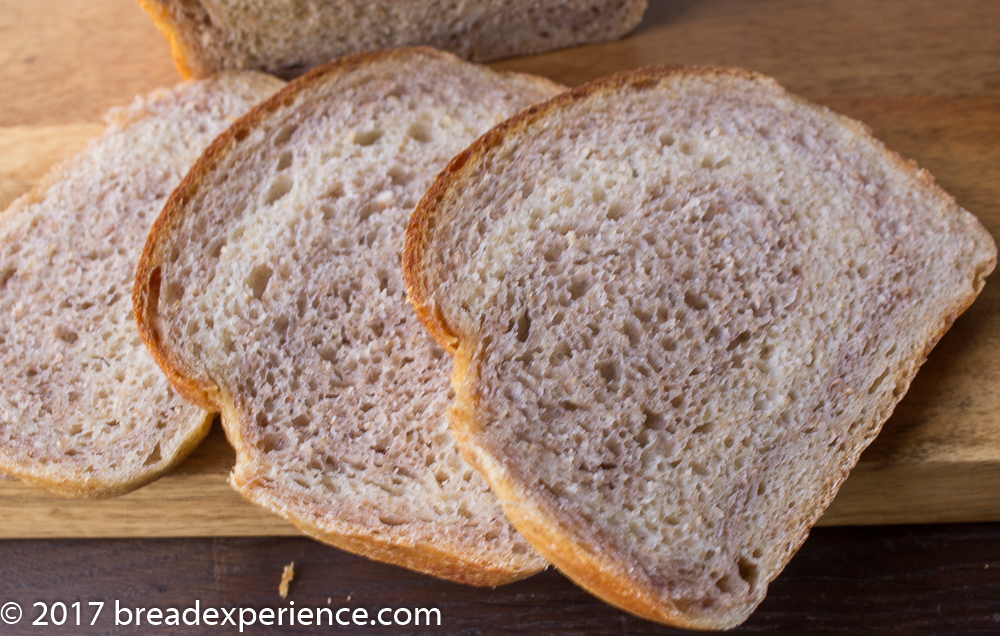
Spiral Bean Bread
I made this bread several different ways until I landed on a method and bean/flour mixture that I like. It makes a fabulous sandwich, toast, or bread-and-butter bread.
Use different colored beans/flour for contrast
As you’ll notice from the photos, the type and color of beans and flour you use will determine how much of a contrast you’ll get with this bread.
To achieve the contrasting dark and light layers, I used different colored, mild-tasting beans. For the dark layer, I used anasazi beans. To create a lighter layer, I mixed cannellini beans with all-purpose flour.
When I made the first couple of loaves, I also included some freshly milled emmer flour. However, it didn’t provide quite the contrast I was looking for so for the next version, instead of using mostly all-purpose flour with just a portion of emmer, I switched things up and used all-purpose flour and white beans for one layer and red fife flour and anasazi beans for the other layer.
For the latest version (photo below), I made a double batch and used Carolina Ground 85 Bread Flour and freshly milled Red Fife flour and baked it in a Pullman pan. With the double batch, I had enough for the Pullman loaf and a smaller loaf – not shown.
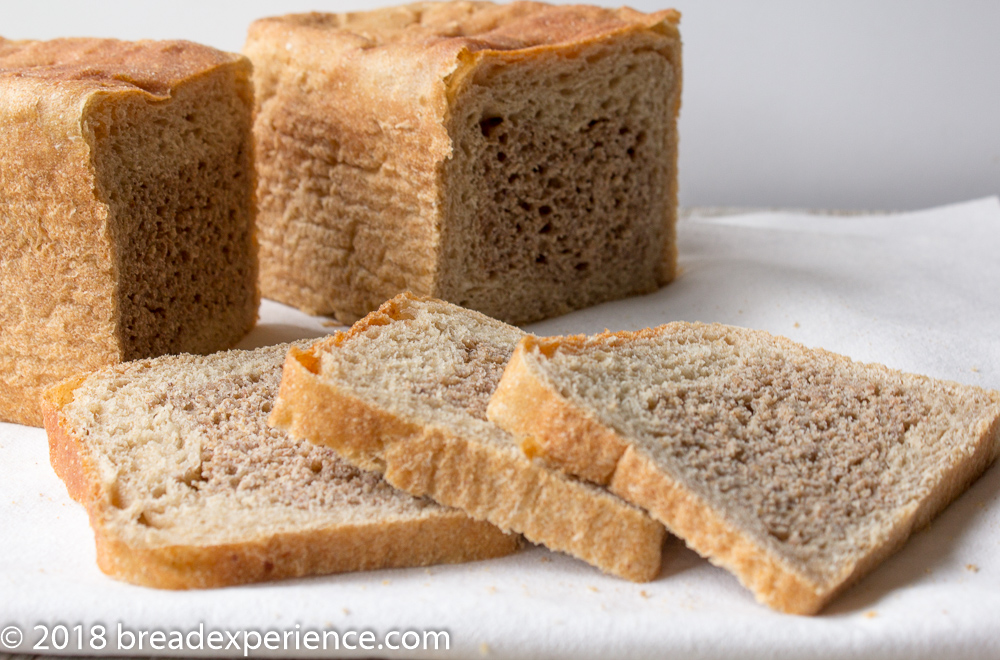
Red Fife and Carolina Ground 85 Bread Flour Version
Notes:
- Be sure to use beans that are neutral in flavor.
- When using darker beans, the contrasting dark and light layers will be more pronounced; however, it could also add a unique (read unwanted) flavor to the bread.
- If you go with more whole grains, the bread might not be quite as soft and fluffy, but it will still be a very nice bread.
- Are you concerned about the effects of beans on your digestive system? Then check out the resources below on the benefits of soaking or not soaking beans, if you prefer.
- I soaked the beans and used fresh water to boil them, but feel free to use your favorite method for making your beans.
Resources for soaking and cooking beans:
- Epicurious’s Myth-Busting Guide to Cooking Beans
- The Traditional 4-Step Method to Soaking Beans
- Why I Soak Dried Beans for 24 Hours
Marbled Bean Bread
Description
Beans add protein, contribute moistness, and provide a velvety smooth texture to breads. This marbled bean bread is made with two different types of beans and utilizes two unique shaping methods.
Ingredients
Per Color:
- 3 grams (3/4 tsp) instant yeast
- 225 grams flour (I used AP Flour / Red Fife Flour)
- 150 –200 grams water (begin with 100 grams, add more gradually) *
- 100 grams bean puree (I used cannellini & anasazi for contrast)
- 6 grams olive oil or vegetable oil
- 8 grams sea salt
Instructions
Per Color:
- In a medium bowl, whisk together the dry ingredients – flour, yeast, salt. I used one bowl per type of flour.
- In another bowl or liquid measuring cup, whisk together the wet ingredients – bean puree, 100 grams of water and olive oil. I used a separate measuring cup for each type of bean used.
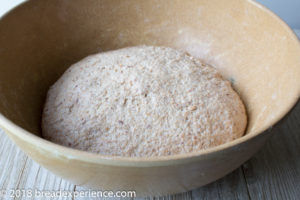
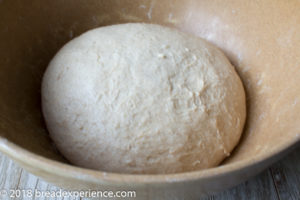
- Add the wet ingredients to the corresponding dry ingredients and mix thoroughly using a Danish dough whisk. I added the white bean mixture to the white flour mixture and the darker beans to the red fife flour mixture.
- Bulk ferment for 2 hours. Perform two folds at 45 minute intervals. Let the dough rest for the final 30 minutes.
- Shape into a spiral or bull’s-eye loaf.
Shaping a Spiral Loaf:
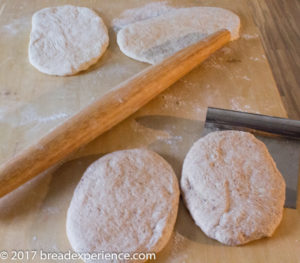
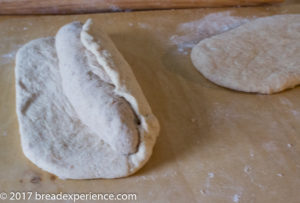
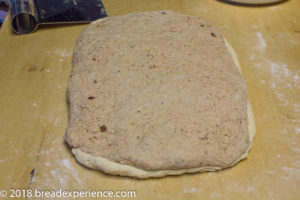
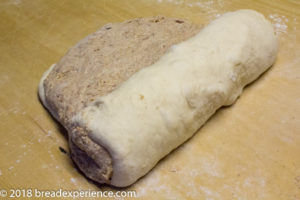
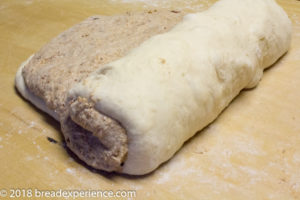
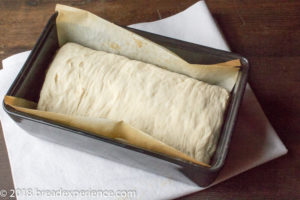
- For my spiral loaves, I used 1 layer of each color; however, to give the loaves more spirals, you can divide each color into 2 even-sized pieces. So you end up with 2 dark pieces of dough and 2 light pieces of dough. Use a rolling pin to roll out each piece into an oblong shape about 5 inches wide by 8 inches long. Take a light colored piece and lay a dark colored piece on top. Then add another light piece on top and the final dark piece on top of that. Roll the stack up into a batard shape and seal the bottom. Place the loaf seam side down in a greased or parchment-lined 9×5-inch loaf pan.
Shaping a Bull’s-eye Loaf:
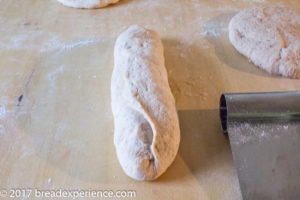
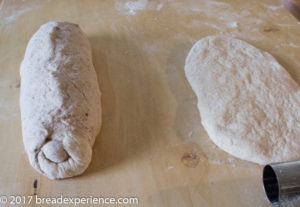
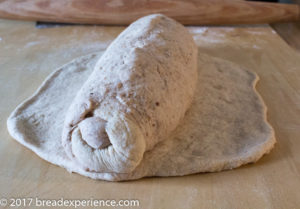
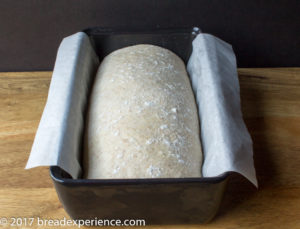
- For the bull’s-eye loaf, I used 2 pieces of each color and made a large loaf that was sort of a cross between a bull’s-eye and spiral loaf. If you prefer, divide each color into 2 pieces and make smaller loaves. Roll the dark piece of dough into a batard about 8 inches long. Take a light piece of dough and wrap it around the batard. Seal the bottom. (I wrapped the other two pieces of dough around the batard to form a large loaf) Place seam side down in a greased or parchment-lined 9×5-inch loaf pan or on a baking sheet for smaller loaves.
Proofing & Baking:
- Proof the loaf for 1 hour.
- Preheat the oven to 400 degrees F.
- Bake the loaf 15 minutes at 400 degrees F.
- Reduce the oven temp to 375 degrees F.
- Bake an additional 25 minutes until the loaf is baked through.
- Remove loaf from oven and let it rest in the loaf pan for 10 minutes before removing.
- Place the loaf on a wire rack to cool before serving or storing.
Notes
* If you use whole grain flour, you’ll need to add more hydration. I used about 50 grams more water for the Red Fife dough.
Inspired by Home Baking: The Artful Mix of Flour and Tradition around the World & Peter Reinhardt’s Marbled Rye Bread from The Bread Baker’s Apprentice
- Category: Sandwich Loaf
- Cuisine: Bread
Happy Baking!
Cathy
I want to thank Brian, of Belle Valley Ancients Grains, for providing me with samples of several different ancient grains to experiment with. I used some of his emmer and red fife grains to make this bread.


Leave a Reply