It’s been a few weeks since I’ve baked with the HBinFive Bakers or the Mellow Bakers. I’ve looked longingly at the list of breads each month but I just couldn’t seem to get any of the breads made. This was mostly due to my hectic schedule and to a lack of ingredients, which was again due to my crazy schedule. Then I injured my arm gardening and had to limit most everything, including bread-baking and blogging.
But as they say, necessity is the mother of invention. So, I decided rather than letting this injury get the best of me, I would learn how to bake breads one-armed and use ingredients I have on hand.
When I saw Anadama Bread on the list for the HBinFive Bakers this month, I jumped at the chance to bake it. It’s a no knead bread so I knew I could do it. Plus, I had all of the ingredients. Shaping it proved a bit challenging, but I was up for it.
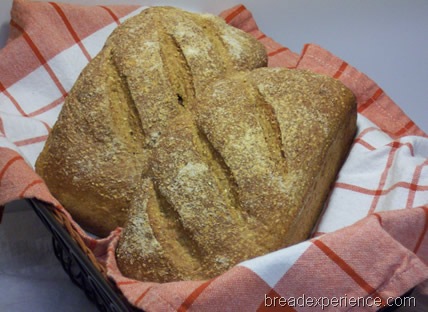
Anadama Bread was the first bread we made in the BBA Challenge and one of my favorites. The Healthy Bread in Five Minutes Anadama Bread includes whole wheat and wheat germ which I like, but in their notes, the authors mentioned that the loaf spreads and bakes flatter than most. A flat bread was not the Anadama Bread I was looking for so I decided to incorporate the best of both worlds. I used the Healthy Bread in Five Minutes list of ingredients (sort of) and the soaker, sponge and dough methods from the Bread Baker’s Apprentice. However, rather than kneading the dough, I opted to use the Healthy Bread in Five method of letting the dough rest on the counter for a couple of hours, then ferment in the refrigerator overnight before baking.
So, I give you…
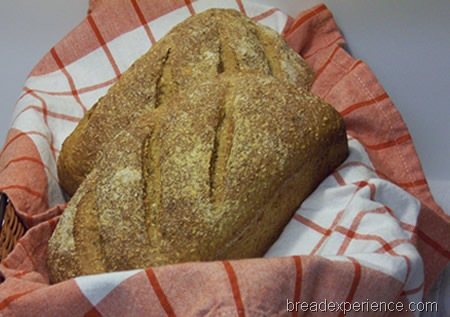
No Knead Anadama Corn Bread BBA-Style
Adapted from Healthy Bread in Five Minutes and The Bread Baker’s Apprentice
Makes: Two Medium Loaves
Ingredients:
Soaker:
- 1 cup cornmeal, preferably coarse grind (also known as “polenta”)
- 1 cup water, at room temperature
Dough:
- 3 cups bread flour
- 1 3/8 cup white whole wheat flour
- 1/8 cup wheat germ
- 1 tablespoon yeast
- 1 1/2 teaspoons salt
- 6 tablespoons molasses
- 2 tablespoons shortening or unsalted butter, at room temperature (I used butter)
- 1 cup water, lukewarm (90 degrees to 100 degrees F.)
- Cornmeal for dusting (optional)
Directions:
Making the Soaker:
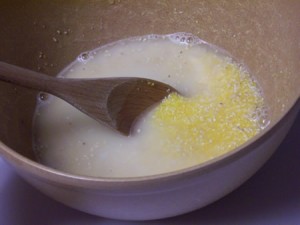
The day before making the bread, make the soaker by mixing the cornmeal and water in a small bowl.
Cover with plastic wrap and let sit overnight at room temperature.
Making the Sponge:
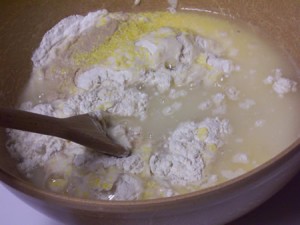
The next day, stir together 2 cups of bread flour, the yeast, soaker, and water in a mixing bowl.
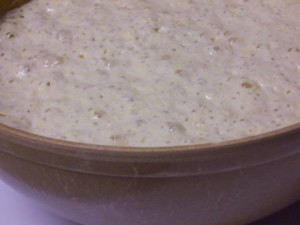
Cover the bowl with a towel or plastic wrap and ferment for 1 hour, or until the sponge begins to bubble.
Making the Dough:
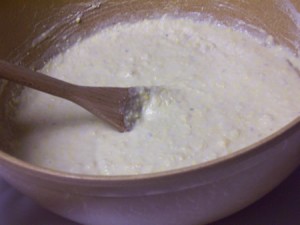
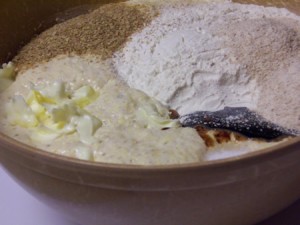
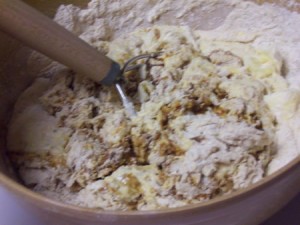
Add the remaining 1 cup bread flour, 1 3/8 white whole wheat and 1/8 cup wheat germ, the salt, molasses, and butter and stir until the ingredients form a ball. Add water if necessary to make a soft, sticky mass.
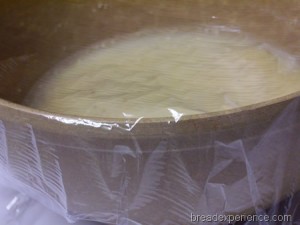
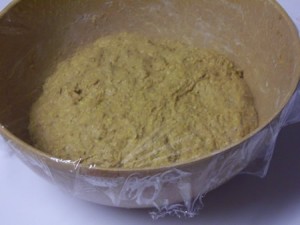
Cover the dough with plastic wrap and let it sit at room temperature for 1 1/2 – 2 hours, or until it doubles in size and then collapses.
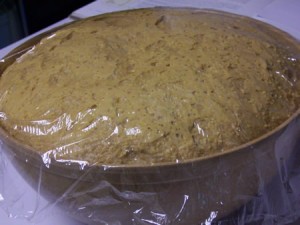
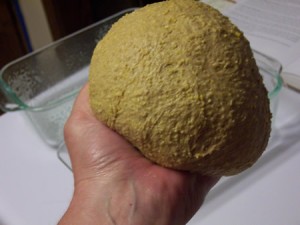
This is what the dough looked like after 1 1/2 hours. I placed it in the refrigerator at this point because I had to leave for the afternoon. The dough rose a little bit more in the refrigerator.
Shaping the Loaves:
The next day, remove the dough from the refrigerator and divide the dough into two equal pieces. My pieces were about 26 ounces each.
Dust the dough with flour (if necessary), then quickly shape it into a ball by stretching the surface of the dough around to the bottom on all four sides, rotating the ball a quarter-turn as you go.
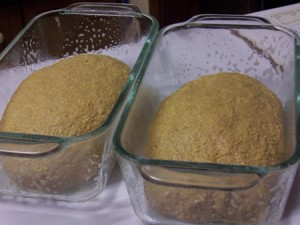
Let the balls rest on the counter for a little while to relax, then elongate the balls into ovals and place in the loaf pans. I used 8 1/2 by 4 1/2-inch pans.
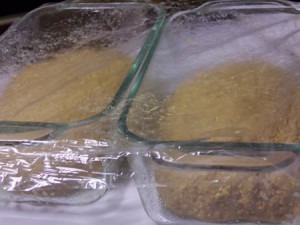
Cover the loaves with plastic wrap and let them rest for 90 minutes.
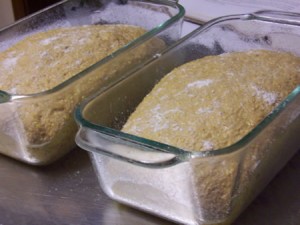
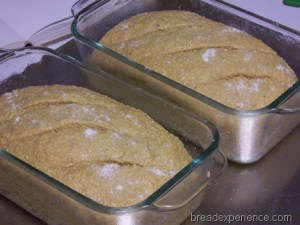
Preheat the oven to 350 degrees F. with the oven rack on the middle shelf. Place the loaf pans on a baking sheet and remove the plastic wrap. Mist the loaves with water and sprinkle them with cornmeal.
Just before baking, slash the top of the loaves with 1/4-inch-deep parallel cuts, using a serrated bread knife.
Place the sheet pan in the oven and bake for 20 minutes.
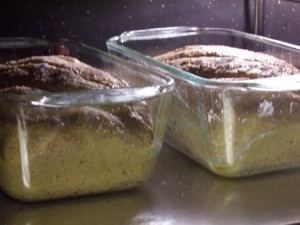
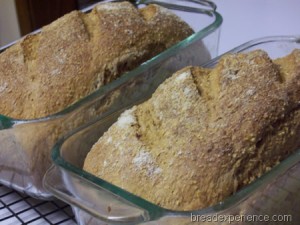
Rotate the pan for even baking and continue to bake for 20 to 30 minutes, or until the loaves are golden brown, including along the sides and bottom, and register at least 185 to 190 degrees F. in the center. The loaves should make a hollow sound when thumped on the bottom.
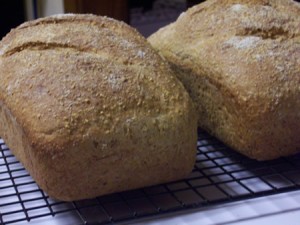
Remove the loaves immediately from the pans and cool on a wire rack for at least 1 hour before slicing or serving.
Enjoy!
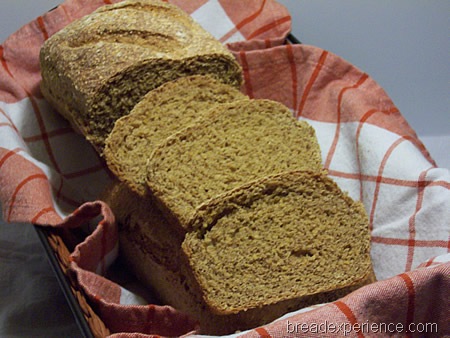
I’m happy to report that my experiment produced delicious and moist Anadama Bread. It tastes great plain with butter or as a peanut butter and jelly sandwich. I also tried it toasted with cheese. Yum!
This bread has been YeastSpotted. Please visit Wild Yeast to view all of the lovely breads in the roundup.
Thanks for joining me in the bread baking blog.
Happy Baking!
Cathy
About the HBinFive Baking Group
The HBinFive Baking Group, started by Michelle of Big Black Dogs, is baking through all of the breads in the Healthy Bread in Five Minutes book. For more information on the HBinFive baking group, check out BigBlackDog.
Guff says
You did a great job, especially considering that you are on Injured Reserve!
Judy's Bakery & Test Kitchen says
Wow, I really like the combination of the two methods. I’ll have to try that! And the addition of the soaker probably improved the bread a lot.
Loved your slashing of the loaves, made it much prettier!
Melanie says
Very good idea to combine the best of both recipes so that you could make this one. I really like the Anadama bread from BBA too. I’ll have to try your way. The loaves look very delicious!!
Elwood says
I agree with eveybody, what a great idea to combine the 2 methods. And, as usual great looking loaves. Sorry to hear about your injury.