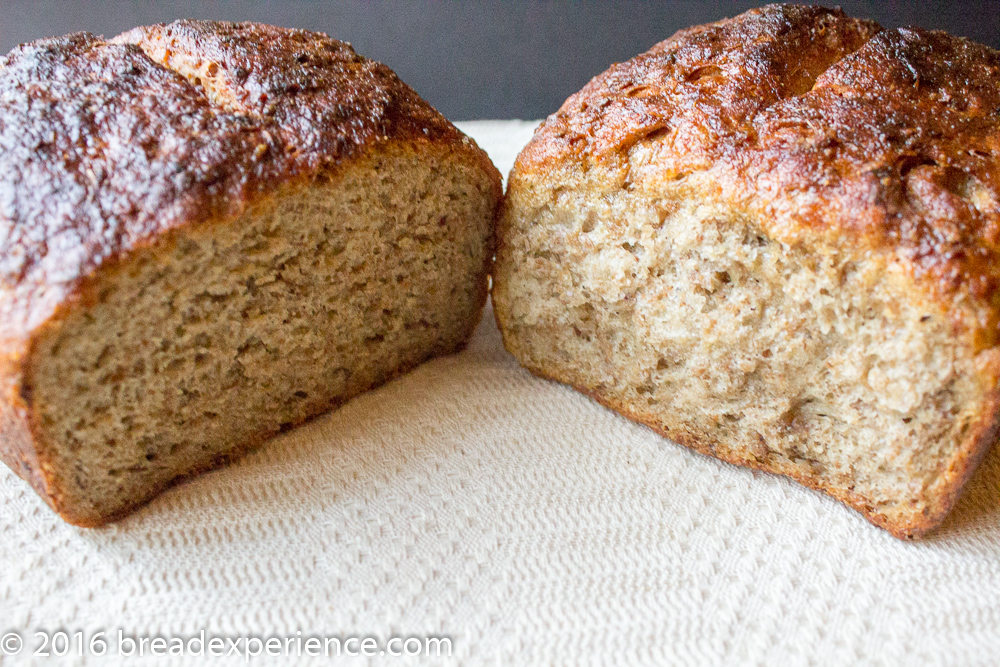
When Kelly, the host kitchen of the month for the Bread Baking Babes, described this Pain Bouillie Porridge Bread, she mentioned that it went well with soups and stews, and made great toast. It sounded like the perfect bread for the Harvest Season.
THIS POST MAY CONTAIN AFFILIATE LINKS. FOR MORE INFORMATION, PLEASE VISIT THE PRIVACY POLICY PAGE.
It starts with a mush or porridge
The method for this bread is from The Village Baker by Joe Ortiz. According to the book, when you find a recipe that starts with the instructions, “Faire une boiullie…” it characterizes an old recipe that starts with a mush or porridge made by pouring boiling water over the flour. The porridge ferments slightly overnight and then is used the next day in bread dough.
This rye bread has lots of texture and chew, but it’s not dense. It’s moist due to the addition of the porridge and I found it to be lighter (than other dense rye bread) due to the inclusion of all-purpose spelt flour. I also increased the hydration in the porridge a little bit.
I have been working on another porridge bread and that method says to use one part grains to two parts water. Since I used spelt, which absorbs less hydration than normal bread flour, I decided to take a happy medium between the two methods and use 430 grams of water (as opposed to the 414 grams called for in the original recipe or 480 grams in the 1:2 ratio).
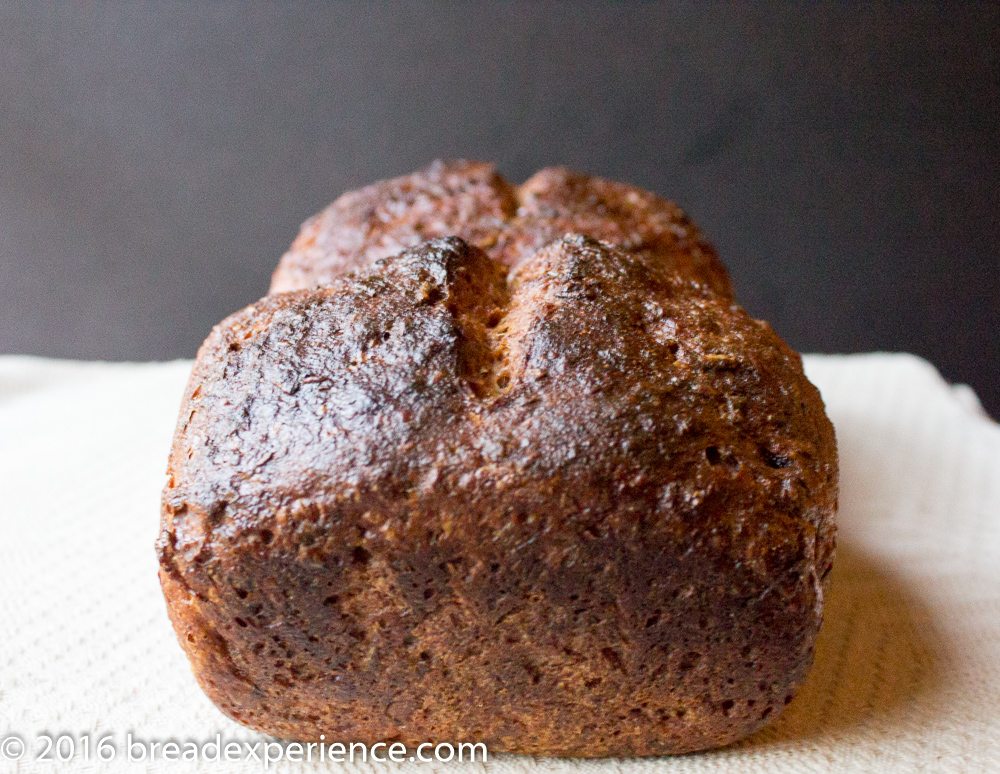
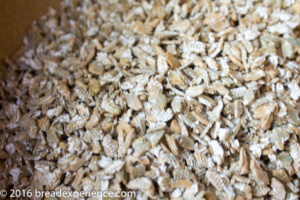
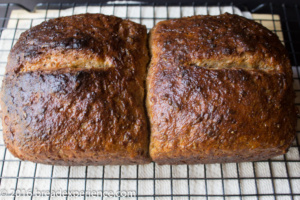
I liked the way these loaves are shaped, and baked in the same loaf pan. This way, you can pull them apart from the center where the two halves meet. I also liked the idea of using porridge in the bread, and the fact that it called for cracked rye grain. I didn’t have any cracked rye; however, I have a flaker that I enjoy using so this gave me an excuse to make rye flakes.
Some notes of interest
There are a couple of other notes that I found interesting about this bread.
It is started in a cold oven and bakes while the oven is heating.
It includes a paste of caraway and raisins.
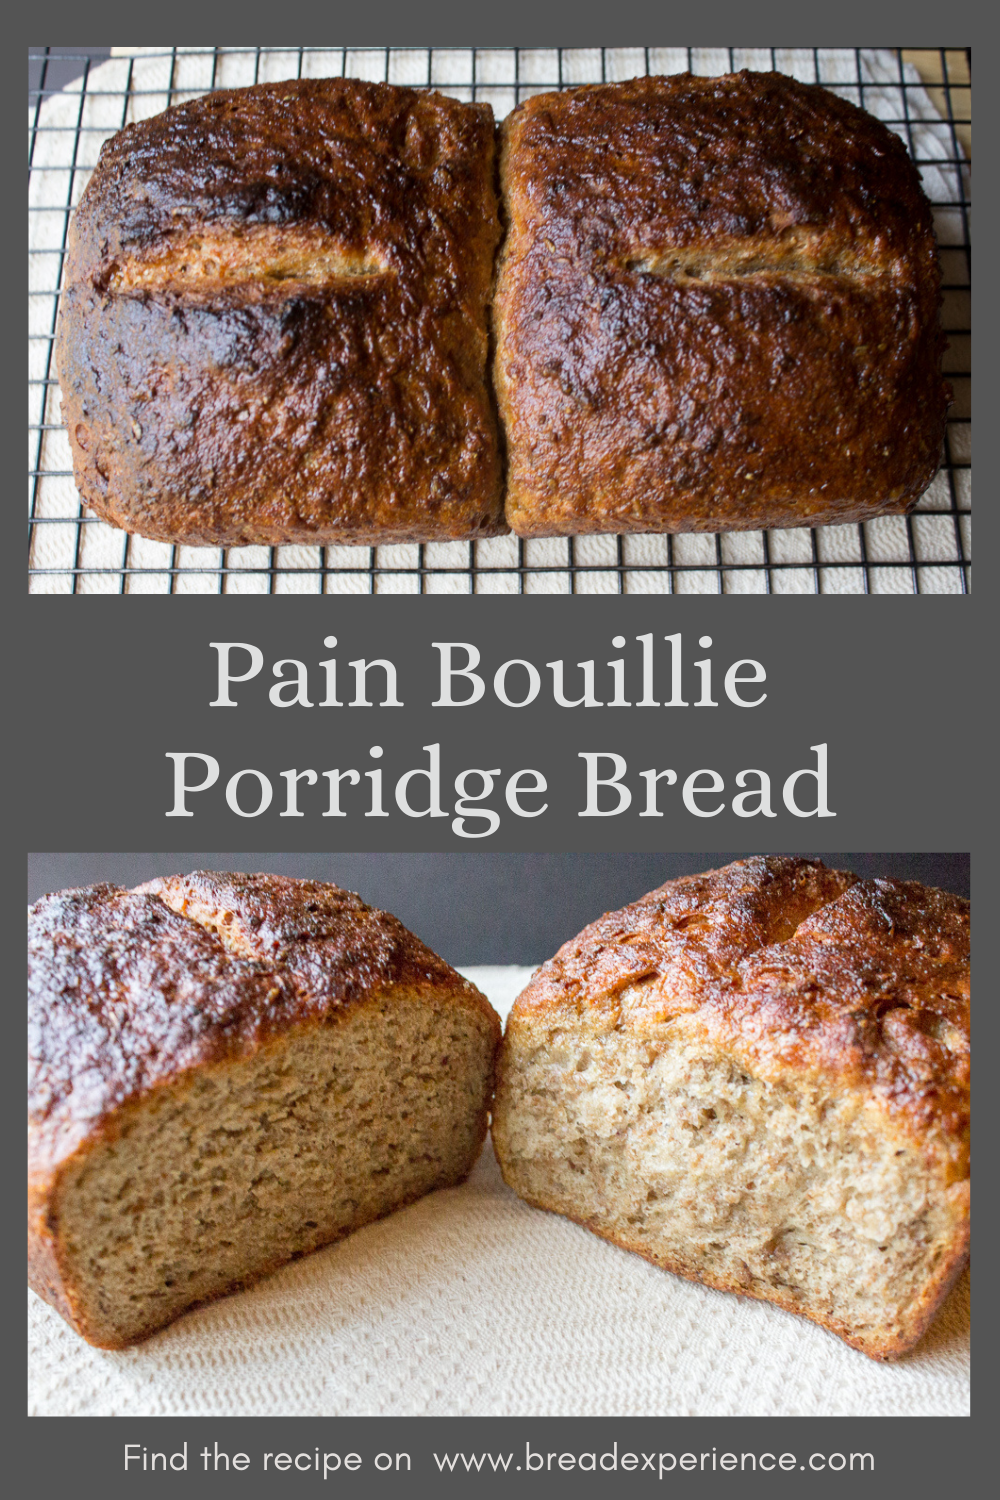
Pain Bouillie Porridge Bread
makes two 14-16oz loaves in one pan
Adapted from The Village Baker by Joe Ortiz
This Pain Bouillie Porridge Bread is a very intriguing and enjoyable bread to make.
The Bouillie (Porridge):
14 grams / 2 tsp honey
430 grams boiling water
120 grams /1 cup organic whole rye flour
120 grams / 1 cup organic flaked rye grains
The dough:
4 grams / 1 tsp instant dry yeast
2 tsp warm water
All of the bouillie from the previous step
8 g / 2 tsp fine sea salt
4 g / 2 tsp caraway seeds
10 g / 1 tbsp raisins
300 grams organic all-purpose spelt flour, divided
To make the porridge starter (bouillie): Mix the honey into the boiling water until dissolved. Pour it over the rye flour and grain in a bowl. Let it soak for a few minutes, then stir it to make sure all the flour is moistened. Cover the bowl and set aside overnight in a warm area.
- Rye Flakes
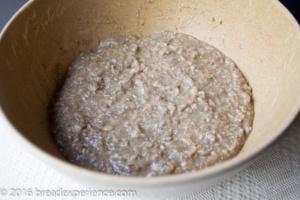
- Rye Porridge
For the dough:
Place all of the porridge (bouillie) into a large bowl. In a separate bowl, mix 200 grams of spelt, yeast, and salt. Reserve the remaining 100 grams of flour to add in as needed.
Crush the caraway seeds with a mortar and pestle until fragrant and broken. Add the raisins and grind into a paste. Stir 2 teaspoons of water into the caraway/raisin paste.
Add all of the resulting caraway flavoring into the porridge. Slowly stir the flour mixture into the porridge mixture and mix using a Danish dough whisk or plastic dough scraper. Add 50 grams of the remaining spelt flour and continue mixing until there are no dry bits of flour. Let the dough rest for 30 minutes.
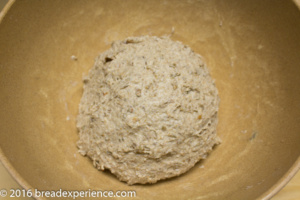
Knead for 5-8 minutes, adding the remaining 50 grams of spelt flour. The dough will be sticky but should be firm.
Put the dough in the bowl, cover with a moist towel, and let rise in an unlit oven (or warm place) for 1½ – 2 hours.
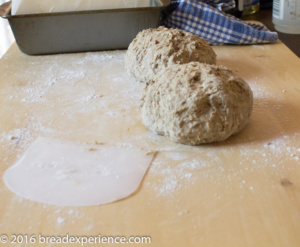
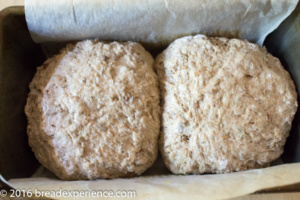
When the dough has doubled, cut into two pieces. Shape into flat loaves that are 5″ square and 2″ high by flattening and then folding the edges toward the middle and sealing the edges with the heel of the hand. Grease a 9×5½” bread pan and oil one side of each loaf. Place them together in the pan with the oiled sides touching.
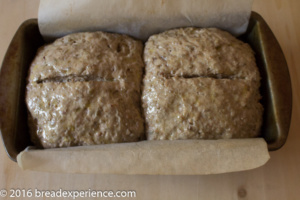
Cover again with a moist towel and let rise for 30-45 minutes in a cold oven until the dough has crested the edge of the pan by ½-inch.
Slash the top of each loaf with a little 2″ cut, and brush tops with oil.
Set the oven to 450ºF and immediately place the loaves in to bake. Bake in the heating oven for 25 minutes. Reduce heat to 400ºF and bake for 45 minutes longer. They will be quite dark. Watch the loaves carefully so they don’t burn. Mine baked for a total of 45 minutes. I tented them with foil after about 20 minutes and kept them tented during the rest of the baking cycle. The loaves still got pretty brown on top, but they didn’t burn.
Cool on a wire rack and slice when the bread is completely cooled.
- Rye porridge after resting overnight
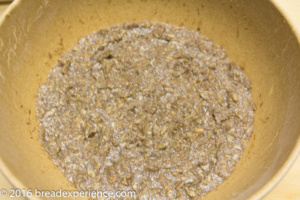
- Raisin/Crushed Caraway Seeds Paste
- Porridge/Paste mixture
- Final dough
- Divide dough in 2 pieces
- Place loaves side-by-side in pan
- Proofed loaves
- Cooling on wire rack
After I removed the loaves from the oven, I brushed them with a little more oil. It made them shine!
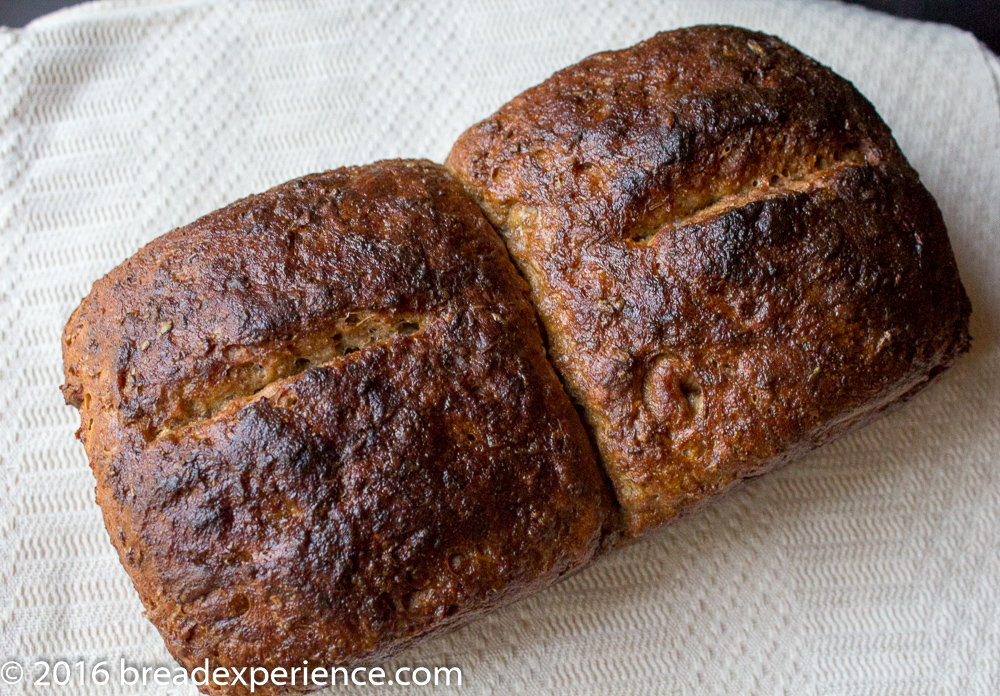
This is a delicious and satisfying bread. I enjoyed thick slices with butter for breakfast. It was filling but not too heavy.
Happy Baking!
Cathy
Check out the Pain Bouillie Porridge Bread the other Babes made.
– Karen
blog from OUR kitchen – Elizabeth
Bread Experience – Cathy
Feeding my Enthusiasms – Elle
Judy’s Gross Eats – Judy
Karen’s Kitchen Stories – Karen
My Kitchen In Half Cups – Tanna
Notitie Van Lien – Lien
Thyme for Cooking – Katie (Bitchin’ Bread Baking Babe Bibliothécaire)
A Messy Kitchen – Kelly


Kelly says
Wow, the oil gave it just beautiful shine! Lovely! I will have to try that next time.
Cathy says
Thanks Kelly! This was a great choice for the monthly bake!
Elizabeth says
Your bread looks perfect! The crust is so beautifully shiny. And I am so so envious of your flaker!
Next time, I’m going to make the porridge with rye flakes instead of going through the nightmare of trying to crack whole rye berries in an electric coffee grinder.
Karen says
Very intriguing bread indeed. Your bread is so beautiful!! Your step-by-step photos are great, Cathy.
Lien says
Beautiful loaves, you’re do have the perfect colour on top (not too dark as mine was). I do like this porridge method a lot too.
Lien says
I meant: Yours do have the perfect…..
Tanna says
Flaker … that sounds like fun.
We did enjoy this one.
Love the step by step. Your rye flakes are more uniform than my rye chops.
It is intriguing to try different ways and bake.
Katie Zeller says
I love the idea of 2 pull-apart loaves – one for now and one for the freezer. They’re gorgeous!
Nick says
Wow,that’s a beautiful end product! The process looks pretty fun although it is labor intensive.
Nice post!