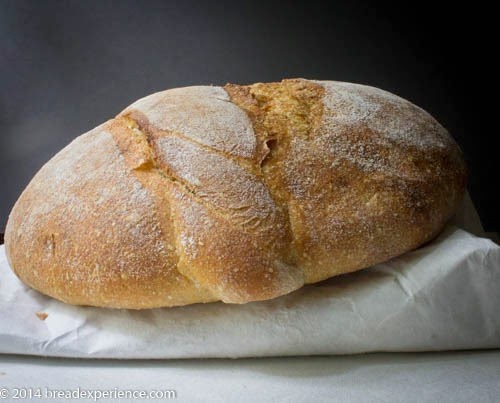
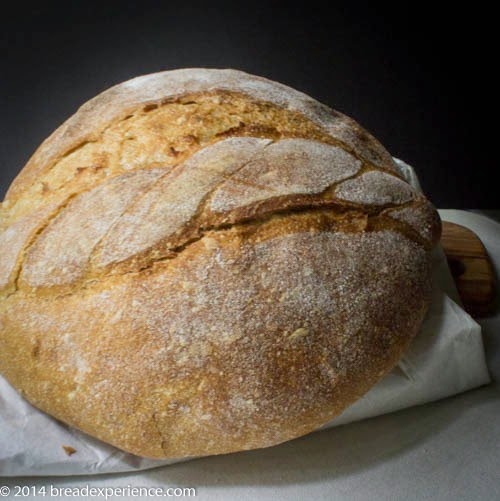
The bread of the month for the Artisan Bread Bakers FB group is Pain Cordon de Bourgogne, or French Bread with a Twist. The twist goes right down the middle of the bread; there is no slashing involved.
I shaped my bread into a round loaf instead of a batard (oval loaf) so that I could bake it in a ceramic bread cloche. The twist got a little flat, but I sure do like the color and flavor of this loaf.
This version is made with bread flour, high-extraction whole wheat flour, and rye flour. I enjoyed this combination of flours, but now that I’ve made it, I can envision different variations on a theme.
Did someone say KAMUT? Or perhaps spelt. The possibilities are endless.
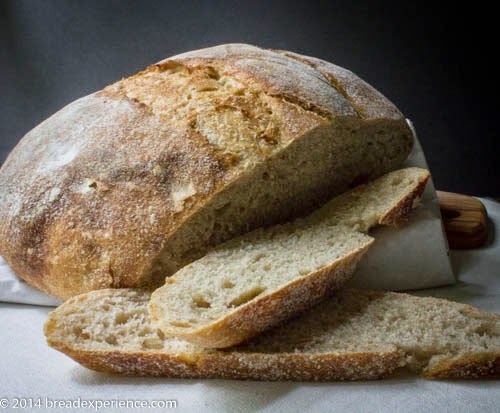
You can make this bread using a sourdough starter and spike it with a little bit of yeast to move things along (i.e. speed up the fermentation), but I opted for a long, slow fermentation using only sourdough and no added yeast. I’m glad I did. It has a delicious and slightly tangy flavor.
I’m not a big fan of sour, sourdough, mind you, but this one is just right. I used my favorite starter. I call it my apple starter because it was started with apples I picked from an orchard in the mountains. You don’t need to make a starter using apples, or anything other than flour and water for that matter, but it sure was fun combining two of my favorite things: hiking and baking.
Pain Cordon de Bourgogne
Makes: One large round or oval loaf
Shared by Ralph Nieboer of the Artisan Bread Bakers, courtesy of Freerk of the Breadlab
Flour-mix:
- 300 gr. bread flour
- 125 gr. high extraction flour (that means sifted whole wheat flour) I used home-milled hard red winter wheat
- 75 gr. rye flour (I used home-milled wholegrain rye flour)
To begin, make the flour mix; weigh out all the flours accurately, and sift all of them together.
The evening before you plan to bake the bread:
Poolish:
- 150 gr. active wheat starter (100% hydration) *
- 100 gr. flour mix
- 90 gr. lukewarm water
- 20 gr. buttermilk (I used kefir milk)
*100% hydration means you feed your starter with a 50/50 ratio of flour to water. I fed my starter the morning before I began this process so that it would be ready for use in the poolish that evening.
Method:
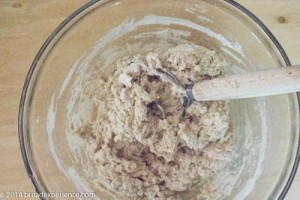
Add the lukewarm water and the buttermilk to the 150 gr. of active starter. Stir until it goes all frothy. Add the flour mix and stir it all together into a mushy porridge. Leave this, covered, at room temperature for about 1½ hours, or until it goes all bubbly and has doubled, or even tripled in volume. I left it on the counter for about an hour, then placed it in the refrigerator overnight.
On Bake Day:
Dough:
- All of the sourdough
- 400 gr. flour mix
- 40 gr. buttermilk (I used kefir milk)
- 170 gr. water + additional if using freshly milled flour**
- 10 gr salt
**I added 50 grams add’l flour after the autolyse.
Mixing/Kneading/Autolyse:
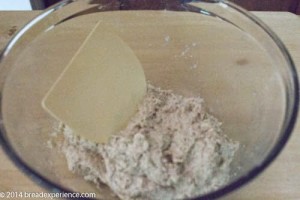
Stir the water and buttermilk through the sourdough. Add the flour and mix it into a rough dough with a Danish dough whisk or the back of a wooden spoon. Cover and leave to autolyse for about 30 minutes.
Knead the salt through the dough, either by hand or in a stand mixer. About three minutes. I used the additional 50 grams of water when mixing in the salt. Cover and leave for 15 minutes.
Knead the dough for another minute or two, cover, and rest for 15 more minutes.
Bulk Fermentation:
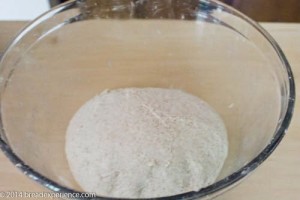
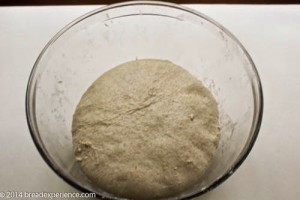
Knead the dough one last time for about a minute, or 2 minutes by hand. Form into a ball, cover, and let the dough rest for another 1-2 hours, or until the dough has more or less doubled in bulk.
Shaping the Loaf:
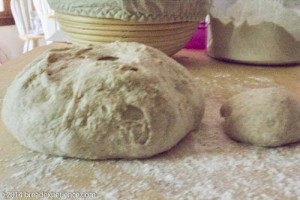
Turn out the dough on your work surface and cut about 75 grams of dough off the dough, shape it into a small ball, and leave it to rest for 5 minutes.
Flatten the dough into a rectangle, and shape it into a ‘batard’ or a round boule.
Dust your proofing basket royally with a mixture of all-purpose/rice flour.
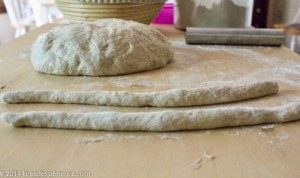
Roll the small ball out into two strands of dough, flour them lightly, and twist them around each other. The cord should cover the entire length of the dough.
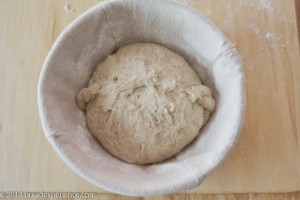
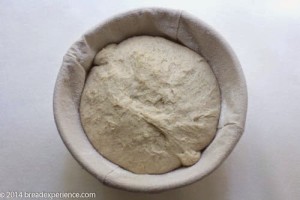
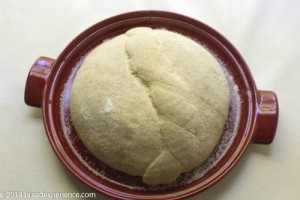
Place the cord in your proofing basket, centered and hanging over the far ends. Place the dough, seam side up on the cord. Cover and rest until doubled in bulk, about 2 – 3 hours.
Final Proof:
When you poke the dough with your finger, and it returns slowly, your bread is ready to go into the oven. If it springs back within a few seconds, leave it to rest a little longer.
When you poke your dough and the dent doesn’t spring back at all… you have over-proofed your dough. Keep an eye on it, and remember; under-proofing your loaf is a more common occurrence than overproofing.
 |
 |
 |
 |
 |
 |
 |
 |
Prepare the oven for baking;
Preheat the oven to 450 degrees F. I used a cold ceramic bread cloche, but in hindsight, it probably would’ve done better if I had preheated the baker while the oven was preheating.
Carefully transfer the loaf from the basket to the bottom of the bread cloche.
Cover it with the lid and slide it onto the bottom rack of the oven. Bake the loaf for 25-30 minutes with the lid on, then lower the temperature 425 degrees F., and bake for a further 15 minutes with the lid off, until the crust is nice and dark.
Cool on Wire Rack:
Remove the loaf and baker from the oven and allow the loaf to cool completely on a wire rack before slicing and serving.
I’m sending this loaf to be yeastspotted.
Happy Baking!
Cathy
Sleepy says
Stunning loaf, looks perfect for a mix of peppers and sausage on a cool fall day. Thanks for sharing again.
Cathy W. says
Thanks Sleepy! Yes, I do believe this loaf would taste great with a mix of peppers and sausage. I have that on my list as well.