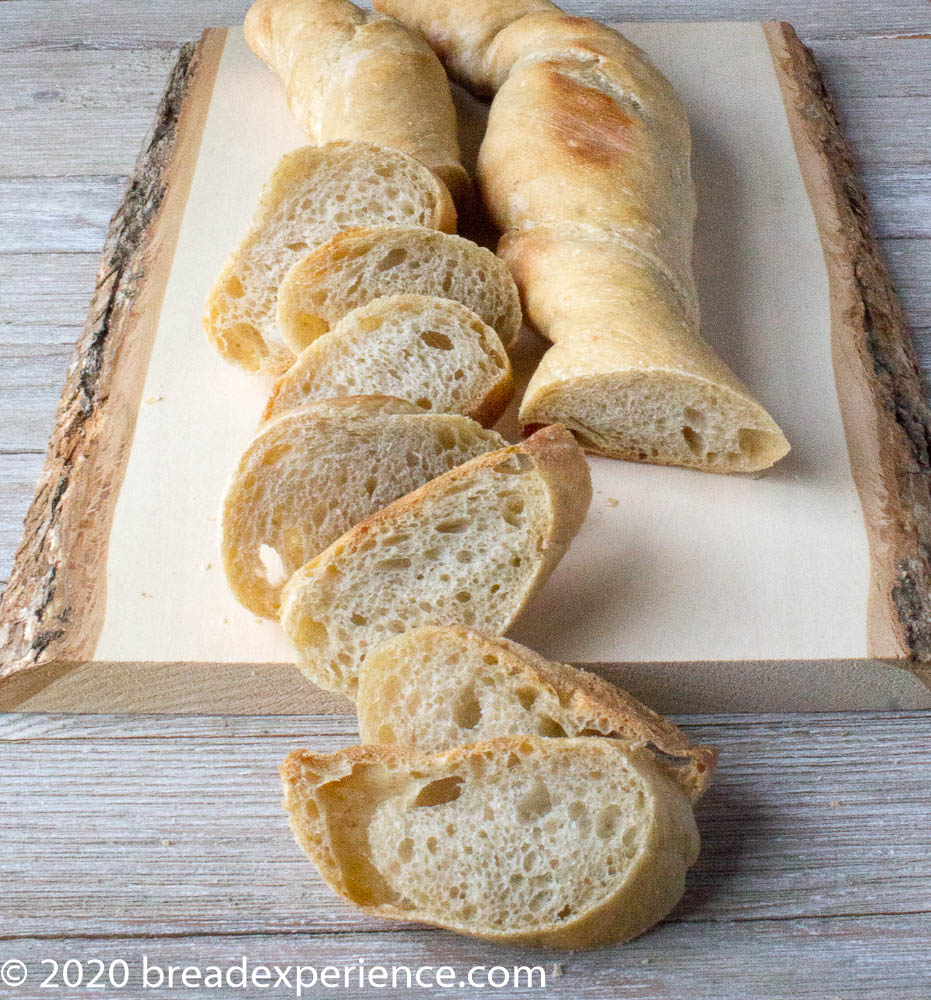
This Le Pain Tordu is a bit twisted.
The dough for this lovely sourdough French bread is pressed with a rolling pin and twisted a few times to produce a uniquely shaped loaf. My version includes a bit of rye flour, sprouted wheat flour, and an added twist.
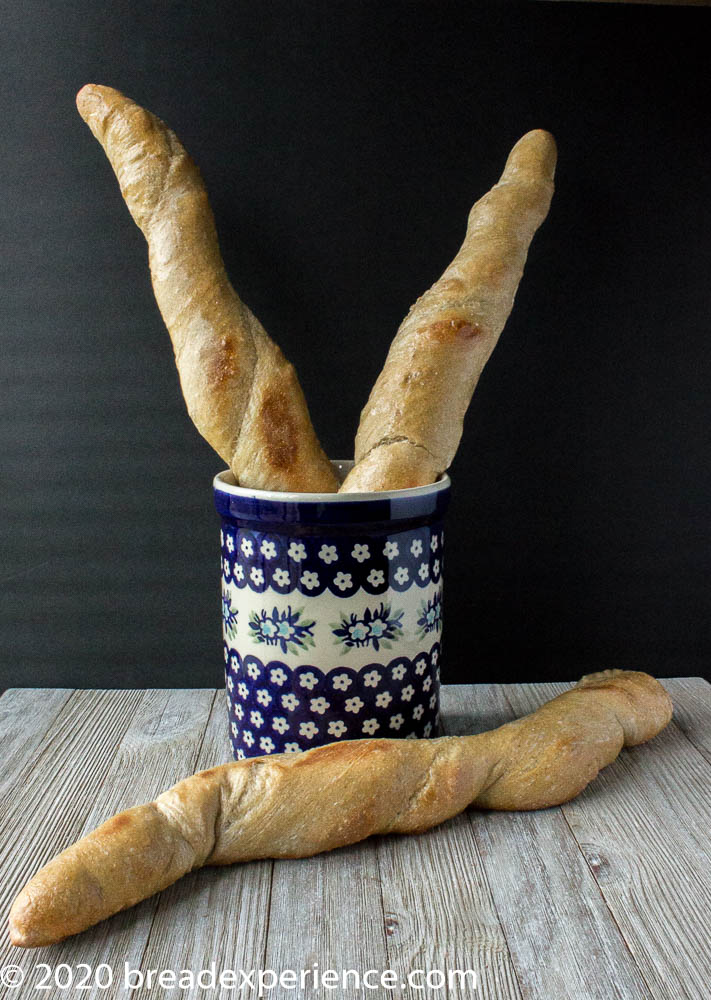
This tasty loaf is the monthly bake for the Bread Baking Babes. Elle of Feeding My Enthusiasms chose Pain Tordu to celebrate the 12th Anniversary of the Bread Baking Babes.
I got a little confused (or perhaps just distracted) when I reviewed the formulas and instructions for the monthly bake. So I hunted through my bread books for a different formula. I found one in the “Larousse Book of Bread” that looked more manageable. Instead of making one or two big loaves, this formula made three smaller loaves.
A funny thing happened on the way to baking this loaf.
On the day I made this bread, all was going well until I got to the baking phase. The dough felt wonderful during the bulk ferment, the shaping went well, and the loaves had just finished their final proof. I was feeling rather pleased with myself, and perhaps a bit overconfident. I remember thinking, “This is easy! What was my problem!”
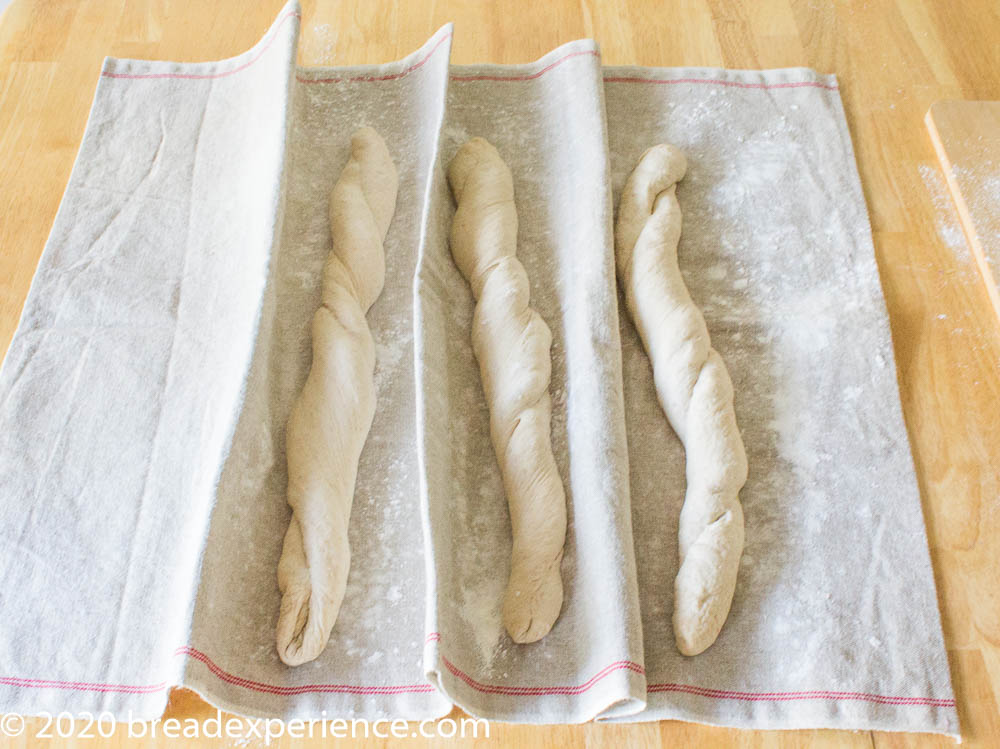
When it came time to place the loaves in the oven, I opened the oven door, pulled out my cast iron skillet (that I use as a steam pan), and thought, “Something isn’t right.” Then it hit me. I forgot to put the baking steel in the oven to preheat. Phooey!
At this point, I had a couple of choices. I could bake the loaf on an unheated baking sheet or place the baking steel in the oven to preheat and let the loaves proof a little longer. I opted to put the baking steel in the oven and let it preheat.
The problem with this option is that the loaves were already fully proofed so by the time the baking steel was preheated, the loaves were overproofed. I had proofed the loaves on a baker’s couche, and when I transferred them to the parchment paper, they stretched even more.
I had already started transferring the proofed loaves to the hot baking steel when I realized they weren’t going to fit. As I stared at the loaves hanging partway off the baking steel, I had to make a quick decision. Otherwise, the loaves would be ruined. I decided to coil one end of each loaf to make them fit on the steel.
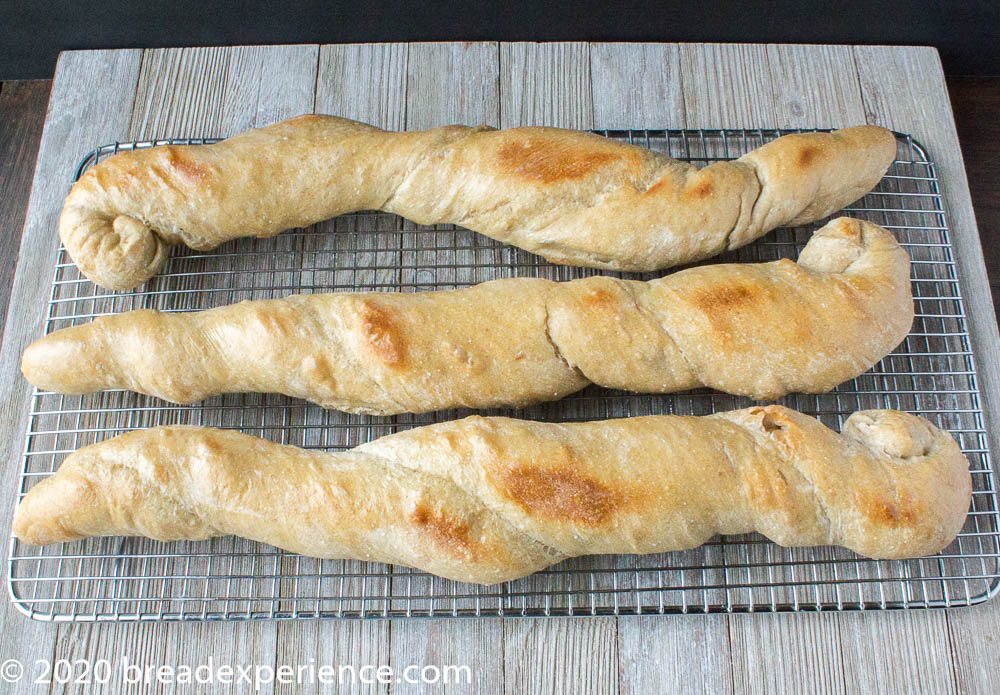
No biggie! When all is said and done, I like the effect of the coils. If I had thought of it in time, I might’ve coiled both ends.
The moral of this story, and something the Babes always say is, “Bread just wants to be bread!” This bread is no exception. I just needed to get out of the way and let it be bread.
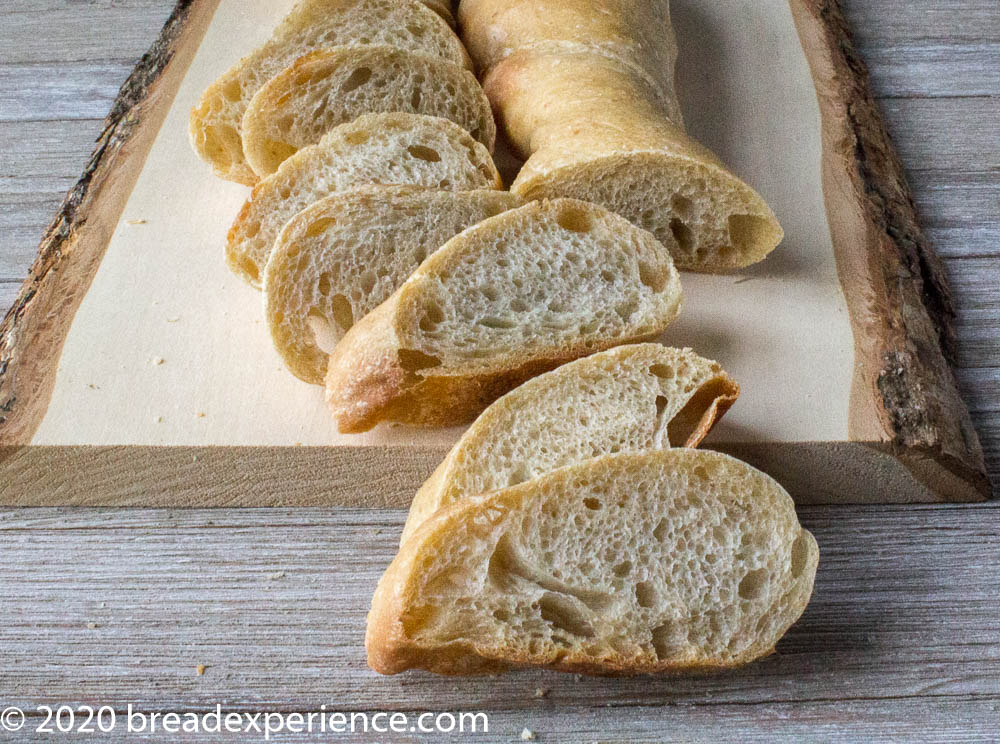
Pain Tordu has a wonderful flavor! I like the addition of the rye and sprouted wheat; however, I think the loaves need more color. That could be achieved by adding malt extract, as some of the other formulas suggest, or by adding more whole wheat. I only added about 20% whole grain to the final dough so there is room to add more whole wheat for flavor and color and maintain the structure of the loaf.
Print
Pain Tordu – A Twisted Bread
- Total Time: 5 hours 45 mins
- Yield: 3 Bread Twists 1x
Description
Pain Tordu, a lovely sourdough French bread, is pressed with a rolling pin and twisted a few times to produce a uniquely-shaped loaf.
Ingredients
- 400 grams all-purpose flour, more for dusting
- 75 grams sprouted wheat flour
- 25 grams whole grain rye flour
- 355 grams water, divided (150, 160, 25, 20 reserve for salt), 68 degrees F.
- 100 grams sourdough starter (100 % hydration), active, room temperature *
- 1/2 tsp instant dried yeast
- 10 grams sea salt
Instructions
- In a large bowl, whisk together the flours and dried yeast.
- In a separate bowl or container, add the sourdough starter and pour in 150 grams of water. Mix to break up the starter.
- Make a well in the center of the flour and pour in the starter/water mixture. Using a Danish dough whisk and/or a dough scraper, mix well, then add the additional water, a little at a time, until all of the flour has been incorporated and there are no dry bits.Cover the bowl and let it rest for 30 minutes.
- Sprinkle the salt over the dough and add 20 grams of water to dissolve it. Work the salt into the dough using the pincer method – pinching the dough with your fingers. Add more water if necessary to make a workable dough.
- Shape the dough into a ball and place in the bowl. Scrape the bowl down with the scraper. Cover with a damp towel and let rest at warm room temperature for 2 hours. Perform a stretch and fold at the 45 min mark and again at the 1 1/2 hour mark . Place the dough back in the bowl, cover and let it rest for the final 30 minutes.
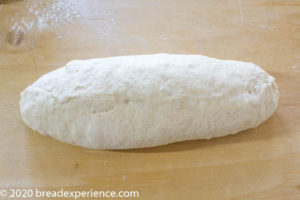
- Sprinkle your work surface with flour. Divide the dough into 3 equal pieces – approximately 300 grams each. Fold each piece over itself, stretching it gently to lengthen. Cover again with a damp towel and let rest for 30 minutes.
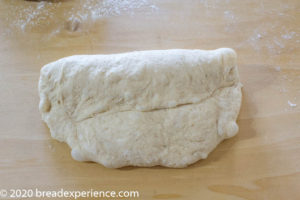
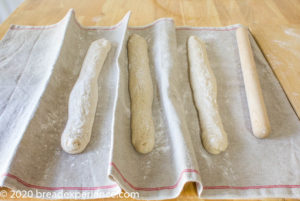
- Take one piece of dough at a time and use your palm to flatten it gently. Fold one long side down toward the center. Using your fingers, press down gently along the edge. Turn the loaf around and fold the other half down overlapping the center. Press down gently again to seal. Fold one half down over the over half and press the edges to seal using the heel of your hand. Lightly flour your hands and roll out the dough to about 16 inches. Repeat with the other 2 pieces of dough. If the dough snaps back, let it rest and continue rolling. Let rest 20 minutes.
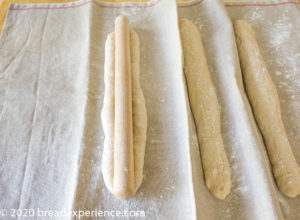
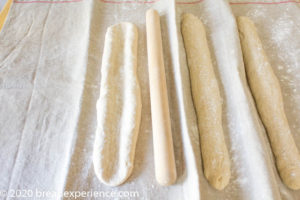
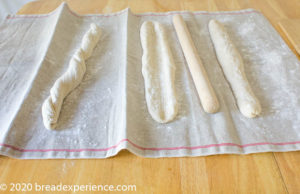
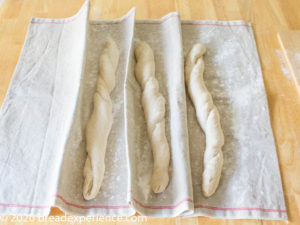
- Sprinkle the loaves with flour. Use a rolling pin to make an indentation the length of the dough down the center. (I used a 17 inch rolling pin) Bring the edges together. Then pick up the ends of the dough and twist gently. Make 3 twists in stages, resting between each twist so you achieve a nice finish.
- Arrange the loaves on a parchment-lined baking sheet or baker’s couche. (I placed the loaves on the floured couche before the rolling and twisting and this worked well.) Cover with a damp cloth and let the loaves proof for 1 hour and 30 minutes.
- At least 30 minutes prior to baking, place a steam pan on the bottom shelf of the oven and baking stone on the shelf above and preheat to 450 degrees F. (I used a baking steel)
- Carefully transfer the loaves to the baking stone or steel. Add several ice cubes to the steam pan. Bake for 20 minutes.
- Remove the loaves to a wire rack to cool before serving.
Notes
This loaf takes approximately 6 hours from start-to-finish. You can extend the fermentation if desired just omit the dried yeast to keep it from over proofing.
Adapted from “The Larousse Book of Bread – Recipes to Make at Home” by Eric Kayser
- Prep Time: 5 hours 25 mins
- Cook Time: 20 mins
- Category: French Bread
Would you like to bake with us?
I encourage you to bake this Pain Tordu. It’s a fun bread! Just don’t let it proof too long.
Our Kitchen of the Month is Elle. Please visit Feeding My Enthusiasms to read her instructions and notes.
Check out the other Bread Baking Babe’s posts for inspiration:
- Feeding My Enthusiasms – Elle (Host Kitchen)
- Judy’s Gross Eats – Judy
- A Messy Kitchen – Kelly
- My Kitchen in Half Cups – Tanna
- Karen’s Kitchen Stories – Karen
- blog from OUR kitchen – Elizabeth
- Bread Experience – Cathy
- Thyme for Cooking – Katie (provides the roundup and commentary)
Remember, new recipes are posted every month on the 16th. Check the Bread Baking Babes Facebook group to see the participants’ baking results during that time.
Happy Baking!
Cathy

Kelly says
Beautiful crumb! Just perfect. Your formula and mine ended up quite similar.
Cathy says
Thanks! I didn’t get the nice color I was aiming for. Perhaps my preheating incident was the culprit.
Kelly says
I’m fairly sure a baking steel is larger than my stone, but I assume you can’t leave it in the oven all the time as you can for a stone? It would warp, right?
Cathy says
I don’t think I would want to leave it in the oven all the time; however, that would solve my problem of forgetting to put it in there when I need it. Perhaps I need a checklist. For this bread, remember to put the baking steel in the oven, for this one, use the cloche, etc. Nah!
Karen says
I’ve actually seen it coiled on the interwebs so you are all good! I love your long skinny loaves.
Cathy says
And here I thought I came up with something unique! 🙂
Elizabeth says
Those little coils at the end are so cute too! Once again, I am filled with envy. I wish I’d thought of doing that, instead of creating a U-shape!
Cathy says
The coils were out of necessity but now that I look at them in the photo, they don’t seem so out of place.
Tanna says
Cathy, Cathy, Cathy I loved this write up! Yep, once again bread just wants to be bread. Would we have really allowed that when we were newbies and lacked all this experience? I guess I really can’t imagine anymore.
Shaping is really very exciting … and many times iffy. If something goes amiss, it’s still bread and you just get to bake again.
Cathy says
No Tanna, I don’t think we would’ve allowed this when we were newbies. I used to think everything had to be perfect, but half the fun is just going with the flow and letting the bread emerge.
Elizabeth says
Ooooh, sprouted wheat – nice idea.
But reading about your baking part is like deja vu! Except, mercifully, by a miracle, I did manage to remember to put the baking stone in, and by another miracle, the resident critic noted that – even if I managed to get it from the peel onto the stone – there was no way the bread would fit without falling off on either side….
The best thing about your adventure is that the bread still ended up tasting delicious. Even if it wasn’t exactly as you expected.
The crumb looks really really good.
Cathy says
Surprisingly, my adventure did turn out very tasty!
Katie Zeler says
Your bread looks gorgeous – very, um, French!
Cathy says
Thank you Katie!