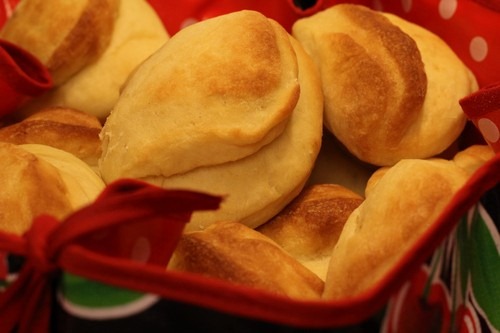
Fluffy and delicious is how I would describe these Pocketbook Rolls. They taste like a cross between a biscuit and a yeast roll; light and flaky, and oh so buttery. If you let them rise the recommended 2 1/2 hours, they tend to lose their shape; however, the texture and flavor is so good that no one really cares what they look like. The taste draws you in at first bite. Yes, they are that good.
Most of the other Bread Baking Babes think these rolls look like lips. I can see the resemblance; however, since these rolls are based on a Southern recipe, and I’m the Southerner in the group, I’m going with the purse theme.
Whether you think these rolls look like lips or purses, they’re sure to make you smile.
Being the not so true Southerner that I am, I made a couple of substitutions to these rolls. I used instant yeast instead of active dry yeast and almond milk instead of whole milk. I did have some shortening on hand so I was true to the recipe in that respect.
Pocketbook Rolls
Makes
: About 2 dozen rolls (depending on the size of the biscuit cutter)
Recipe adapted from The Glory of Southern Cooking by James Villas
Ingredients:
- 1/4 cup vegetable shortening, room temperature
- 4 tablespoons butter, room temperature
- 1/4 cup sugar
- 1/2 cup boiling water
- 1/2 cup unsweetened almond milk
- 1 large egg, beaten
- 3 cups all-purpose flour
- 2 teaspoons instant yeast
- 1 1/2 teaspoons salt
- 4 tablespoons butter, melted (for brushing the rolls)
Directions:
1. Cream the butter, shortening and sugar in a large mixing bowl.
2. Gradually beat in the boiling water.
3. Add the milk and stir until well blended.
4. Add the egg and stir until well blended.
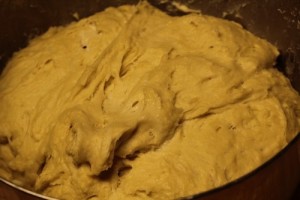
5. Whisk the flour, salt and yeast together and gradually add to the mixture. Mix well.
— If you aren’t ready to make the rolls just yet, you can keep the mixture up to one week in the refrigerator covered lightly with plastic wrap.
My dough was very soft at this point so I placed the dough in the refrigerator for about an hour. Then I proceeded with the rest of the process.
Three hours before you’re ready to bake the rolls:
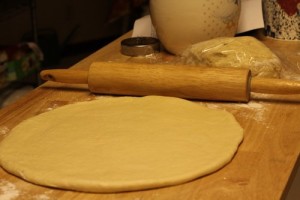
1. Roll out the dough. About 1/2 inch thick.
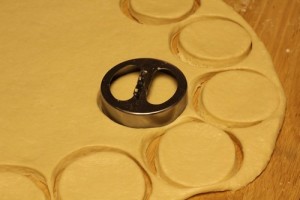
2. Cut into rounds with a 2 to 2 1/2 inch biscuit cutter. My biscuit cutter is about 3 inches so my rolls turned out a little bit bigger. Nobody complained. 😉
3. Fold each round in half and place on greased baking sheet.
4. Brush each roll generously with melted butter, cover with a towel.
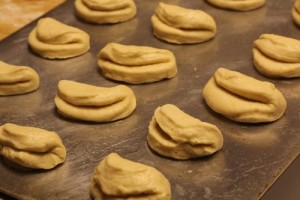
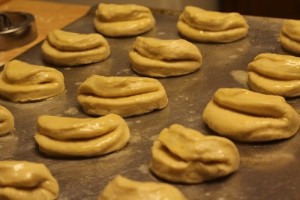
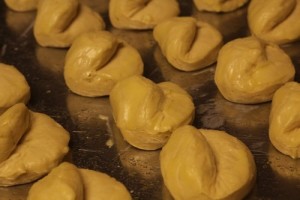
5. Let rise in a warm place for about 2 1/2 hours. A lot of my rolls opened up during proofing. I thought that was appropriate since these days it seems that my pocketbook is always open…
Karen says
They look great!
Elizabeth says
Beautiful! Wow! I love how much your pocketbook rolls rose! Next time, I’m not going to roll the dough out so thinly as I did.
Cathy (breadexperience) says
Thanks! I let them rise for 2 1/2 hours so they were really fluffy.
Sweet and That's it says
What a beautiful step by step post! Your pictures and rolls are adorable!
MyKitchenInHalfCups says
Purses, rolls, lips … what matters is a young cousin would think they’re the best ever!! I think if you did grow up with a pocketbook as a little girl, the name just doesn’t catch. When I was growing up my friends and I always carried our pocketbooks.
I especially liked that I could keep the dough over for several days of fresh rolls but then doubling the recipe for Thanksgiving was a natural.
Beautiful photos! (well and purses to but that seems to be understood).
Dewi says
Mine did not want to open their mouth, very delicious nonetheless 🙂
meditationsandbread.com says
Are these also called parker house rolls? I’ve seen instructions for shaping them but never what they looked like when baked. Names are unimportant, however. It’s the taste that matters.
Amanda
Cathy (breadexperience) says
Hi Amanda, I wondered the same thing. I did a search and although these rolls are similar to Parker House Rolls, they are a little bit different. You ought to try them. They are wonderful.