Discover how to make fig yeast water focaccia topped with figs, caramelized onions, prosciutto, and sea salt. This naturally fermented bread features 50% whole grain red fife flour and an overnight rise for a flavorful crumb.
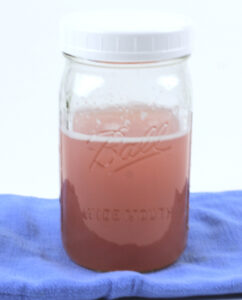
I began this journey with a post on how to make yeast water using dried figs. The yeast water features figs harvested from my fig tree and dried in a dehydrator.
- Fig Yeast Water
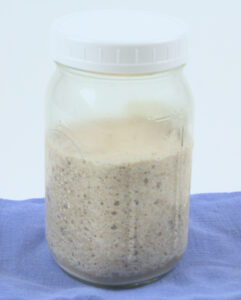
- Starter made from the yeast water
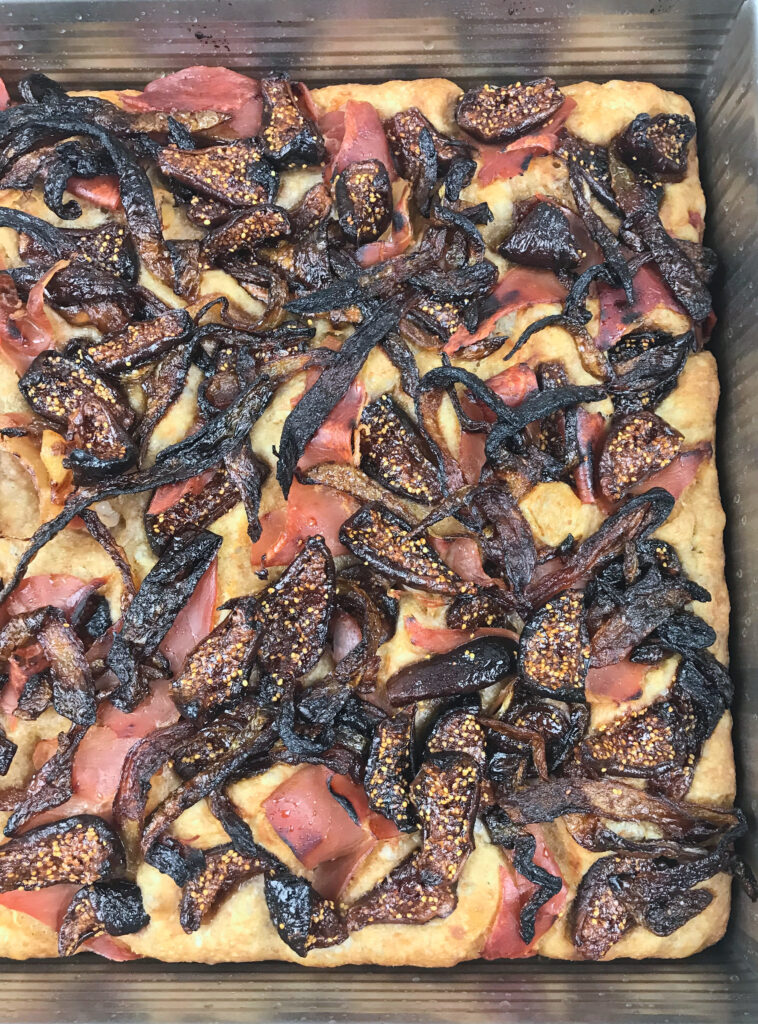
For this post, I’m featuring focaccia made with fig yeast water. This yeast water focaccia is a tasty combination of savory and sweet flavors, with dried figs soaked in marsala, caramelized onions, salty prosciutto, and a touch of sea salt.
I was pleasantly surprised by how the yeast water imparted a unique depth of flavor and rich color to the bread.
Yeast water is a fantastic way to experiment with natural fermentation, and in this focaccia, it’s the perfect base for these bold, contrasting toppings.
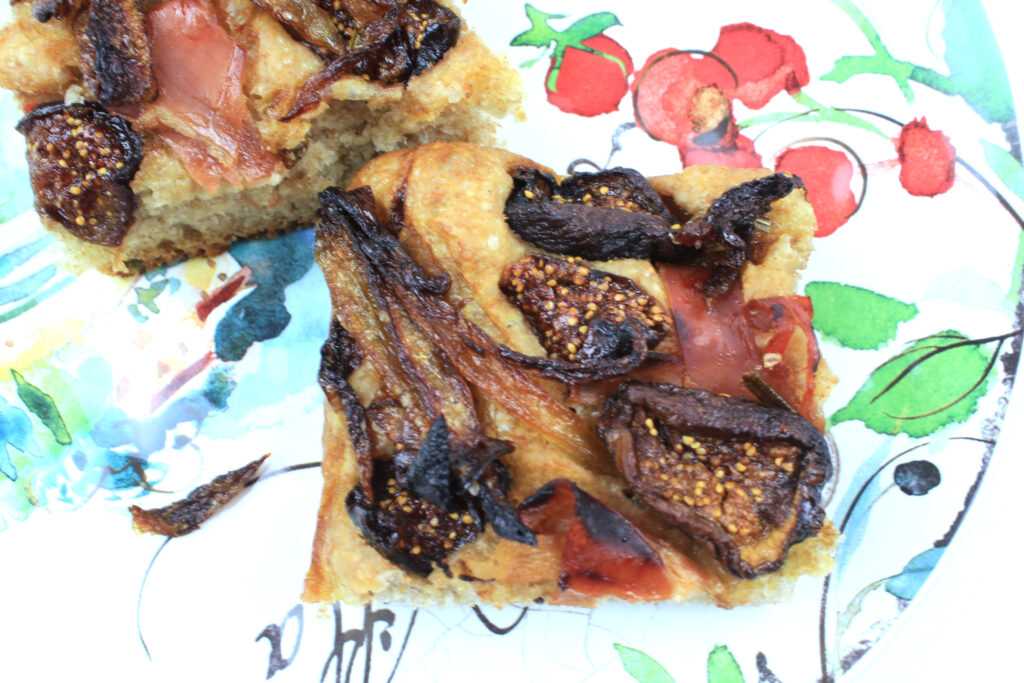
The Dough: Whole Grain Red Fife & Fig Yeast Water
The dough for this focaccia features a starter made from fig yeast water. Using the fig yeast water starter creates a naturally fermented dough that gives the bread a slightly lighter texture and a subtle hint of sweetness from the figs.
For the flour, I used about 50% wholegrain red fife flour. Red fife is an heirloom wheat that adds a nutty, slightly sweet flavor to the bread. The whole grain flour contributes to a heartier texture and boosts the nutritional value of the focaccia, making it not only delicious but also nourishing.
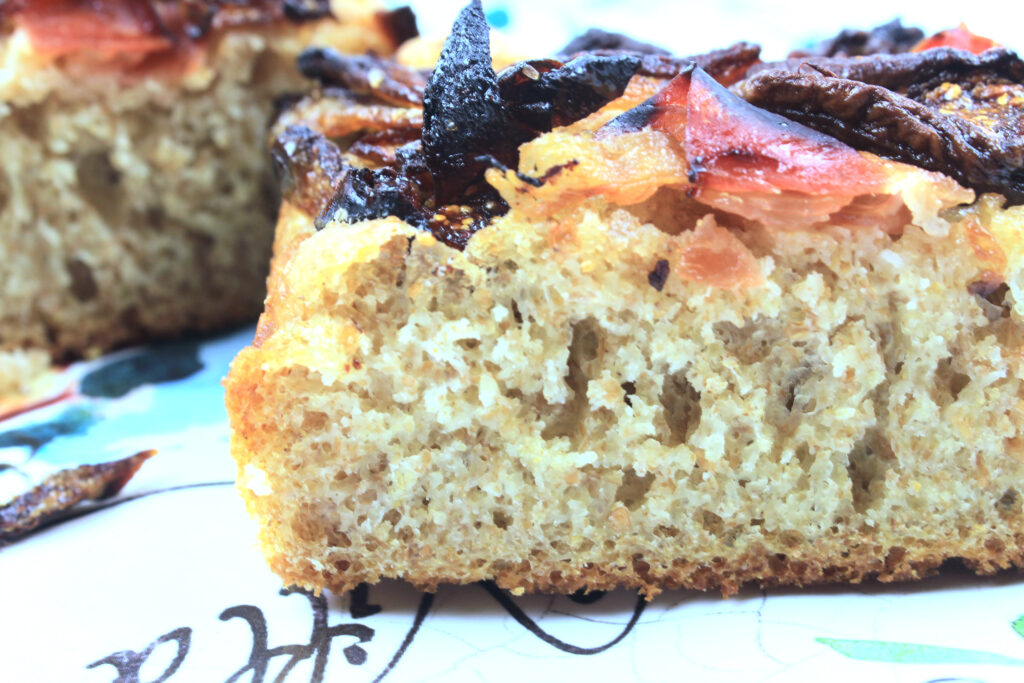
Letting the dough ferment overnight gives the flavors time to develop fully and results in a chewy focaccia with a lovely crumb.
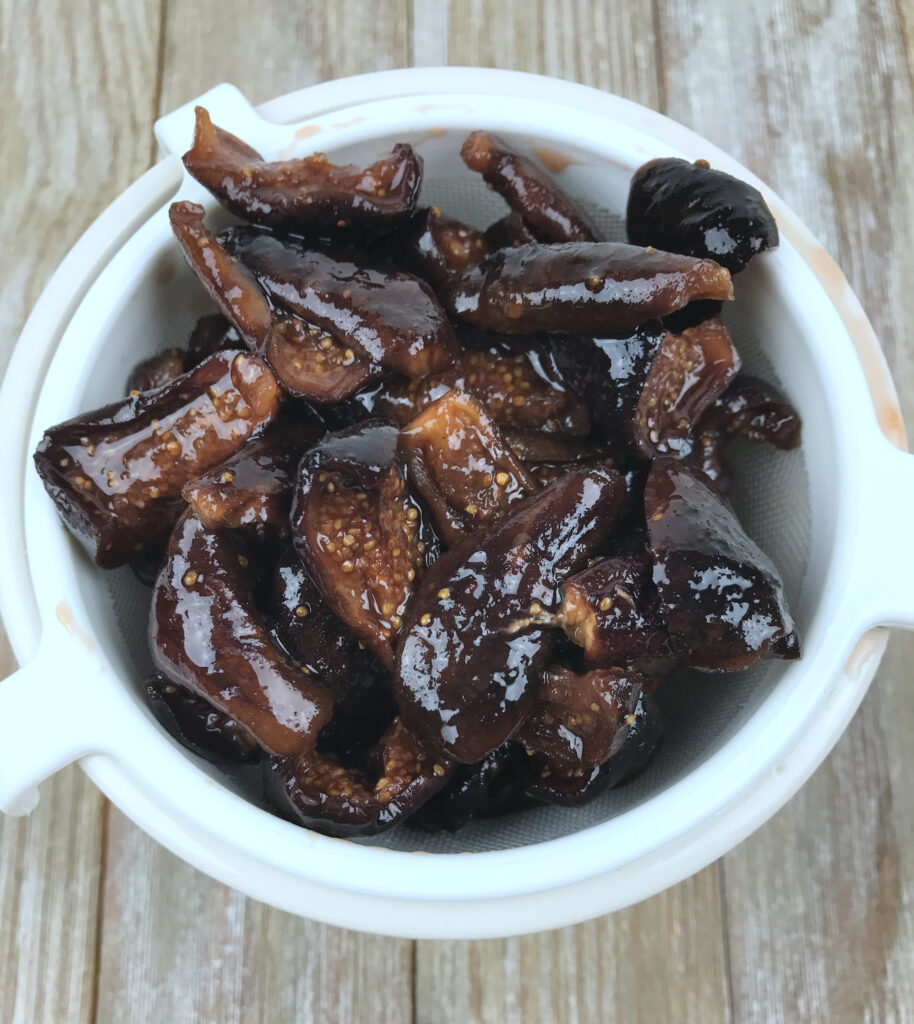
Why Soak the Dried Figs in Marsala?
Dried figs on their own are wonderful, but soaking them in marsala wine takes them to another level. This is a technique I learned from a previous BBB baking challenge.
Marsala infuses the figs with a rich, caramel-like flavor and helps to plump them up, ensuring they don’t dry out during baking. The figs remain tender and sweet, but with a deep complexity that plays beautifully off the savory toppings.
Enhancing the Flavor with Caramelizing Onions
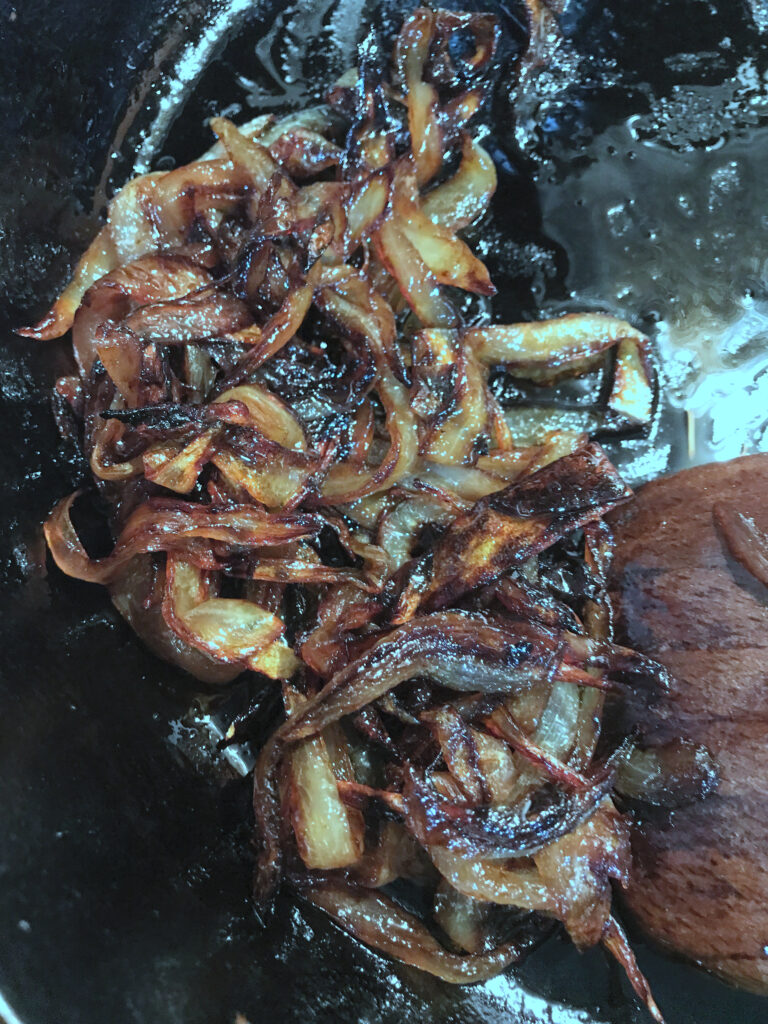
I decided to add caramelized onions at the last minute and I’m so glad I did. Slowly cooking the onions allows their natural sugars to break down and develop into a rich, golden-brown layer of sweetness with a deep, slightly smoky flavor.
This step may take some time, but it’s worth the effort. The onions provide a savory depth that complements both the figs and prosciutto perfectly. Their slight crispness after baking adds a great textural contrast as well.
The contrast of the sweet, wine-soaked figs with the caramelized onions and salty prosciutto is what makes this focaccia special. Every bite gives you a little sweetness, a little savoriness, and just the right amount of salt, all resting on the soft, chewy base.
Assembling and Baking the Focaccia
Once the dough has fermented overnight and is full of air bubbles, it’s time to assemble the focaccia.
For the first bake, I made the focaccia as a flatbread. I spread the dough onto a parchment-lined rimmed baking sheet, dimpled it before the final proof, added the toppings, and baked it on a preheated baking stone.
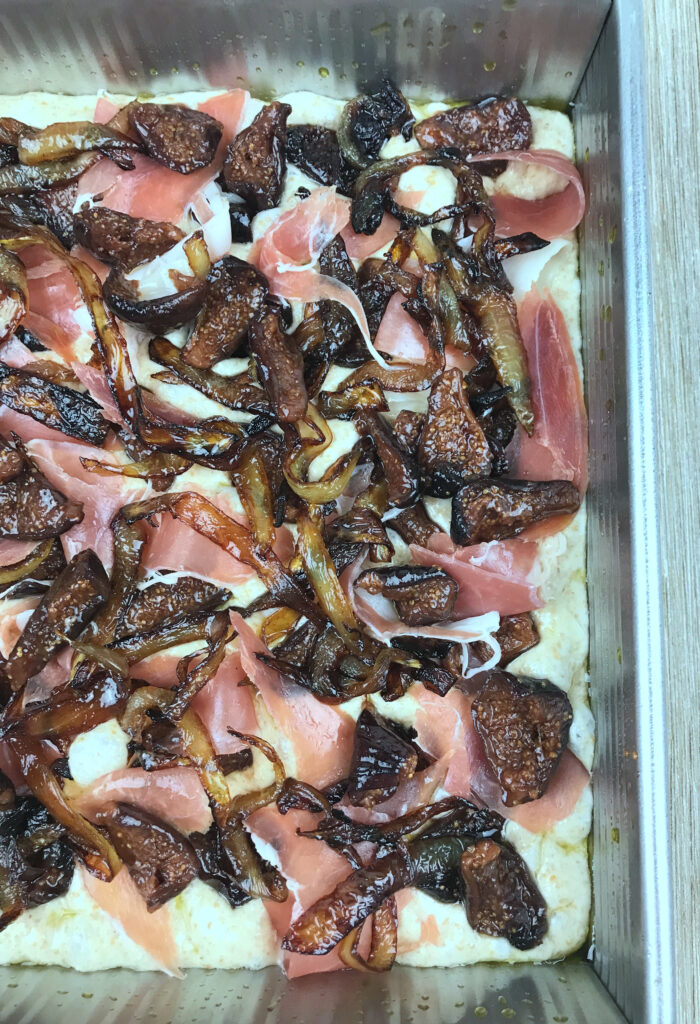
For the next bake, I pressed the dough into a 9-inch square pan, dimpled it with extra olive oil, and let it rise while the oven preheated. Afterward, I layered the soaked figs, caramelized onions, and torn pieces of prosciutto on top. A final sprinkle of sea salt brought all the flavors together. In the taste test, the second version was the winner—its thicker, chewier texture made it even more satisfying than the flatbread.
Serving Suggestions
This focaccia is incredibly versatile. Serve it warm as an appetizer or alongside a simple salad for a light meal. The sweet and savory combination makes it a great addition to a charcuterie board or even as a side dish to a hearty pasta or soup.
One of my favorite things about this focaccia is how the flavors develop as it cools. The flavors become even more pronounced after baking, so don’t be afraid to let it sit for a little while before serving.
The focaccia bakes at a high temperature until the top is golden and the edges are crisp. As it bakes, the prosciutto becomes crispy, the onions deepen in flavor, and the figs soften even more, releasing their juices into the bread. It’s a magical transformation in the oven.
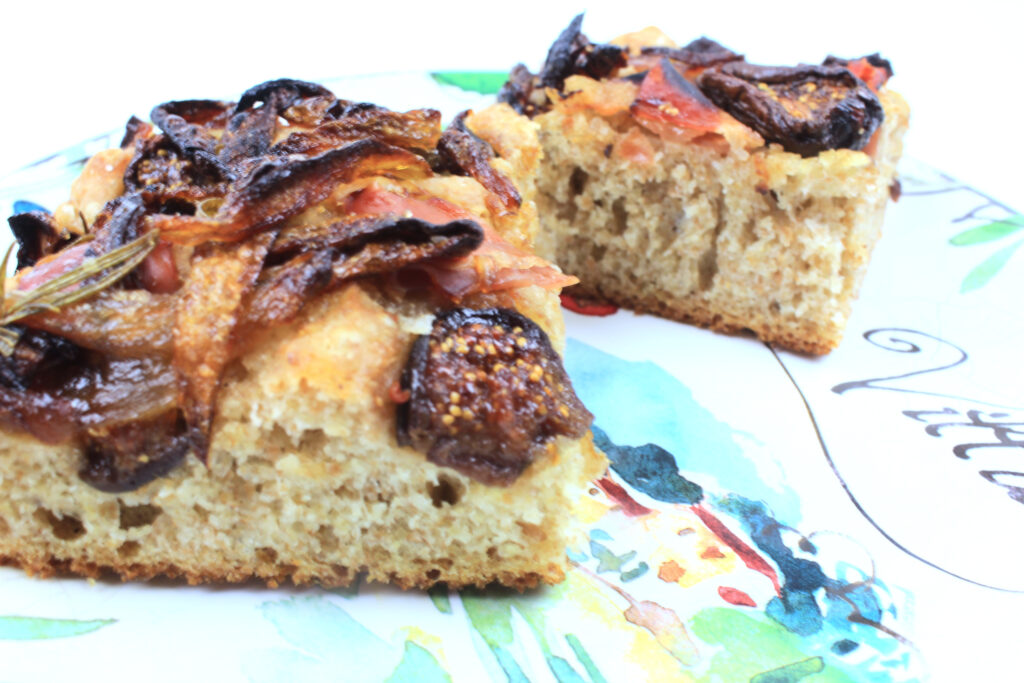
This fig yeast water focaccia is a celebration of sweet and savory flavors, with a naturally leavened dough that brings everything together.
If you’ve been looking for a way to use your yeast water or want to try something new with your focaccia, this recipe is a must-try. The soaked figs, caramelized onions, and prosciutto create a perfect balance of flavors, and the fermentation process makes for a focaccia that’s not only delicious but also deeply satisfying.
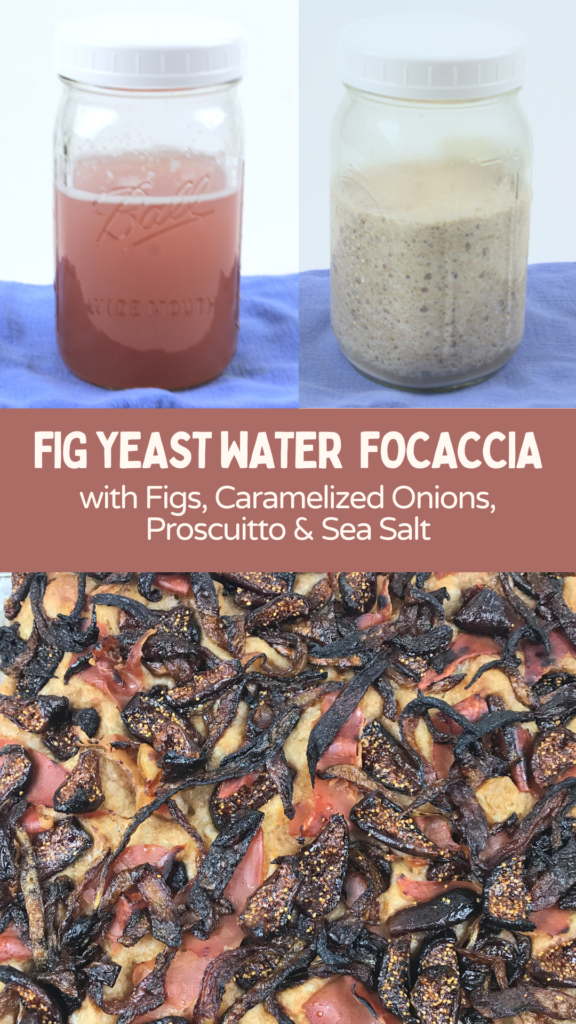
Experimenting with a Fig Yeast Starter
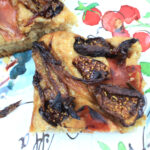
Fig Yeast Water Focaccia with Figs, Caramelized Onions, Prosciutto, and Sea Salt
- Yield: One 8-9-inch Focaccia 1x
Description
Discover how to make fig yeast water focaccia topped with figs, caramelized onions, prosciutto, and sea salt. This naturally fermented bread features 50% whole grain red fife flour and an overnight rise for a flavorful crumb.
Ingredients
Dough:
175 grams yeast water sourdough starter, fed 12-18 hours before
170 grams all-purpose flour
85 grams red fife (whole wheat) flour
240 grams warm water, divided
40 grams extra-virgin olive oil
8 grams (1 tsp.) fine sea salt
Toppings:
6–8 dried figs, sliced in half
2/3 cup Marsala wine (I used cooking wine)
2–3 tablespoons extra virgin olive oil
2–3 sprigs fresh rosemary, chopped
1 yellow onion, sliced
12 grams /1 tbsp. sugar
Prosciutto, thinly sliced, torn into strips
Sea salt, optional
Hot honey, to drizzle, if desired
Instructions
Day 1: Build the Yeast Water Starter
To create your starter, combine yeast water, and flour in equal parts by weight. I used the method from Piotr Lesnianski (one of the admins for the Fermenting and Baking with Wild Yeast and Waters FB Group)
In a separate, clean, and sterilized jar (a quart-size canning jar works well), take 50 grams of yeast water and mix it with 50 grams of whole wheat flour. Put a lid on the jar and let it rest at room temperature for 6-8 hours. Feed it again with 50 grams whole wheat flour and 50 grams yeast water and let it rest for another 6-8 hours.
During this time, you should start to see fermentation. It will grow in volume and you should see lots of air bubbles. If necessary, feed it again with 50-100 grams of yeast water/flour and let it rest for an additional 6-8 hours. Note: If you are using active yeast water, the 3rd feeding probably won’t be necessary.
Day 2: Mix & Proof the Dough
Combine the active yeast water starter, warm water, and olive oil in a large bowl. Mix with a wooden spoon to break up the starter.
Place the flour on top of the liquid ingredients and mix by hand, using a rubber spatula or a Danish dough whisk for a minute or so until the dough becomes a shaggy mass. Scrape down the sides and bottom of the bowl frequently to make sure all of the flour is incorporated and there are no dry bits of flour.
Cover the dough with a towel and set it aside to rest in a warm place (80 degrees F.) for about 30 minutes.
Sprinkle the salt over the dough, grab the dough between your fingers, pull it up, and stretch it. Incorporate the salt into the dough by continuously pulling the dough up and turning the bowl around with your hands. The dough should start to develop somewhat after about a minute and you shouldn’t feel any of the salt crystals. The dough will still be wet so resist the urge to add additional flour at this point.
Cover the bowl and put it back in a warm spot to rest for another 30 minutes.
After the 30-minute rest, transfer the dough to a lightly floured counter and perform the four-fold method, or perform the fold-and-turn-in-the-bowl method. Return the dough to the bowl and cover it again with a towel.
At this point, you have the option of repeating the above process every 30 minutes for a total of four times. After the fourth fold, you’ll leave the dough in the bowl to rest for another hour to develop the dough before shaping.
Overnight Fermentation in Refrigerator:
Or, cover the bowl tightly with plastic wrap and place it in the refrigerator to ferment overnight. The overnight cold fermentation produces the best flavor, but the warm proof on the counter method works if want to serve focaccia the same day.
Day 3: Prepare the Toppings, Bake the Focaccia
The next day, remove the bowl from the refrigerator and allow the dough to warm up to room temperature for 1-2 hours.
In the meantime, prepare the toppings.
Place the dried figs and Marsala in a small saucepan, and heat over medium heat until the Marsala bubbles around the edges, 1 minute. Remove from the heat and let stand for at least 1 hour.
Heat the 2-3 tablespoons olive oil in a large frying pan over medium heat. Add the onions, sugar, and chopped rosemary. Cook, stirring occasionally, until the onions are very soft, 15-20 minutes. Season with salt and pepper, if desired. Set aside to cool.
Preheat the oven to 425 degrees F. (for at least 45 minutes) with a baking stone on a lower rack. Grease an 8-9-inch square baking pan with olive oil.
Place the dough in the greased pan. Using your fingertips, dimple the surface of the focaccia while stretching it out to fit the pan. Add extra olive oil as needed. If the dough springs back, let it rest for 15 minutes, then continue spreading and dimpling it in the pan.
Let the dough rest in the pan until it is relaxed and ready to top and bake. You’ll know it’s ready when you can press your finger into the surface and the imprint holds.
Drain the figs and distribute the figs, onions, and prosciutto evenly over the dough. Lightly press them into the dough. Sprinkle with sea salt, if desired. Let the focaccia rest for 10-15 minutes, or longer, if needed.
Transfer the pan to the pizza stone and bake until golden brown and crispy, 20-25 minutes.
Remove the focaccia from the pan and allow it to cool on a wooden board. You can enjoy it immediately, but the flavors become more pronounced after resting.
Drizzle with hot honey before serving, if desired.
- Category: Flatbread
- Method: Yeast Water
Happy Baking!
Cathy
Thanks to Judy, of Judy’s Gross Eats for challenging the Bread Baking Babes to create and use yeast water in bread.
Leave a Reply