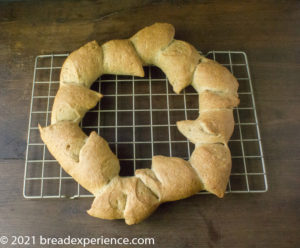
This Rustic Olive Oil Wreath Bread, with its chewy crust and tender crumb, is shaped into a wreath, and then cut with scissors like an epi. It looks great on the table and can be pulled apart to make individual rolls.
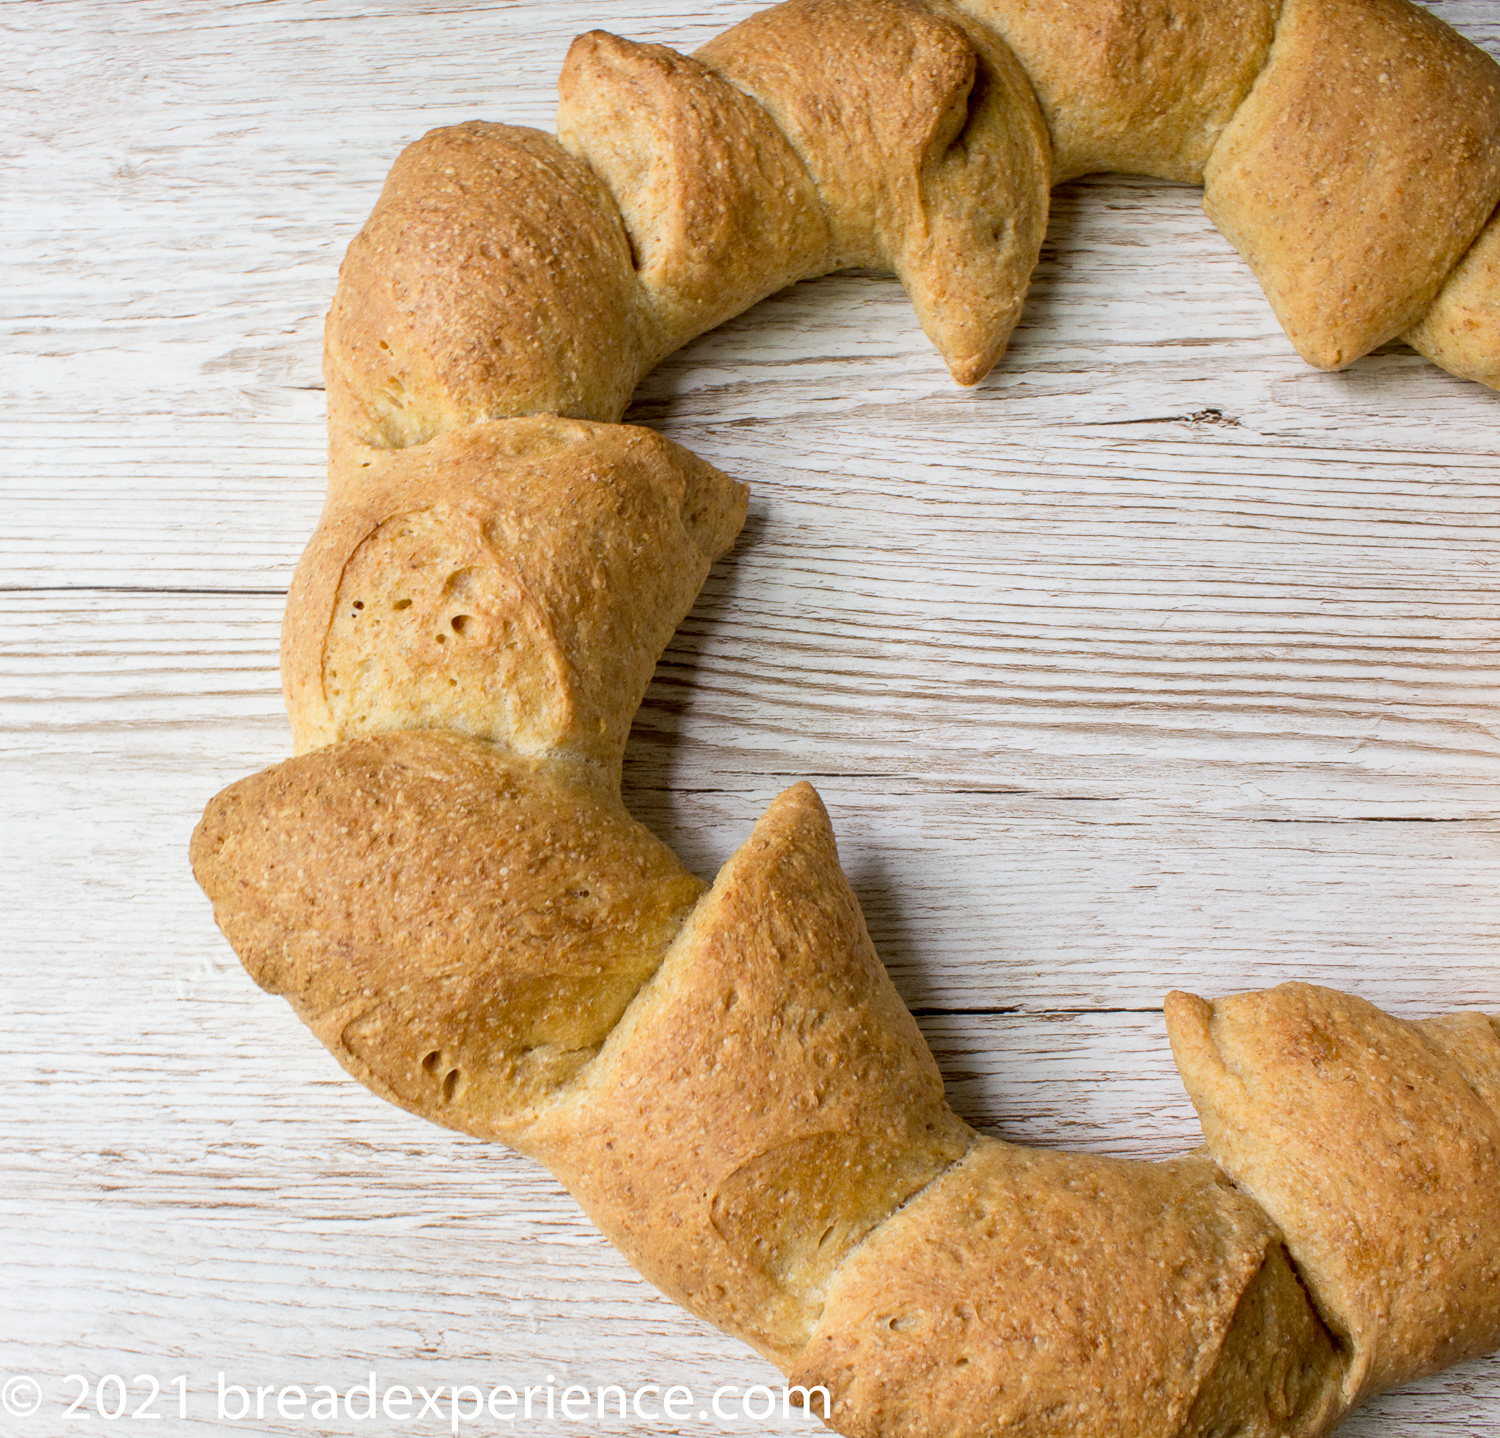
Karen, of Karen’s Kitchen Stories, the April host kitchen for the Bread Baking Babes, was inspired to make this Olive Oil Wreath after attending a virtual olive oil taste-testing.
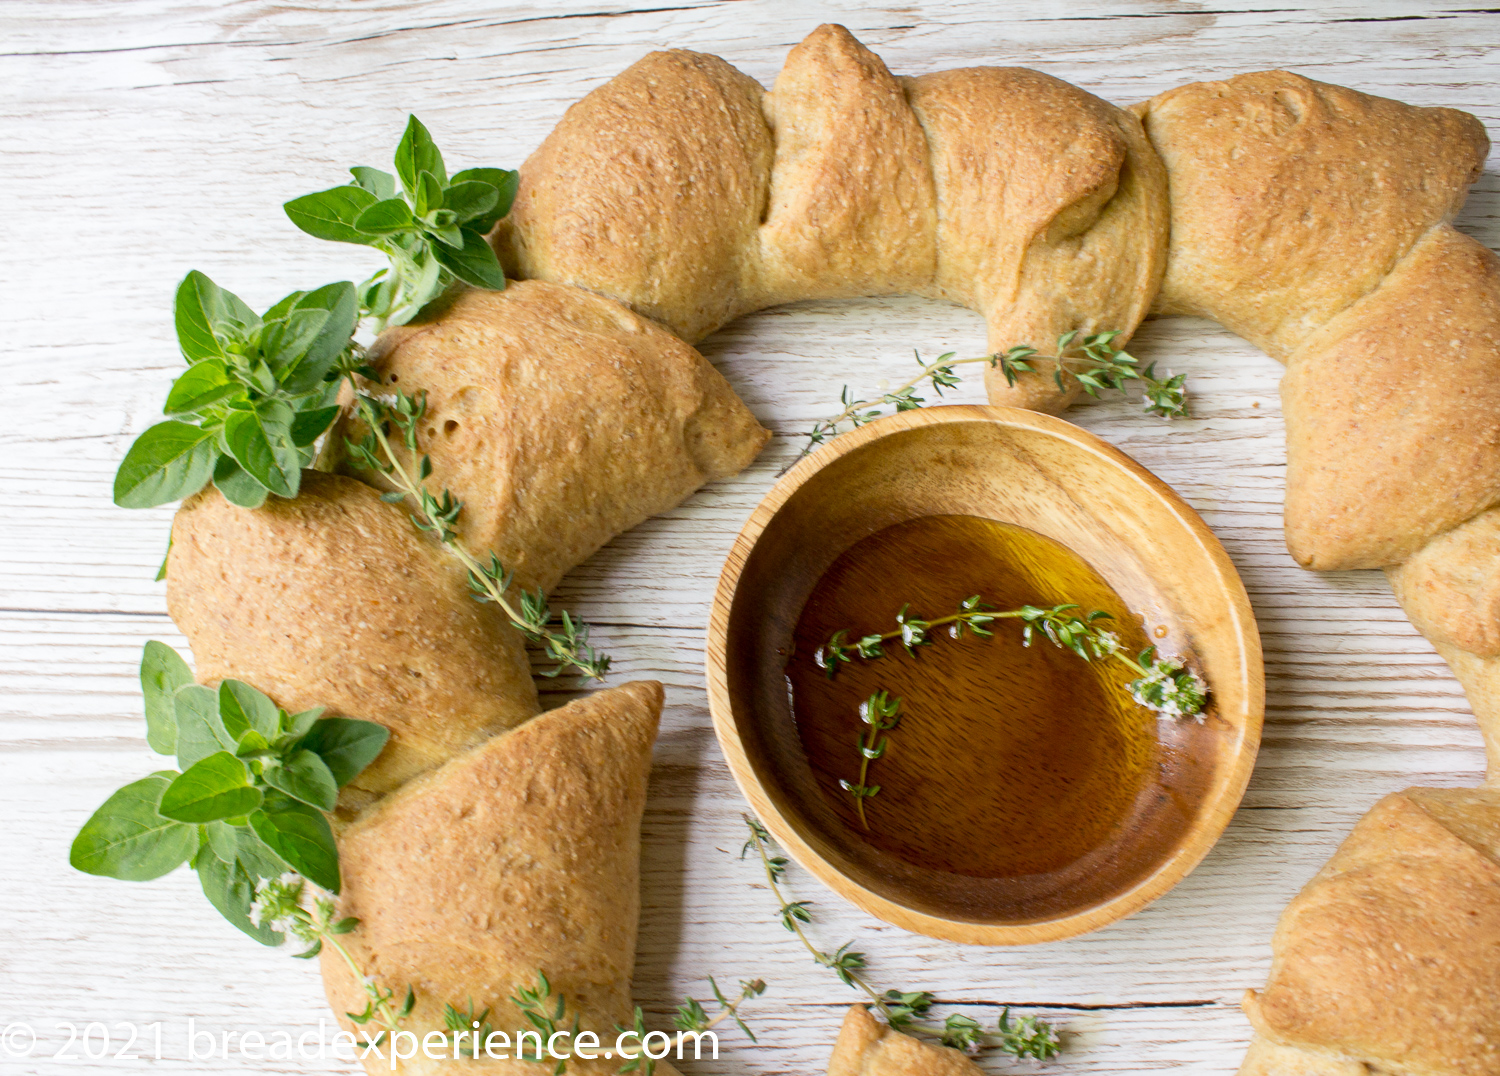
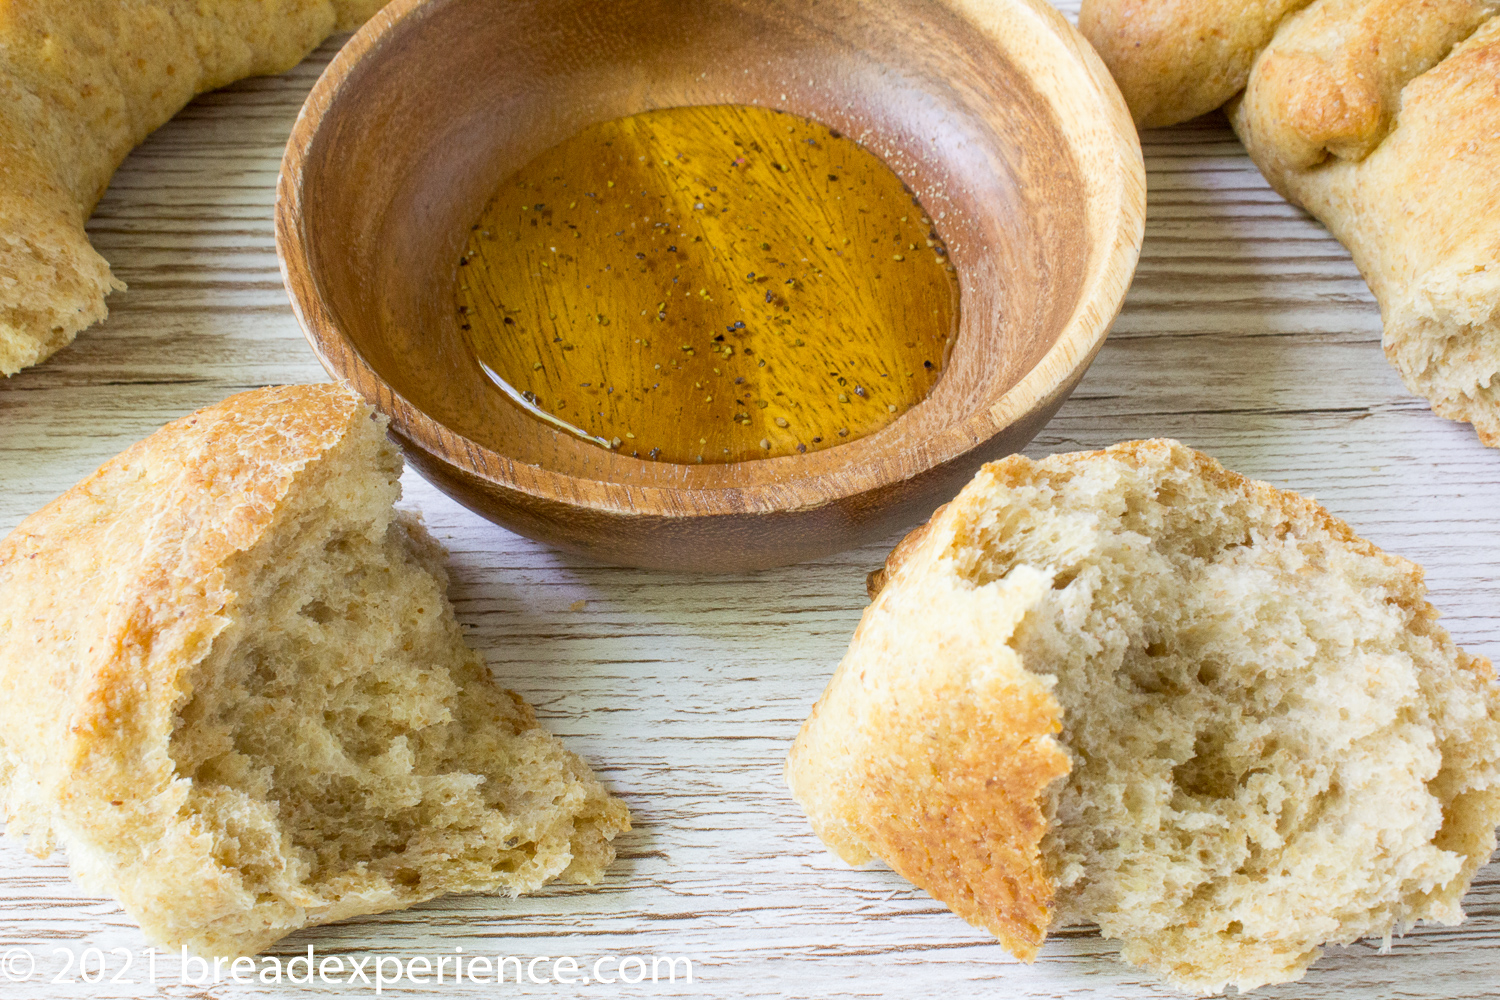
My epi wreath is made with about 25% home-milled whole grain einkorn flour, regular all-purpose flour, and stone-ground all-purpose flour. I was tempted to incorporate some herbs in the dough but opted not to. Although I think herbs would be a nice addition, the loaf doesn’t need anything else. It tastes great slathered in butter, or dipped in olive oil and sprinkled with ground black pepper or dried herbs.
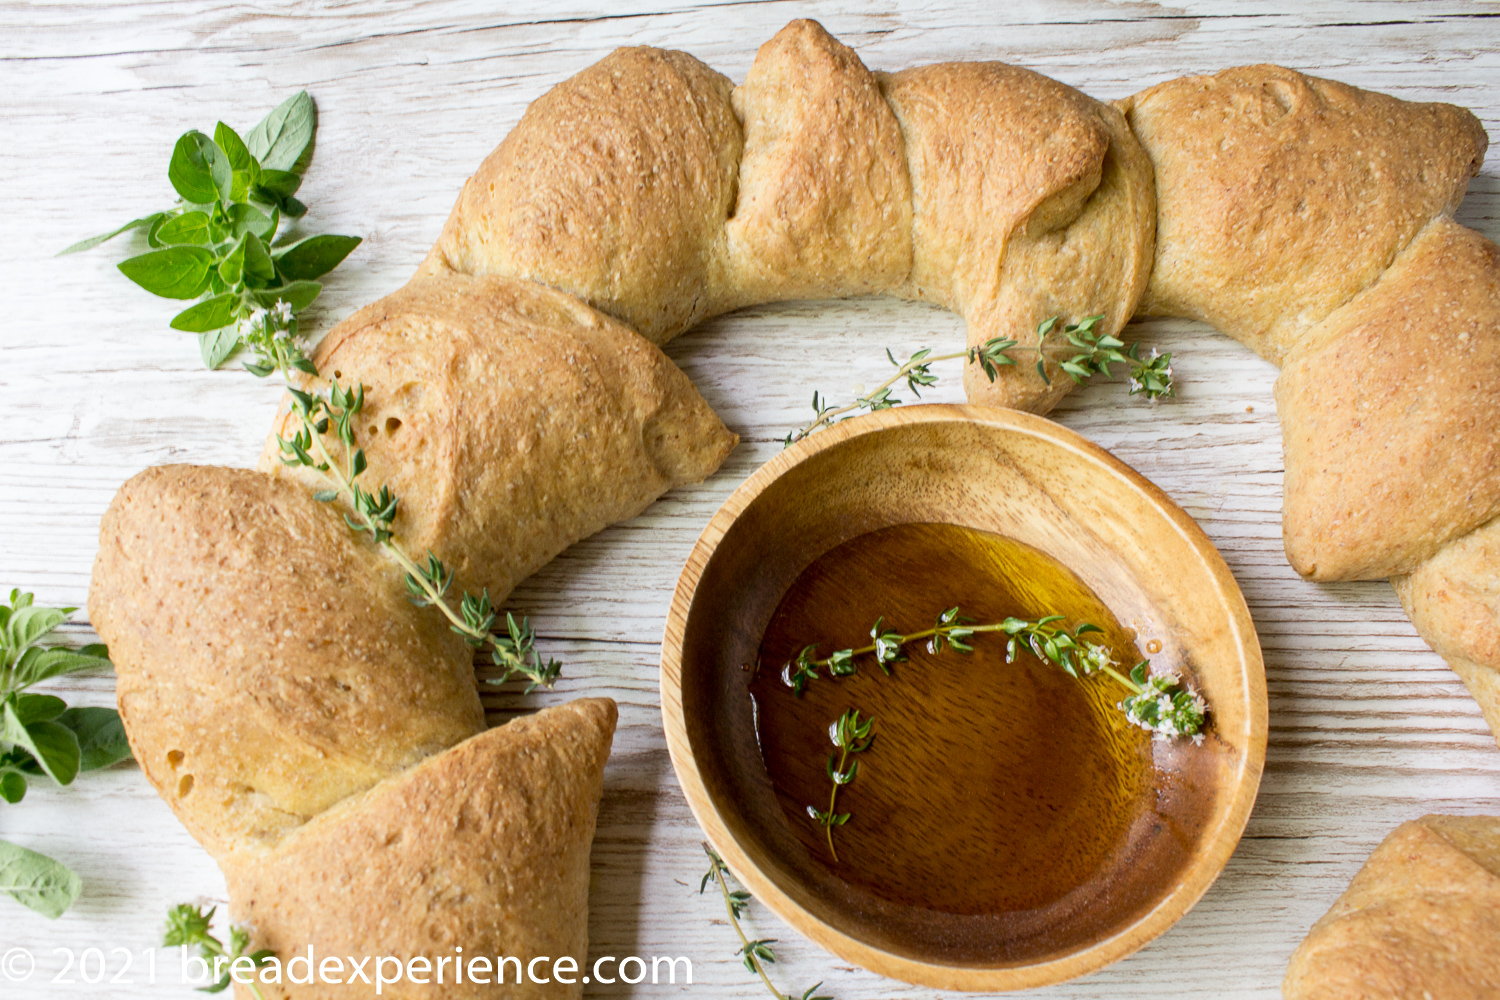
I used Italian olive oil from my adopted tree in Tuscany. It’s my last bottle so it seemed fitting to use it for something special. I love the flavor!
The dough goes together fairly easily, and the wreath is easy to shape. I used a parchment-lined 16″ pizza pan which gave me a little more working room to make the cuts.
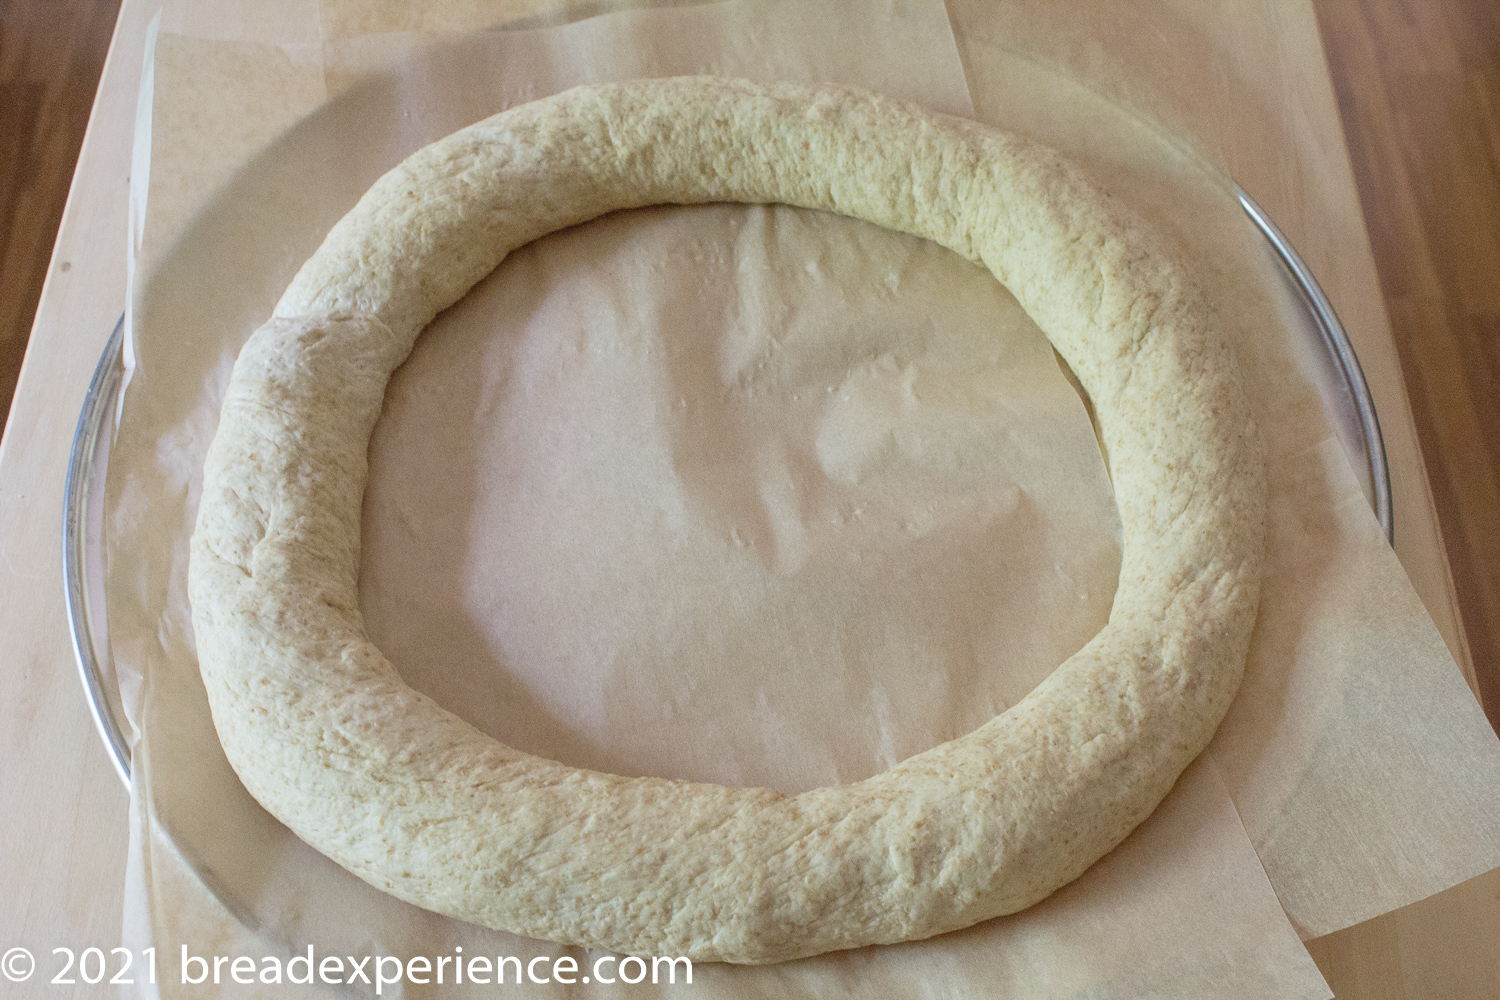
The shaping was the fun part. Then I got to the cutting part. All I can say is I’m glad I made the full amount of biga because I ended up needing it for two wreaths.
I destroyed the first loaf while I was cutting it. Well, maybe not totally, but I decided to ball the dough up and try shaping and cutting it again. Needless to say, the loaf was way over-proofed, but I shaped it anyway and cut it as best I could. It tasted okay, especially with butter, but it wasn’t very photogenic.
I decided to rest and watch some videos on how to cut epis. After watching a video (at least five times), I finally got it!
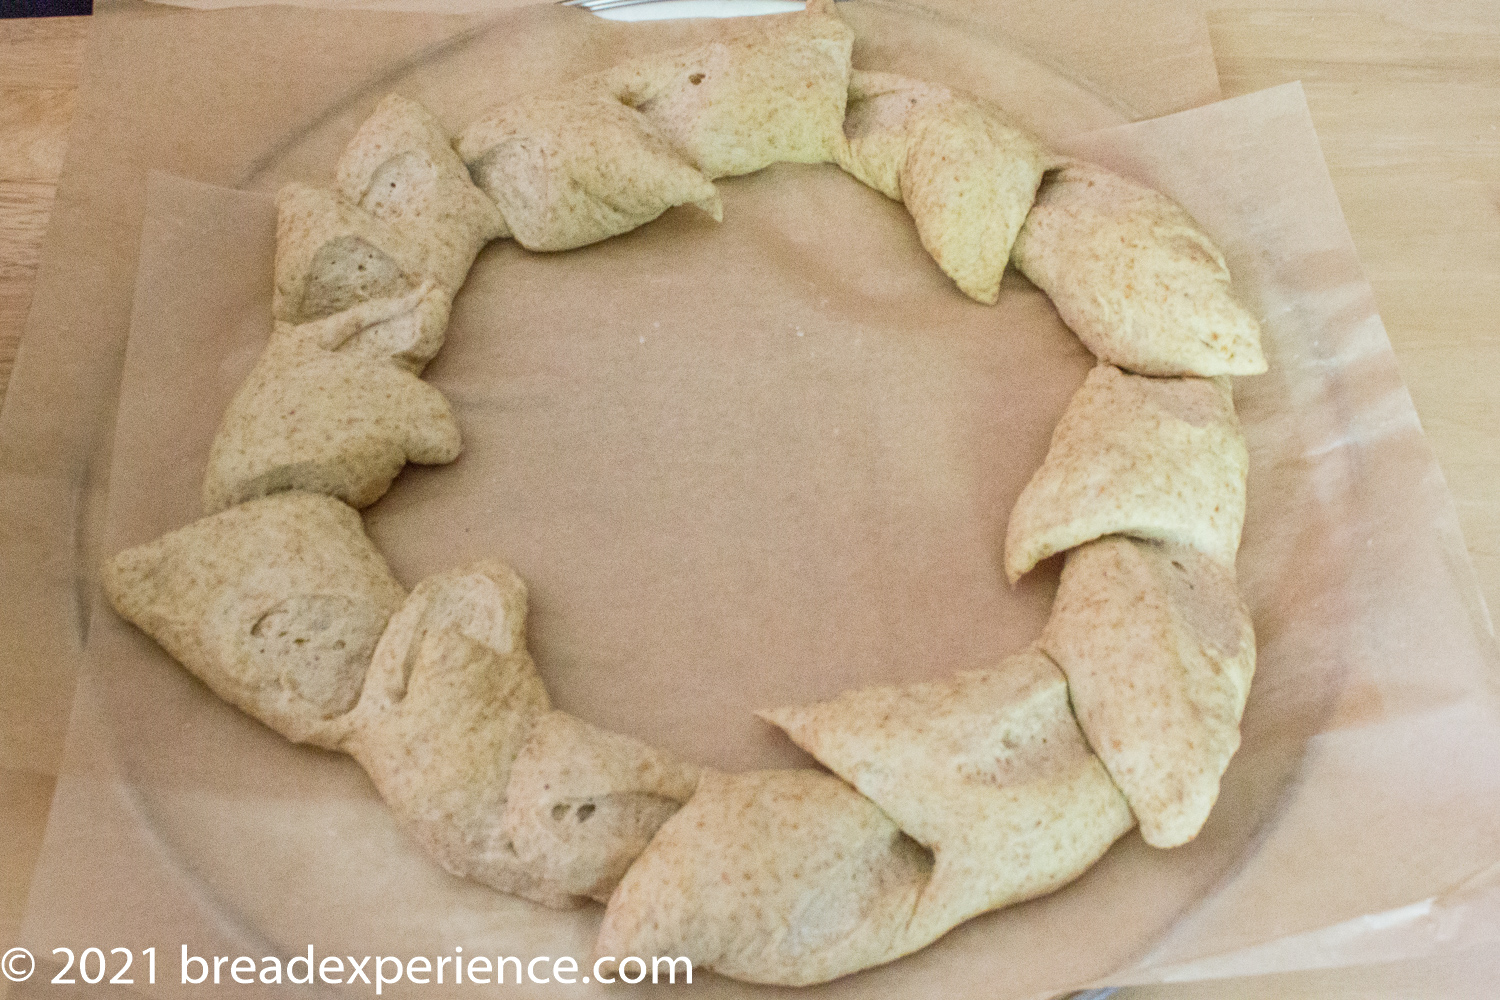
I used sterilized sewing scissors instead of kitchen shears for the second loaf, as Karen had mentioned, and that made a big difference. I need more practice with cutting and shaping, but I’m still pleased with this one.
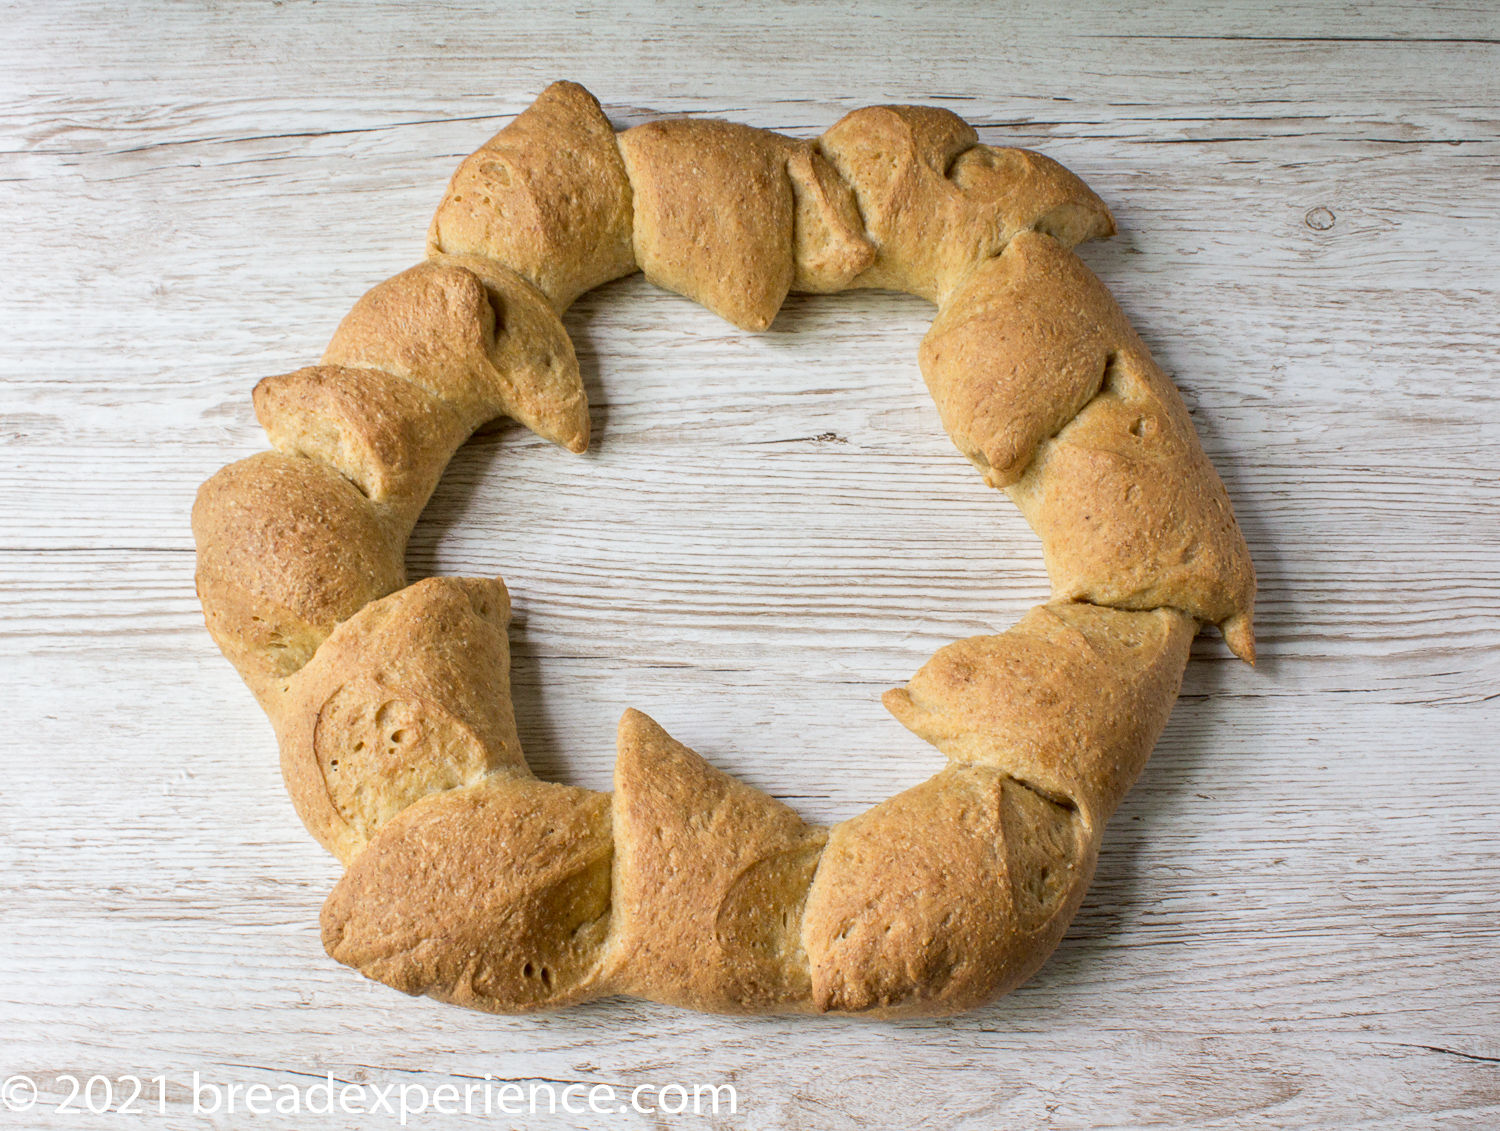
Notes regarding this Rustic Olive Oil Wreath Bread:
Yeast
– I used 6 grams of yeast in the final dough (instead of 10) for the first loaf. I decreased that to 4 grams (3/4 tsp) of yeast in the second loaf. I liked the results much better. I was able to let it proof a little longer to develop the flavor. The first loaf rose too quickly.
Salt – I used 10 grams (instead of 15 grams) of salt in the first loaf. I upped it to 12 grams in the second loaf, and I liked it better. The second loaf had better flavor and browning than the first loaf.
Flour – I used home milled whole grain einkorn flour, KAF all-purpose, and some organic stone-ground all-purpose flour.
I like the texture and flavor of this loaf. It’s a keeper for sure.

Rustic Olive Oil Wreath Bread
- Yield: 1 Wreath 1x
Description
This Rustic Olive Oil Wreath, with it’s chewy crust and tender crumb, is shaped into a wreath, then cut with scissors like an epi. It looks lovely on the table and can be pulled apart to make individual rolls.
Ingredients
Biga (makes enough for 2 loaves)
- 125 grams (3/4 cup plus 2 1/2 Tbsp.) AP flour
- 1.5 grams (1/2 tsp) instant yeast
- 83 grams (1/4 cup plus 1 1/2 Tbsp.) water, 75 to 80 degrees F
Olive Oil Wreath
- 100 grams (1/4 cup plus 3 1/2 Tbsp.) of the biga
- 285 grams (1 cup plus 3 1/2 Tbsp.) 75 to 80 degree F water
- 60 grams (1/4 cup plus 2 tsp) extra virgin olive oil (I used Italian Olive Oil)
- 4 grams (3/4 tsp) instant yeast
- 170 grams all purpose flour
- 170 grams stone-ground AP flour
- 160 grams coarsely-ground whole grain einkorn flour
- 12 grams sea salt
Instructions
Biga
- Mix the biga ingredients in a stand mixer at the lowest speed for one minute or by hand until combined. It will be sticky. Place it into a lightly oiled bowl, cover, and let sit for 10 to 18 hours.
- Leftover biga can be refrigerated for up to 3 days to make more loaves.
Olive Oil Wreath
- In the bowl of a stand mixer, add the biga, water, olive oil, and yeast and mix on low with the paddle attachment for about 30 seconds, until the biga is broken up.
- In a medium bowl, whisk the flour and salt together. Add it to the stand mixer and stir with a spoon or dough whisk to just moisten the flour. Then, mix with the paddle attachment on low for 3 minutes. Switch to the dough hook and mix on low for 5 minutes.
- Turn the dough out onto a floured work surface and briefly knead by hand. Place it into an oiled bowl our dough rising bucket and cover with oiled plastic wrap. Let rise in a warm spot to proof for 1 to 2 hours until really puffy, more than doubled.
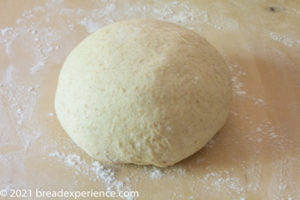
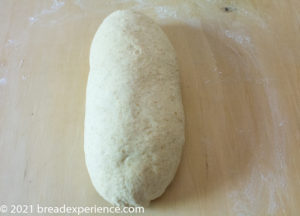
- Turn the dough back out onto a floured work surface and deflate the dough. Gather up the edges and preshape the dough into a ball. Flip the ball and place it seam side down on the work surface. Push the dough against the work surface in a circular motion to tighten the top. Pull the dough toward you to elongate the dough into an oval and let rest for 10 minutes.
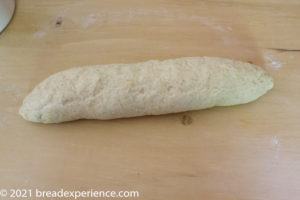
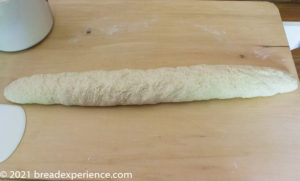
- Shape the dough into a 1 1/2 inch by 42-inch-long piece. To do this, turn the dough over, seam side up and pull the dough into a rectangle shape. Wrap the longer sides over each other like an envelope. Gently rock the dough with your hands to elongate the dough. Let it rest for about 10 minutes if the dough resists.
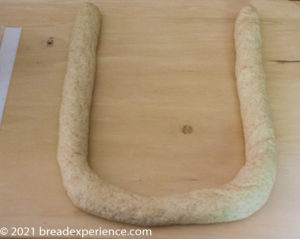
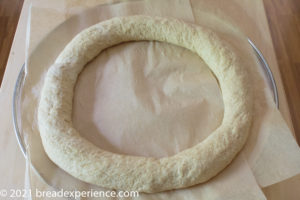
- Prepare a 14-inch cast iron pan, pizza pan, or large cookie sheet with spray oil. You can also use good quality parchment paper and a pizza peel to directly transfer the loaf to the baking stone. Gently place the dough on the pan or parchment and form it into a circle, overlapping the ends. Cover loosely with oiled plastic wrap and set the dough in a warm spot and let rise for 1 to 1 1/2 hours, until it passes the finger dent test.
- In the meantime, heat your oven, with a rack on the lowest level with a steam pan, and a rack in the middle above the steam pan and fitted with a baking stone if you have one. Heat the oven to 450 degrees F.
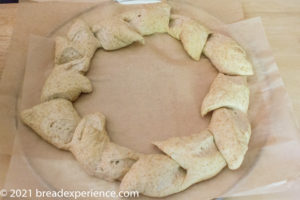
- Using scissors, cut partially through the dough at a 45-degree angle from the top and move the cut dough to one side. Cut almost but not all of the way through. Continue to make more cuts, every 3 inches, and move the cut dough pieces to alternating sides until you go around the wreath. Don’t cut from the sides, cut from the top.
- I tried kitchen shears first but they didn’t open wide enough, so I actually used sewing shears.
- Place the pan or parchment (using a peel) with the shaped dough onto the stone and add 1 cup of ice cubes to the steamer pan. Immediately close the oven door and reduce the heat to 400 degrees F.
- Bake for 30 to 35 minutes, until golden brown.
- Transfer the loaf to a cooling rack and let cool slightly before serving.
Notes
Adapted from the book Della Fattoria Bread by Kathleen Weber.
Who are the Bread Baking Babes?
We are a group of bread bakers who get together every month and bake bread! We have a Facebook group if you’d like to bake along. New recipes are posted every month on the 16th.
Karen, of Karen’s Kitchen Stories, is the host kitchen this month. Check out her blog post for more details on how to participate in this month’s challenge.
For more inspiration, check out all of the BBB posts:
Karen’s Kitchen Stories – Karen (Host Kitchen)
A Messy Kitchen – Kelly
Judy’s Gross Eats – Judy
Feeding My Enthusiasms – Pat
blog from OUR kitchen– Elizabeth
My Kitchen in Half Cups – Tanna
Bread Experience – Cathy
My Diverse Kitchen – Aparna
Thyme for Cooking – Katie (roundup)
Happy Baking!
Cathy
Kelly says
Love the color and I have got to try the oil and pepper! Very curious about your adopted tree!
Cathy says
I went to Tuscany several years ago and one of the vineyards I visited also made olive oil. They had an adopt-a-tree program so I adopted one each year for several years. I received several bottles of olive oil every December as part of the program. It was fun, but I decided not to adopt the tree this year so this is my last bottle. Sigh!
Tanna says
Cathy I find it very curious the different techniques that give us pause. Scoring is the first thing that comes to my mind that gives me issues.
Love the adopt a tree! That would make really special olive oil!
I always enjoy pull-apart loaves; I think it must appeal to most of us.
I think your loaf is lovely no issue I see.
Cathy says
Thanks Tanna! It is curious indeed!
Elizabeth says
Wow! I beg to differ. That is a stunningly beautiful wreath. I cannot believe that you re-shaped it! And how cool that you used olive oil from your own Tuscan tree.
Good idea to scatter herbs around for the photo.
Cathy says
Thanks Elizabeth! This is the second loaf. I didn’t reshape this one. The first loaf, which I didn’t show in this post, is the one that was reshaped. I did a better job the second time around.
Karen says
Yay! You posted! Thanks for hanging in there! It’s so funny what stumps us. I have no trouble with epis, but I’m a complete mess when it comes to slashing. Yours looks lovely and I love the ollive oil and pepper combo.
Cathy says
Thanks for the challenge! It was fun! Definitely worth another try or two.
Katie Zeller says
I would have had to do at least one practice loaf. They look pretty – but complicated. YouTube is great!
Cathy says
The practice loaf was helpful for sure.