Rustic Roasted Garlic Bread is the Bread of the Month for the Artisan Bread Bakers FB group. My version is made with home-milled spelt flour and spelt sourdough so I named it Rustic Roasted Garlic Spelt Bread with Cheese. It’s a mouthful in more ways than one.
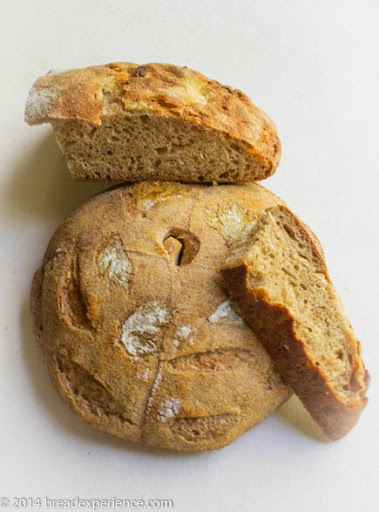
Rustic Roasted Garlic Spelt Bread with Cheese
The original formula utilizes an overnight levain. I made the preferment using 100% hydration sourdough rather than a stiff sourdough and increased the amount of sourdough used. To me, the levain looks and feels like a biga, but I’ll stick with levain to make things easy.
This bread is fun to make and very tasty. The garlic flavor shines through and if you’re lucky, you get a delicious mouthful of cheese with each bite. Most of the cheese ends up on top due to the way it’s incorporated into the dough, but I kind of liked it that way.
Rustic Roasted Garlic Spelt Bread
Adapted from Delia Fattoria’s Rustic Roasted Garlic Bread as shared by David Durr on the Artisan Bread Bakers FB Group
Yield: Two 500-gram loaves
Levain:
| Ingredient | Weight | Bakers % |
| Sourdough starter, 100% hydration, refreshed 8 hours before * |
25 g | 42% |
| Water, lukewarm | 35 g | 58% |
| Whole grain Spelt, sifted once | 30 g | 50% |
| Whole grain Spelt flour | 30 g | 50% |
| Total weight | 120 g |
* I used my spelt sourdough starter because I wanted the bread to be made completely with spelt and no additional white flour. However, you can use any sourdough starter for this bread.Dough:
| Ingredient | Weight | Bakers % |
| Sifted wholegrain Spelt | 500 g | 100 % |
| Water, warm | 390 g | 78 % |
| Salt | 8 g | 2 % |
| Levain | 113 g | 23 % |
| Total weight | 1018 g |
Garnish:
| Ingredient | Weight/Amount |
| Roasted Garlic purée | 1 head of garlic** |
| Asiago cheese, grated | 60 g |
| Garlic cloves, unpeeled | 2 |
| Beautiful sprigs flat-leaf parsley/cilantro/celery | 6 to 8 |
** Roast the garlic @ 325 degrees F., let it cool down, then purée it.
Schedule:
Feel free to adjust the following schedule to suit your needs.
- Friday morning: Feed sourdough starter and let it ripen for 8 hours.
- Friday evening: Form the biga and let it rest overnight at room temperature.
- Saturday afternoon or evening: Prepare the dough and let it rest overnight in the refrigerator.
- Sunday afternoon: Shape, proof and bake the loaves.
Method:
1) Feed the sourdough starter
8 hours before you start this process, feed your starter so that it’s ripe (fermented) and ready to be used. I generally feed my starter equal amounts of water and flour so that it remains 100% hydration.
2) Prepare the preferment
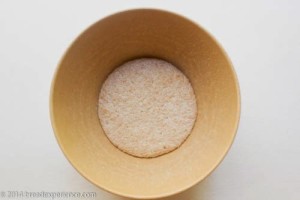
Start the levain the evening before you make the dough. Mix the water and flour and knead it gently for a minute or so to incorporate it thoroughly. Cover the levain and let it rest on the counter at room temperature for 12 – 16 hours.
The temperature in my kitchen was about 62 degrees F. overnight so I let it rest the full 16 hours. If your kitchen is warmer, it probably won’t take as long.
3) Mix the dough and bulk ferment
To prepare the dough, dissolve the levain with the water. Then mix in the flour using your hands or a Danish dough whisk. If you’re using spelt flour, be careful not to overmix it. I started out using the Danish dough whisk, then I used the fold-and-turn method in the bowl until it was completely combined.
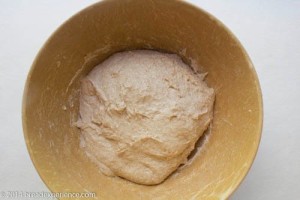
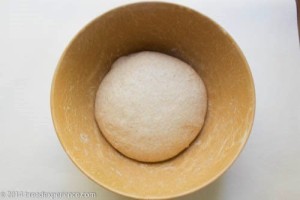
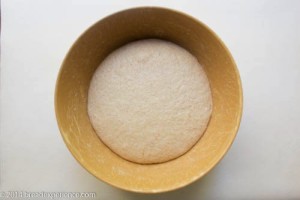
Let the dough rest for 30 minutes, then add in the salt. Mix until it is thoroughly incorporated, about 5 minutes more. The dough will be very soft and sticky. Cover the bowl with plastic wrap, and put it in a warm spot, about 75 degrees F. Fold and turn the dough 4 times at 30-minute intervals, that is, after 30, 60, and 90, 120 minutes of fermenting. Then cover the bowl of dough tightly, and place it in the refrigerator overnight.
4) Remove dough from refrigerator:
The next afternoon or evening, remove the dough from the refrigerator and let it warm up to room temperature for about 1.5 hours, or until the dough has almost doubled in size.
5) Divide and shape the loaves
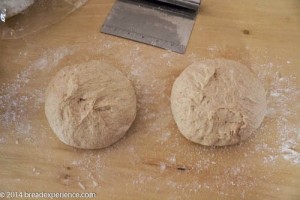
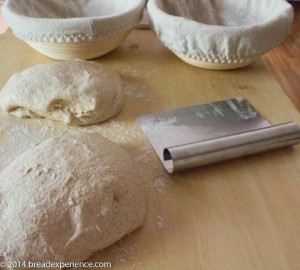
Turn the dough out onto a lightly floured surface, and cut it in half. Lightly round the pieces and cover loosely with plastic wrap. Let the rounds rest for 20 minutes.
While the dough pieces are resting, pick out a few sprigs of celery leaves (or cilantro or Italian flat-leaf parsley), grate the cheese, mash the roasted garlic into a purée and season it with freshly cracked pepper and a pinch of salt. Divide the purée and cheese into 2 equal portions and dust 2 linen-lined proofing basket with rice flour.
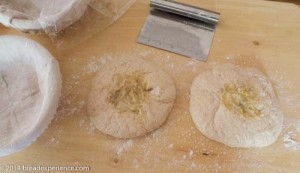
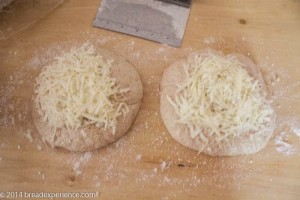
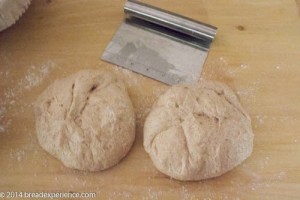
Place one of the dough rounds seam side down, and flatten it, keeping the middle very thick. Smear the garlic purée in the center of the dough, then sprinkle the cheese, and pull the dough up around to form a pleated pouch. Turn the dough over and round it tightly but gently keeping the filling in the center.
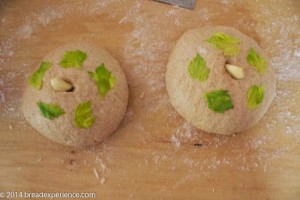
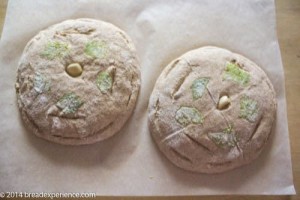
Using the tip of a sharp knife, make a small cut in the center of the top of the dough and twist 1 garlic clove into the cut about 1/3 of the way into the dough. Arrange 4 or 5 celery leaves around the garlic and pat them down. Repeat the process with the other dough round.
 |
 |
 |
 |
6) Proof the loaves
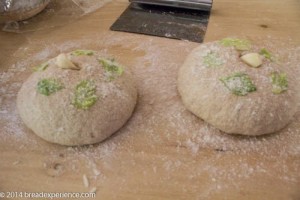
Sprinkle a little flour over the shaped breads to cover the decorations; it will protect the herbs from the oven heat.
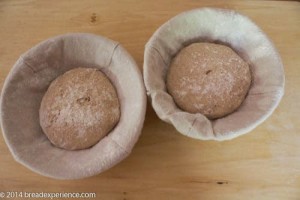
Place the loaves, decorated side down, in the prepared banneton baskets. Cover the proofing baskets with a kitchen towel and place them in a warm spot. Allow the loaves to proof for 3-4 hours, or until they are airy and quite expanded.
 |
 |
7) Prepare the oven for hearth baking
About an hour before you are ready to bake the loaves, preheat the oven to 475 degrees F. with a baking stone on the bottom rack and an iron skillet or steam pan on the top rack.
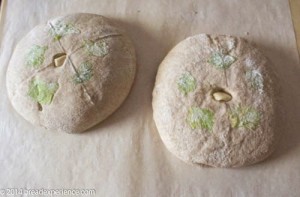
Gently turn the loaves out of the baskets onto parchment paper. Slash the top of each loaf by cutting semi-circles about an inch from the loaf’s perimeter.
 |
 |
8) Bake the loaves
Slide the loaves (on the parchment) onto the hot baking stone. Quickly and carefully add 3 or 4 ice cubes to the iron skillet or steam pan and spritz the walls with water using a spray bottle. Repeat the spray process 3 times during the first 5 minutes of baking. Immediately, turn the oven down to 425 degrees F. Remove the parchment, rotate the loaves 180 degrees, and continue to bake for another 20 -25 minutes or until the loaves turn dark brown.
9) Cool loaves
Remove the loaves from the oven and allow to cool completely on a wire rack before slicing and serving.
10) Slice and enjoy!
When I removed the baked loaves from the oven, I thought about what Lionel Vatinet mentioned in his workshop at the Artisan Bread Festival this past Spring. He encouraged us not to get frustrated if our bread didn’t turn out perfectly each time. He said, “Just call it rustic, and say it’s supposed to be that way.”
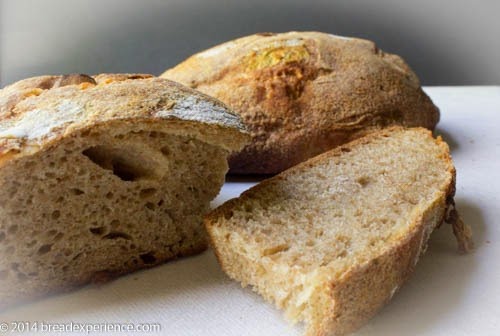
These loaves make look rustic, but they taste great so it doesn’t matter what they look like, right?
Thanks to David for sharing this delicious bread with the Artisan Bread Bakers.
Happy Baking!
Cathy
Leave a Reply