This Rustic Sourdough Pumpkin-Shaped Bread imbued with the flavors of Autumn, makes a lovely centerpiece for Fall or Holiday gatherings. Instead of a smooth finish, this loaf has a rustic charm reminiscent of heirloom pumpkins.
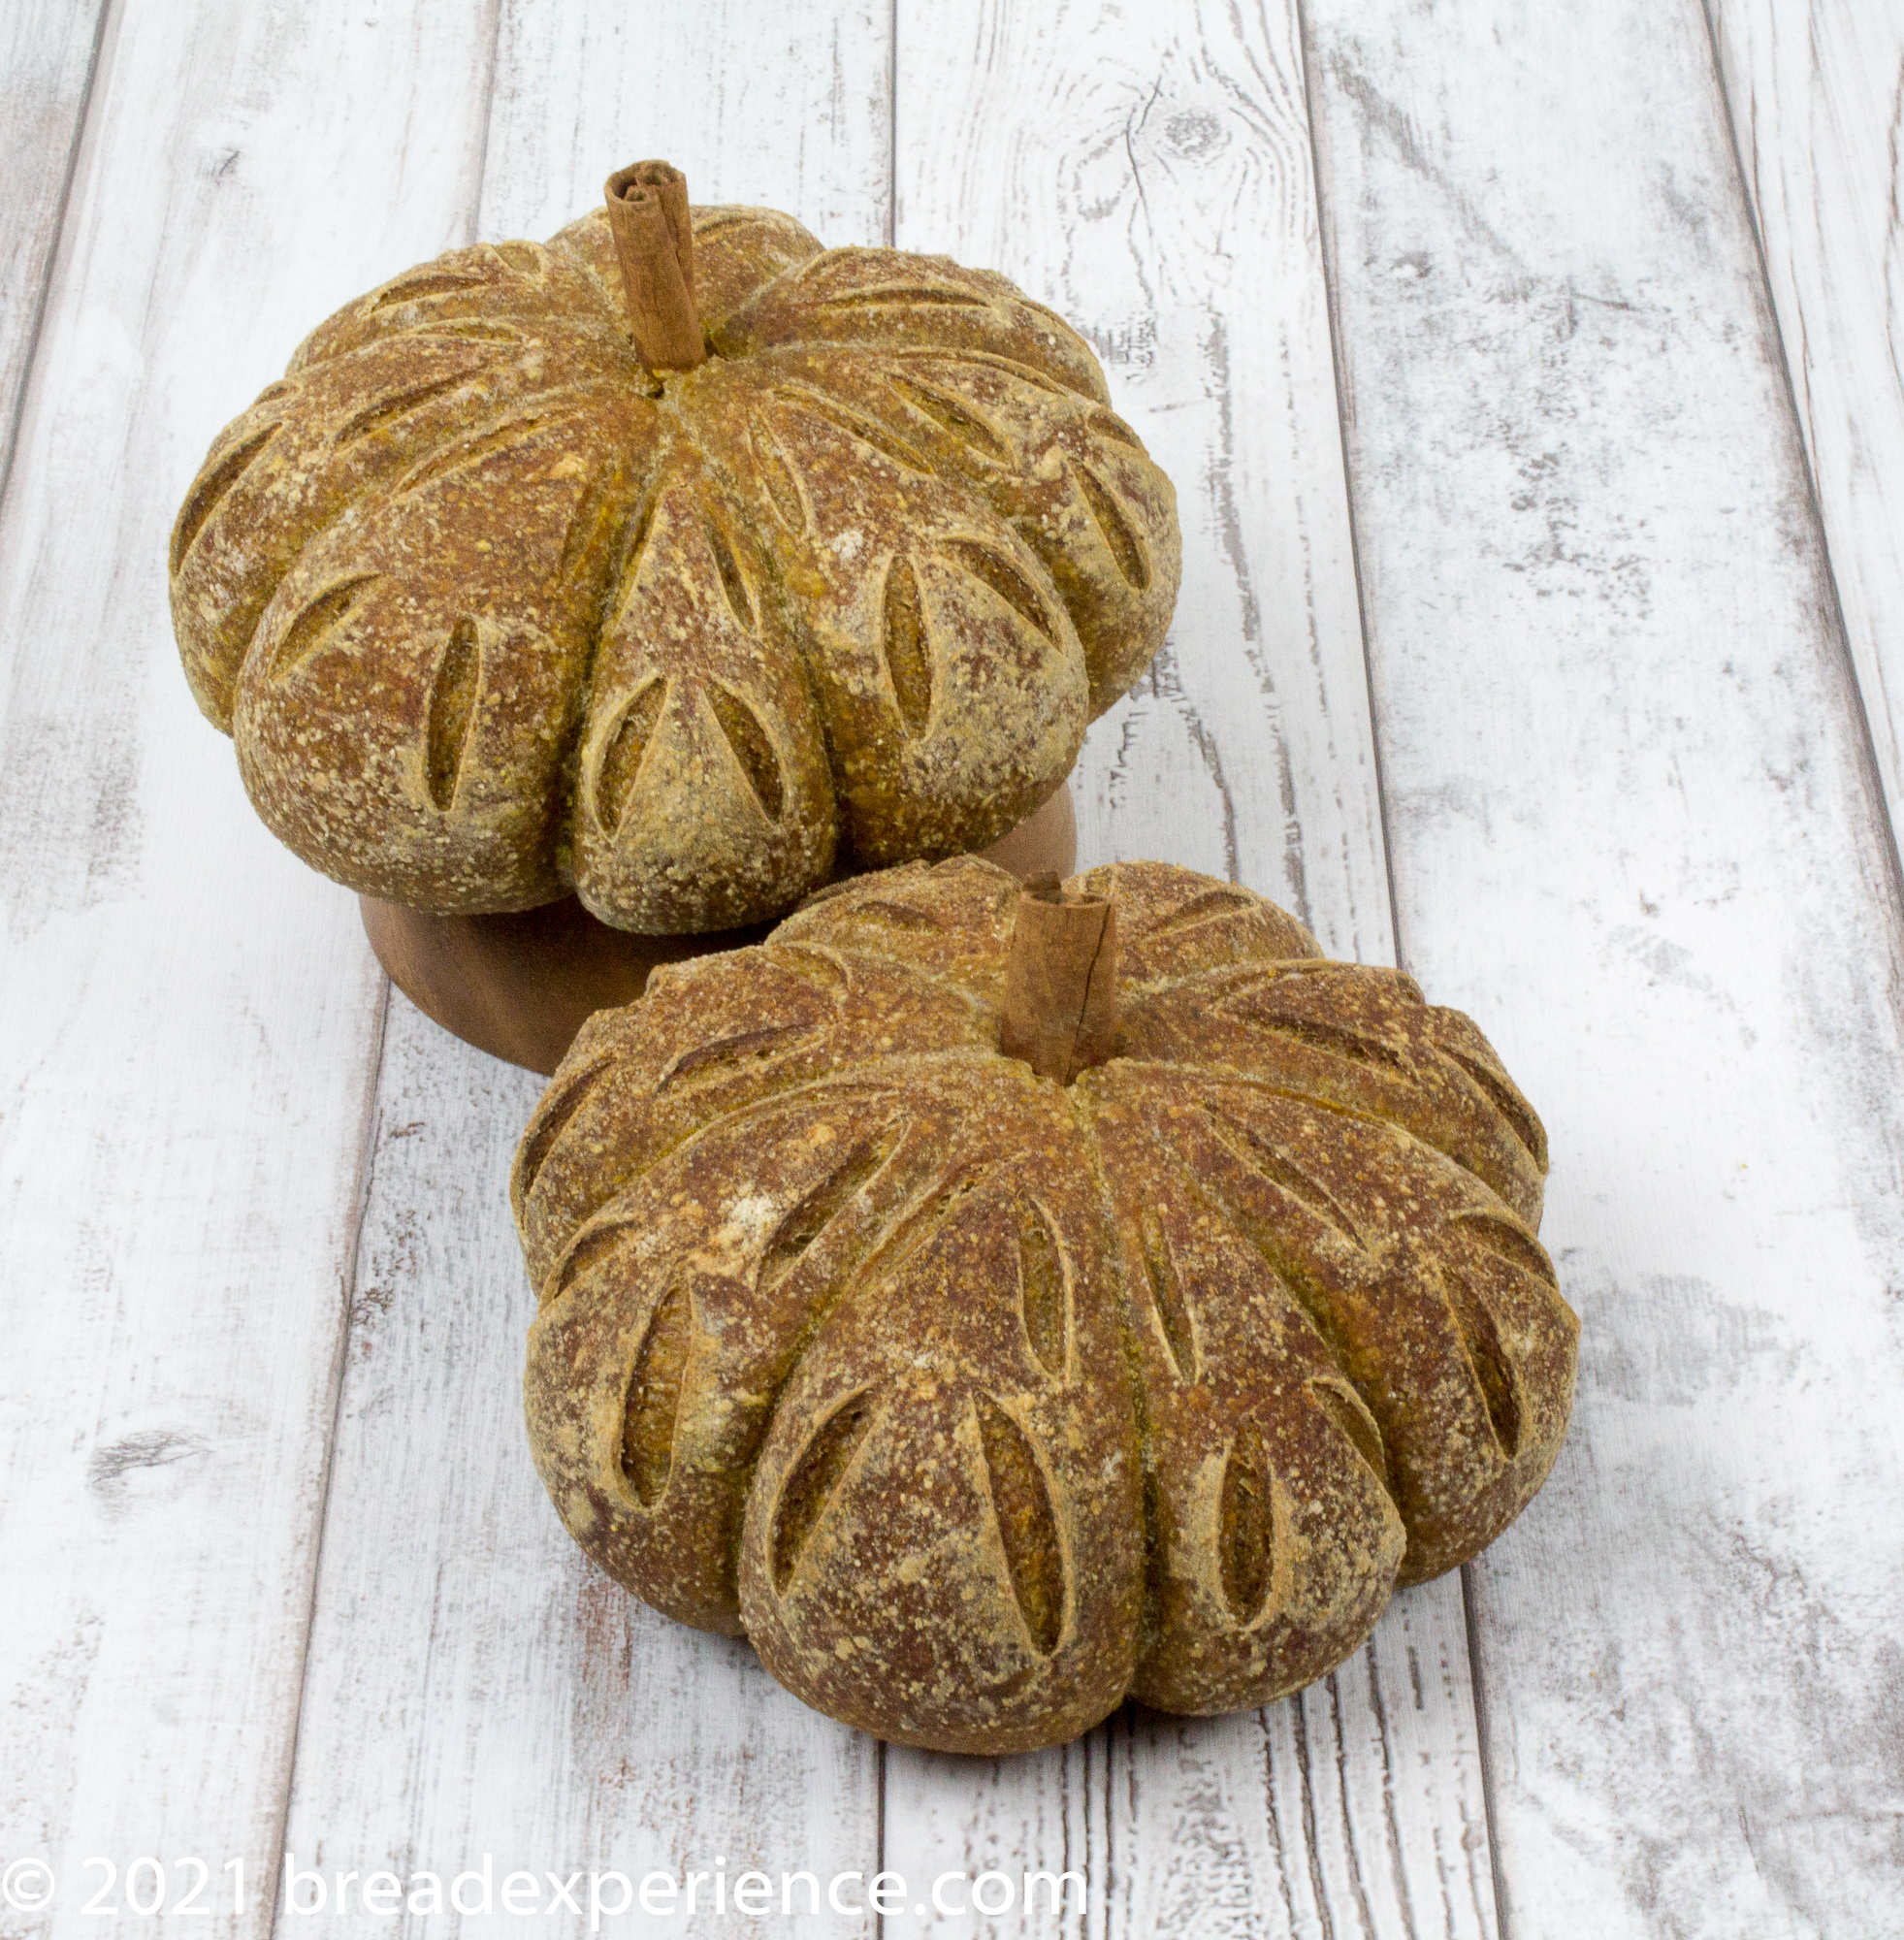
Bread Experience is the host kitchen for October for the Bread Baking Babes, and I chose this pumpkin-shaped bread to commemorate Fall and World Bread Day. If you would like to participate, refer to the submission guidelines at the bottom of this post.
Pumpkin-shaped breads and rolls have made their way around the various online baking groups over the past few years, but I never made one because I was intimidated by the shape. Turns out, these pumpkin breads are easy to create.
Typically, they are made with pumpkin puree, white flour, and yeast. I decided to change things up a bit by making a rustic sourdough loaf and incorporating different grains for color, flavor, and texture.
To maintain the characteristic shape, the bulk of the flour is white all-purpose flour, but adding in some whole wheat, semolina, cornmeal, or even buckwheat, along with a bit of rye, gives the loaf its rustic appeal.
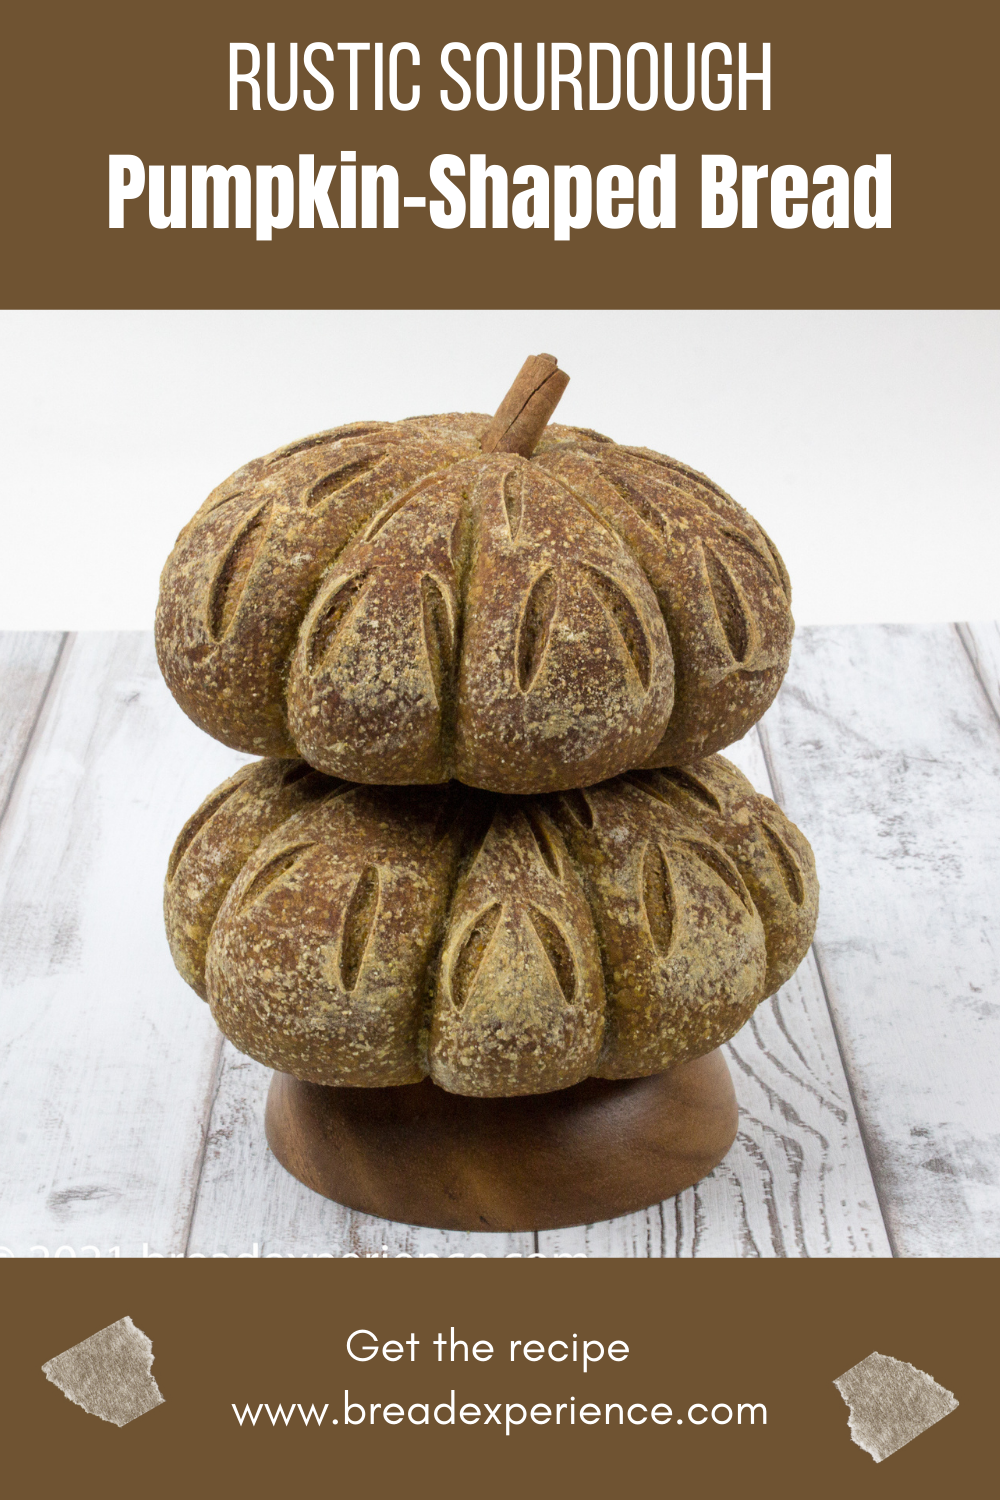
This bread is made with an easy Pain de Campagne dough that utilizes an overnight Pâte fermentée spiked with a bit of yeast or sourdough starter, and includes 100 grams (about 20%) whole wheat flour in addition to AP flour. I used AP flour, semolina or cornmeal, and a bit of wholegrain rye flour in the final dough. Feel free to choose the type of flour(s) you use as well as the amounts.
The formula integrates two of my favorite bread-baking techniques – the BBA method, as outlined in The Bread Baker’s Apprentice by Peter Reinhart, and the Forkish process, as presented in Flour, Water, Salt, Yeast by Ken Forkish.
I substituted roasted pumpkin for the water in the final dough and added pumpkin pie spice and maple syrup. This is not a sweet bread, but it can be deliciously spicey, depending on how much pumpkin pie (or other) spice you add. You can omit the spice altogether if you prefer.
I used roasted pumpkin puree from a sugar (pie) pumpkin that I baked last Fall. It was more liquified than canned pumpkin. If you use canned pumpkin puree, you may need to add a tablespoon or so of water in the final dough depending on the types of grains you use.
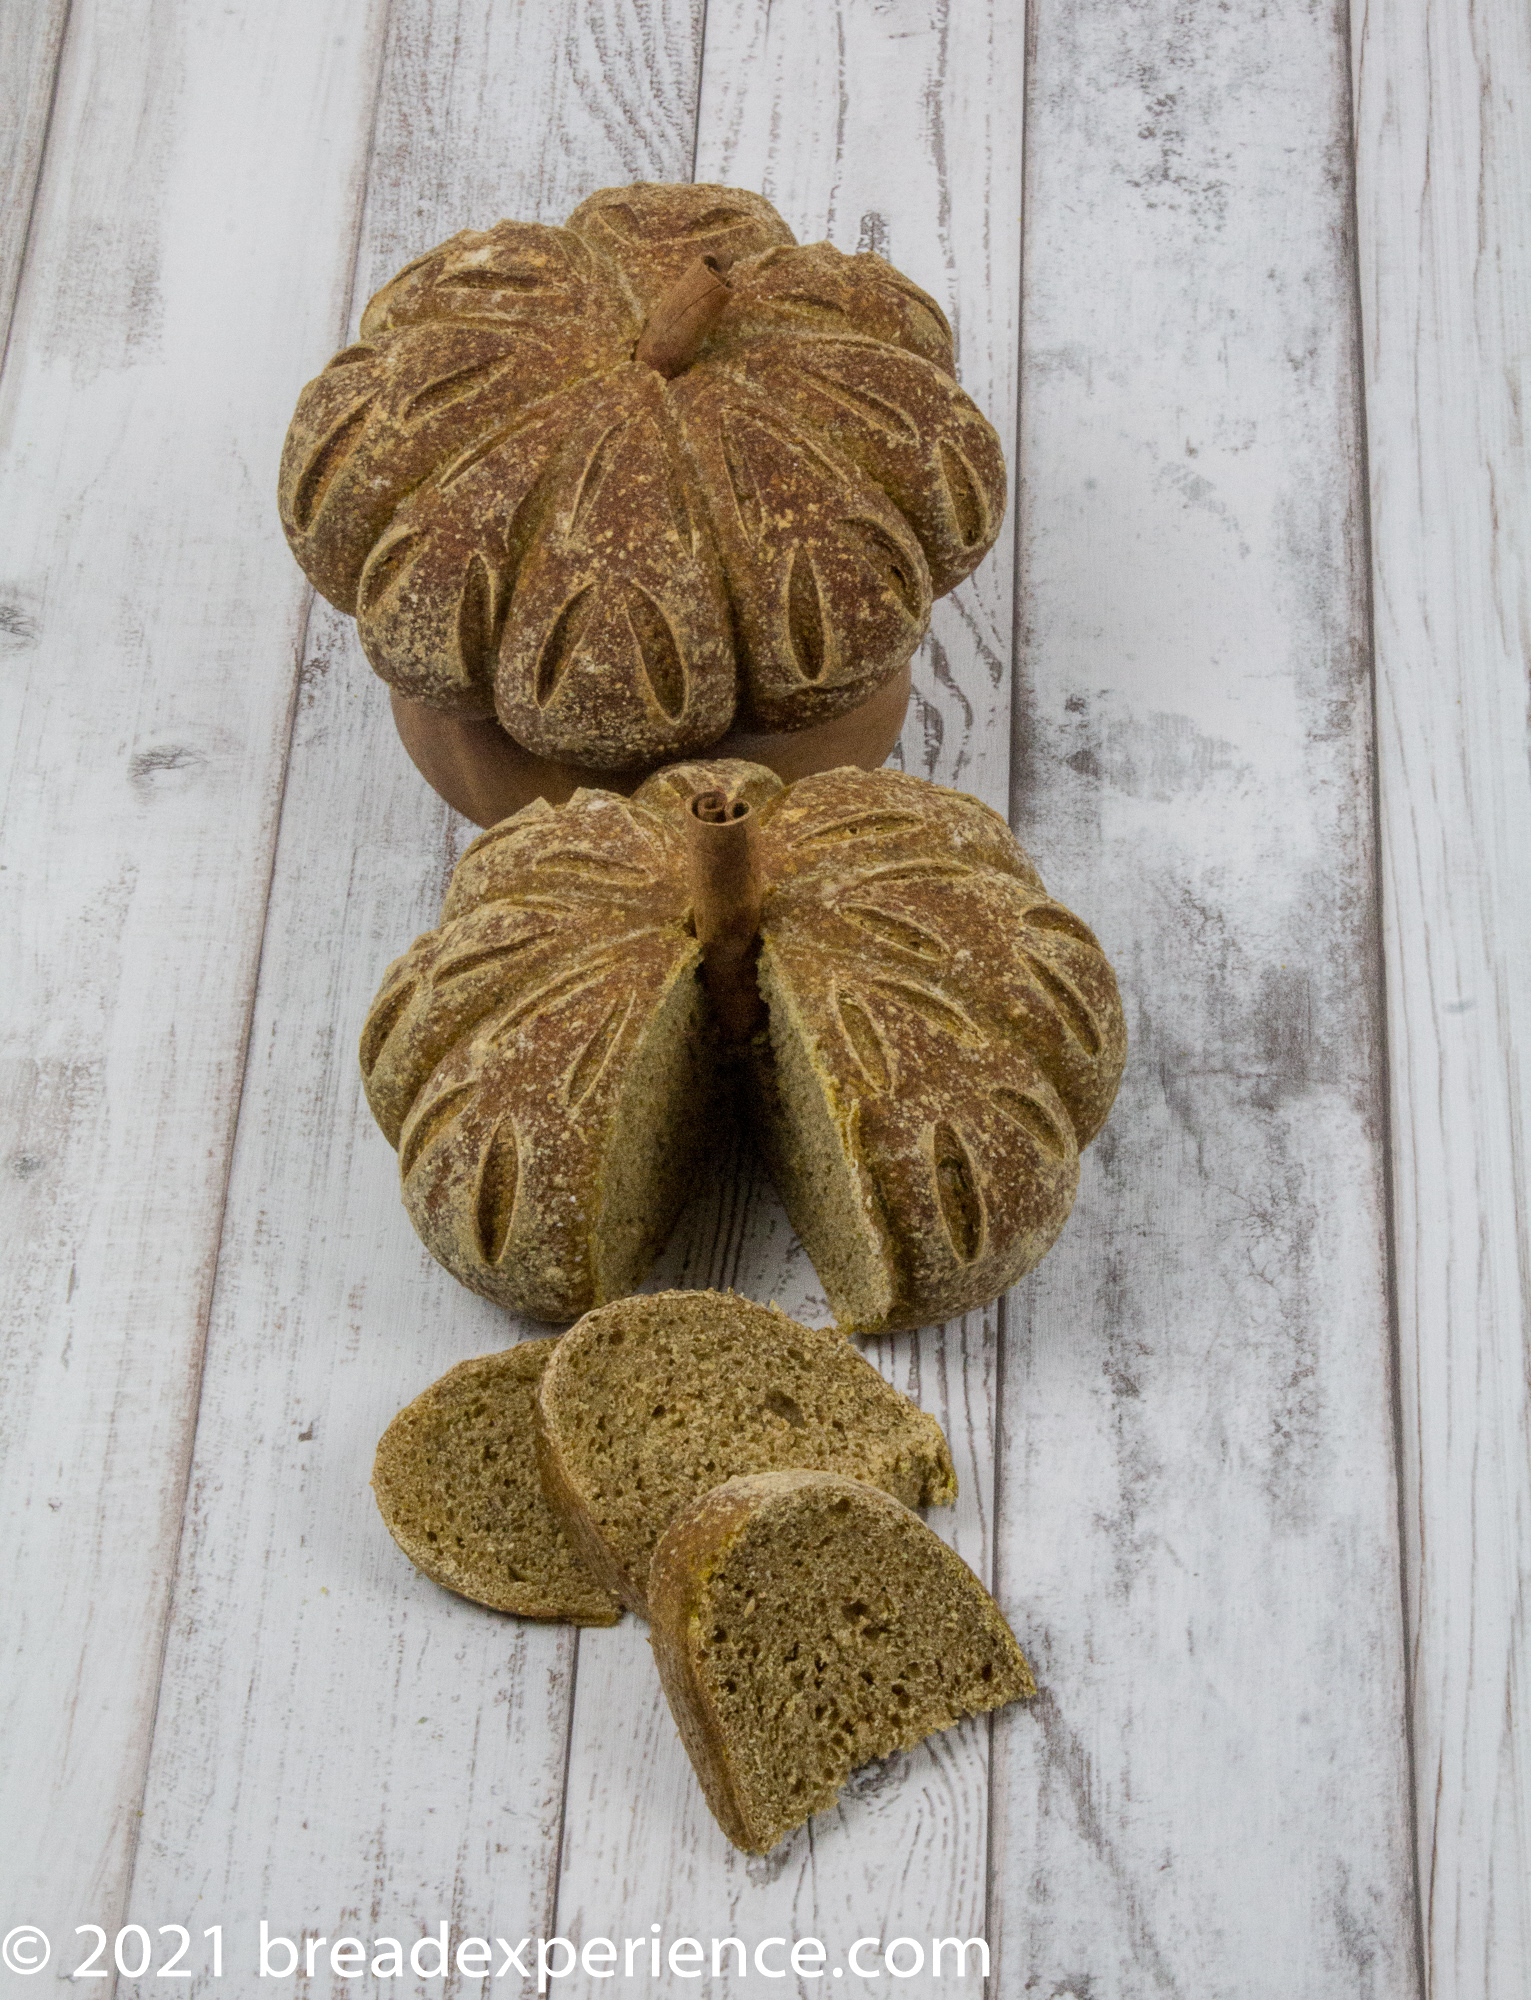
Forming the pumpkin(s):
The main appeal of this bread is its shape. It comes together very easily. The tricky part is getting the string off without leaving a fuzzy residue from the string.
Use a round piece of parchment. I used a round piece of parchment based on the instructions from some of the other blogs. It worked well. If you don’t have round parchment, you can cut the parchment to fit your Dutch oven or other baking pot.
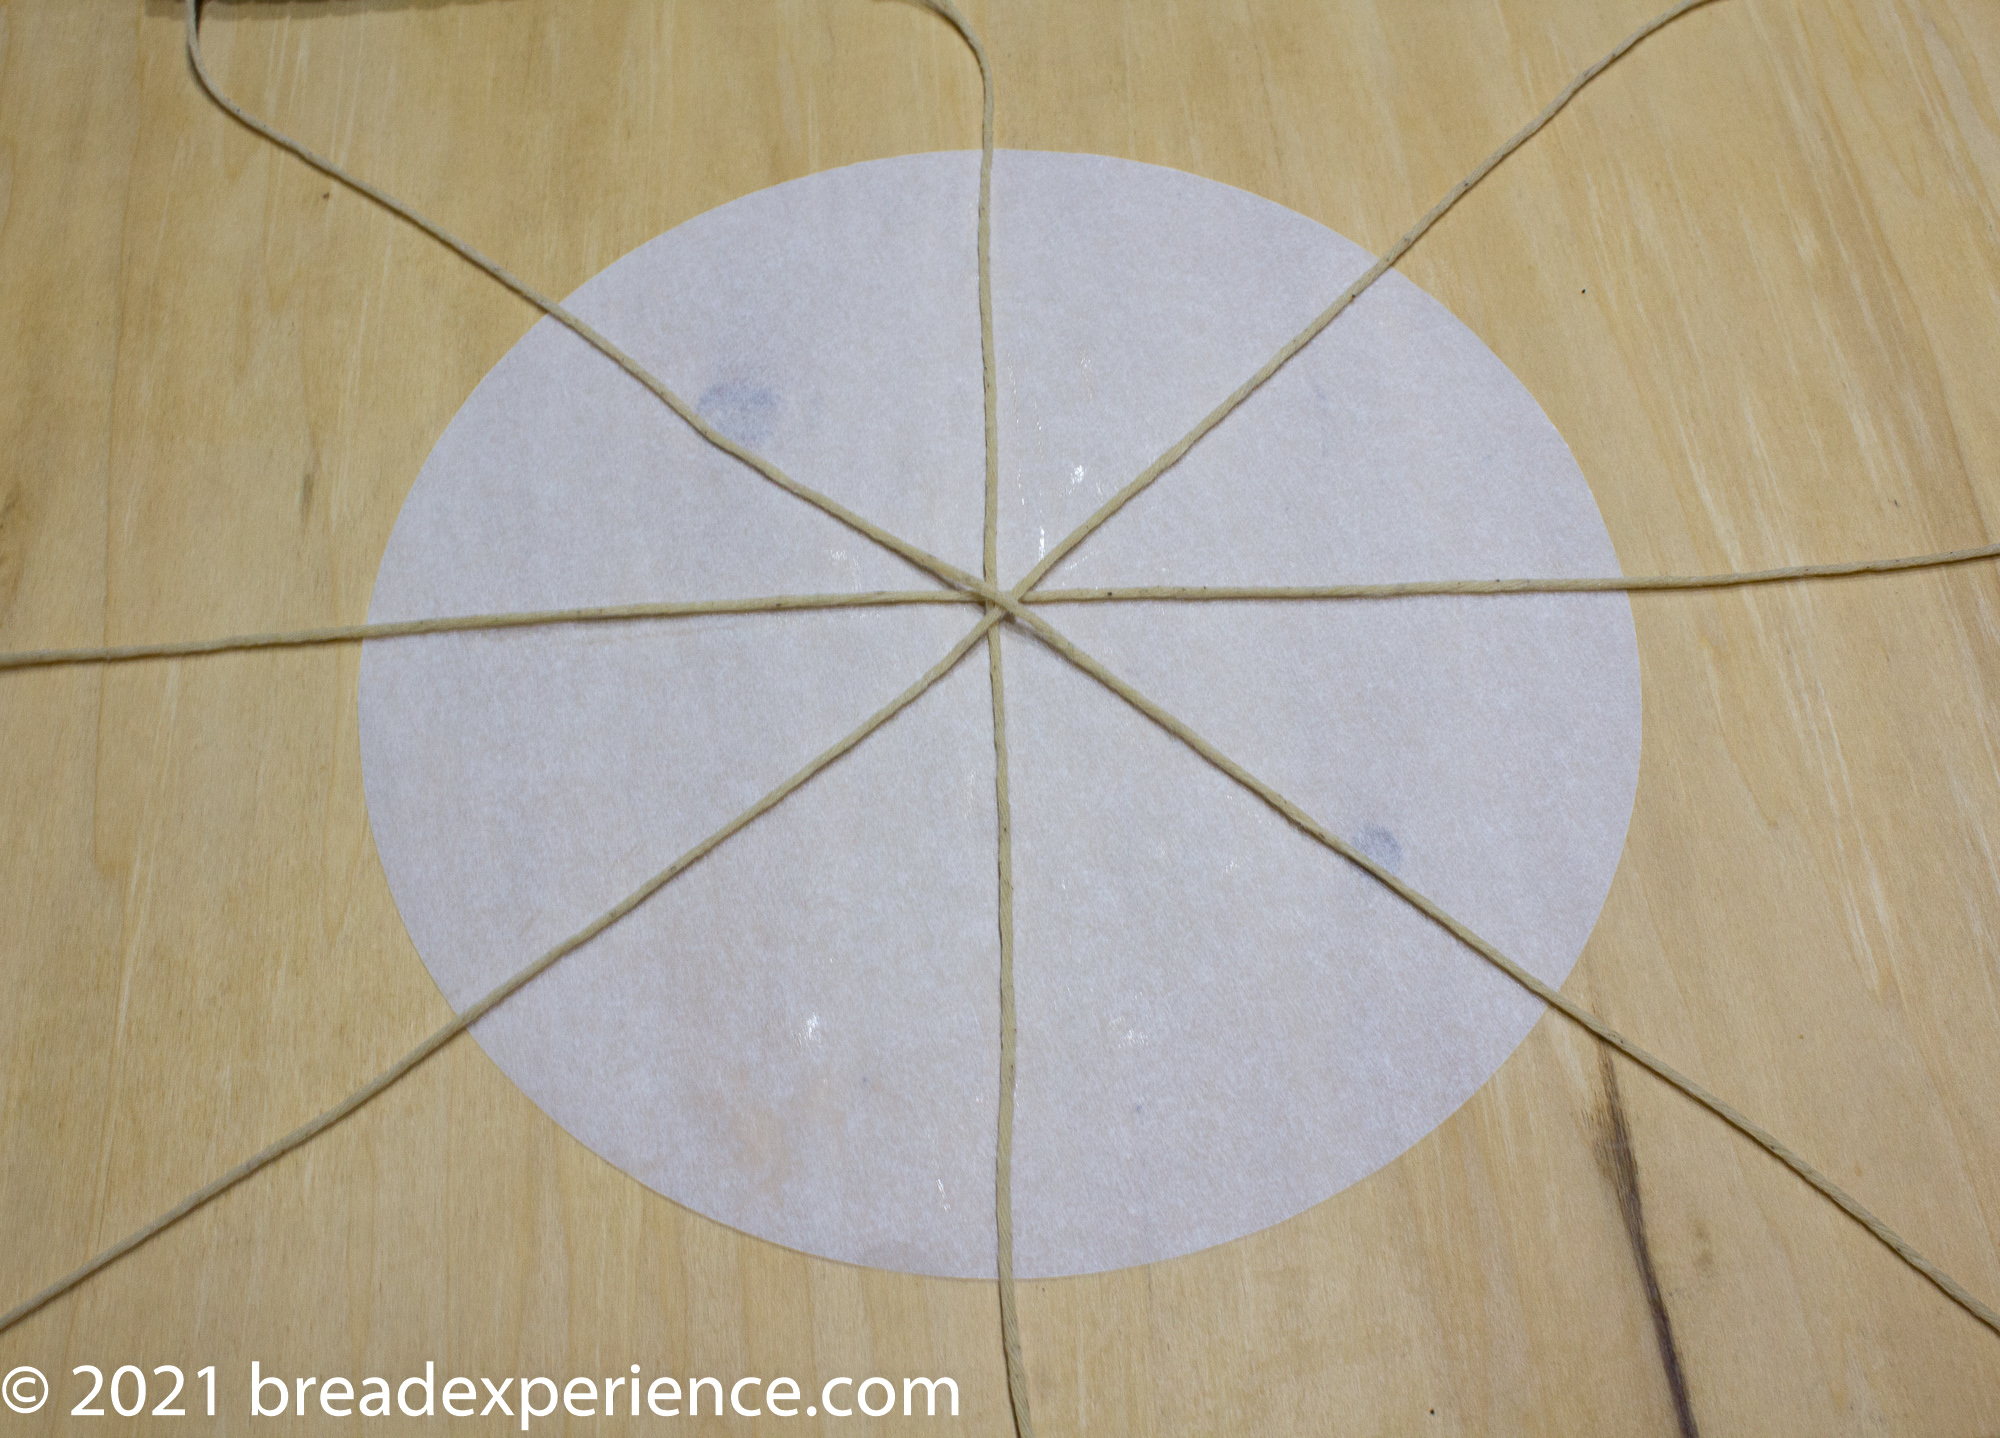
Use a food-safe string for tying. I used natural baker’s twine. Some of the blogs I visited used jute to tie their loaves.
Oil your string well. This will help with removal. You’ll need to be careful and go real slow when removing the string. I mean really slow. You may want to keep a small knife on hand to help with this. Depending on what type of twine you use, you could end up with fuzzy residues. This happened to me with the first bake, but I scraped the fuzzy part off and it was fine.
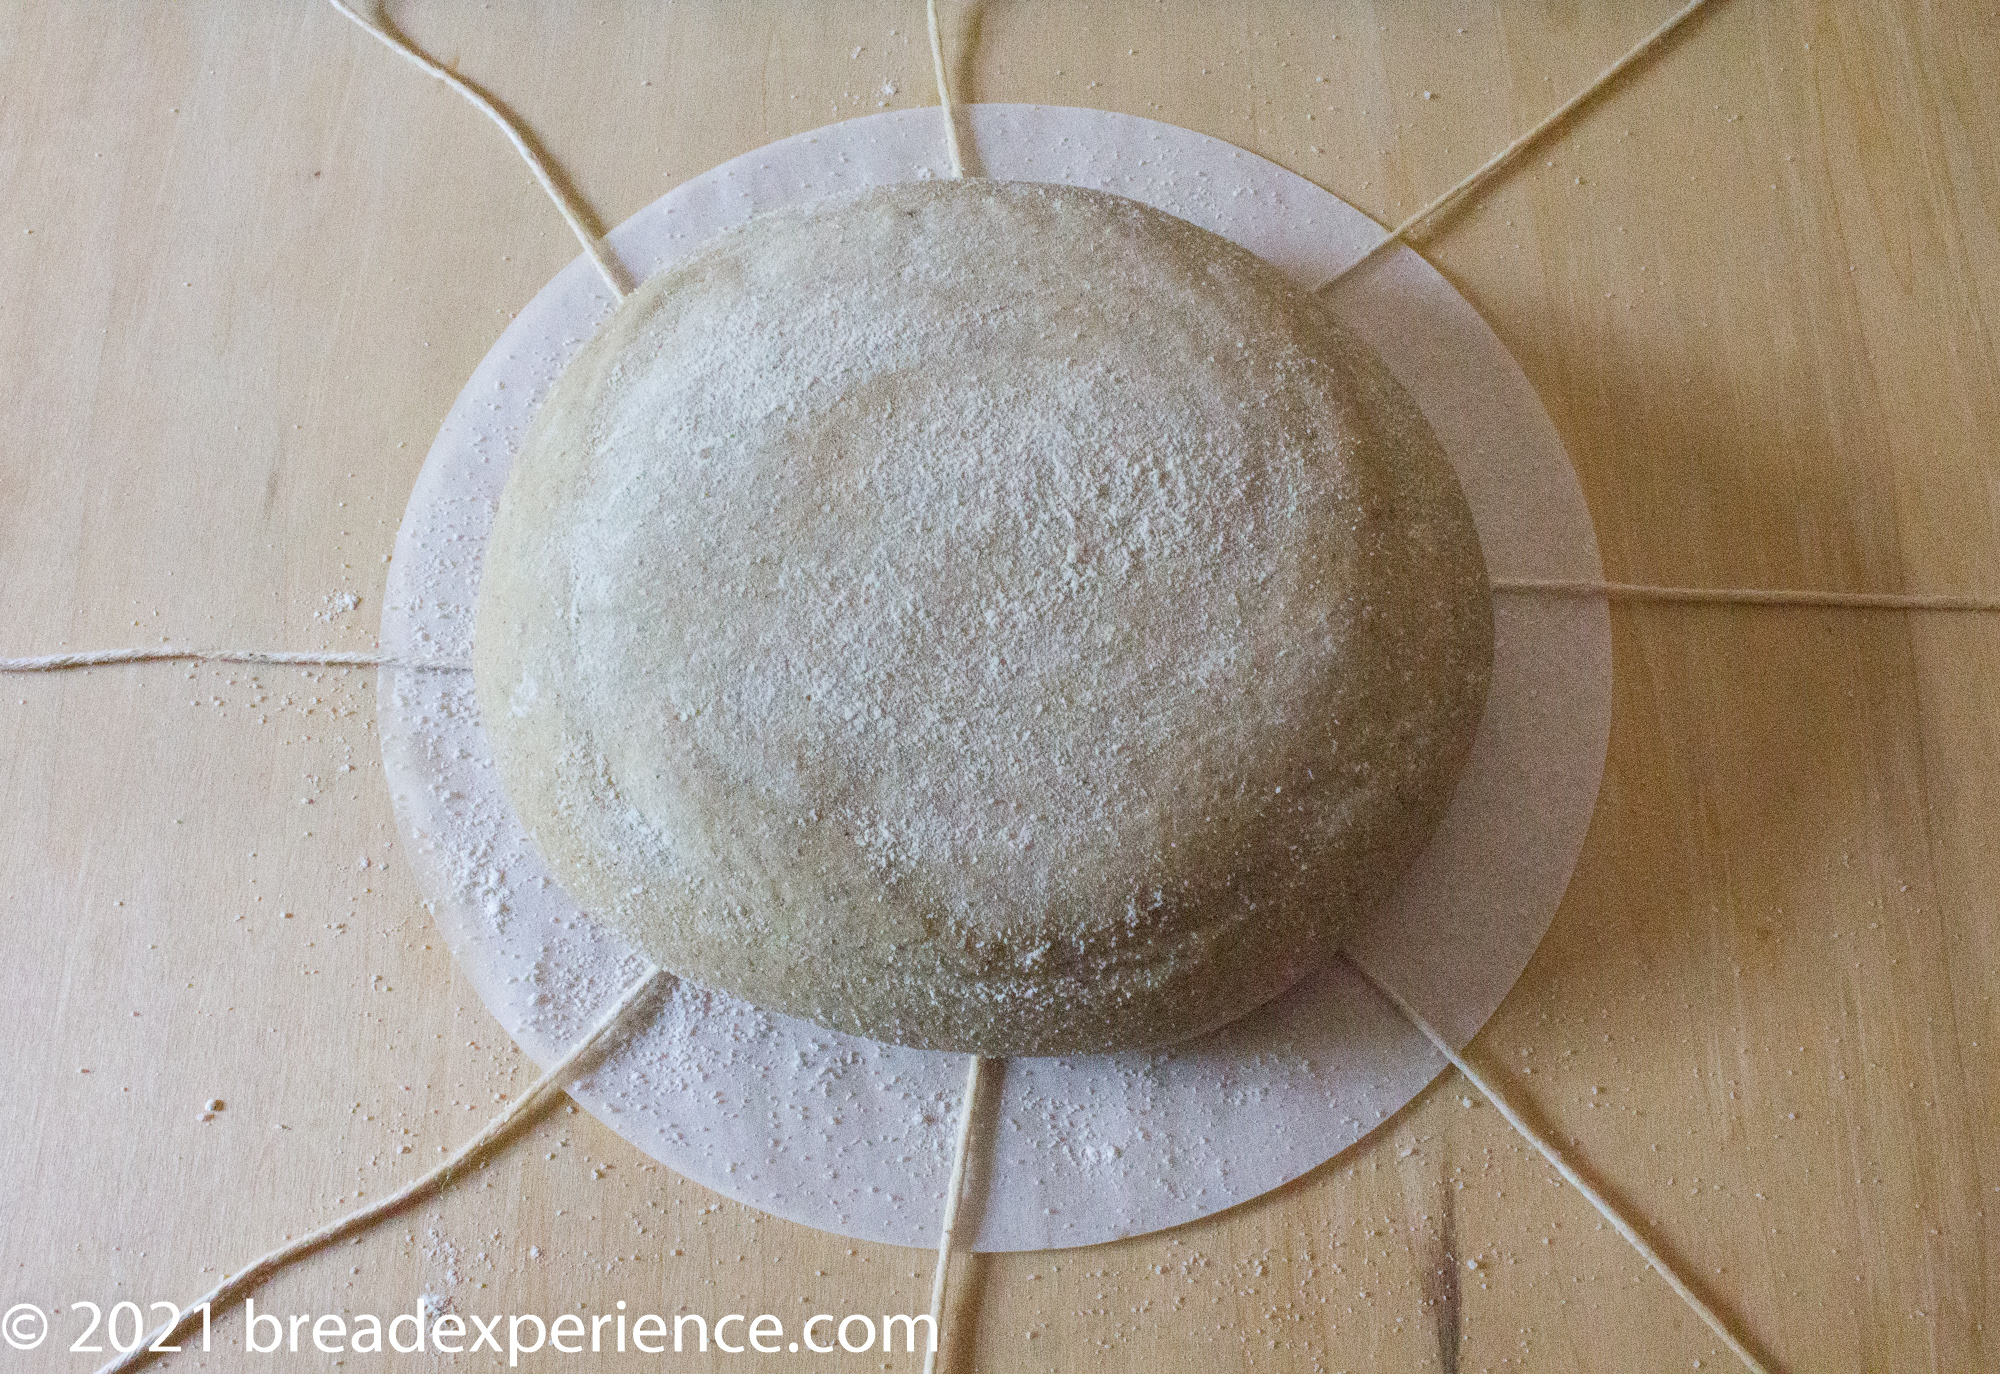
I oiled the string with a pastry brush for the second bake, but it still left a bit of residue when I removed the string. This is where the knife comes in handy. I removed the string and residue by gently scraping the loaf about half an inch at a time.
Don’t tie the string too tight. You want to give the loaf room to expand in the oven. However, contrary to how you normally bake artisan bread, for this one, you don’t want too much oven spring while it’s baking because it could tear the loaf and mess up the shape.
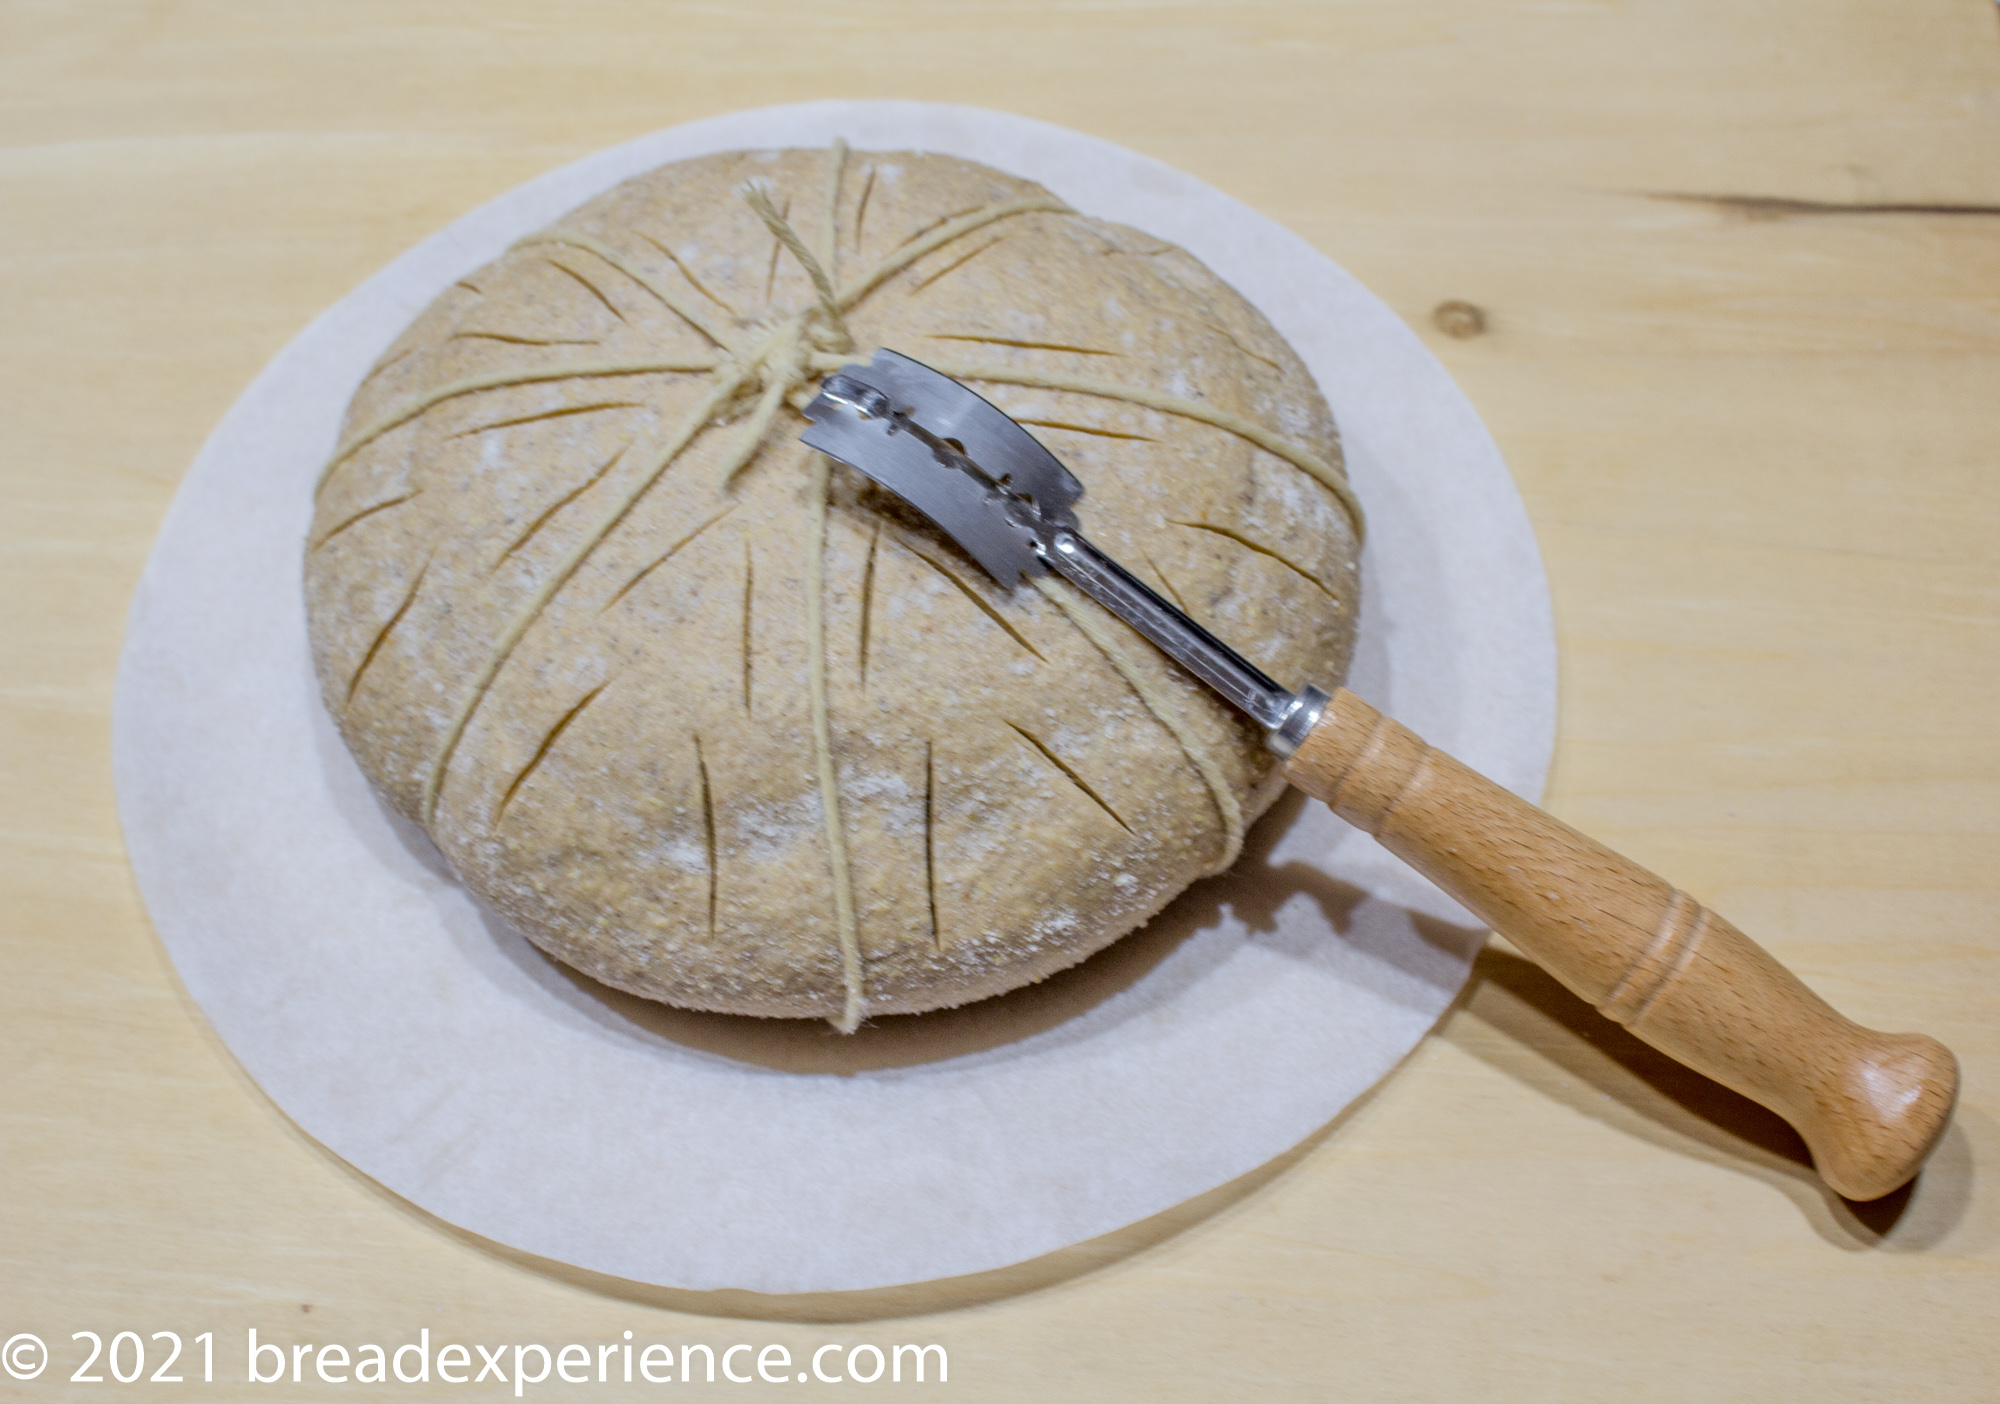
Score the loaf, if desired. I used a curved bread lame to score shallow cuts in the top of the loaf between the strings. This added to the effect and helped open up the dough at the scores.
Try different grains to add Unique Appeal
The first time I made this bread
, I got creative and added buckwheat in the Pâte fermentée. At the last minute, I also added some turmeric to the final dough. Another baker did this so I thought why not?
I baked these loaves in my ceramic Dutch oven. The result was interesting. The buckwheat/turmeric combination provided a unique color for sure.
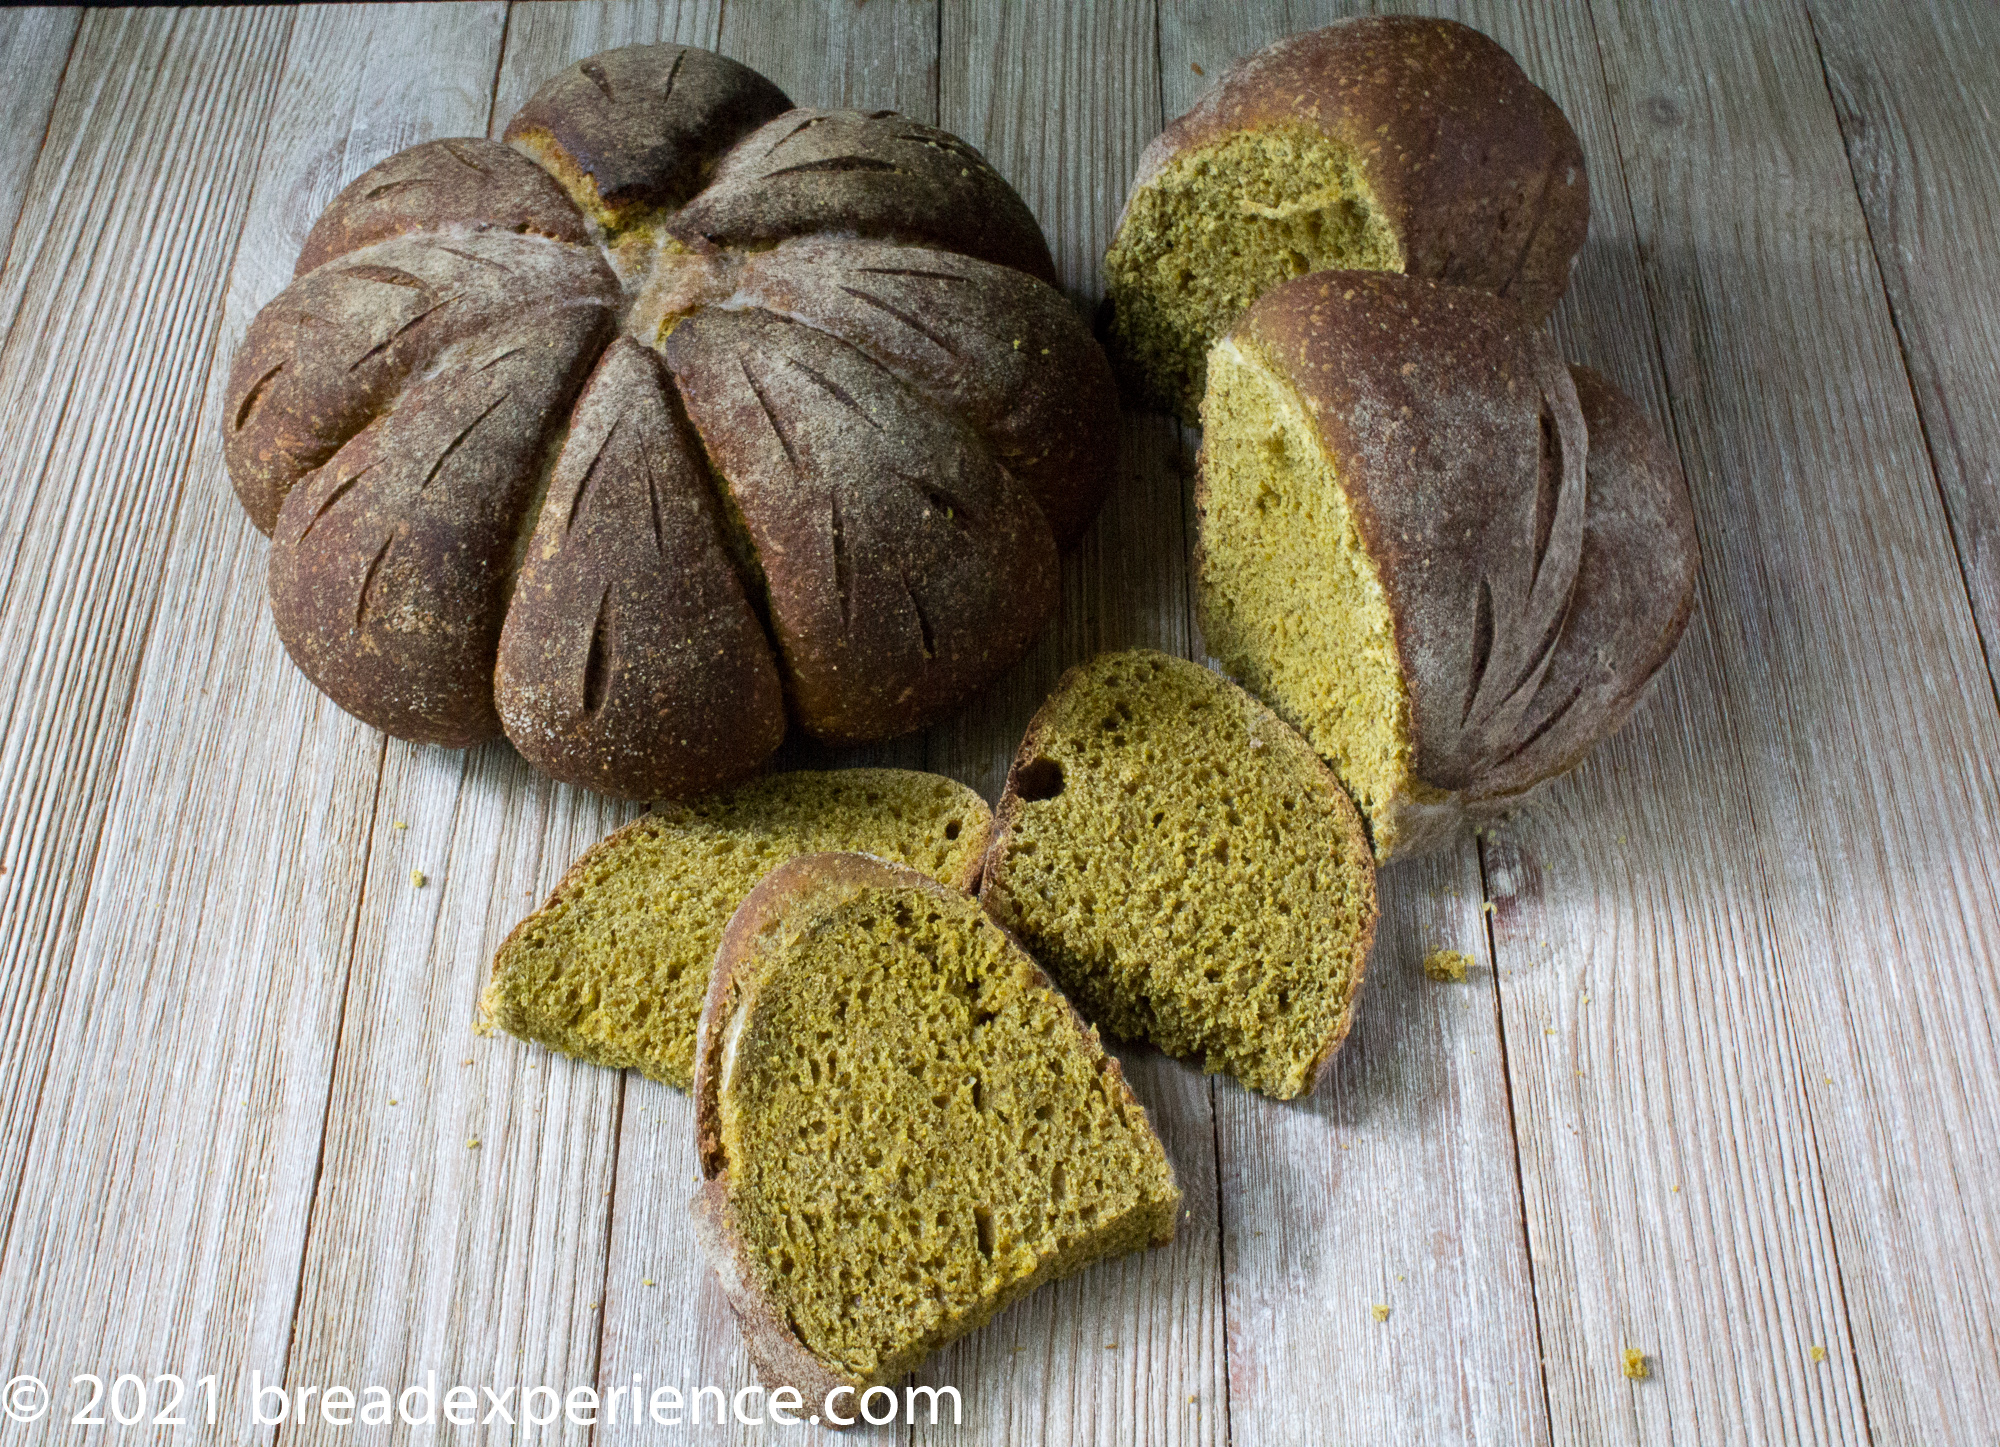
For the second batch, I used semolina instead of buckwheat and omitted the turmeric. I baked these loaves in my ceramic bread cloche. This version was much better. I loved the texture.
I ended up letting the loaves cold ferment in the banneton baskets for two days instead of overnight. The flavor was a bit tangy, but not overpowering.
I forgot to score the second loaf, but I kind of like the effect without the scoring. I also liked using the bread cloche better because it’s easier to place the tied loaf on the bottom.
That being said, a Dutch oven does work. You have to be careful when transferring the loaf to the hot Dutch oven. A baking stone with a roasting pan or stainless-steel bowl on top should also work.
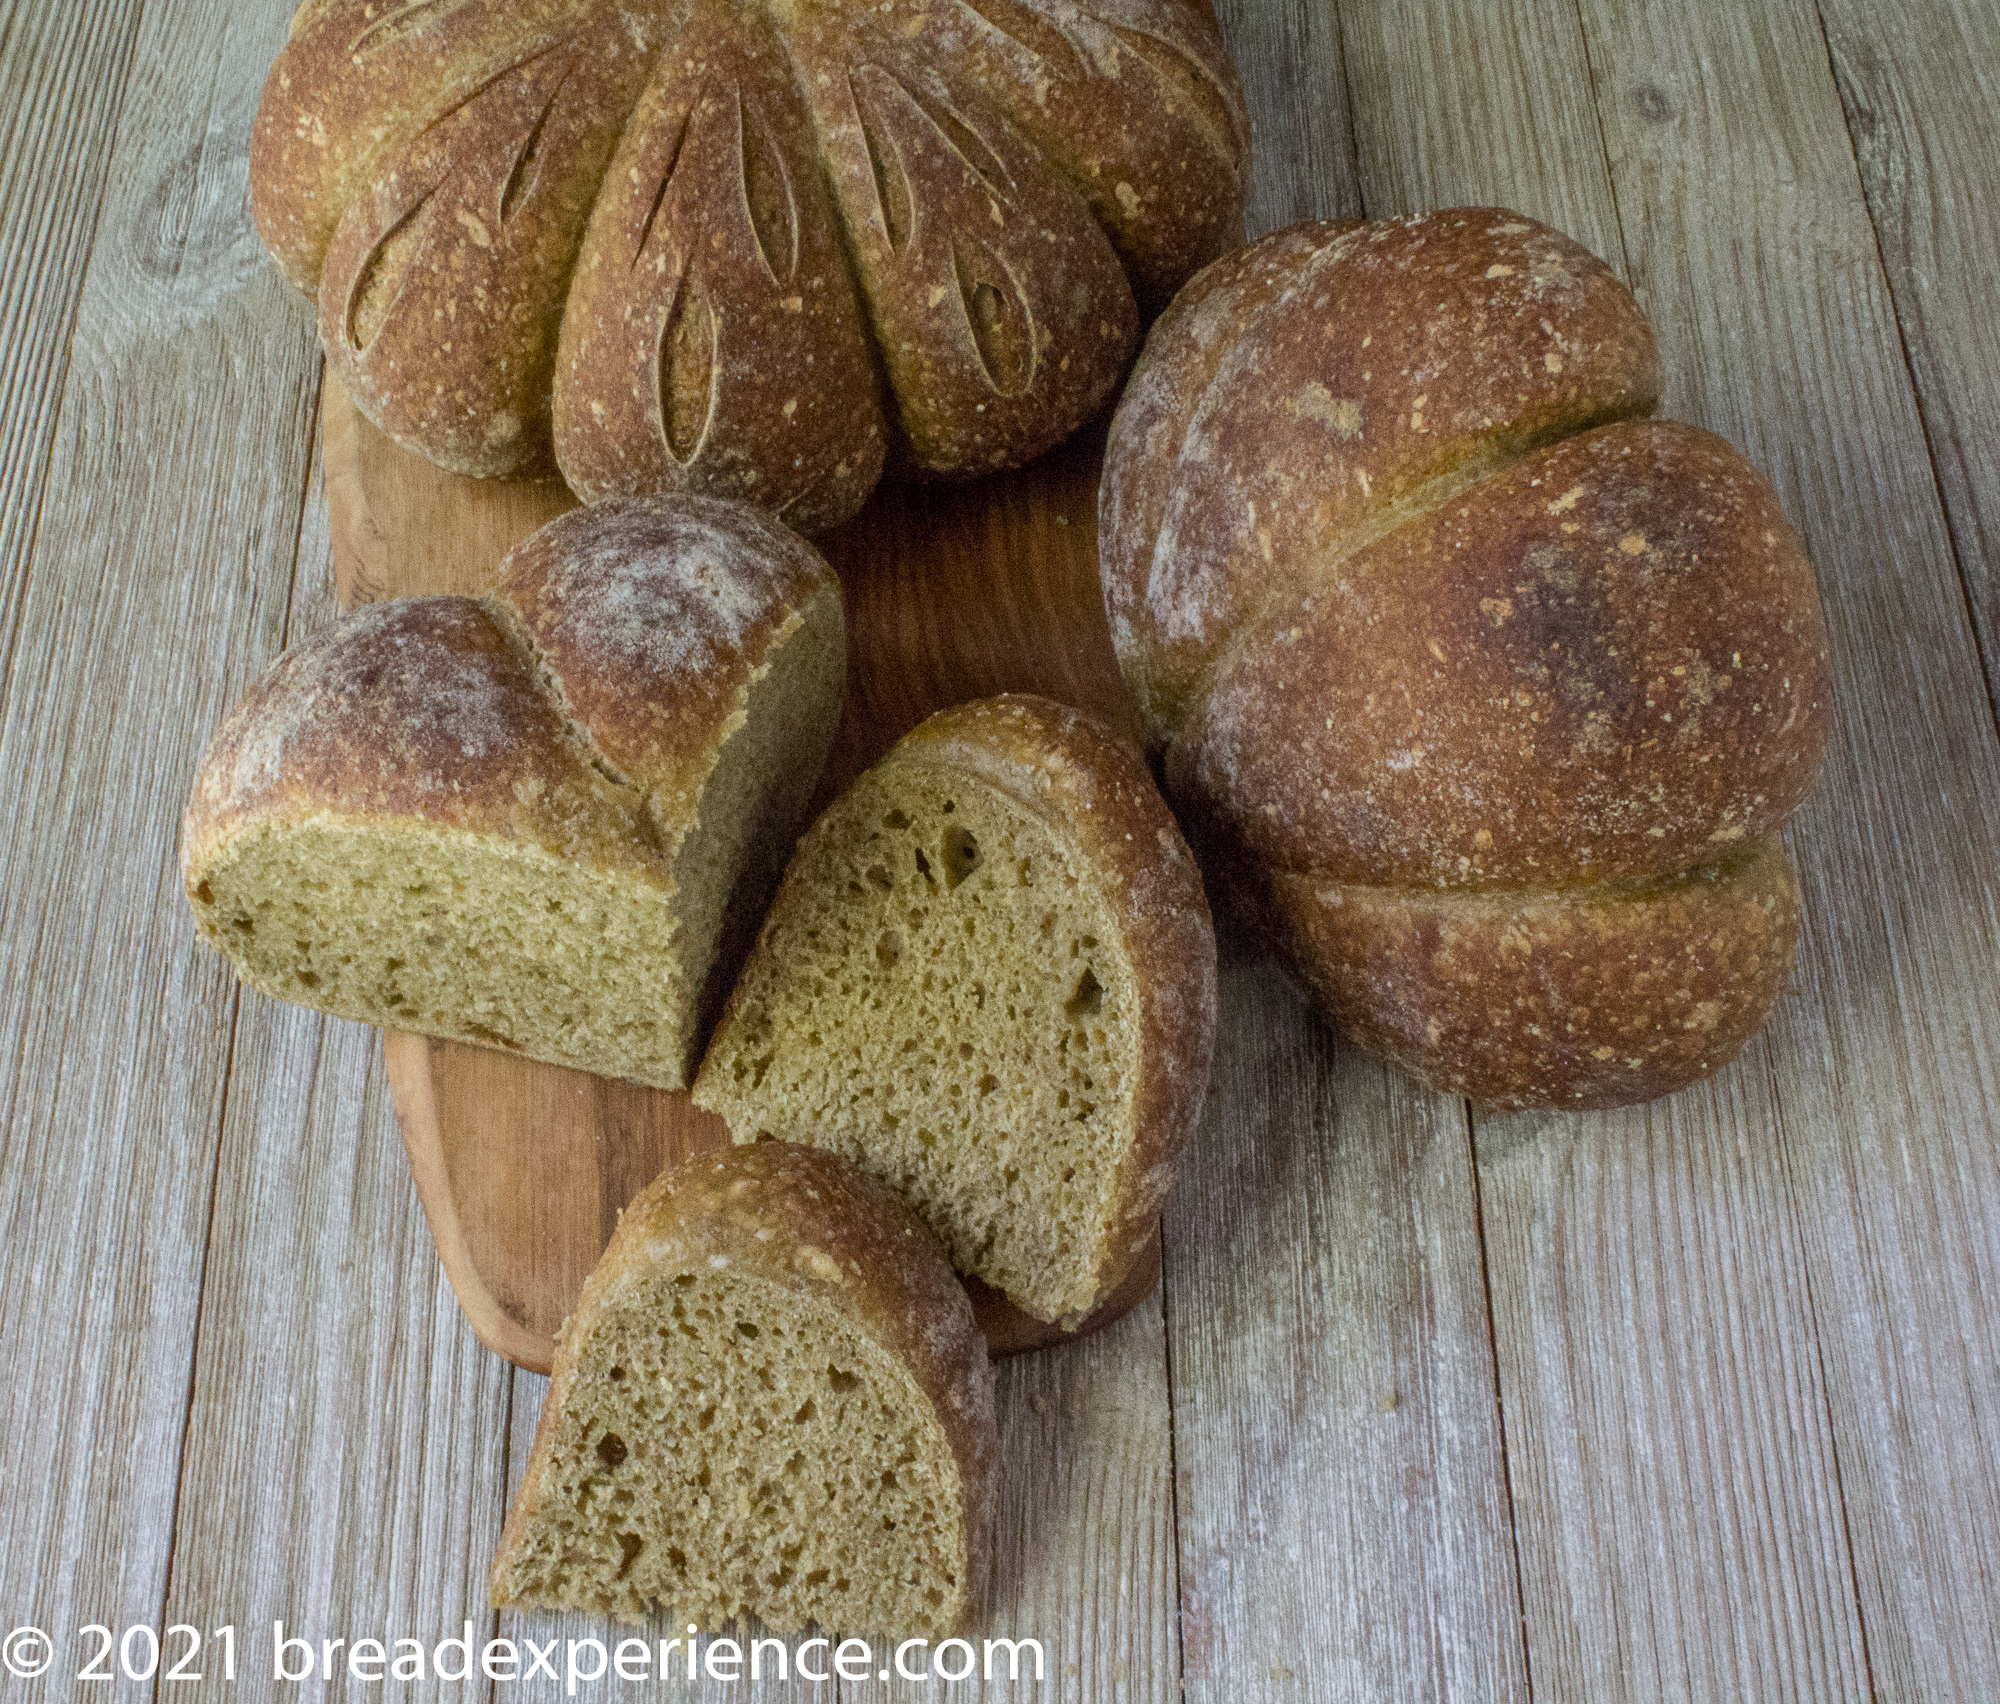
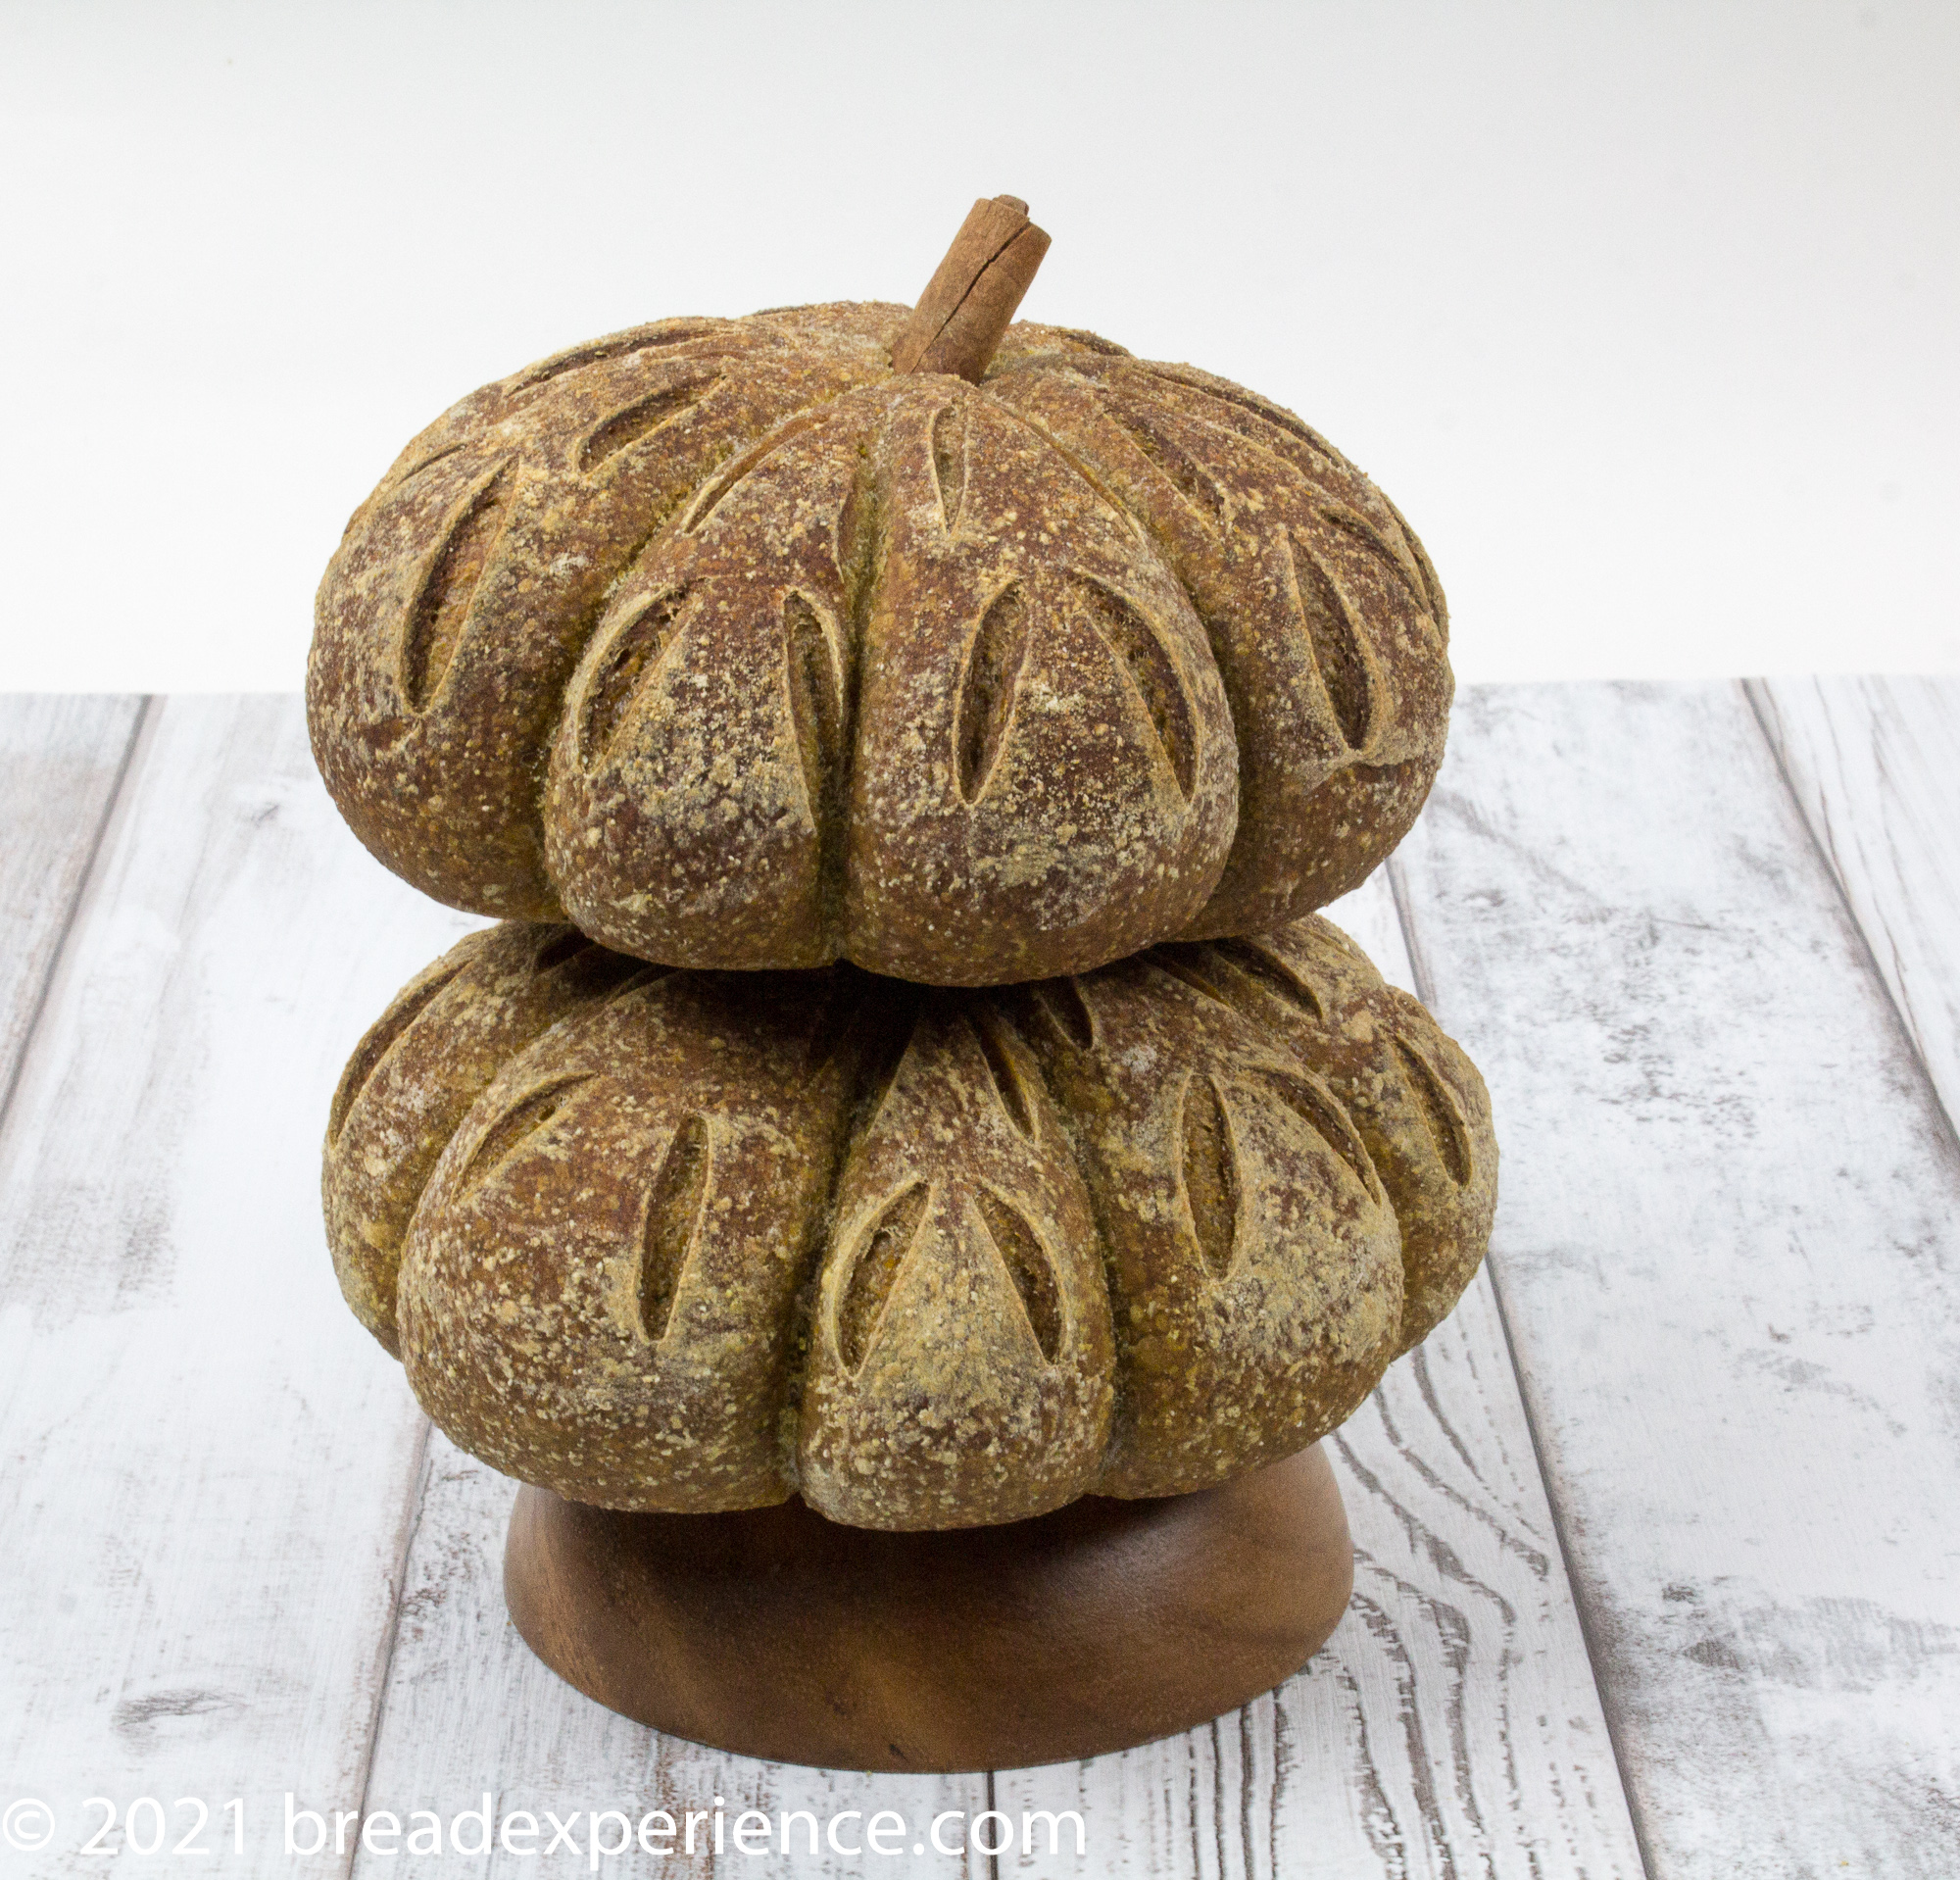
The third time I made this pumpkin-shaped loaf, I used cornmeal instead of semolina and canned pumpkin puree rather than my roasted pumpkin puree because I ran out of it.
I kept the other variables the same and baked the loaves in a bread cloche. This was my favorite version. I loved the texture, flavor, and color.
Links of Interest:
https://www.supergoldenbakes.com/pumpkin-sourdough-bread/https://zestysouthindiankitchen.com/pumpkin-sourdough-bread/
Equipment needed:
- Dutch oven or other baking pot with lid
- 2 Round banneton proofing baskets
- Bench knife or dough scraper
- Bread lame or serrated knife for scoring
- Wooden spoon or Danish dough whisk
- Stand mixer
- Mixing bowls
- Food-safe twine for tying the pumpkin
- Scissors to cut the twine
- Parchment rounds or parchment paper cut to fit the bottom of the baking pot
Rustic Sourdough Pumpkin-Shaped Bread
- Yield: 2 Medium Loaves or 1 Large Loaf 1x
Description
This Rustic Sourdough Pumpkin-Shaped Bread, imbued with the flavors of Autumn, makes a lovely centerpiece for Fall or Holiday gatherings. Instead of a smooth finish, this loaf has a rustic charm reminiscent of heirloom pumpkins.
Ingredients
Pâte fermentée:
- 400 grams all-purpose flour
- 100 grams whole wheat flour (or semolina or cornmeal)
- 325 – 375 grams water
- 7–8 grams / 1 teaspoon fine sea salt
- 25 grams sourdough starter (100% hydration) *
Final Dough:
- Pâte fermentée, all of the above
- 280 grams all-purpose or bread flour
- 32 grams whole grain rye or other whole grain flour
- 3/4 tsp. / 6 grams fine sea salt
- 1–2 Tbsp. / 7-14 grams pumpkin pie spice or other spice of choice
- 200 grams pumpkin puree
- 2–3 Tbsp. / 40-60 grams maple syrup or honey (I used 40 grams of maple syrup)
- Extra flour or water as needed
Instructions
*Using yeast instead of sourdough
- To make a yeast version, add 1/8 teaspoon of dried yeast to the Pâte fermentée and an additional teaspoon in the final dough and omit the sourdough starter.
First Day: Make the Pâte fermentée
- In a large bowl, whisk together the flours and salt. To keep from dirtying another container, make a well in the center and add the starter. Pour the water in gradually and mix using a large wooden spoon or Danish dough whisk until everything comes together to form a smooth ball.
- Adjust the water or flour as necessary to make a dough that isn’t too sticky or stiff. Knead the dough until it is soft and pliable and tacky but not sticky, about 4 to 6 minutes.
- Cover the bowl with plastic wrap or a kitchen towel, and ferment at room temperature for 1 hour or longer. The dough should swell to about 1 ½ times its original size.
- Remove the dough from the bowl and degas it by kneading it gently. Return the dough to the bowl and cover tightly with plastic wrap. Place in the refrigerator overnight or up to 3 days. Or freeze in an airtight freezer bag for up to 3 months.
Next Morning/Afternoon: Make the Final Dough/Bake Bread
- The next day, remove the Pâte fermentée from the refrigerator. Cut it into 10 – 12 small pieces using a bench knife or serrated knife. Place the pieces in the bowl of a stand mixer and allow them to warm up for about 1 hour.
- In a separate bowl, whisk together the flours, pumpkin pie spice, and salt.
- Add pumpkin puree, maple syrup or honey, if using, to the Pâte fermentée and mix on low speed to break up the pieces. Gradually add in the dry ingredients and continue mixing on low speed until everything comes together to form a coarse ball. Add water or flour if necessary to form a soft and pliable dough.
- Mix on medium speed using the dough hook and adjust with flour if necessary to make a soft, pliable dough that is tacky but not sticky.
- Transfer the dough to a clean large bowl and cover with plastic wrap or a kitchen towel.
- Let the dough ferment at room temperature for 2 hours. Stretch and fold the dough after the 1st hour, then let it rest the final hour.
- Remove the dough to a work surface dusted with flour. Divide the dough into two pieces and shape roughly into rounds. Let them rest on the counter for 15 minutes.
- Shape the pieces into tighter boules, and place in lined banneton proofing baskets, between the folds of a heavily floured baker’s couche, or on cornmeal-dusted parchment paper. Let them proof 2 hours or until 1 ½ times their original size.
Proceed to baking or cold ferment the loaves overnight
- After the loaves have proofed in the baskets at warm room temperature, proceed to baking, or cover the baskets tightly with plastic wrap and place in the refrigerator overnight to cold ferment.
Baking the loaves
- About 45 minutes before you plan to bake the loaves, place a Dutch Oven or other baking pot on the middle lower rack of the oven and preheat the baker to 450 degrees F.
- While the oven is preheating, cut a piece of parchment paper to fit the bottom of your baker. I used a 9-inch round piece of parchment.
- Cut four 30-inch pieces of food-safe twine. Brush each piece with oil using a pastry brush or your fingers. Make sure each piece is oiled well. Place the oiled strings crisscrossed on the parchment. It should look like a pie divided into 8 wedges.
- If you cold-fermented the loaves overnight, remove one loaf from the refrigerator at this point.
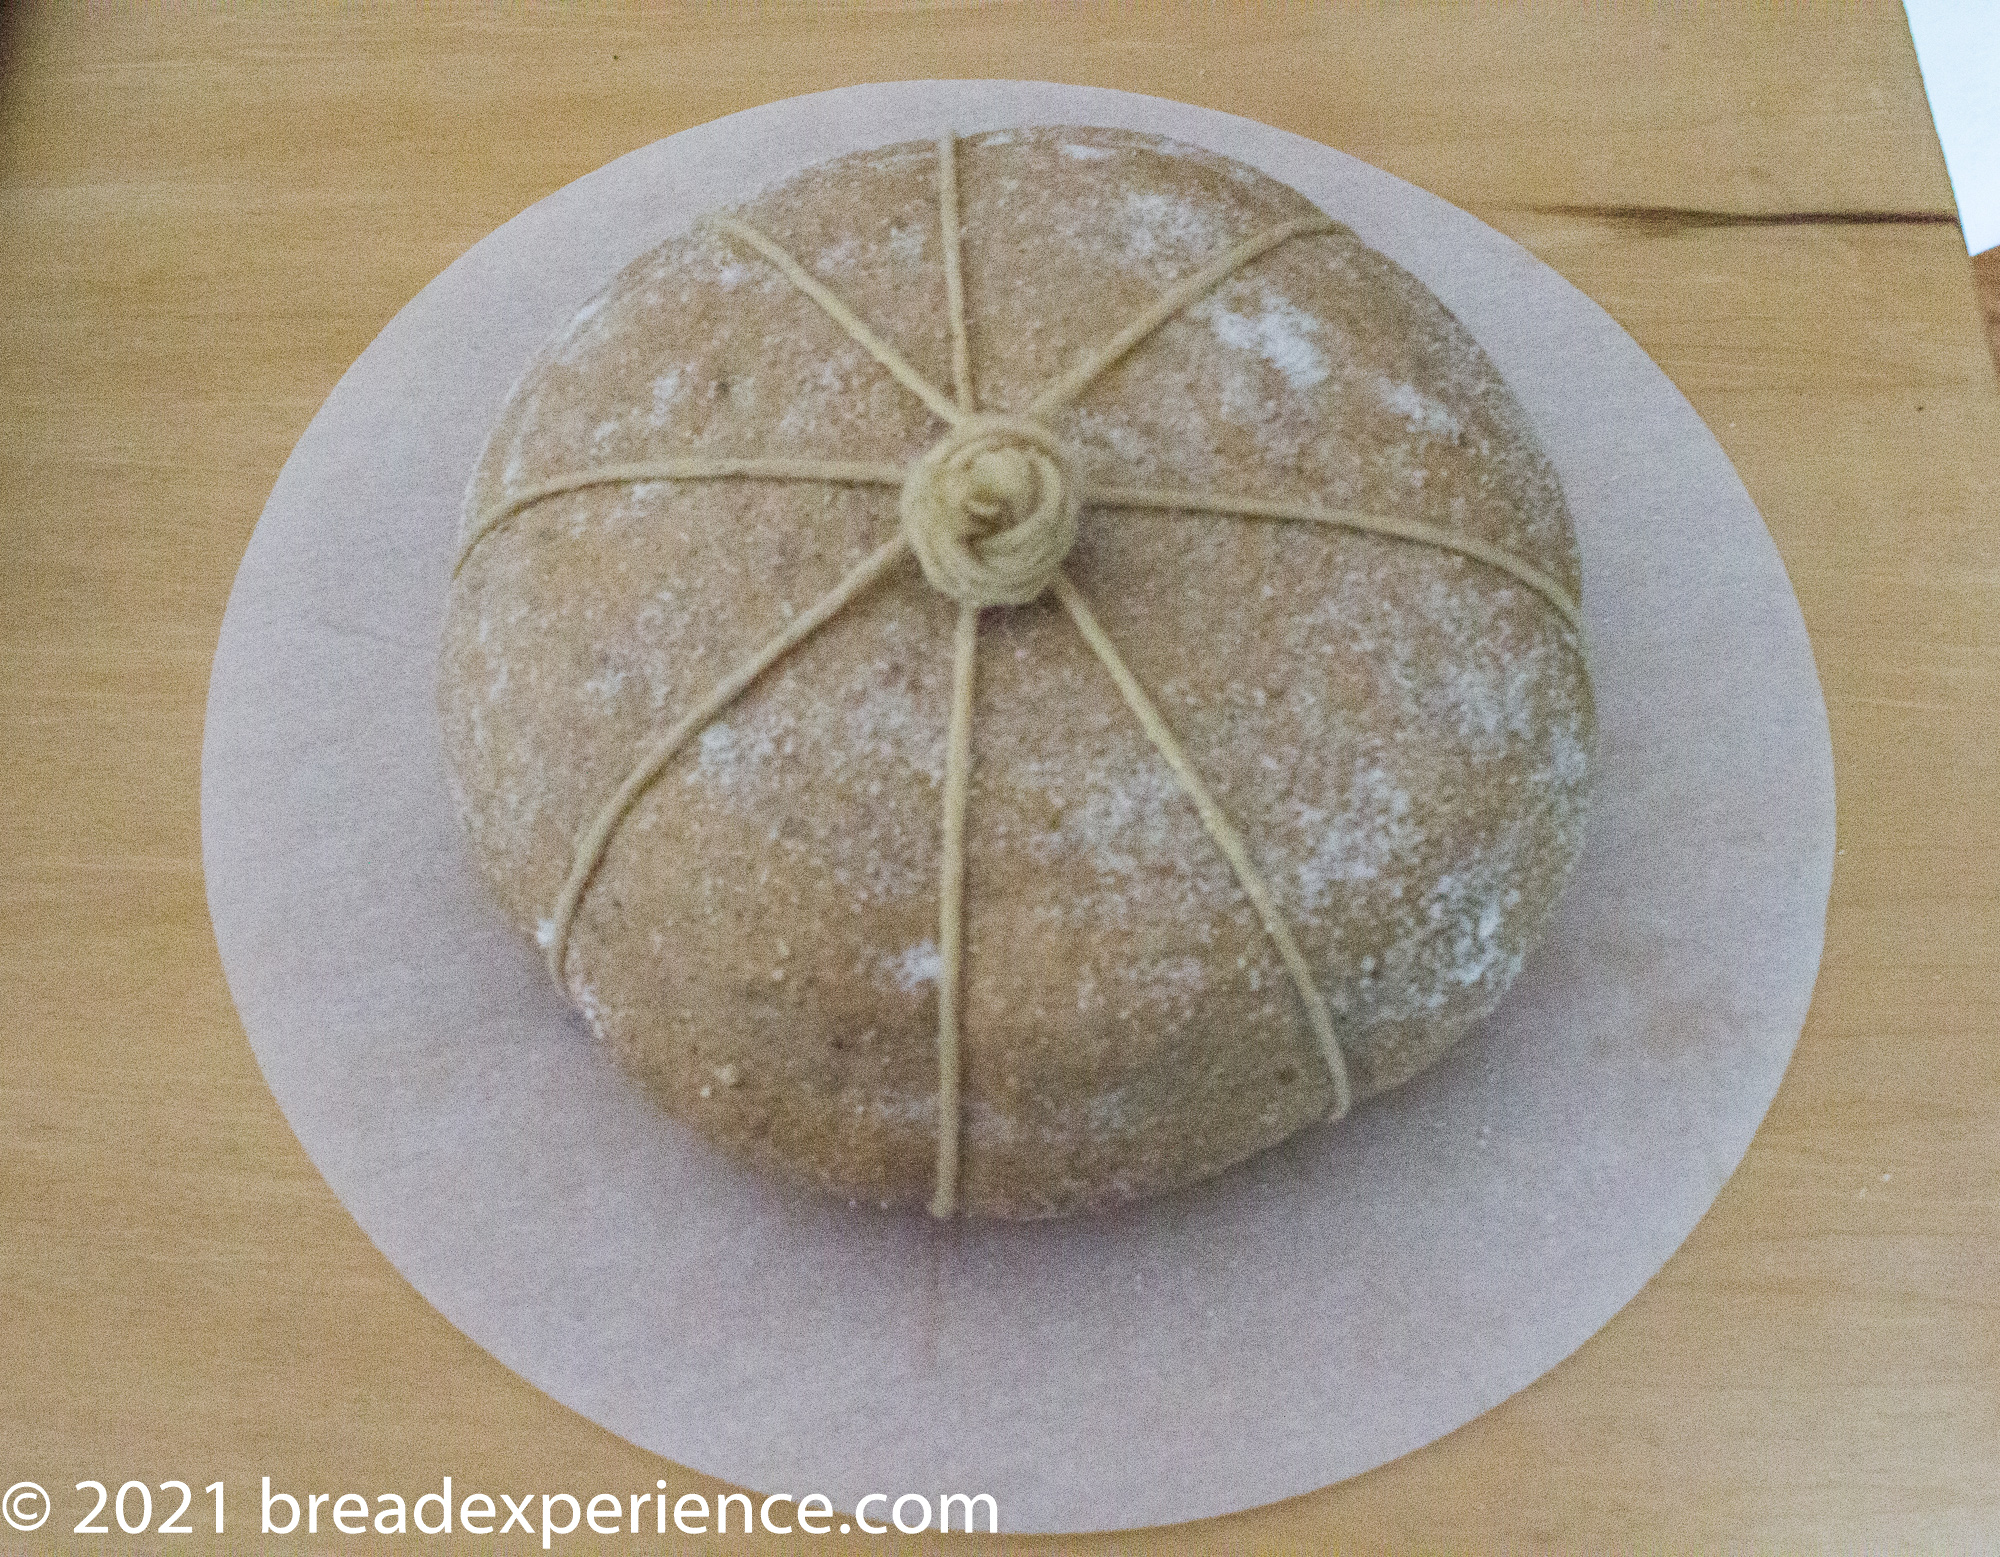
- Invert one of the boules from the proofing basket onto the parchment paper. Center it on top of the string. Tie the strings on top being careful not to pull too tightly to give the loaf room to expand.
- Score the loaf uses small slashes, if desired.
- Remove the preheated baker from the oven and place the lid and pot on a heavy towel. Using heavy oven mitts, lift the tied pumpkin loaf (on the parchment paper) and carefully place it in the pot.
- Transfer the baker to the oven and place the lid on it. Bake for 15 – 20 minutes with the lid on and another 15-20 minutes with the lid off. The loaf should be a rich golden brown all around and register 200 – 205 degrees F in the center of the loaf. It should sound hollow when thumped on the bottom.
- Remove the baking bot to a heavy towel. Transfer the loaf to a wire rack and let it cool for at least 30 minutes before removing the strings.
- To remove the strings, cut them with scissors and carefully pull them a little bit at a time. If you pull too fast, the string will leave residue. A small knife works well for scraping the string off as you go.
- After the string has been removed, let the loaf rest on the cooling rack until completely cool.
- Repeat the process with the other loaf allowing the oven and baking pot to preheat to 450 degrees F.
- Category: Sourdough Spice Bread
Who are the Bread Baking Babes?
We are a group of breadbakers who get together every month and bake bread! We have a Facebook group if you’d like to bake along. New recipes are posted every month on the 16th.
Need more inspiration, check out the other Babes posts:
Bread Experience – Cathy (Host Kitchen)
Karen’s Kitchen Stories – Karen
A Messy Kitchen – Kelly
My Kitchen in Half Cups – Tanna
Feeding My Enthusiasms – Pat
Judy’s Gross Eats – Judy
My Diverse Kitchen – Aparna
blog from OUR kitchen– Elizabeth
Thyme for Cooking – Katie (roundup)
Happy Baking!
Cathy
Karen says
Great photos of the process. Thanks for the fun recipe!
Cathy says
Thanks! Glad you enjoyed it!
Kelly says
I really like how the cinnamon sticks look as stems, so beautiful for presentation! Well, the whole loaf is just gorgeous too! Jealous of your long handled lame.
Cathy says
Thanks Kelly! I like the cinnamon sticks as stems as well, but they split a little when I broke them in half. I guess that adds to the affect or not.
Tanna says
Cathy, I first thought I loved the stacked pumpkins the best but then I look at them all again and each photo is fabulously perfect so I can’t pick a ‘best’. I love the cinnamon stick stems!
I actually love everything about this recipe.
Incidentally it does make great peanut butter & apple butter sandwiches.
Cathy says
Thanks Tanna! I had fun taking the photos. The pumpkins just make such good subjects. Peanut butter & apple butter sandwiches sound delish!
Aparna says
Gorgeous breads, and a fun pick for this month. Thanks.
Cathy says
Thanks Aparna! Glad you enjoyed this bake.
Katie Zeller says
Great photos showing they shaping. What a fun bread!
Cathy says
Thanks Katie! It is a fun bread!
Elizabeth says
Wow. This was a very fun project! Many thanks for a great choice, and for outline the process so perfectly.
Cathy says
I’m so glad you enjoyed this one Elizabeth!
Stan says
When do you insert the stem?
Cathy says
Hi, I added the stems after the loaves were baked.