Sigteboller, also known as Danish Salty Rye Rolls, are flavorful and slightly tangy bread rolls made with a blend of rye and all-purpose flour. The delightful combination of flavors and textures makes them a versatile addition to your table. Enjoy these rolls with butter, cheese, cold cuts, or even smoked fish.
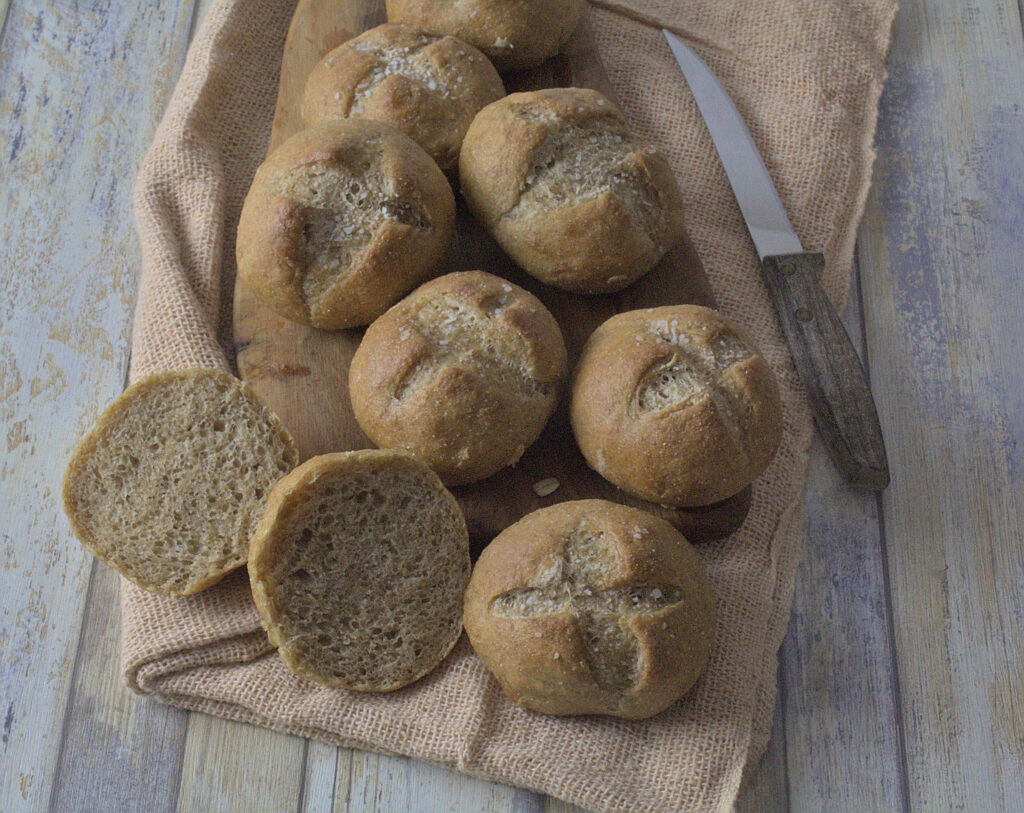
Sigteboller has its roots in Denmark, a country with a rich culinary heritage that includes a wide variety of breads. In Danish, “Sigteboller” roughly translates to “sifted buns” or “sieved rolls,” referring to the process of sifting the flours used in making these rolls.
The tradition of making Sigteboller has been passed down through generations, and these rolls hold a special place in Danish baking culture.
My inspiration for these Salty Rye Rolls
I’m the host kitchen for the Bread Baking Babes for October, and these Danish Salty Rye Rolls are the bake of the month. I wanted to use sourdough in these rolls, but not all Babes keep a starter on hand, so, I gave them the option of using a levain (sourdough) or an overnight poolish (yeast).
My inspiration for these rolls came from The Rye Baker, by Stanley Ginsberg. I referenced his method but incorporated some different techniques.
The Rye Baker’s recipe utilizes the straight dough method. He includes about 56% medium rye and a tablespoon of yeast in his rolls. Instead of using the straight dough method, my rolls are made with an overnight levain.
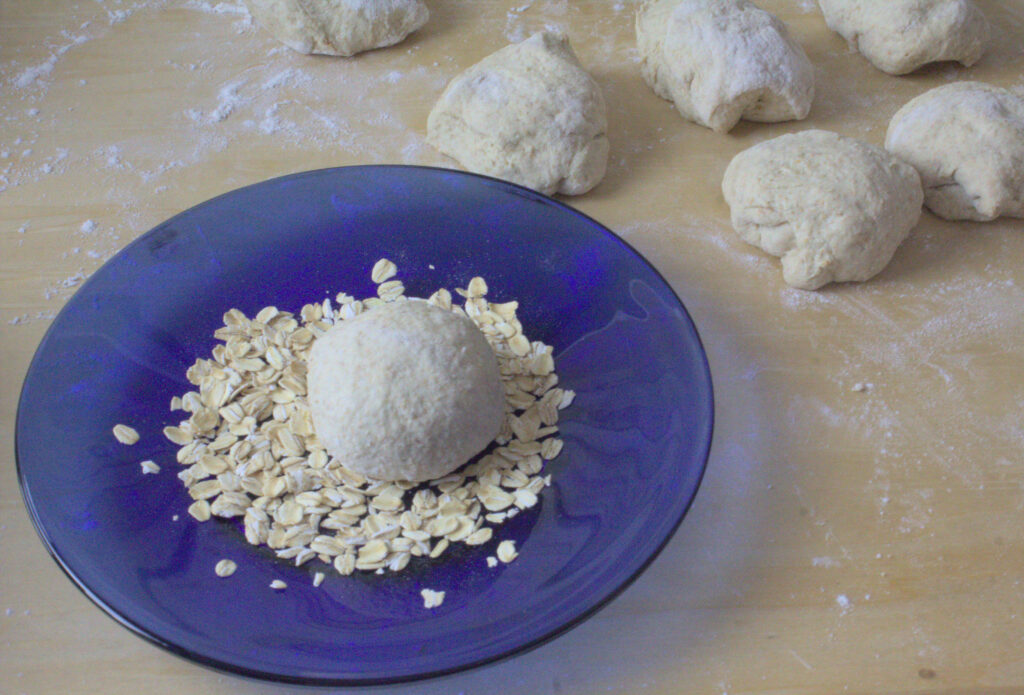
I liked the method of pressing the bottom of the rolls into the oats after shaping and before the final proof, so I used this technique with my rolls. I scored the top of my rolls with an X instead of slashing the rolls once before adding the toppings.
In my research, I also found a blog from two Danish-American sisters. They have a version of Sigteboller that utilizes a poolish. They use sifted rye, buttermilk, butter, and honey instead of molasses. They brushed their rolls with milk but didn’t add any toppings. Their Sigteboller looks soft and fluffy.
How I made these Danish Salty Rye Rolls
I started my experiments using 40% home-milled rye, then upped the amount to 50% rye flour for the next bake. I went back to using 40% rye for subsequent bakes. I didn’t sift the rye flour.
I opted not to incorporate any fat or milk in these rolls.
I used 1 teaspoon of dried yeast, along with the levain, the first time, but decreased the yeast to ½ teaspoon for subsequent bakes. The added yeast helps give the otherwise dense rolls a bit of a lift, but they don’t need too much if using the levain.
I used a tablespoon of molasses in the first batch because I converted it wrong. It should be 4% of the total flour weight. I thought the flavor would be really strong, but it wasn’t. Even so, I reduced the amount of molasses to 12 grams, around 2 teaspoons, for the next bake, but upped it to 15 grams, about 2 ½ teaspoons for subsequent bakes. This provided better browning and flavor.
For some batches, I sprinkled the rolled oats on top, along with the coarse salt. I also tried pressing the bottom of the rolls in a plate of rolled oats.
I enjoyed the rolled oats on the bottom of the rolls. If you shape the rolls on the counter without adding extra flour to the bottom, it’s fairly easy to press the rolls in the oats. You can use a bit of flour on your fingers so the top of the rolls don’t stick to your hands. However, if you add extra flour on the bottom, the oats don’t stick very well.
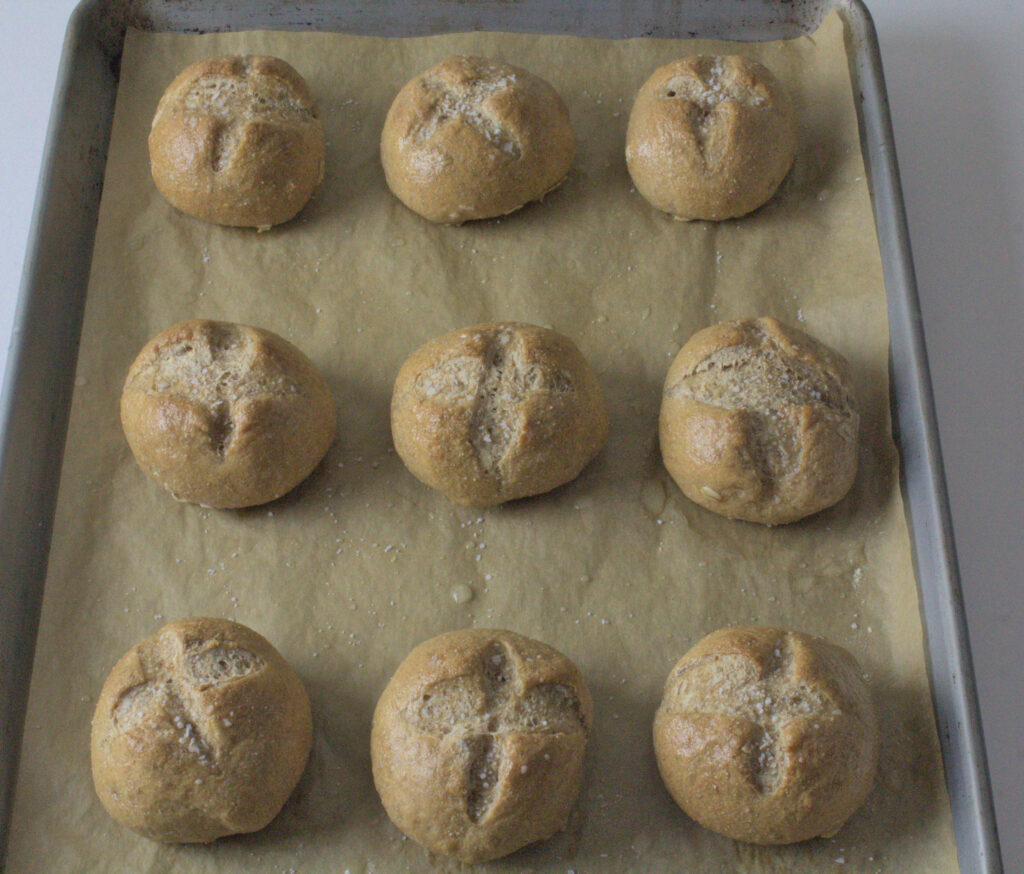
I found that adding the coarse salt inside the scores has a nice appearance, and it keeps the salt in place.
I brushed the first batch with milk, but I didn’t particularly like that effect. It made the crust too light. For the next bake, I didn’t brush the tops of the rolls with anything. The color was still too light.
For subsequent bakes, I brushed the rolls with butter after baking, but before the rolls cooled down. This was my favorite way to enjoy these rolls. When you brush them with butter, it brings out the color of the rolls and coats the rolled oats on the bottom and the coarse salt on top with melted butter. This produces a delightful treat!
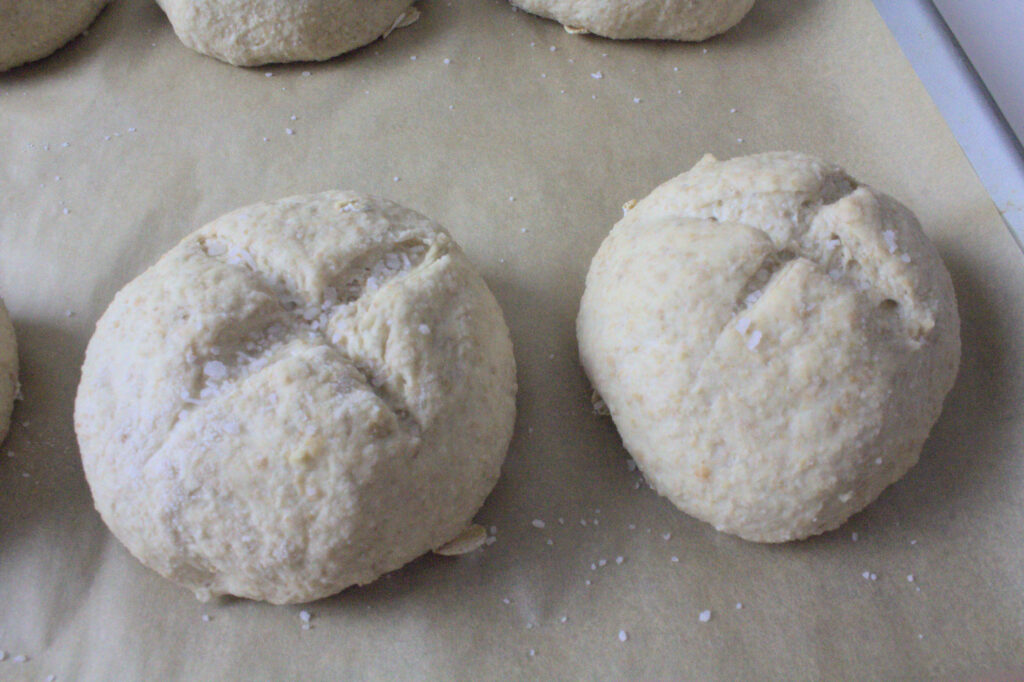
The recipe below includes 40% rye and 2 ½ teaspoons of molasses. Feel free to use the amount of rye, yeast, and molasses (or honey) you are comfortable with.
If you don’t want to use coarse salt on top, you can sprinkle the rolls with caraway seeds, or sunflower seeds. You can also incorporate 10-20% sunflower seeds in the dough. I haven’t tried that yet, but it would provide a delicious crunch.
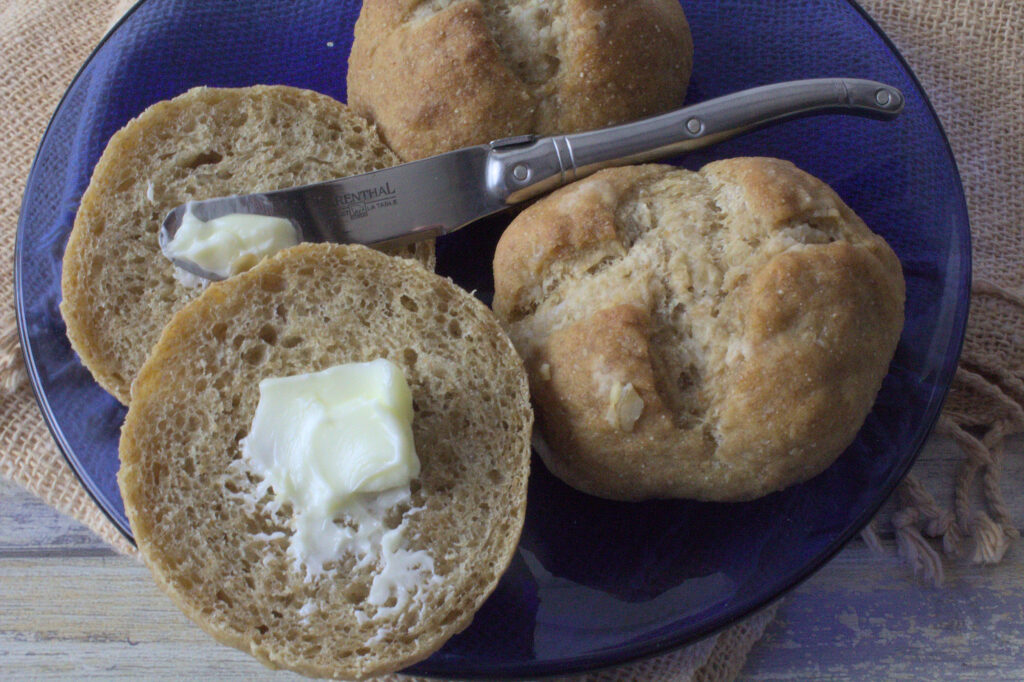
Enjoy these Sigteboller Danish Salty Rye Rolls brushed with butter
- Yield: 8-9 rolls (70 grams each) 1x
Description
Sigteboller Danish Salty Rye Rolls, are delicious and flavorful bread rolls made with a combination of rye and all-purpose flours.
Ingredients
Poolish or Levain: 20%
- 24 grams (1/8 cup + 1 rounded Tbsp. + 1 tsp.) rye flour
- 40 grams (1/3 cup) all-purpose flour
- 64ml (1/4 cup) water
- 25 grams (2 tsp.) sourdough starter
- or a pinch of yeast
Final Dough:
- 150–175ml lukewarm water, additional if needed
- Levain or Poolish, all of the above
- 96 grams (~3/4 cup) medium rye flour
- 160 grams (~1 1/4 cups) all-purpose flour
- 3 grams (1 tsp) instant yeast (1/2 tsp yeast if using the levain)
- 6 grams (1 tsp) sea salt
- 15 grams (2 1/2 tsp) dark molasses (unsulphured) or honey, more if desired
- Topping: Rolled oats, sunflower seeds, caraway seeds, coarse Kosher salt
Instructions
Mix the poolish/levain:
- The evening before you plan to bake, combine the lukewarm water, flours, and sourdough starter or yeast in a medium mixing bowl. Mix thoroughly to combine and allow to rest at warm room temp for 14-16 hours, or overnight. It should expand and have bubbles.
Mix the dough:
- In the bowl of a stand mixer, mix the water and poolish together. Add in the rye and all-purpose flours. Mix on low until the dough clears the sides of the bowl. Note: Start with 150 grams of water and add in additional water or flour, a little at a time, as needed. Allow the dough to rest (autolyse) for 45 minutes.
- Add the salt, yeast & molasses. Mix until thoroughly incorporated.
- Cover the bowl, and let the dough rise in a warm place for 45 minutes. Gently punch the dough down to release the air. Form into a round and place back in the bowl. Let the dough rest for an additional 45 minutes.
- After the dough has risen, gently punch it down to release the air. Divide the dough into 8-9 equal portions (about 70 grams each) and shape each portion into a ball.
- Press the bottom (seam side) into a plate of rolled oats. Then place the rolls oats-side down on a baking sheet lined with parchment. Cover the baking sheet with a kitchen towel and let the rolls rise for another 40-50 minutes, or until doubled in size.
- Preheat your oven to 375°F (190°C). For crustier rolls, preheat the oven to 400°F and place a baking stone or steel on the middle rack.
- Just before baking, use a sharp knife to cut an X-shape (about ¼ – ½ inch deep) on the top of each roll. Sprinkle coarse Kosher salt over the tops or in the scores. This will add flavor and a decorative touch. You can also sprinkle caraway seeds or sunflower seeds, if desired.
- Bake the rolls in the preheated oven for about 20-25 minutes, or until they are golden brown and sound hollow when tapped on the bottom.
- I baked the rolls on a parchment-lined baking sheet on top of a baking steel on the middle shelf of the oven for 10 minutes, then moved the baking sheet up one shelf and baked for 5 minutes; then moved the baking sheet up another shelf and baked for an additional 3-5 minutes. This gave the rolls a more even browning.
- Once the rolls are baked, move them to a cooling rack, and brush them with melted butter, if desired. Allow them to cool slightly before enjoying.
- Category: Crusty Rye Rolls
- Cuisine: Danish
Who are the Bread Baking Babes?
We are a group of bread bakers who get together every month and bake bread!
Bread Experience is the host kitchen this month. We would love for you to bake these Danish Salty Rye Rolls and share how it turned out and what you thought!
Check out our Facebook group to see the participants’ baking results during that time. If you would like to post your results with a Buddy badge on a blog, let us know in the comments or on the Facebook page.
The Bread Baking Babes
Bread Experience – Cathy (host kitchen)
A Messy Kitchen – Kelly
Judy’s Gross Eats – Judy
Karen’s Kitchen Stories – Karen
blog from OUR kitchen– Elizabeth
Feeding My Enthusiasms – Elle
My Diverse Kitchen – Aparna
Thyme for Cooking – Katie (roundup)
Happy Baking!
Cathy
Kelly says
These had such a wonderful texture and flavor! Perfect combo of soft and fluffy, and chewy and hearty. I baked in batches to see what the best timing was for my dough and three of them fell on the floor as I was trying to separate the parchment. I blistered the cupboards with some choice words and baked them anyway!
Cathy says
Oh my goodness, Kelly! I’m so sorry some of your rolls fell on the floor. I’m glad you were able to save them.
At least you just blistered the cupboards. I actually burned and blistered a couple of my fingers while trying to figure out the best way to bake these rolls in my oven. Put your oven mitts own is my new mantra!
Kelly says
Yes, leave the asbestos finger development to the chefs!
Cathy says
For sure.
Karen's Kitchen Stories says
Thanks for introducing us to these rolls! I thing the 60/40 blend is just right and I appreciate your experimenting for us.
Cathy says
Thanks! I like the 60/40 blend as well. Just enough rye flavor without being to heavy.
Ellle says
Wonderful recipe Cathy! The rolls had great crumb, lots of flavor and got high marks from my husband. I think next time I’ll add more molasses for color.
Your rolls look perfect. Brushing with butter is a fine idea!
Cathy says
Thanks! I’m so glad your husband enjoyed them. I think adding more molasses is the key. Not too much but just enough to give the rolls more color.
Elizabeth says
We couldn’t believe how soft and fluffy these rolls were! Even though I substituted dark rye flour for medium rye, and some of the all-purpose flour with whole wheat. This is so exciting! Many thanks for a great choice.
Cathy says
That is exciting! I’ll have to make these rolls again using a portion of whole wheat in addition to the rye flour. I’m so glad you liked this bake!
Elizabeth says
I loved it!
The most exciting thing about this was that the part of the household that has been going on and on that our sourdough is never soft and fluffy and light was silenced. The thrilling words I heard just after the rolls came out of the oven were “You nailed it! These are so light weight.”
The other exciting thing was that there was no need for any addition of commercial yeast at all with the sourdough version.
Cathy says
Yay! On both accounts! I’ll have to try it without any added dry yeast next time.
Judy says
These were so delicious that I made them twice! They were good toasted or plain with butter, and as a sandwich. Such a great choice!
Cathy says
Thanks Judy! I am so glad you enjoyed these rolls.