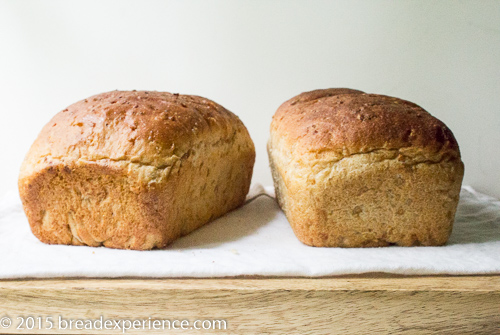
I call this Keep it Simple Cracked Wheat Bread because sometimes, a simple loaf of bread is all you need.
Have you heard of the KISS principle?
It stands for keep it simple silly. The basic premise behind this principle is that designs for systems and processes should focus on simplicity and avoid adding unnecessary complexity.
How does this concept apply to bread-baking?
I’m glad you asked. There are numerous approaches that bakers can employ to enhance their loaves.
To form a well-crafted loaf, bread bakers utilize techniques such as extended cold fermentation to enhance the flavor and extensibility of the dough or soakers to soften seeds and grains, etc. I enjoy incorporating these practices with the best of them; however, sometimes, a simple loaf of bread is all you need.
This simple cracked wheat loaf humbled and blessed me at the same time
It began when I locked my keys in my car at church several weeks ago and a kind gentleman gave me a ride home to get my extra key. The thing is, I always keep an extra key in my purse; however, I had just switched purses and of course, I left the extra key in the other purse. This is one of the reasons I don’t normally switch purses, but that’s another story altogether.
Back to the story at hand.
As I mentioned, Jim was kind enough to give me a ride home and drive me back to the parking lot so I could unlock and retrieve my car. I felt very humbled and blessed by his act of kindness if not a little uncomfortable because I needed his assistance in the first place.
As chance would have it, during our conversation, the subject of bread-baking came up. Funny how that happens. The conversation got even more interesting when Jim mentioned a special bread that he had been trying to make but couldn’t quite figure out how to make it from the notes he had taken while watching someone else make it. He wanted to bless others with a loaf of this bread as a gift. I smiled and thought, “Bingo!” this is how I can repay him. Not that he expected anything in return for his kindness, but this was the opportunity I was looking for.
Baker’s Percentages to the Rescue!
I asked him to send me his notes to see if I could decipher them and recreate the bread as he remembered it.
When I looked at the recipe, the measurements didn’t add up. The yield was supposed to be six loaves, but there wasn’t enough flour to make that many and the fat and sugar content seemed way off.
This is where bakers’ percentages come in handy. To determine the appropriate percentages, I converted the volume measurements to weight. Once I did that, I found that the amounts were not that far off for three loaves of bread. However, the fat and sugar content still seemed fairly high so I decided I would start by reducing those.
Should you soak the cracked wheat?
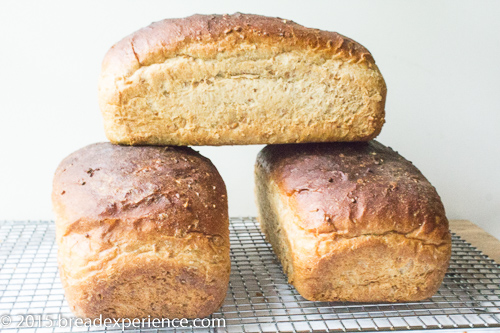
I made the recipe five times for a total of 15 loaves. The first time I made the bread, I substituted honey for the brown sugar and oil for the butter and used a soaker to soften the cracked wheat.
Because I didn’t reduce the hydration, what I ended up with was a very fluffy, almost too light bread. It melted in your mouth but didn’t hold up too well for slicing. I gave a loaf to my new friend to test and after he had tasted it (later, at home), the next time he saw me, he politely told me it wasn’t dense enough.
Not dense enough, now there’s a new one! I had to remind myself going through this process wasn’t about me, it was about the bread. Jim wanted a loaf that was similar to the original loaf. He just needed me to help him get there.
By the time he provided his feedback about the first loaf, I had already made the bread a second time. I used the soaker again (because I hadn’t yet heard his feedback) but this time, I used butter and brown sugar, albeit about half of what the original recipe called for. I liked this version better, but it was still very soft and fluffy not dense like he was looking for.
The light bulb moment
About this time, something bopped me upside the head and reminded me that he didn’t need fancy techniques or soakers, he needed a simple process for making a loaf in a reasonable amount of time. The original recipe didn’t call for a soaker so why was I using one?
The next time I made the bread, I omitted the soaker, but I was not feeling well, and I got the measurements mixed up. I added way too much sugar. Needless to say, I did not share this one with Jim. My youngest son and his friends enjoyed some very sweet bread. It made good toast.
Fast forward two more weeks.
Armed with my “keep it simple” mantra, I set out to make this bread one more time. I figured if I could start it in the morning and finish it by lunchtime, then I could call this one a done deal. I’m happy to say I succeeded with the timing. I made the bread on Saturday and was able to deliver the finished product on Sunday.
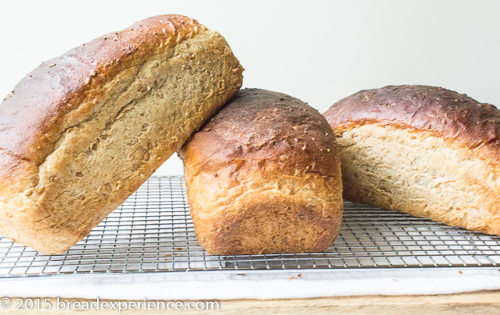
The way I went about creating this loaf was not exactly simple, but it ultimately led me to a simple and tasty loaf.
Print
Keep it Simple Cracked Wheat Bread
- Total Time: 4 hours 15 mins
- Yield: 3 Loaves 1x
Description
A delicious and fluffy Cracked Wheat Bread that can be made lighter or denser to suit your preference by increasing or reducing the hydration level.
Ingredients
- 1 3/4 cups (400 g) Water
- 2 1/2 tsp.(13 g) Salt
- 1/2 stick (57 g) Butter
- 3 tsp. (9 g) Instant Yeast
- 1/2 cup (100 g) Cracked Wheat
- 3 cups (360 g) Whole Wheat Flour
- 1/4 cup (53 g) Brown Sugar
- 3 1/4 cups (400 g) Unbleached All Purpose Flour, plus extra for sprinkling
- 3/4 cup (171 g) Milk
Instructions
- In a small pan, combine the water and butter. On low heat, dissolve the butter in the water.
- Remove the pan from the heat and add ¾ cup milk to cool the butter/water mixture.
- In a large bowl, sift together yeast, cracked wheat, whole wheat flour, brown sugar, salt, and unbleached all purpose flour.
- Mix the wet ingredients with the dry ingredients using a wooden spoon or Danish dough whisk. Stir until fully incorporated and there are no bits of dry flour.
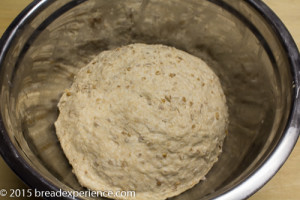
- Remove the dough to a lightly floured counter and knead until it is soft and supple. Form the dough into a ball and place it in a lightly greased bowl. Roll the dough around to coat with oil.
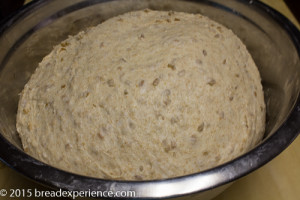
- Cover the bowl with plastic wrap or a kitchen towel and place in a warm place to rise for 45 minutes to an hour.
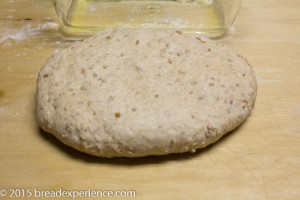
- Remove the dough from the bowl, punch it down, and fold it over itself a couple of times.
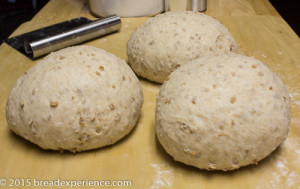
- Divide the dough into three equal pieces, shape each piece into a ball, cover, and let the balls rest on the counter for 10 to 15 minutes to allow for easier shaping.
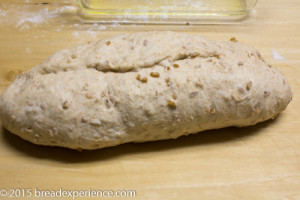
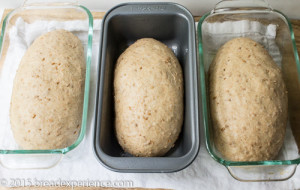
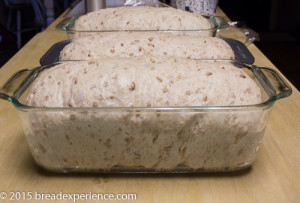
- Shape the dough balls into loaves and place on greased or parchment-lined 8 1/2-inch x 4 1/2-inch loaf pans and let rise again for 45 minutes to an hour. The loaves should rise just above the rim of the pans.
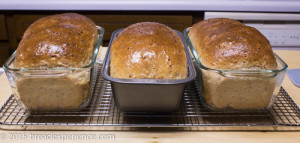
- Preheat the oven to 350F and bake the loaves for 35-45 minutes. Insert a wooden skewer to test the loaves for doneness.
- Remove the loaves from the pans and let them cool completely on a wire rack.
Notes
This hydration level makes a soft loaf that slices easily, but if you want a denser loaf, just reduce the amount of water until you reach the desired density. If you prefer to soak the cracked wheat, reduce the hydration accordingly.
- Prep Time: 3 hours 30 mins
- Cook Time: 45 mins
- Category: Multigrain Bread
- Cuisine: Bread
Happy Baking!
Cathy
Elaine Fallah says
Thanks for this recipe. Can’t wait to bake it.
Also a big thank you for putting the American measurements along with the metric.
I don’t attempt those recipes that are strictly given in metric?
Cathy says
Hi Elaine, I hope you enjoy this bread. I do understand about being hesitant to embrace metric measurements because I was that way for a long time. However, once I started using baker’s percentages, it made all the difference. It’s hard to get a percentage of a fraction so using metric measurements (or even ounces) makes it much easier.
Pam says
It is in the second proofing! Great instructions. My first attempt with making bread. Will let ya know when it is ready for my tummy. Thank you.
Cathy says
Hi Pam, I’m glad you found the instructions for this bread helpful. Do let me know how it turns out.
Happy Baking!
Cathy
Pam says
Exceptionally delicious. I did it, thanks to your simple instructions. I dance with a piece/ chunk with butter and jam, without music😁. I skipped dinner, for these soft tasty small loaf to myself. Thank you, thank you. Oh yes husbn enjoyed his small loaf as well. I froze/hid the rest😉
Cathy says
Happy bread dance! I love it! I’m so glad you enjoyed the bread.
Angie says
Just made the cracked wheat bread recipe, best bread I’ve ever had. Thank you for sharing.
Cathy says
Hi Angie, thank you for your feedback. I’m so glad you liked this bread! I had fun with this one.
Deborah says
Hello, have you tried this in a breadmaker?
Cathy says
I have not tried this bread in a bread maker. It’s fairly easy to make by hand or you can use a stand mixer.
Deborah says
Hello there, I made it in the breadmaker yesterday, 1/3 of the mixture and it turned out very well. Thanks for putting the measurements into metric. I really don’t like cup measurements.
Cathy says
That’s awesome! Thank you for sharing your results! It is much easier to work with weights.