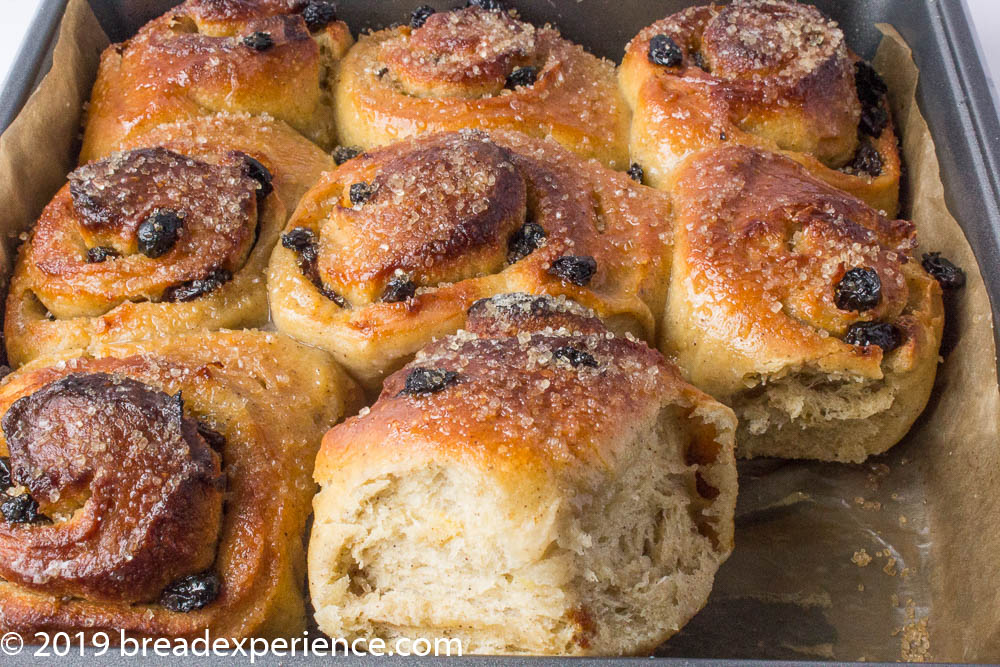
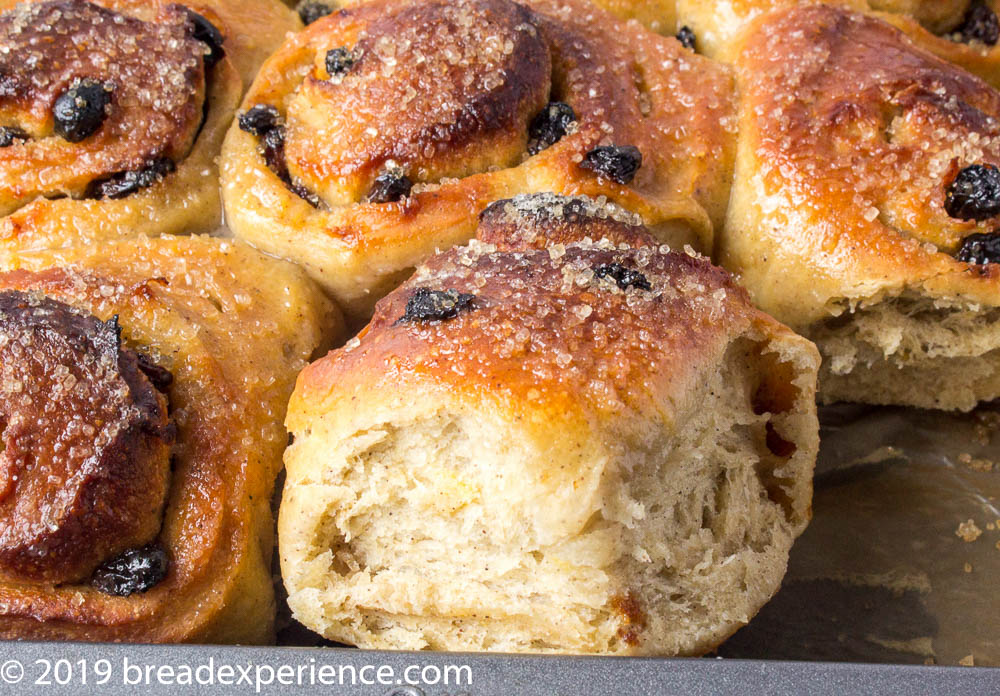
These sweet, lightly spiced, and sticky Sourdough KAMUT Chelsea Buns, flavored with lemon zest and filled with raisins, are a hefty proposition indeed.
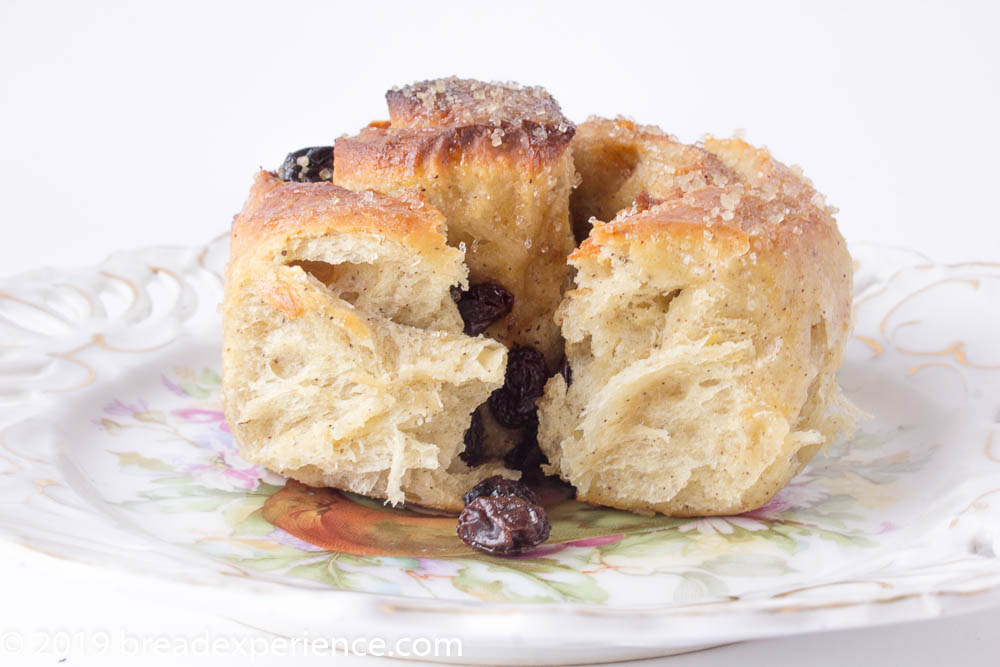
“Sugary, spicy, sticky, square, and coiled like a Swiss roll, the Chelsea bun as we know it is a pretty hefty proposition.”
Elizabeth David from English Bread and Yeast Cookery
This is the 11th Anniversary of the Bread Baking Babes and we’re celebrating by making Chelsea Buns. Tanna of My Kitchen in Half Cups got the idea while watching the Great British Bake Off and challenged us to make an improvised version of Paul Hollywood’s Chelsea Bun Christmas Tree. I’ve never made Chelsea buns so I decided to do a more traditional version.
I almost went with the method in Elizabeth David’s book English Bread and Yeast Cookery, but then I found an article in the Guardian on “How to make the perfect Chelsea Bun.”
In the article, Felicity Cloake compares several different methods and recipes for making Chelsea buns. She references Paul Hollywood’s method as well as Elizabeth David’s and some other bakers. I liked the way Felicity compared and contrasted the different methods, and how she landed on what she considers the ultimate Chelsea bun method.
I used her method and ingredients as the starting point but converted the dough to sourdough and used KAMUT white and sprouted wheat flour instead of plain white flour. I also used raisins instead of currants, mainly because I had raisins on hand.
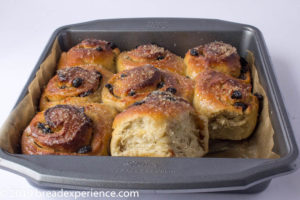
I baked the buns a wee bit too long because I got distracted, but even so, they turned out pretty well. The photo below was taken the day after they were baked. They do taste best fresh from the oven, but I’ve found they also reheat fairly well.
Sourdough KAMUT Chelsea Buns
- Yield: 9 Buns 1x
Description
These sweet, lightly spiced, and sticky Sourdough KAMUT Chelsea Buns are flavored with lemon zest and filled with raisins.
Ingredients
- 120 grams sourdough starter (100% hydration)
- 220 grams milk * See Notes
- 60g butter
- 1 egg, lightly beaten
- 340g white KAMUT flour
- 50g sprouted wheat KAMUT flour
- 2 tbsp organic cane sugar
- Zest of 1 lemon
- 1 tsp mixed spice (I used 1/2 tsp cardamom, 1/2 tsp cinnamon, 1/8 tsp nutmeg, 1/8 tsp cloves)
- 1 tsp salt
For the filling:
- 30g butter, melted
- 35g soft brown sugar
- 100g raisins (or currants)
For the glaze:
- 2 tbsp organic cane sugar
- 1 tbsp milk
- 2 tbsp demerara sugar
Instructions
- Feed your sourdough starter before you begin this process.
- Place 120 grams of sourdough in a large bowl.
- In a separate bowl, mix the dry ingredients: flours, salt, spices, zest, and sugar.
- Heat the milk and butter in a small pan just long enough to melt the butter. If it gets too hot, let it cool slightly. Add the egg to the cooled milk mixture and whisk gently to incorporate.
- Pour the milk mixture over the sourdough and mix thoroughly using a wooden spoon or Danish dough whisk to break up the sourdough.
- Add the dry ingredients to the sourdough mixture and combine using a dough whisk, wooden spoon or dough scraper until a soft dough forms.
- Cover the bowl with a kitchen towel, plastic wrap or plate and let it rest for 30 minutes.
- Stretch and fold the dough in the bowl. It should start to feel more cohesive.
- Cover the bowl and let the dough proof for 4-6 hours, depending on the temperature in your kitchen.
- Stretch and fold the dough 3 times on the hour, then let the dough rest for at least an hour.
- After the dough is sufficiently proofed, continue to the shaping phase or place in the refrigerator overnight. (I proofed the dough in a proofing box at 75 degrees for 4 hours, then placed in the refrigerator overnight).
- If you allow the dough to cold ferment in the refrigerator, take it out and allow it to warm up to room temperature for a couple of hours before shaping.
- Grease or line a square baking pan with parchment paper. I used a 9 x 9 x 2-inch pan lined with a half sheet of parchment paper that I had cut in half.
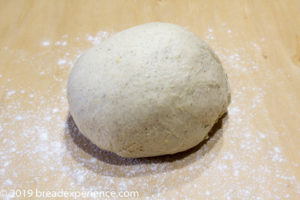
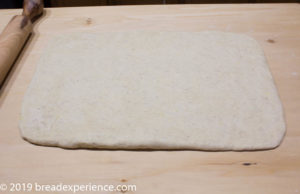
- Transfer the dough to a lightly floured surface and let it rest for 15-20 minutes. Then, roll it out to a rectangle about 10×14 inches.
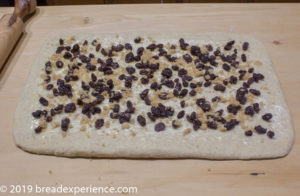
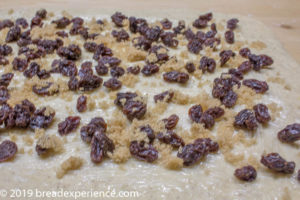
- With the longer side facing you, brush the dough with the melted butter leaving a border around the edges. Sprinkle the brown sugar and raisins evenly over the surface.
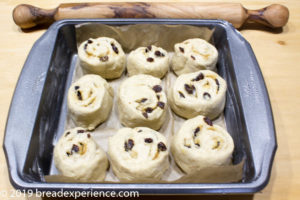
- Working with the long end, roll the dough into a log as tightly as possible. Cut into 9 pieces using a sharp knife being careful not to press down too much.
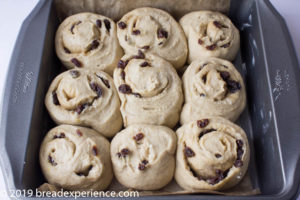
- Place the buns in the baking pan so they are spaced evenly and not too close to each other or the edges. Cover and let them proof 1-2 hours, or until they are touching each other.
- Preheat the oven to 400F. Bake for 20-25 minutes, or until golden. If the raisins start to burn before the buns are finished baking, cover with foil.
- Warm the milk and dissolve the cane sugar in it. Remove the buns from the oven, and immediately brush them with the glaze and sprinkle with the demerara sugar.
- Allow to cool slightly before eating.
Notes
* KAMUT absorbs more liquid than regular white flour. If you use plain white flour or more whole grain flour, you may need to add more or less milk. Based on the hydration level of the original recipe, I started with 150 grams of milk, and increased it gradually until the flour was completely hydrated.
These buns are best eaten on the day they are made; however, due to the keeping qualities of sourdough, they reheat fairly well.
- Category: Sourdough Chelsea Buns
- Cuisine: Bread
Baking with the Bread Baking Babes
Would you like to make Chelsea Buns with us this month and get your very own Buddy Badge?
Check out Tanna’s post for information on how to participate in the monthly bake.
New recipes are posted every month on the 16th. Check out our Facebook group to see the participants’ baking results during that time.
All of the Babes have their interpretation of this bread so please check out their posts for more inspiration:
- Karen’s Kitchen Stories – Karen
- Blog from OUR Kitchen – Elizabeth
- A Messy Kitchen – Kelly
- Judy’s Gross Eats – Judy
- My Kitchen in Half Cups – Tanna
- Feeding My Enthusiasms – Pat
- Bread Experience – Cathy
Happy Baking!
Cathy

Elizabeth says
Wow. Those look fabulous! I didn’t come across the Guardian’s article until after I had already winged things by blindly guessing about how Chelsea buns should be.
Clearly, it pays off to follow a recipe, especially one that has the heading “how to make the perfect Chelsea bun”. I particularly like the large sugar crystals on top of the buns. Nice work!
Kelly says
Gorgeous! I have made sticky buns with part sourdough, and now I must try your version of these buns.
Karen says
Those are super pretty! Love that you used sourdough in these.
Cathy says
Thank you Karen!