This Sourdough KAMUT Focaccia is a flatbread that’s always in fashion as far as I’m concerned. Whether it’s served as an appetizer or as a compliment to the main dish, or as the main dish, it’s such a fun bread to make and it utilizes the simplest of ingredients. I’ve made several different types of focaccias over the years, but the most memorable ones were made using the long, slow fermentation process.
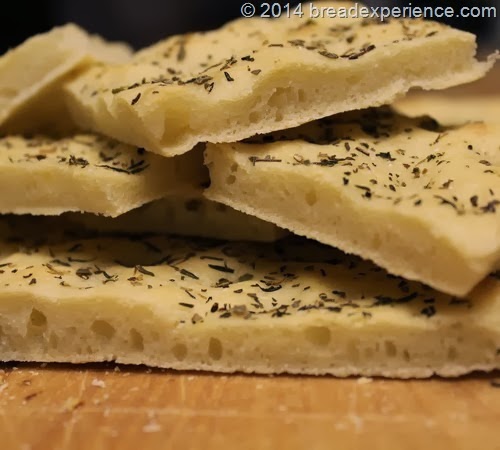
I made a sourdough focaccia by mistake a few months ago and it turned out well so I decided that focaccia made with sourdough deserved another chance. I got that chance when the Sourdough Surprises Baking Group chose it as the sourdough challenge this month.
This bread is made completely by hand and does not contain any dried yeast. It uses wild yeast (aka sourdough starter) as the rising agent. The dough is made with KAMUT white flour, and my favorite sourdough starter, which is made with all-purpose flour.
It takes a couple of days to make this flatbread but most of that time is spent activating the sourdough culture, and letting the dough ferment in the refrigerator overnight.
The dough is 68% hydration so it’s a very wet dough. The overnight fermentation in the refrigerator makes it a little bit easier to work with, but you’ll probably still need extra flour when you’re shaping it.
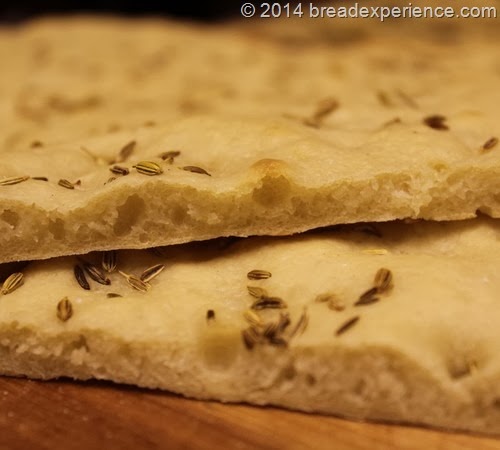
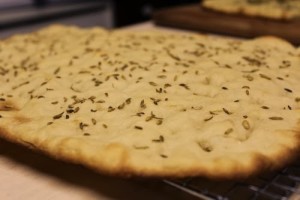
It can be spread out thin like pizza dough or a bit thicker for a more bread-like texture. I spread mine out a bit thinner and it was crispy around the edges, but more bready toward the middle. For the best results, spread it out evenly so you get a consistent texture.
Sourdough KAMUT Focaccia
Adapted from: Baking by Hand by Andy & Jackie King
Makes: 2 large or 3 medium Focaccias
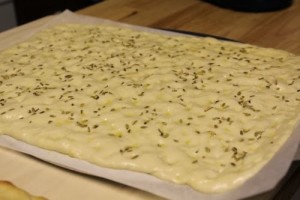
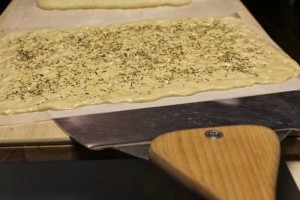
I opted to use simple toppings and let the dough take center stage. One focaccia is topped with sea salt and dried herbs from my garden. The second one is topped with sea salt and fennel seeds. I liked both breads.
Ingredients:
- 12.40 oz. sourdough starter, 100% hydration, recently fed
- 18.25 oz. KAMUT white flour
- 13.25 oz. water, warm
- 2.55 oz. extra-virgin olive oil
- 2 tsp. fine sea salt
Day 1: Activate your Sourdough Culture
Refer to this post on how to activate a starter
Or feed your starter according to your normal feeding schedule. Just make sure it’s 100% hydration.
Day 2: Mix & Proof the Dough
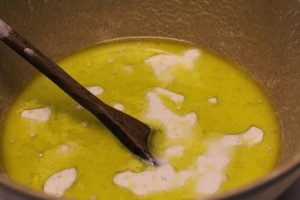
Combine the active sourdough starter, warm water, and olive oil in a large bowl. Mix with a wooden spoon to break up the starter.
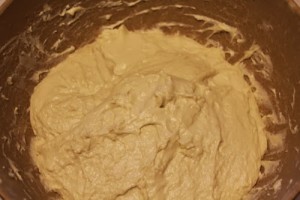
Place the flour on top of the liquid ingredients and mix by hand, using a rubber spatula or a Danish dough whisk for a minute or so until the dough becomes a shaggy mass. Scrape down the sides and bottom of the bowl frequently to make sure all of the flour is incorporated. There shouldn’t be any dry spots.
Bulk Fermentation:
Cover the dough with a towel and set it aside to rest in a warm place (80 degrees F.) for about 30 minutes.
Sprinkle the salt over the dough, grab the dough between your fingers, pull it up, and stretch it. Incorporate the salt into the dough by continuously pulling the dough up and turning the bowl around with your hands. The dough should start to develop somewhat after about a minute and you shouldn’t feel any of the salt crystals. The dough will still be wet so resist the urge to add additional flour at this point.
Cover the bowl and put it back in a warm spot to rest for another 30 minutes.
After the 30-minute rest, transfer the dough to a lightly floured counter and perform the four-fold method, or perform the fold-and-turn-in-the-bowl method. I opted to keep the wet and messy dough in the bowl for this part. Return the dough to the bowl and cover it again with a towel.
At this point, you have the option of repeating the above process every 30 minutes for a total of four times. After the fourth fold, you’ll leave the dough in the bowl to rest for another hour to develop the dough before shaping.
Overnight Fermentation in Refrigerator:
Or, cover the bowl with plastic wrap and place it in the refrigerator to ferment overnight. This is the option I chose. My dough was still really wet so I scraped it into a clean bowl and placed it in the refrigerator.
Day 3: Shape & Bake the Focaccias
The next day, remove the dough from the refrigerator and let it warm up to room temperature before shaping.
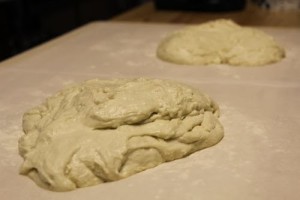
Divide the dough into two equal pieces and place each piece on well-floured parchment paper.
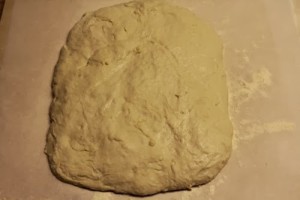
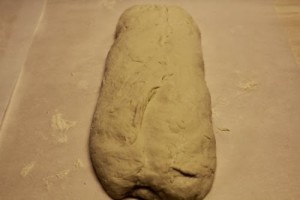
Shape each piece into a rough rectangle and let them rest for a few minutes. Shape them into stubby batards being careful to keep the extra flour on the outside of the dough like you would with ciabatta.
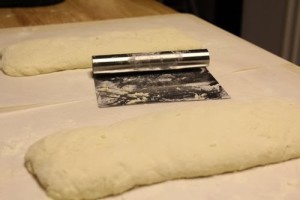
Flip the batards over (seam side down), cover them with a towel, and let them rest for about an hour.
Meanwhile, preheat the oven to 450 degrees F. (for at least 45 minutes) with a baking stone on the bottom rack and a cast iron skillet on the top rack.
The dough will be relaxed and ready to top and bake when you can press your finger into the surface and the imprint holds.
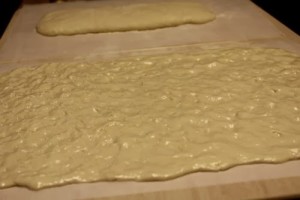
Pat one loaf out onto the parchment paper until it is almost completely flat (or until you run out of parchment paper).
Using your fingertips, dimple the surface of the focaccia while stretching it out to form a rectangle. Adding extra olive oil helps spread it out.
Top one focaccia with the toppings of your choice. Prepare the second focaccia while the first one is baking.
Get three ice cubes ready. Being careful not to burn yourself or to keep the oven door open too long, transfer the focaccia to the preheated baking stone using a pizza peel or the back of a baking sheet. Then, carefully throw the three ice cubes into the preheated cast iron skillet. Immediately close the door.
Bake the bread until the crust is golden-brown, about 25 minutes.
I like the flavor of these focaccias. The sourdough was not tangy at all.
As usual, I enjoyed baking with the Sourdough Surprises Group.
Happy Baking!
Cathy
SeattleDee says
What a thorough primer on creating your sourdough focaccia. I’m curious to know how KAMUT flour compares to AP or whole wheat in taste, performance or nutrition.
Cathy W. says
KAMUT is an ancient grain so in terms of nutrition, it is superior to all-purpose or regular bread flour. Whole grain KAMUT can be used in recipes that call for whole wheat. I just started experimenting with the white KAMUT and I love it! I have some other posts that give additional background on KAMUT if you’re interested.
Rachel Hammer says
Looks great! I loved baking with Kamut,but have only done it once and I used the kamut whole grains.
Cathy W. says
Thanks Rachel. I just recently started baking with white KAMUT myself. I really like it.
Rebecca says
Where do you get your Kamut flour? I’ve never seen it in the stores near me.
Cathy W. says
I usually get KAMUT whole grains from either my local farmer’s market or online. I ordered the white KAMUT from Montana Flours & Grains.
pizzarossa says
I know nothing about kamut flour, but am eager to do some research now. Your focaccia is beautiful!
Cathy W. says
Thank you. I think you’ll like KAMUT.