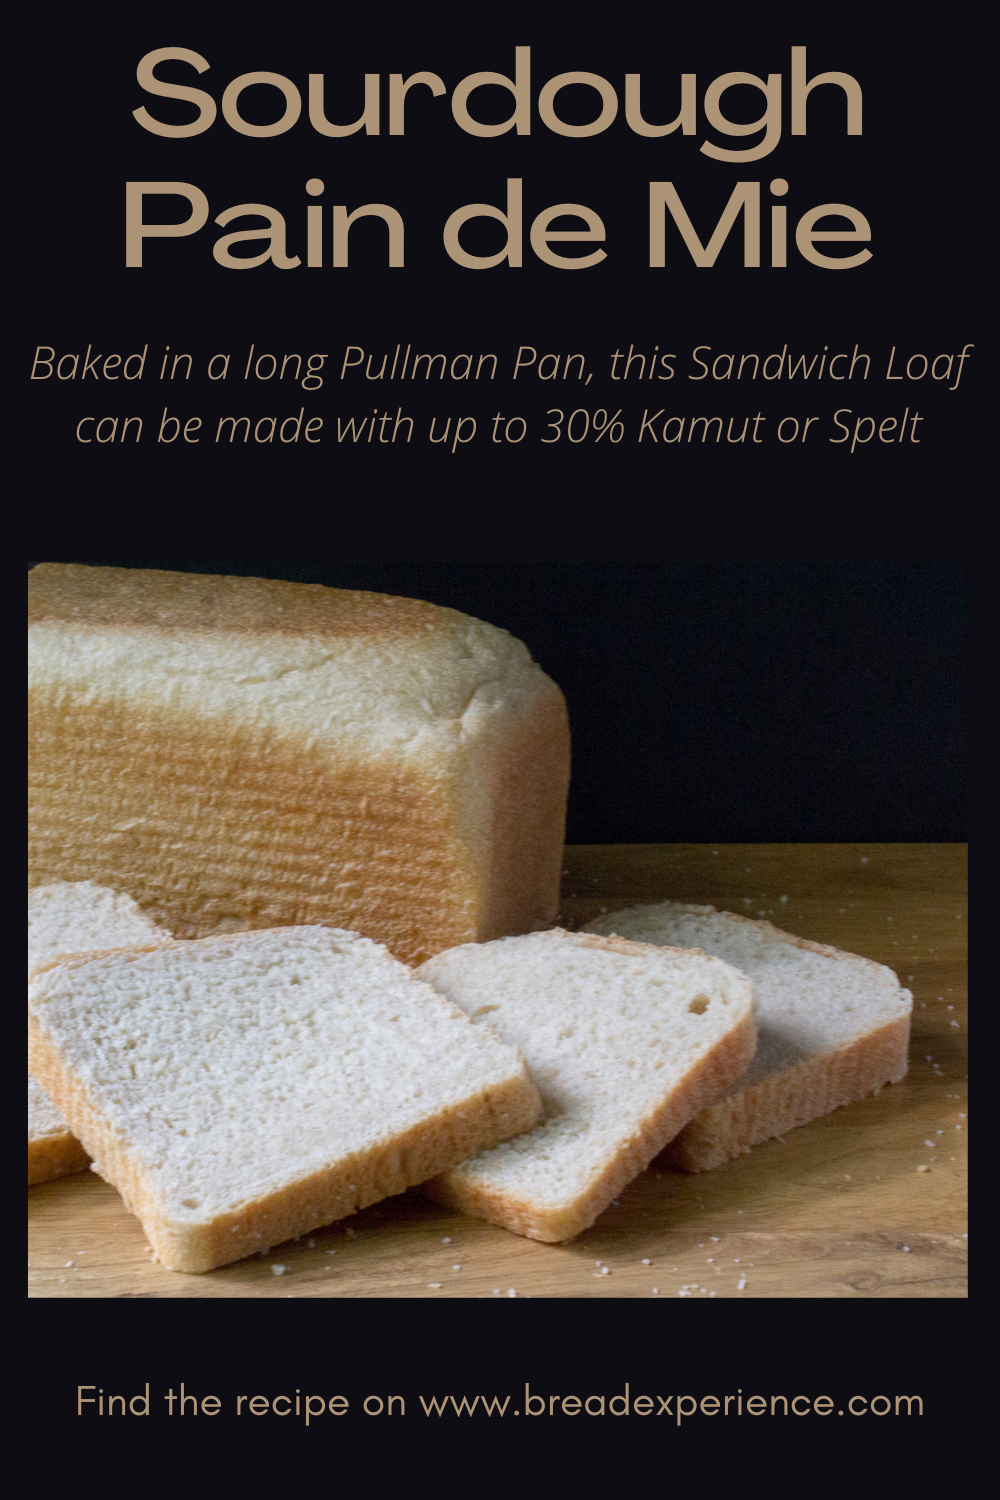
This Sourdough Pain de Mie, or Pullman Loaf, as it is more commonly known in the U.S., is a tender and buttery sandwich bread that can be made with up to 30% whole grain and still retain its fluffy texture. To achieve the unique shape, it is baked in a long Pullman Pan with a lid.
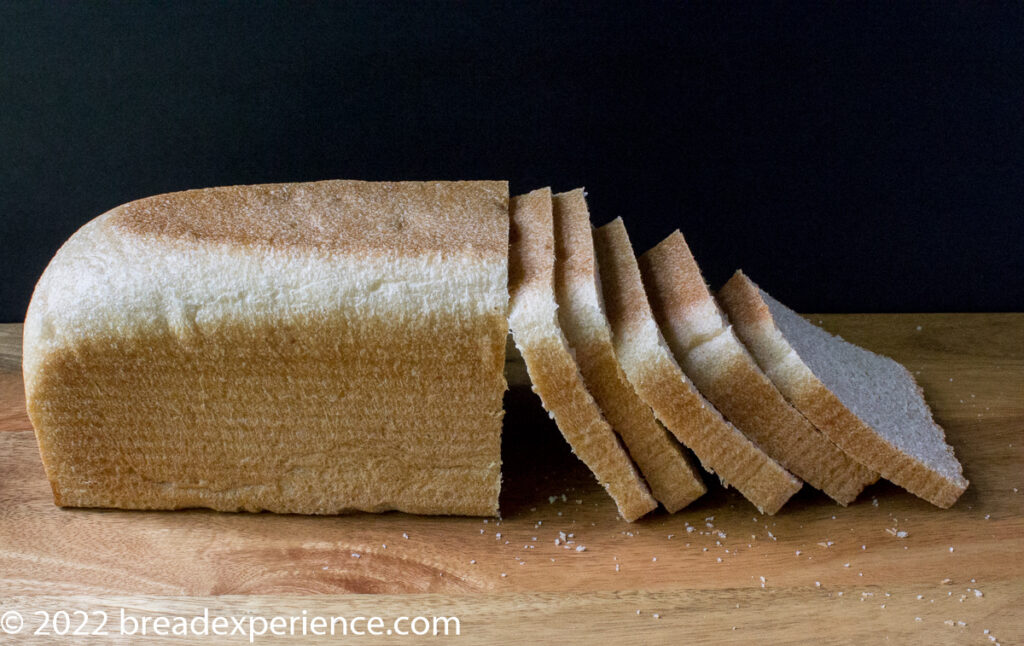
Pain de Mie, which means “Bread of the Crumb” in French, aptly describes this sandwich bread because the crusts are almost nonexistent.
Treat this Sourdough Pain de Mie as an adventure
Making this sourdough sandwich bread is an ideal adventure for a Saturday or Sunday.
Take advantage of the 3–4-hour bulk ferment to run an errand, read a book, or thumb through your favorite magazine.
During the final proof, you can prep for dinner, do some laundry, or relax and watch a show while keeping an eye on the timer. If desired, you can speed up the final proof by placing the dough in a proofing box.
What I wanted to achieve with this Sourdough Pain de Mie
I’ve always enjoyed making rich sandwich bread in a Pullman pan, and recently I got the urge to experiment again.
For this experiment, I had several objectives in mind:
1) Create a naturally-leavened bread to fit my 13-inch Pullman pan;
2) Utilize baker’s percentages to adjust the butter/sugar ratio; and
3) Include a portion of whole grain flour while at the same time keeping the characteristic soft crumb.
I’ve tested this bread using up to 50% whole grain spelt, and although it was a bit denser due to the whole grain, it was still an enjoyable sandwich and toast bread.
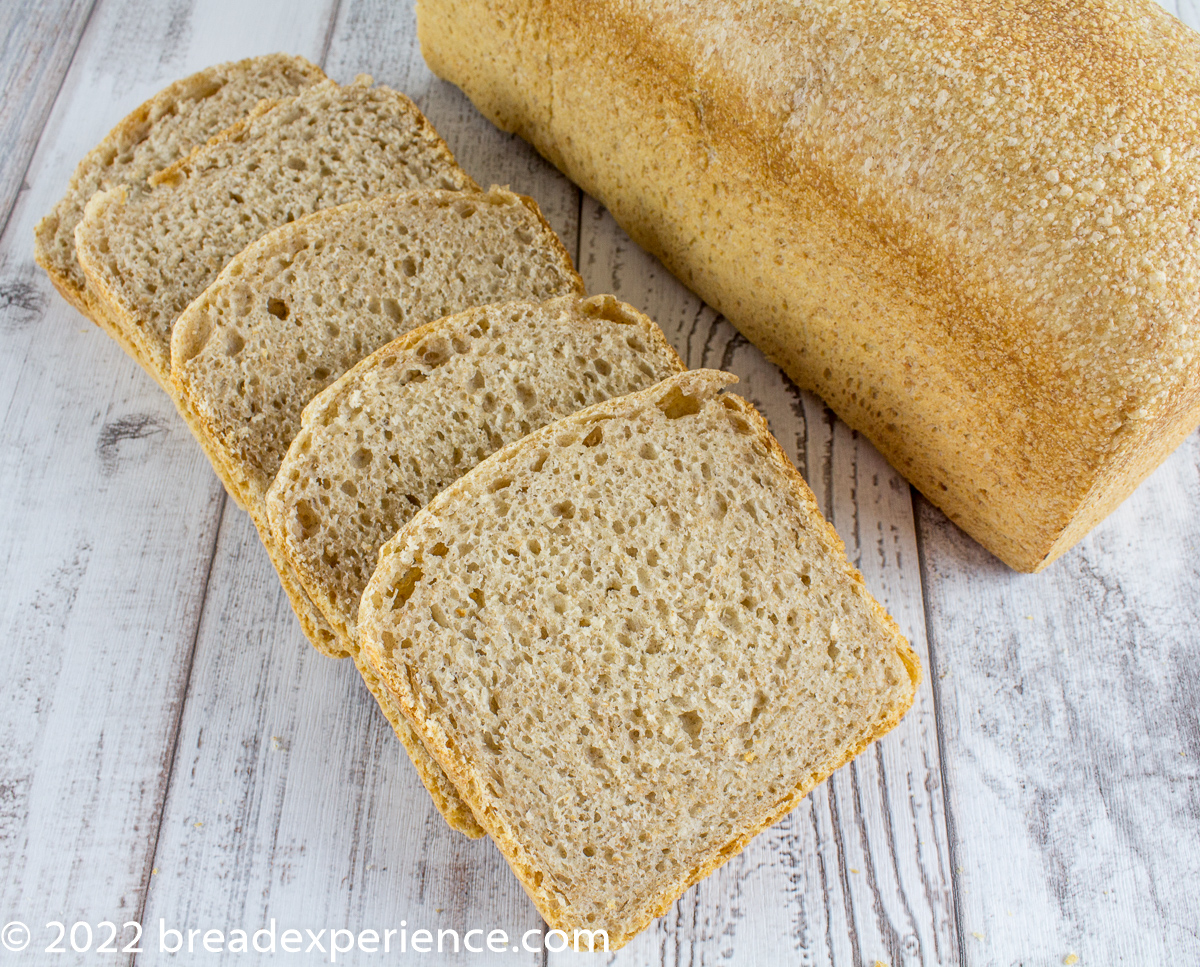
Sourdough Pullman Loaf with 47% whole grain spelt flour
Slice this Pullman Loaf thinly for Dainty Cucumber Sandwiches
In the middle of my experiments, I agreed to co-host an afternoon tea party for my ladies’ group. I decided this Sourdough Pain de Mie would be the perfect bread for cucumber sandwiches.
Cucumber sandwiches are typically made with soft white bread, with the crusts removed; however, I am known (in my social circles) for making homemade bread using at least a portion of home milled flour.
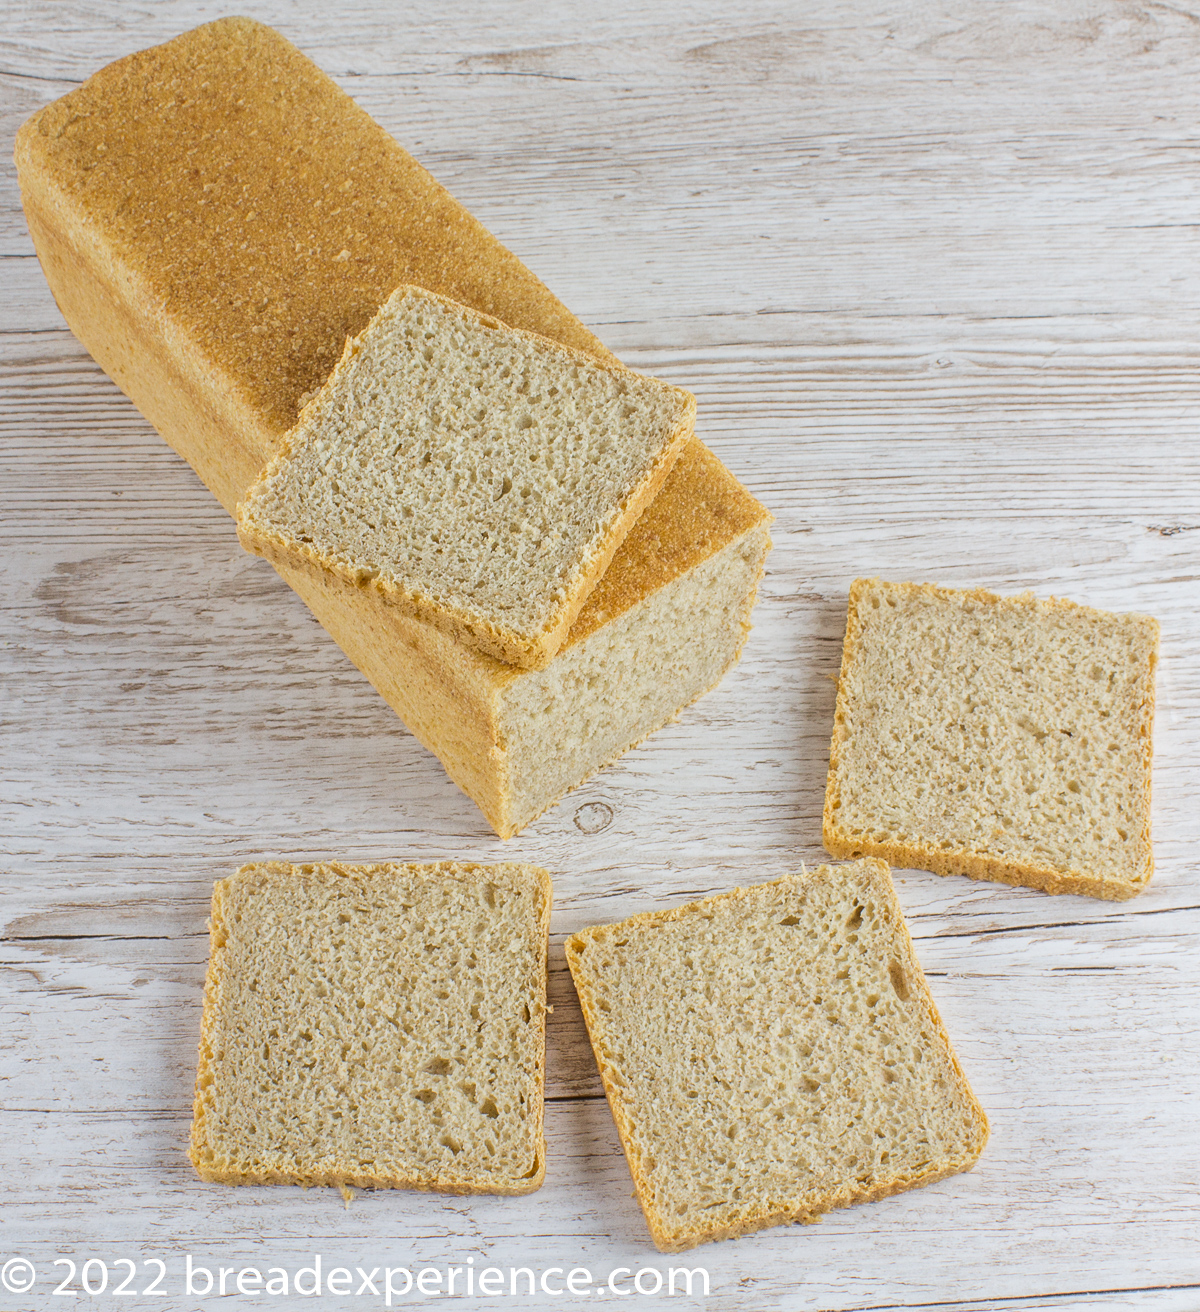
So, in keeping with my reputation, I chose to include some whole grain spelt flour. To retain the soft texture, I reduced the percentage of whole wheat from about 47% home-milled spelt flour to no more than 30%.
Did I say Spelt? I meant KAMUT, and other such musings
The day before the tea party, I had planned to bake a 28% spelt loaf, but realized all of my spelt grains were in the freezer.
I didn’t have time to wait for the grains to warm up so I could mill them into flour so I switched to Kamut. I had already milled some Kamut (aka Khorasan wheat) grains into flour for another experiment so the flour was ready to go.
As it turned out, the kamut flour added a creamy texture and a mild wheat flavor which was perfect for cucumber and pimento cheese sandwiches.

What size Pullman Pan should you use and how much dough does it hold?
When determining how much dough to use, the rule of thumb is 100 grams of dough per inch. I learned this tidbit last year in Richard Miscovich’s Sprouted Pain de Mie workshop during the Virtual Kneading Conference.
Since I planned to bake this sandwich loaf in my 13-inch Pullman Pan, the total dough weight needed to be around 1300 grams. I ended up with a total weight of 1263 grams.
Adjusting the flour/sugar /butter ratios for this Sandwich Bread
As I mentioned, one of my goals was to use baker’s percentages to adjust the flour, sugar, and butter ratios.
To get an idea of the appropriate ratios for Pain de Mie, I referenced Richard’s formula, which utilizes a 50/50 mix of all-purpose to whole grain flour, along with sprouted grains; and the formula presented in The Fundamental Techniques of Classic Bread Baking. Both of these loaves are made with dried yeast, not sourdough.
Richard’s formula includes about 18% butter and 3.5% honey. The formula in the book utilized 10% butter and 4% sugar.
For the first loaf, I opted for somewhere in between the two recipes for the butter. I made that loaf using a 50/50 mix of white winter wheat and all-purpose. It was an okay sandwich bread, but I wasn’t looking for just okay, I wanted a soft and fluffy loaf for sandwiches, not just toasting.
For subsequent bakes, I increased the amount of butter and honey.
Note: You can adjust the butter/sugar ratio to suit your taste buds, and based on how soft you want the crumb.
- 47% White Winter Wheat
- 47% Whole Grain Spelt with increased fat
What type of milk should you use?
I used almond milk for my experiments because I don’t typically use whole milk.
If you prefer to use whole milk, it may result in a more tender crumb, but I honestly didn’t think it needed it.
I also tested this bread using water and powdered milk, as Richard Miscovich does with his Sprouted Pain de Mie, but I wasn’t satisfied with the results. It could be the type of powdered milk I used, but I decided I prefer the loaves made with almond milk.
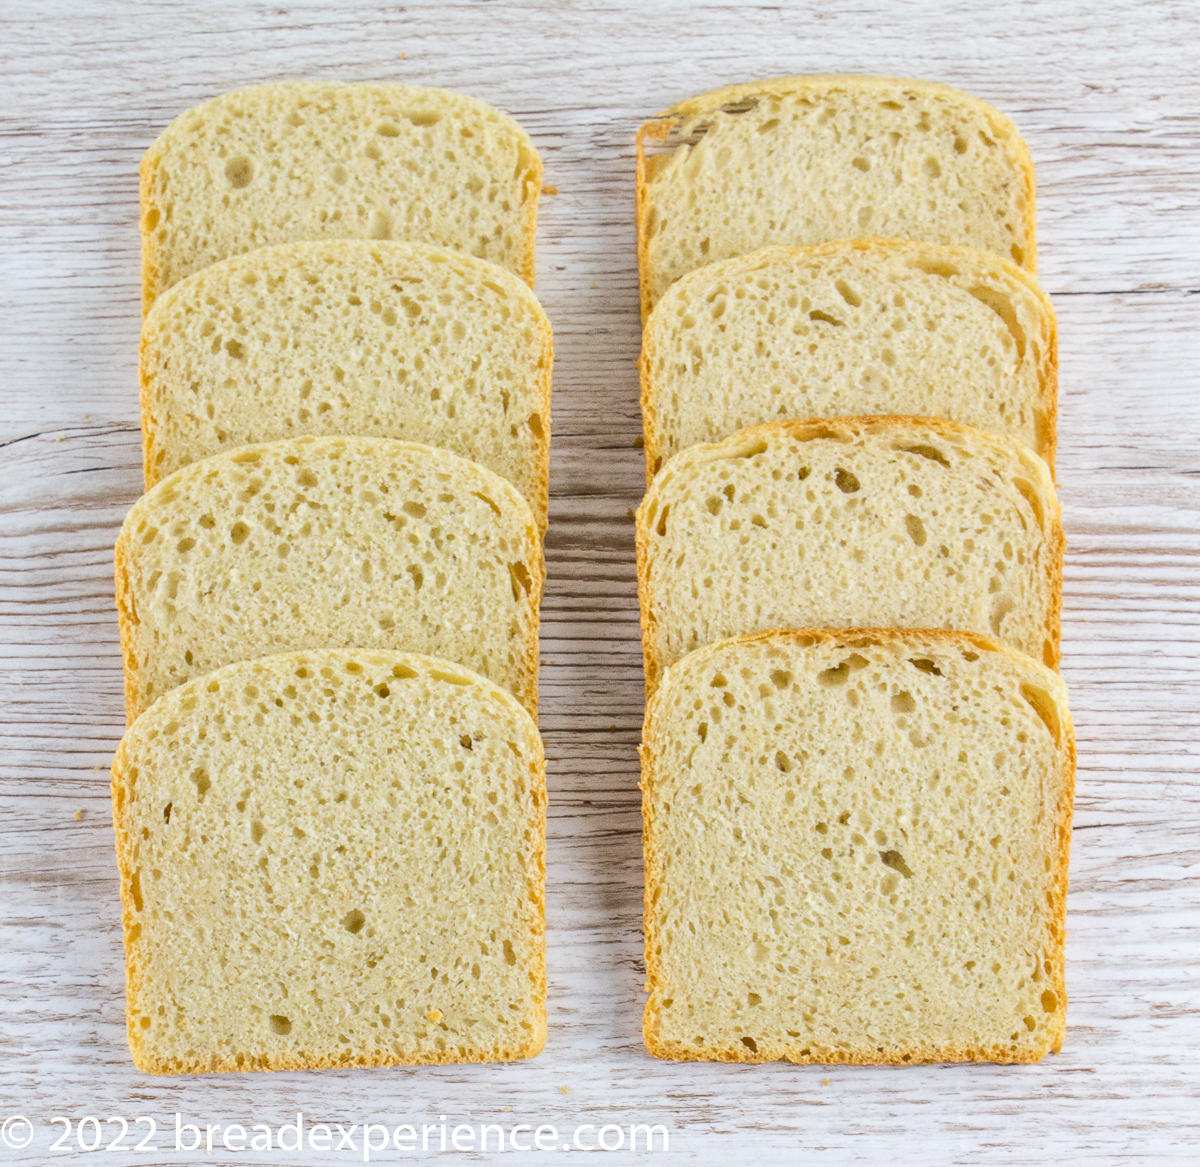
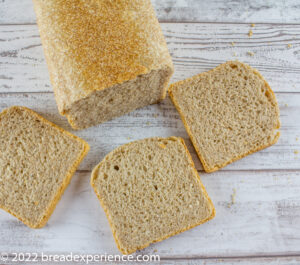
25% KAMUT Pain de Mie on left; 30% KAMUT Pain de Mie on the right
Shaping the Sourdough Pain de Mie Loaf to fit a long Pullman Pan
Shape the loaf into a log or fold into a loaf and place seam side down in the pan.
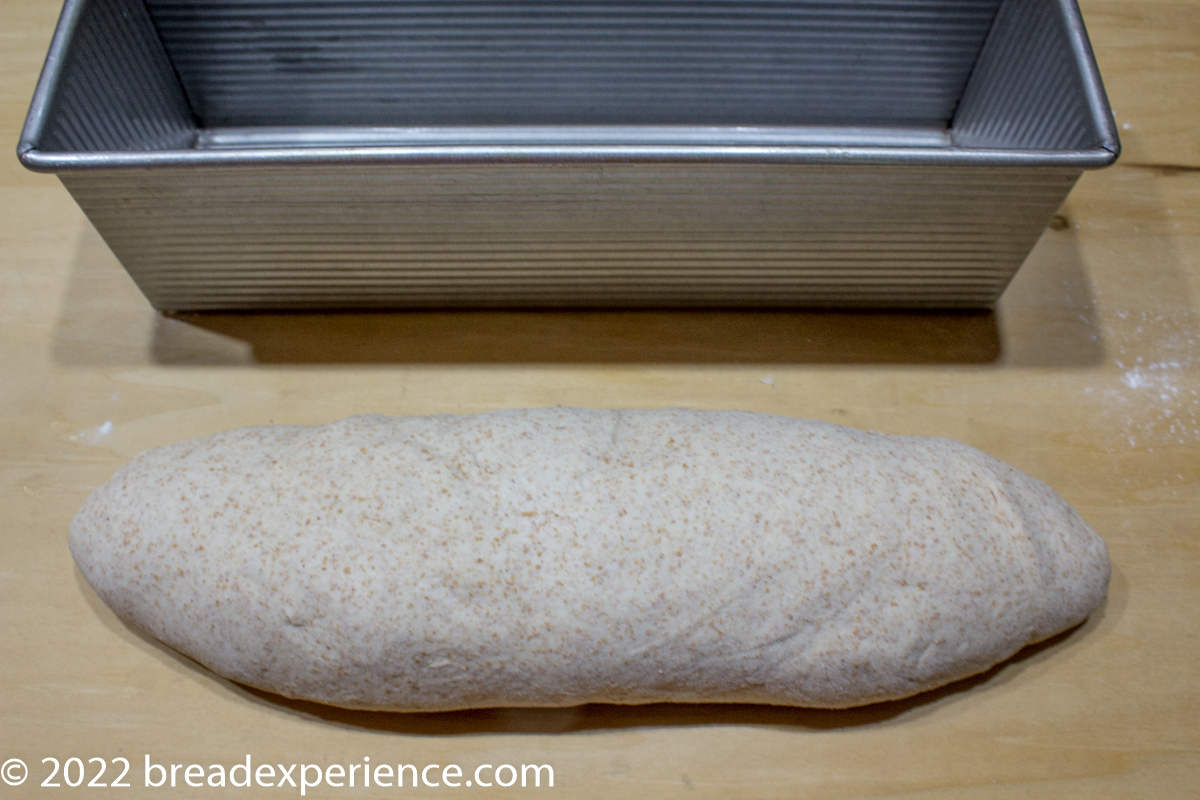
If you want square corners, after placing the shaped loaf seam side down in the pan, press down gently to flatten the dough on top and coax it to fill in the corners. This will help the dough rise more evenly as it rises.
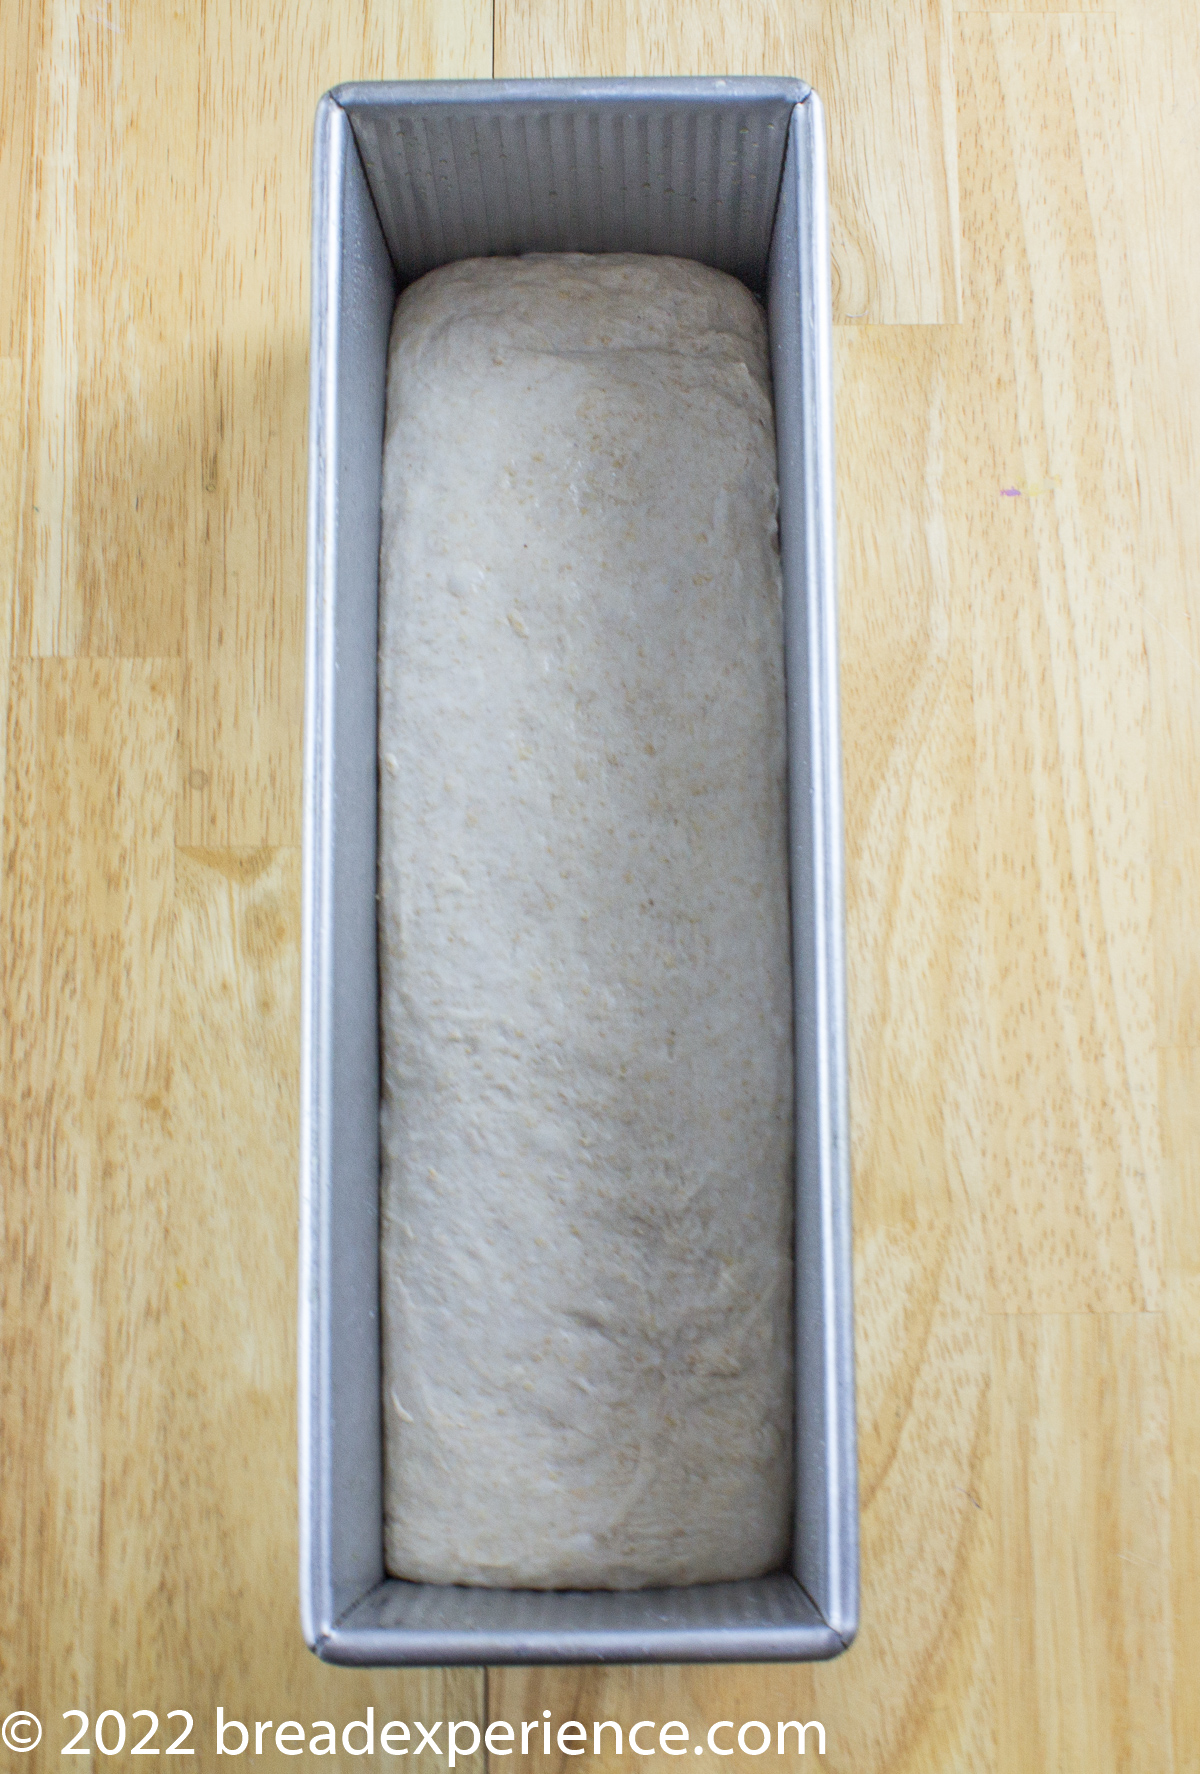
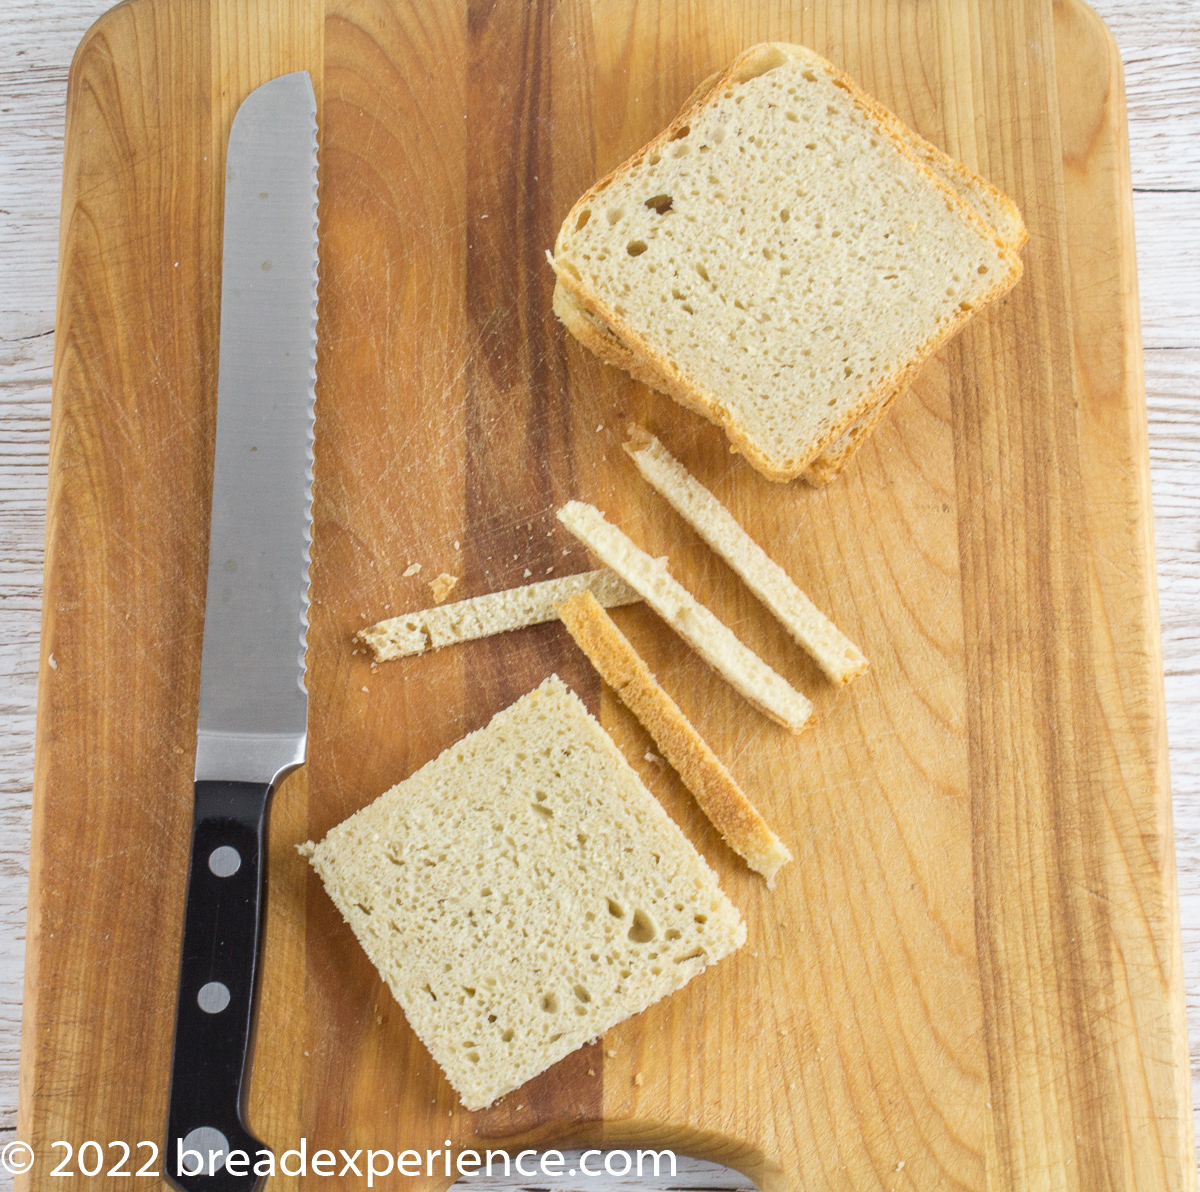
The pressing-down method worked well for the loaves I used for the dainty cucumber sandwiches. The square shape made it easier to slice thinly and trim the crusts.
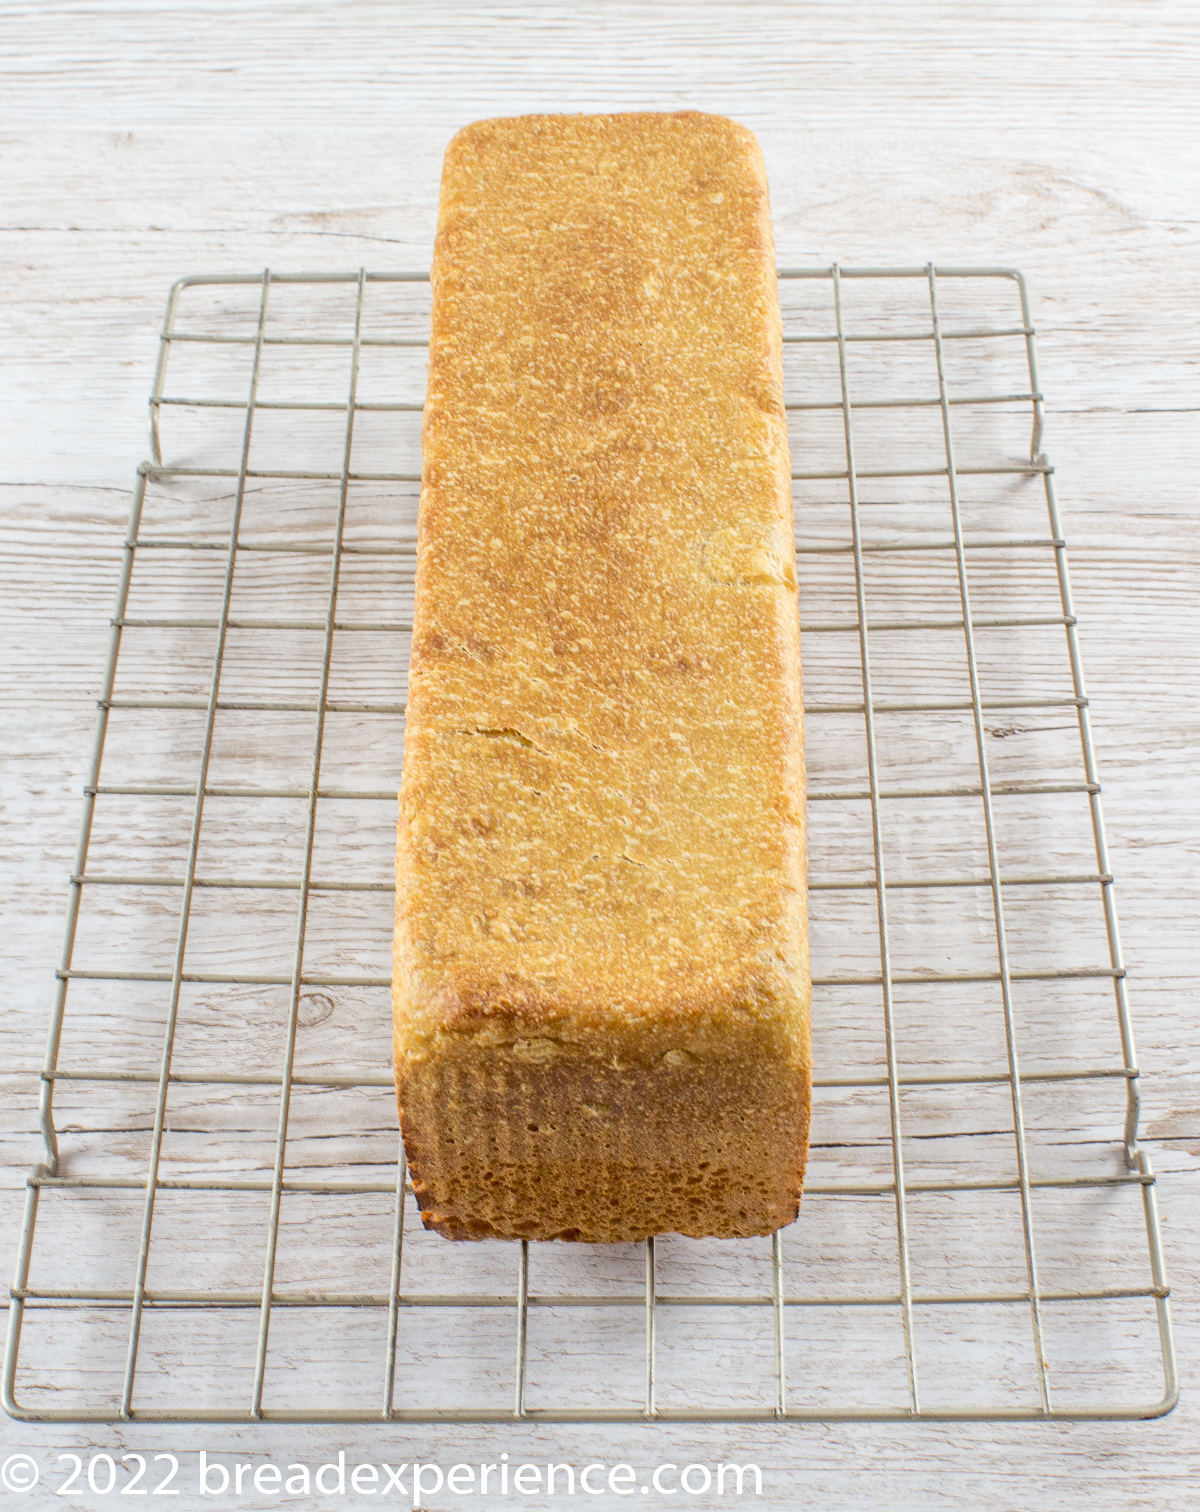
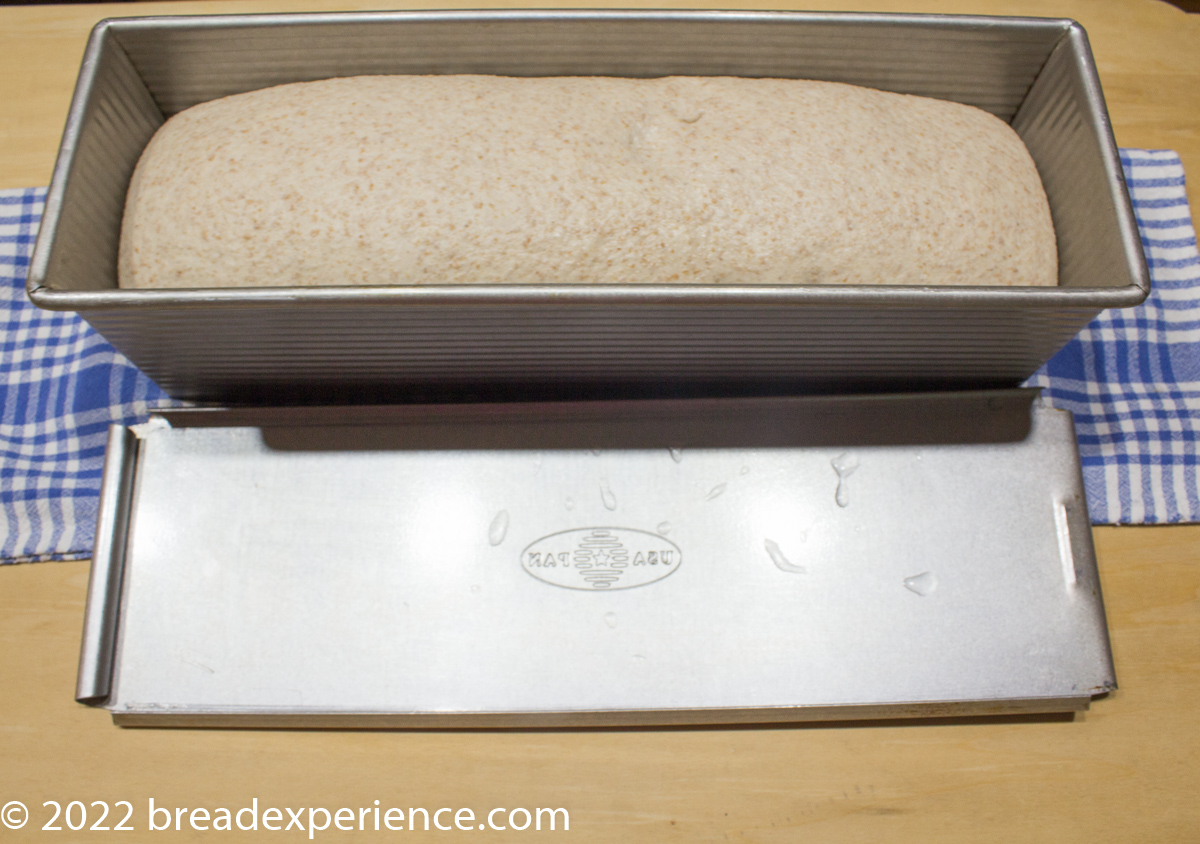
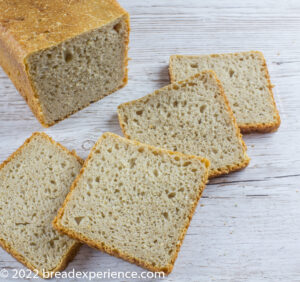
If you prefer rounder edges and thicker slices, don’t press down on the dough when you place it in the pan, just let the dough proof on its own; as I did with the loaf in the photo at the top of this post.
That loaf has nicely rounded corners, but it browned unevenly on top because the sides of the loaf didn’t reach the top.
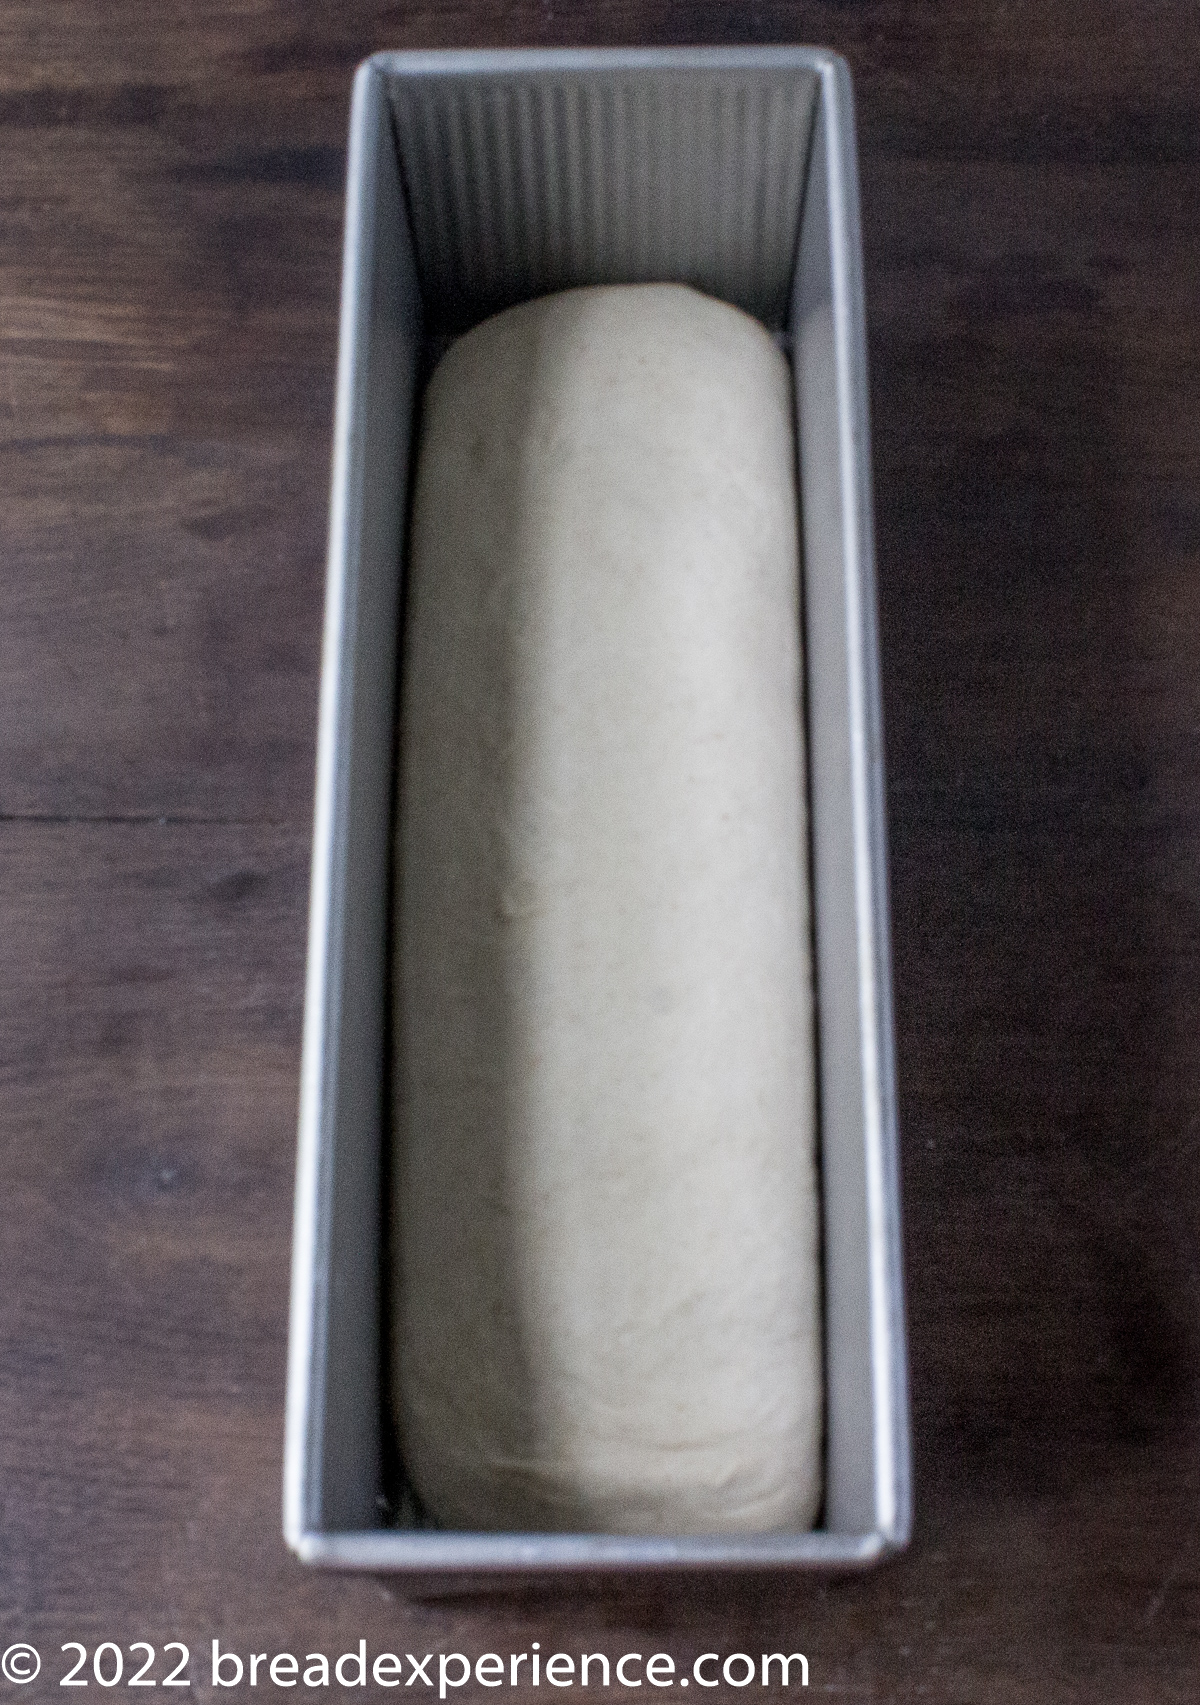
Shaped loaf with rounded corners
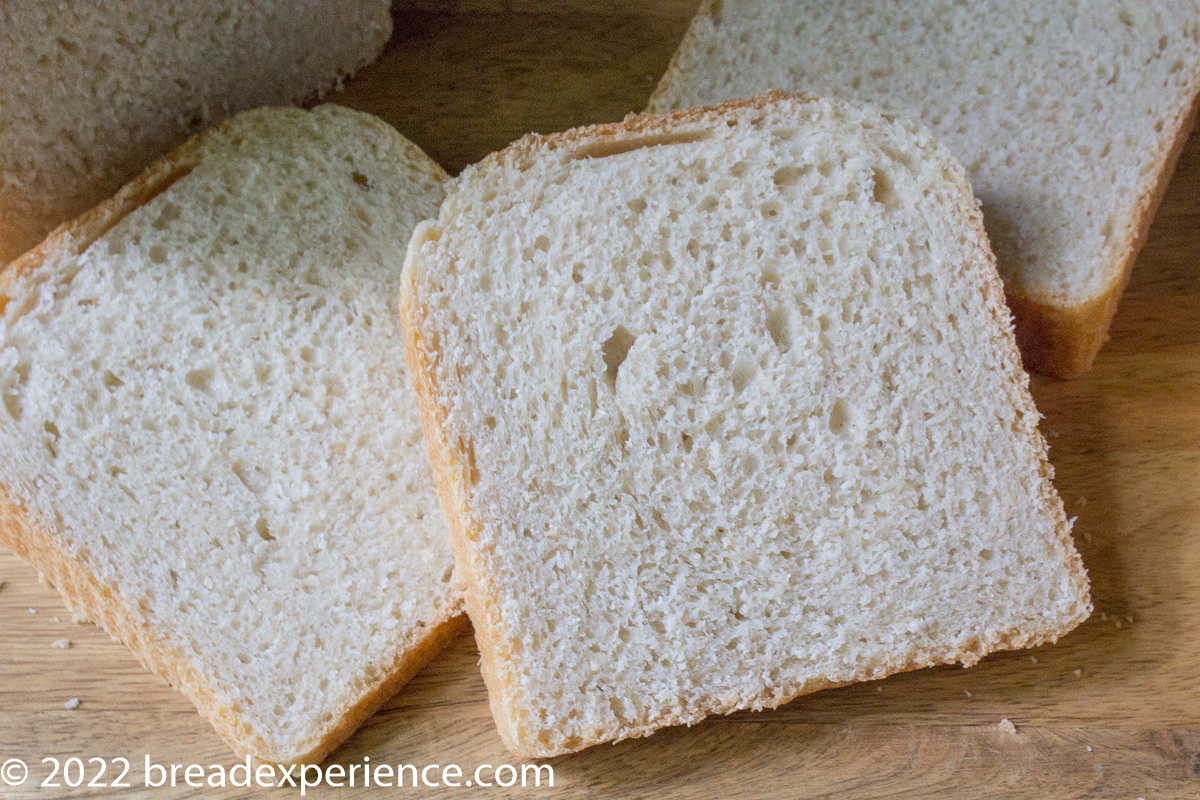
I sliced that bread thickly to use for French toast. It didn’t matter whether it was square or not. And once it’s sliced, you can’t tell that it’s browned unevenly on top.
Timeline for making this Sourdough Pain de Mie
Day before you plan to bakeRefresh your starter.
The evening before you plan to bake.
I usually take 30 grams of starter and feed it with 65 grams water and 65 grams flour. You can use less starter but that’s the typical cadence I use because it’s easy to remember.
If your starter has been resting in the refrigerator for over a week, feed it, then let it rest on the counter at warm room temperature overnight, 8 hours, or until it is active and bubbly.
If you’ve fed your starter more recently, it may only take 4-6 hours before it’s active.
Sometimes, I’ll feed my starter the day before, place it in the refrigerator overnight, and then take it out and let it warm up until it’s active and bubbly, then add it to the dough. However, if you do it this way, the bulk ferment may take a bit longer.
Bake Day Schedule
8:30 am
Soften the butter. Take a stick of butter out of the refrigerator and weigh out 85 grams or cut 6 Tbsp. Cut into squares and place on a plate. The pats of butter will help the butter soften quickly and make it easier to incorporate the butter into the dough.
Grease the pan. My USA Pullman Pan is nonstick, but I still grease it for easy release. Note: Keep the butter wrapper, and use the excess butter to grease the pan. You can also use a paper towel.
9:00 am – 9:15 am – Mix the dough
Measure/weigh your ingredients before you begin. If you have everything measured and ready to go, it should only take about 15 minutes to incorporate all of the ingredients using a stand mixer.
As much as I like to make breads completely by hand, I recommend a stand mixer for mixing this dough. It particularly helps with incorporating the butter.
9:15 –1:15 Bulk ferment
The bulk ferment should take 3-4 hours, depending on the temperature in your kitchen and how active your starter is. For most of my experiments, the dough was ready in 3 hours except on one of the tests, my starter wasn’t quite as active, and it took a little over 4 hours.
During the bulk ferment, stretch and fold the dough 2-3 times, at 30-minutes intervals during the first hour to hour and a half. Most of my test loaves only needed two stretch and folds.
After the final stretch and fold, let the dough rest for the remainder of the bulk ferment.
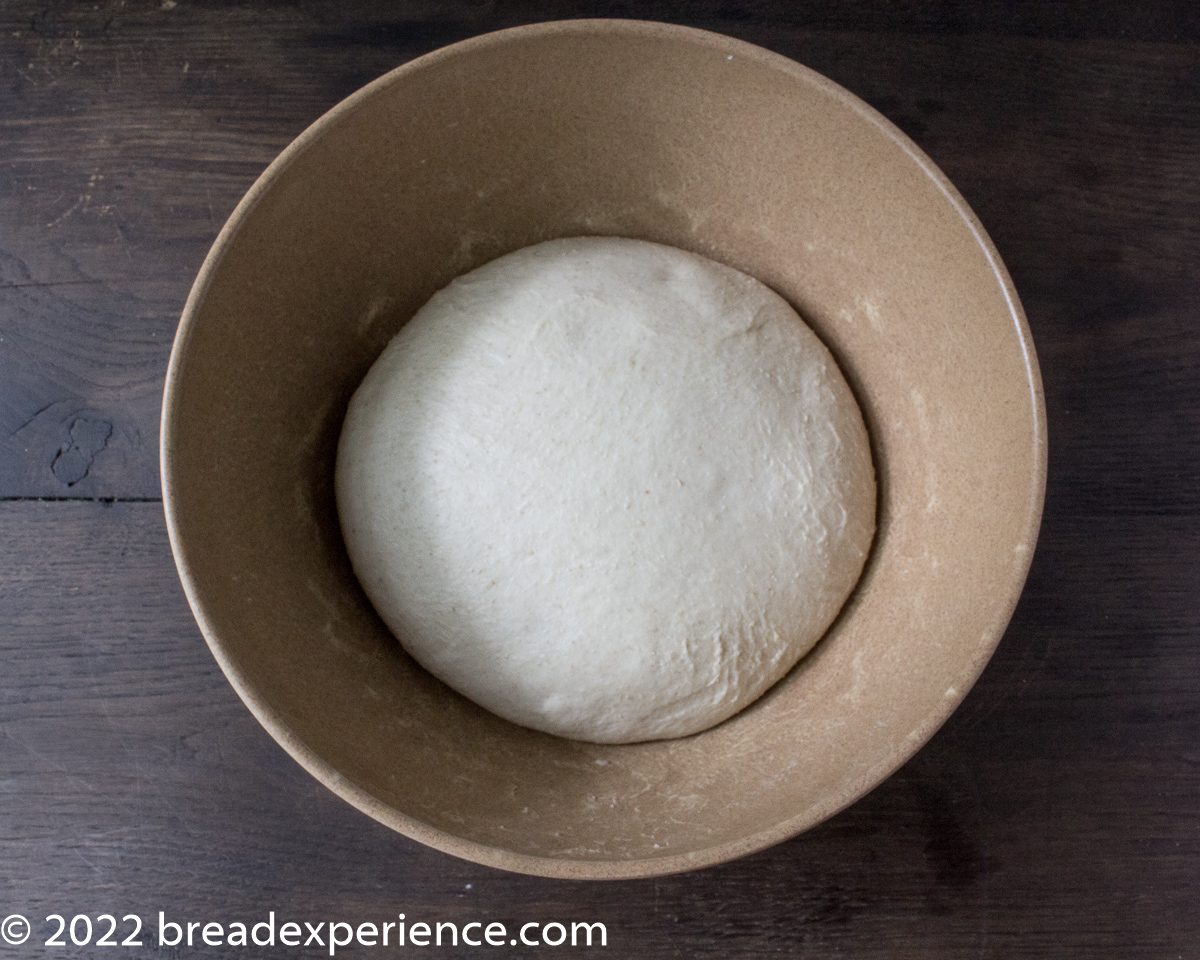
Dough after a 4 hour bulk ferment
1:15 – 1:45 Rest on Counter
Remove the dough from the bowl, form into a ball, and let the dough rest on the counter for 30 minutes.
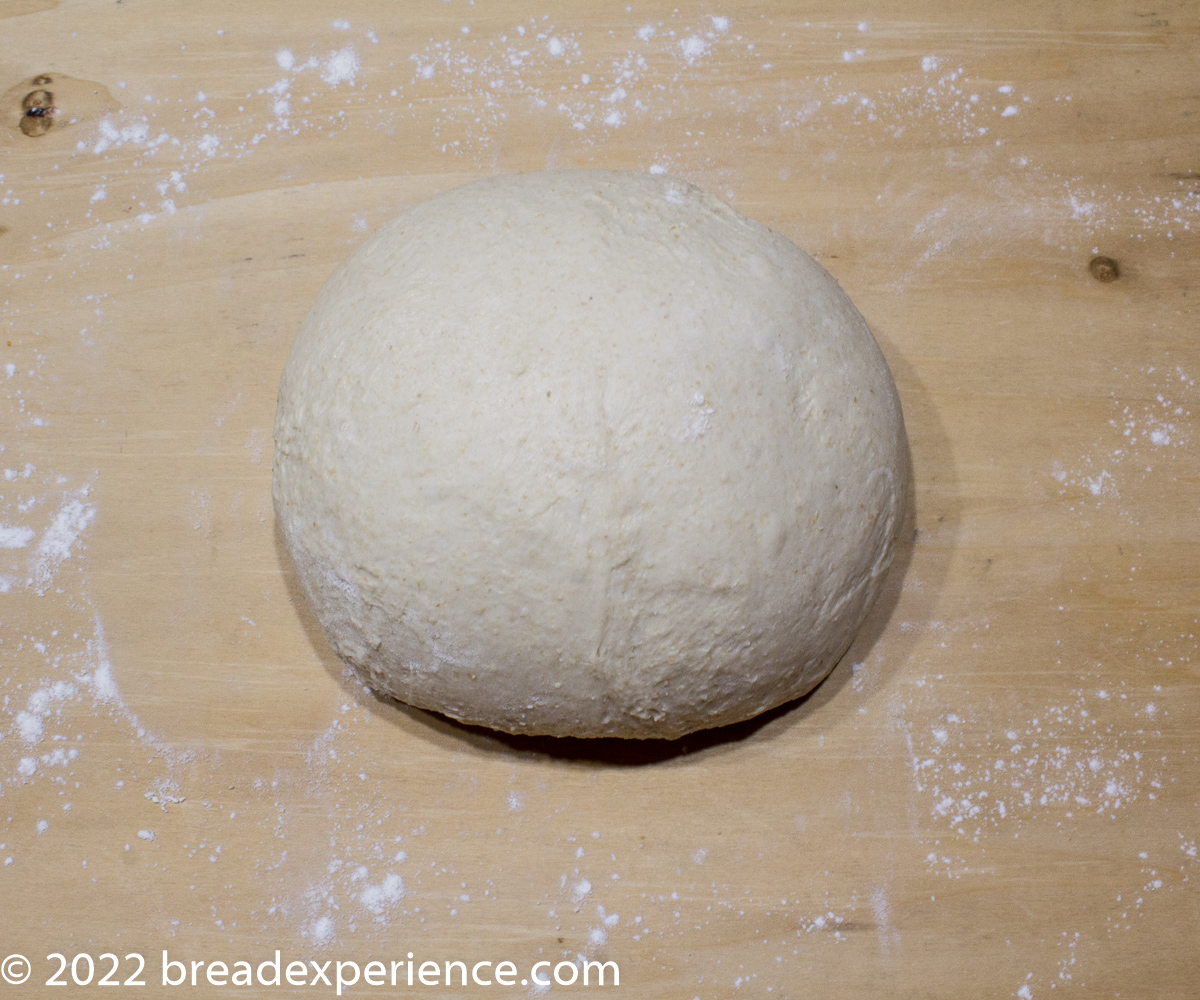
1:45 – 4:45 Shaping and Final proof
Shape the loaf and place seam side down in the pan. Cover with the lid and let the dough rise until it has reached about an inch below the top of the pan. Depending on the temperature in your kitchen, it could take up to 4 hours for the final proof.
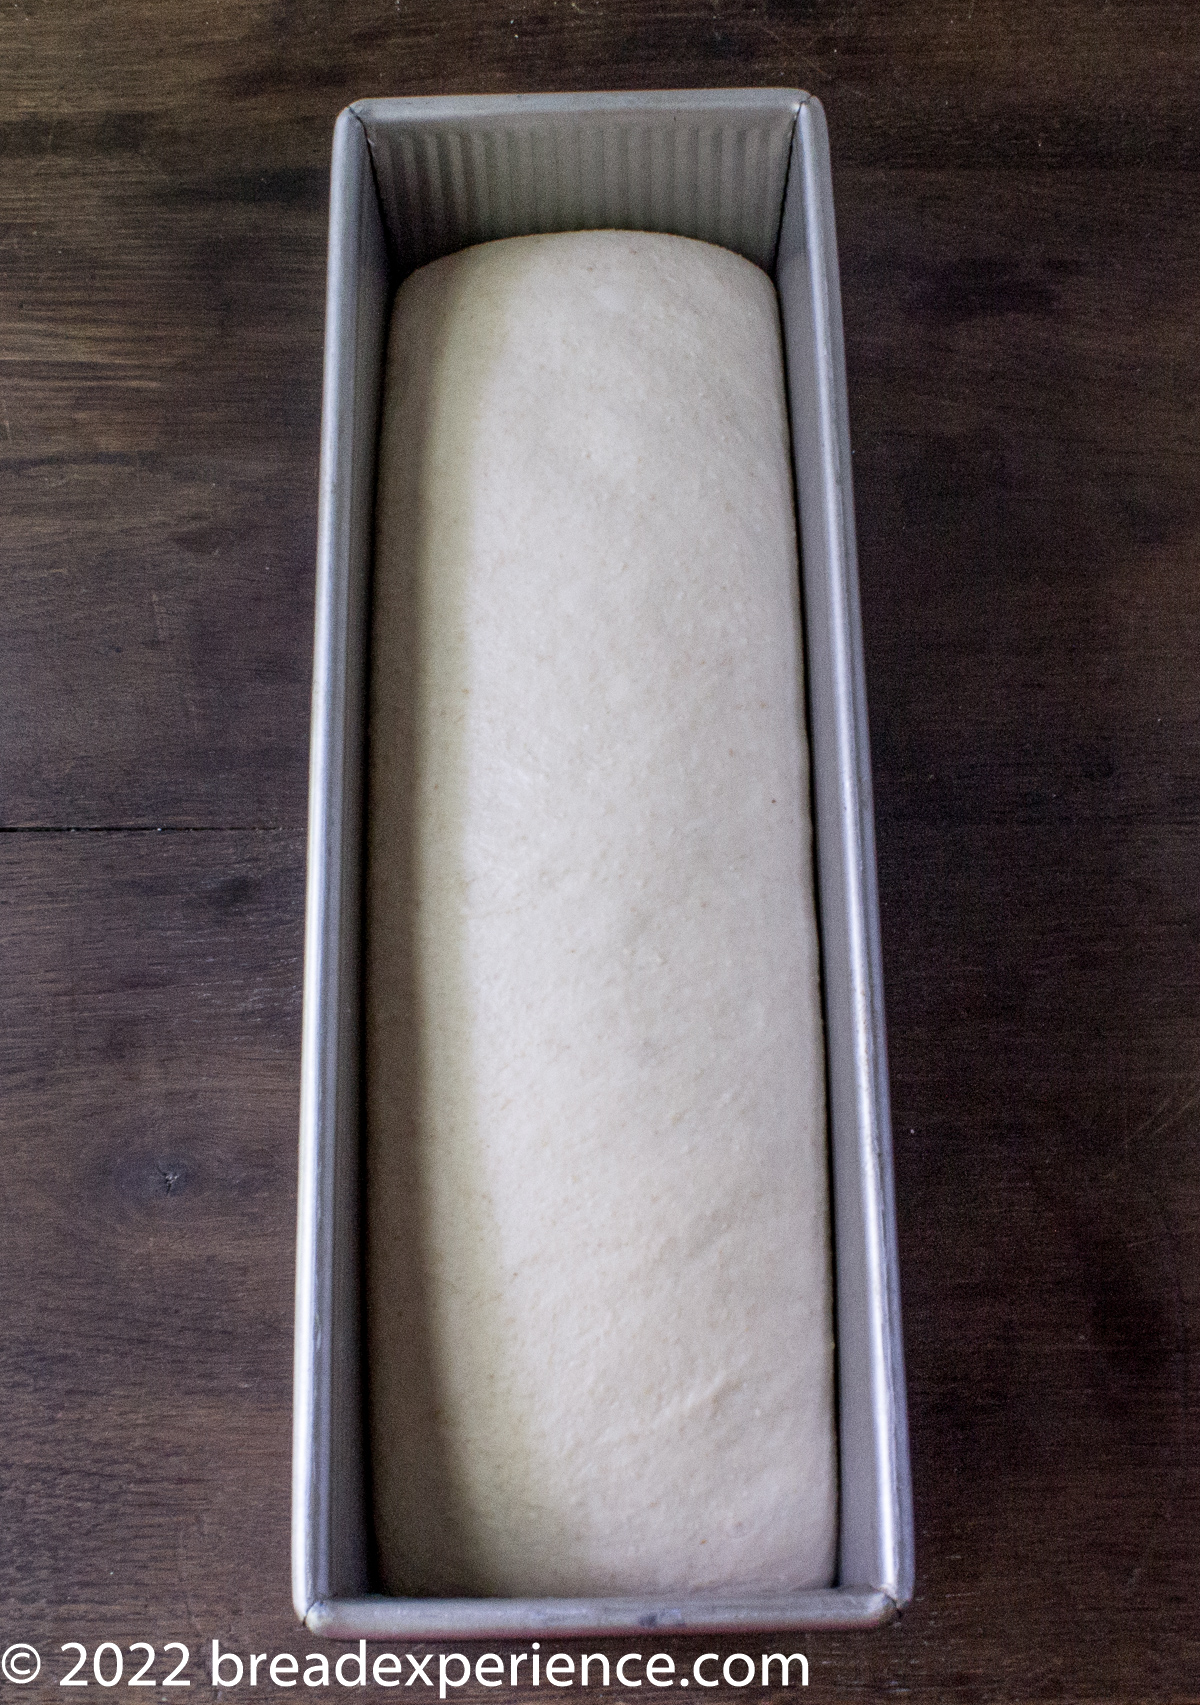
Pain de Mie after the 4 Hour Proof in the Pan
4:30: Preheat oven to 375 degrees F. about 20-30 minutes before you plan to bake the loaf. If the dough is fermenting slowly, you may have to wait until it is almost fully proofed before preheating the oven. Then Bake the loaf 40-45 minutes.
Baker’s Percentages for this Sourdough Pullman Loaf
- Kamut or Spelt Flour 25-30%
- All-purpose flour 70-75%
- Sourdough Starter 14%
- Salt 2%
- Milk 63%
- Honey 4.6%
- Butter 13%
You might enjoy these other Pain de Mie breads
- Bee Keeper’s Pain de Mie – a rich and buttery, melt-in-your-mouth bread infused with wildflower lavender tea
- KAMUT Pain de Mie – very mild and wheaty flavor with a delicious, melt-in-your-mouth crumb that’s great for toasting
- English Toast Bread with Teff – using a small amount of teff combined with bread flour produces a delicious light-textured bread with a creamy, earthy color
- Pullman Bread (Pain de Mie) – made with bread flour and whole wheat flour sifted once to remove the bran
Light Wheat Sourdough Pain de Mie (Pullman Loaf) with Kamut or Spelt
- Yield: One 13-inch Pullman Loaf 1x
Description
This Sourdough Pain de Mie, or Pullman Loaf, as it is more commonly known, is a tender and buttery sandwich bread that can be made with up to 30% whole grain and still retain its fluffy texture. To achieve the unique shape, it is baked in a long Pullman Pan with a lid.
Ingredients
- 195 grams whole grain Kamut or Spelt flour
- 455 grams All-purpose flour
- 13 grams fine sea salt
- 410–430 grams / ~1 2/3 – 1 3/4 cups milk (dairy or non-dairy)
- 30 grams (heaping 1/4 cup) honey
- 91 grams / ~ 1/2 cup sourdough starter, 100% hydration, active and bubbly
- 85 grams / ~ 6 Tbsp unsalted butter, softened
Instructions
Evening before you plan to bake
- Refresh your starter the evening before you plan to bake, and let it rest on the counter at warm room temperature overnight, 8 hours, or until it is active and bubbly. If you’ve fed your starter recently, it may only take 4-6 hours before it’s active.
Bake Day
- Soften the butter. Take a stick of butter out of the refrigerator and weigh out 85 grams, or 6 Tbsp. Cut into squares and place on a plate. Note: Keep the butter wrapper, and use the excess butter to grease the pan. You can also use a paper towel.
Mix the dough: 15-20 minutes
- Measure/weigh your ingredients before you begin. If you have everything measured and ready to go, it should only take about 15 minutes to incorporate all of the ingredients using a stand mixer.
- In the bowl of a stand mixer, add the flours, salt, milk, honey, and starter. Reserve the butter. Using the dough hook, mix on low speed for 2-3 minutes until there are no dry bits of flour.
- Switch to medium speed and mix for 2-3 more minutes until the dough begins to get smooth and clings to the hook.
- Turn down to low speed and mix again for about 2-3 minutes to allow the dough to gain more strength before adding the butter. At this point, the dough should cling to the dough hook, but it won’t clear the sides of the bowl.
- With the mixer still running, at low speed, add the pats of butter, one at a time, and mix thoroughly before adding another pat. Adding the butter will take about 5 -8 minutes. The dough will be soft.
Bulk ferment: 3-4 hours
- Remove the dough from the mixer bowl to a proofing container or large bowl.
- Cover and let the dough proof for 3-4 hours, depending on the temperature in your kitchen and how active your starter is.
- During the bulk ferment, stretch and fold the dough 2-3 times, at 30-minute intervals during the first hour to an hour and a half. After the final stretch and fold, let the dough rest for the remainder of the bulk ferment.
Shaping and final proof: up to 4 hours
- Remove the dough from the bowl, form into a ball, cover, and let it rest on the counter for 30 minutes.
- Shape the loaf and place it seam side down in the pan. Cover with the lid and let the dough rise until it has reached about an inch below the top of the pan. Depending on the temperature in your kitchen, it could take up to 4 hours for the final proof.
Preheat oven
- To 375 degrees F. about 20-30 minutes before you plan to bake the loaf. If the dough is fermenting slowly, wait until it is almost fully proofed before preheating the oven.
Bake the loaf: 40-45 minutes
- Bake the loaf 10 minutes at 375 degrees.
- Turn the oven down to 350 degrees and let the loaf bake for 25-30 minutes with the lid on.
- Remove the lid and bake the loaf for another 5 to 10 minutes.
- Move the pan from the oven to a wire rack and let the loaf rest for 10 minutes before removing it from the pan.
- Remove the loaf from the pan and place on the wire rack to cool completely, about 2 hours.
- Category: Sourdough Pain de Mie
- Cuisine: French Bread
Happy Baking!
Cathy
Janna says
I tried this recipe and it turned out really good. What else can I add to the recipe? Thanks for the recipe.
Cathy says
Hi Janna,
I’m so glad your loaf turned out well. Did you use Kamut or Spelt or a different type of flour?
You might try making it with a different flour.
I don’t typically add anything else since I use it for sandwich bread and toast; however, raisins would probably be a good add. I’ve also heard of bakers adding a couple teaspoons of nice black pepper blend.
If you are looking for something totally different, you might enjoy this Bee Keeper’s Pain de Mie https://www.breadexperience.com/bee-keepers-pain-de-mie/
Happy Baking,
Cathy
Doug says
Hi, do you think one could do the final rise in the fridge overnight? I would like to try taking it after the 30-minute rest, putting it into the Pullman pan, then into the fridge overnight. Next day take it out, let it set for a couple of hours, then bake. Would that work?
Cathy says
Hi Doug,
Allowing the shaped dough to cold ferment overnight should work fine; however, since I haven’t tested that scenario yet, I’m unable to say for sure if the loaf will have the same texture. I say go for it and see what happens. If you think it will overproof, you could reduce the amount of sourdough used.
If you do try it, please let me know how it goes.
Happy Baking!
Cathy
Charlotte says
Have you ever worked with Einkorn flour(whole wheat or all purpose?) I have the Jovial brand of each and was wondering if those could be swapped in this recipe? I just started making sourdough bread and have so many questions. I would like to make a soft sandwich loaf like this, but that has some whole-grain flour in it. I have the 13 inch pullman pan. Also, I think I would like for it to be noticeably sweeter than sourdough bread… does this recipe provide that sweet taste or should I add more honey? Thank you so much.
Cathy says
I have worked with einkorn AP and whole grain flour a good bit over the years. I’ve used flour and grains from Jovial Foods and other suppliers.
I have not used it in this specific bread. You could but it will be a softer dough. You will probably need to reduce the milk and add in more gradually as needed. You would just need to test it.
In terms of sweetness, this is an enriched bread but not necessarily a sweet bread. If you want it to be sweeter, you can adjust it based on your taste buds.