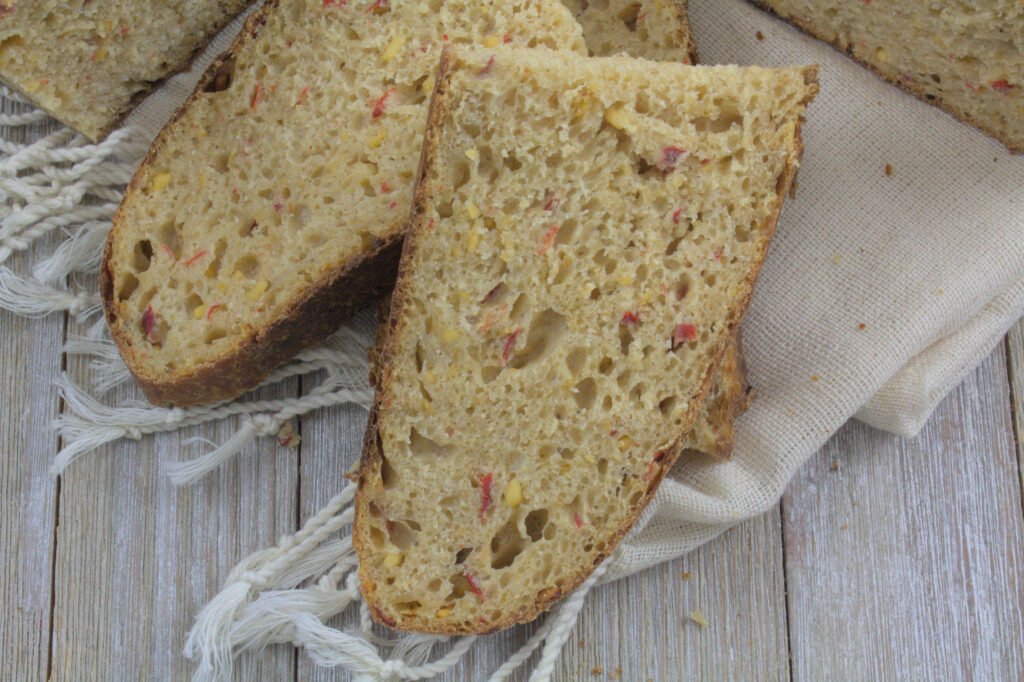
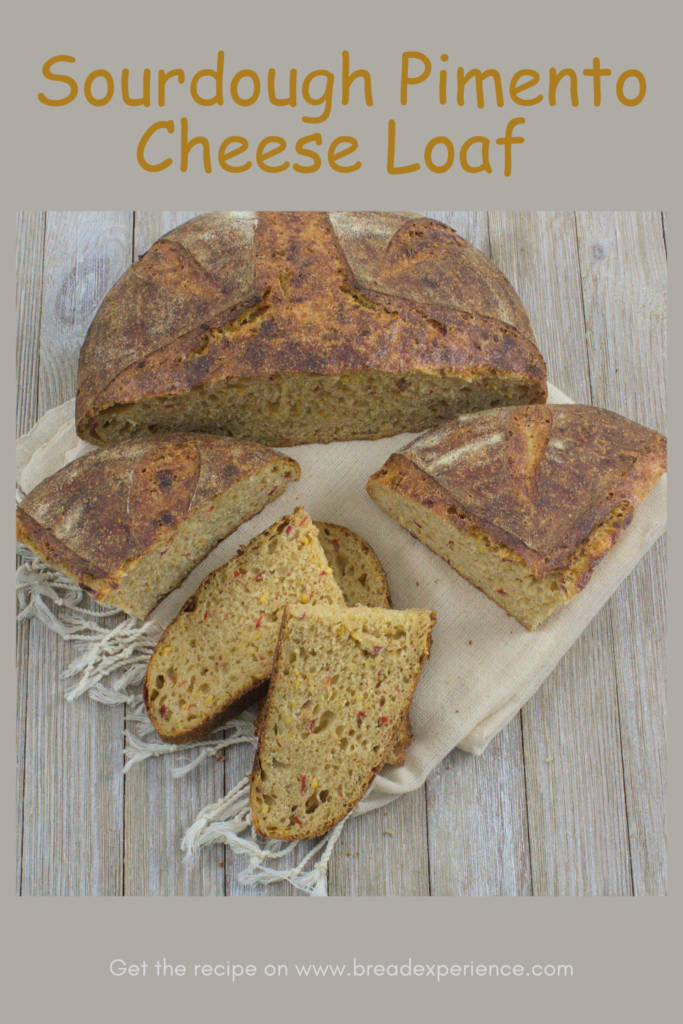
This Sourdough Pimento Cheese Loaf celebrates my love of pimento cheese, by fusing the flavors of this beloved spread with the tangy, chewy goodness of sourdough.
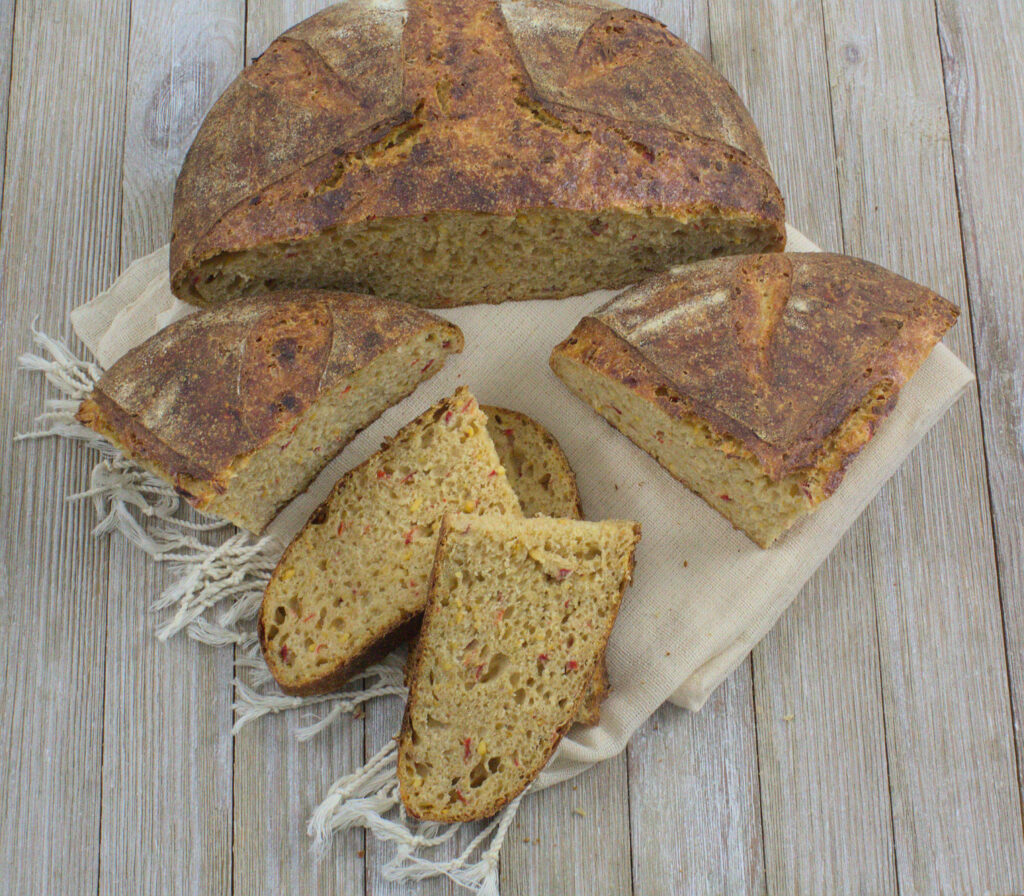
I was inspired to create this Sourdough Pimento Cheese Loaf after seeing the Faux-caccia in the August Issue of Food and Wine magazine. Their Southern spin on focaccia combines pimientos, cheese, pizza dough, and mayonnaise, instead of olive oil.
The idea of enjoying bread and pimento cheese got my mouth watering, and the wheels started churning. I thought, “Oh my goodness! What a great idea!”
Their focaccia sounded appealing, but I wanted something different. Instead of spreading pimento cheese on flatbread, I wanted to see what would happen if I used those unique ingredients in the loaf.
Introducing the Sourdough Pimento Cheese Loaf: where tradition meets innovation, and every bite tells a story.
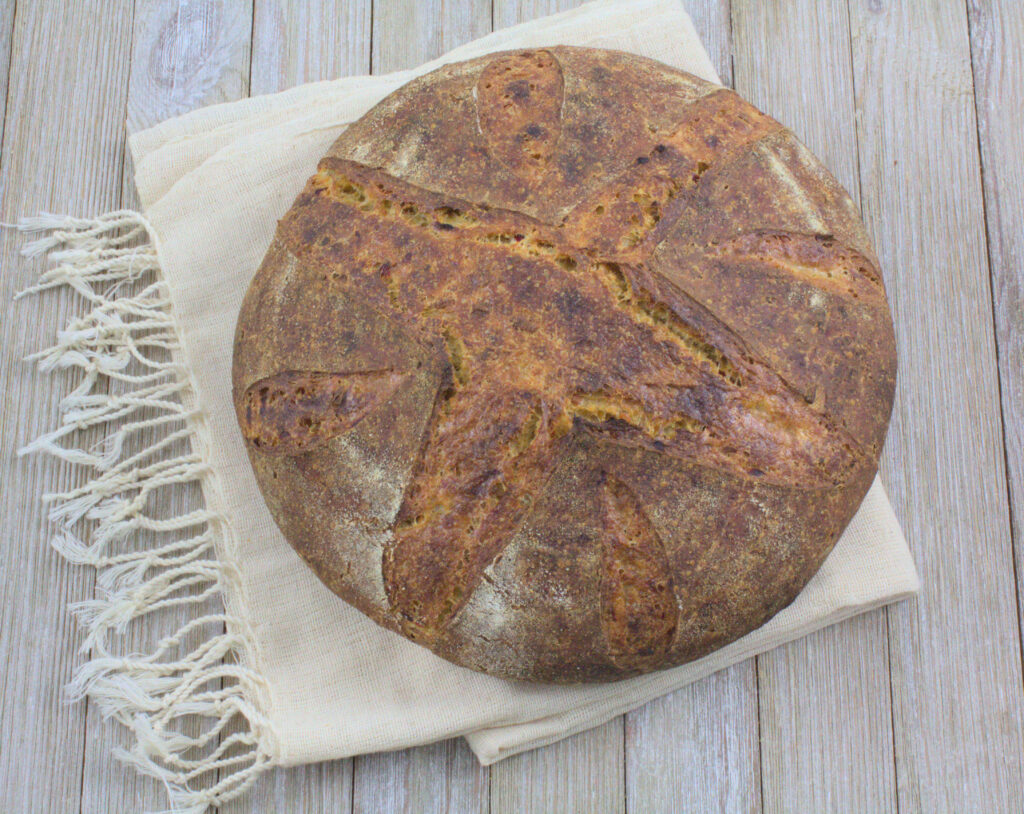
The first time I made this sourdough pimento cheese loaf, I added less cheese and pimentos. I enjoyed that bread, but felt it could use a bit more flavor. For subsequent loaves, I upped the amount of cheese, pimentos and spices as indicated in the recipe.
The following sections describe the key ingredients I used in this loaf, and provide some background information. Scroll down to view the printable recipe.
What are Pimentos, anyway?
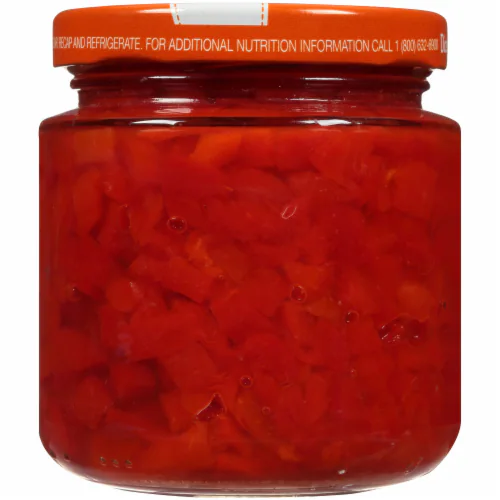
Pimentos, also spelled “pimientos,” are a variety of red bell pepper that are sweet and more aromatic compared to their common bell pepper counterparts. The pepper typically measures about 2 to 3 inches in length and 2 to 3 inches in width at its broadest point. The skin is smooth and somewhat glossy, similar to a regular red bell pepper but noticeably smaller in size.
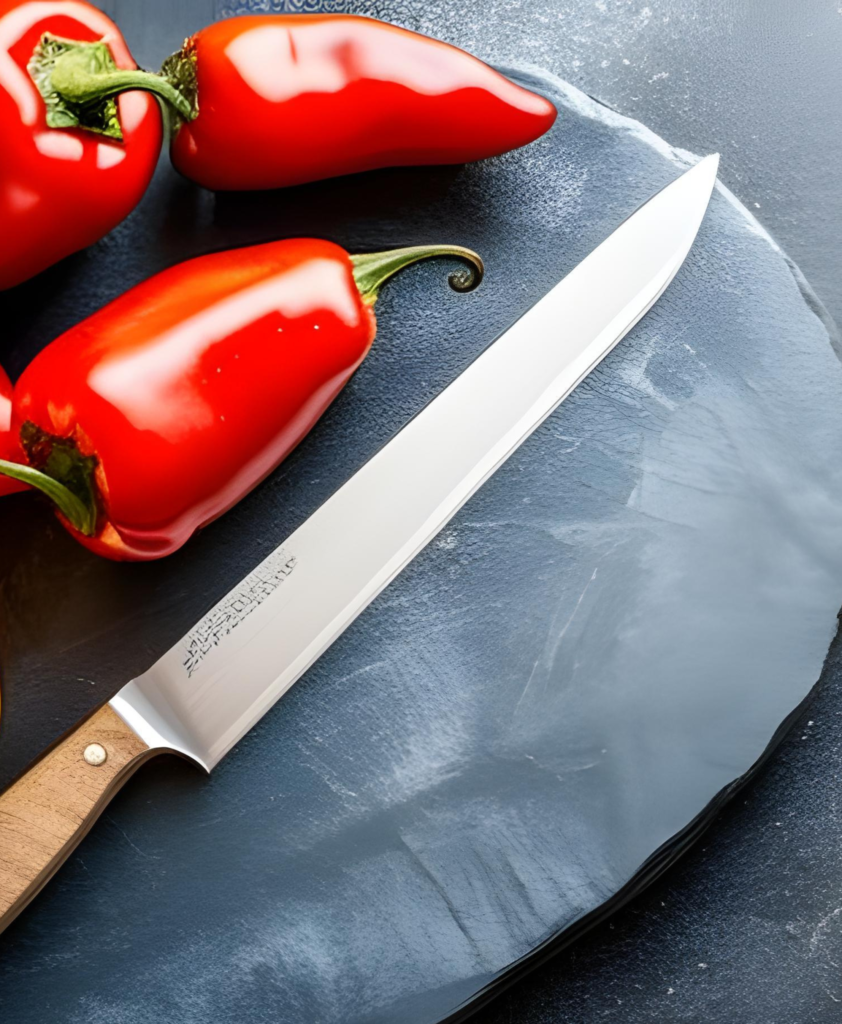 Pimentos are originally native to the Americas but became widely popular in Spain. The Spanish word “pimiento” simply means “pepper,” underlining the importance of the vegetable in Spanish cuisine. They have been cultivated in the Southern United States, particularly in states like Georgia, for many years.
Pimentos are famous for being the red stuffing found in green olives, but they have other uses as well. They are often roasted and peeled to be used in various dishes. Pimentos are commonly used in Spanish and Mediterranean cuisines and have found their way into American Southern cooking, largely thanks to pimento cheese.
Pimentos are rich in vitamin C and A, and they also contain a good amount of fiber. They’re low in calories, making them a nutritious addition to various dishes.
Pimentos gained widespread attention in the United States in part due to their role in pimento cheese. Originally, they were imported from Spain and were considered somewhat exotic.
Today, pimentos are commercially produced and are readily available in various forms, including fresh, canned, and jarred. The commercial production has made them easily accessible, contributing to their incorporation into various types of cuisine, far beyond their role in pimento cheese or olive stuffing.
Why I used grated onion in this Sourdough Pimento Cheese Loaf
Grated sweet onion is a game-changer in this sourdough pimento cheese loaf for several reasons:
Sweet onions have a milder and sweeter flavor compared to their more pungent counterparts like yellow or red onions. This allows them to add a nuanced layer of flavor without overpowering the other ingredients in the loaf.
Grating the onion allows it to distribute more evenly throughout the loaf, compared to chopped or diced onion. This ensures that each bite has a subtle hint of sweet onion, enhancing the overall eating experience.
The moisture from the grated onion can also help keep the loaf moist. When baked, the water content in the onion turns into steam, contributing to a moist and tender loaf.
The natural sugars in the sweet onion can balance the spiciness of the pimentos and the tanginess of the sourdough, resulting in a well-rounded flavor profile.
Freshly grated vs prepackaged grated cheddar cheese
For this loaf, I used prepackaged cheddar cheese for convenience. However, both freshly grated and prepackaged grated cheddar cheese have their pros and cons, and each can impact your sourdough pimento cheese loaf in different ways.
Here’s a comparison to help you tailor the recipe according to your preferences and needs.
Freshly Grated Cheddar Cheese:
- Flavor: Freshly grated cheddar tends to have a more robust and authentic cheese flavor. Because it is grated from a block, it doesn’t have any of the additional anti-caking agents that packaged cheese often contains, which can interfere with the cheese’s natural taste.
- Texture: Freshly grated cheese generally melts more smoothly and evenly compared to pre-packaged grated cheese, creating a creamy, cohesive texture in the finished dish.
- Moisture: Cheese that’s freshly grated retains more moisture, which can contribute to a moister loaf overall.
- Versatility: When you grate your own cheese, you can control the coarseness of the grate to better suit your specific recipe.
- No Additives: Freshly grated cheese is free from preservatives and anti-caking agents, like potato starch or cellulose, making it a cleaner option.
Pre-packaged Grated Cheddar Cheese:
- Convenience: The primary benefit is, of course, ease of use. Prepackaged cheese saves you the time and effort required to grate a block of cheese.
- Shelf Life: Prepackaged cheese often has a longer shelf life compared to a fresh block, thanks to preservatives.
- Consistency: Because it’s machine-grated, prepackaged cheese usually has a uniform size and shape, which could contribute to even distribution throughout the loaf.
- Additives: The anti-caking agents used in prepackaged cheese can affect how the cheese melts and incorporates into your loaf. These agents can sometimes create a grainy or lumpy texture.
- Flavor: The additives and the air exposure in prepackaged cheese can lead to a slightly muted flavor when compared to freshly grated cheese.
Summary
:
- If you prioritize flavor, texture, and moisture, then freshly grated cheddar is generally the better option.
- If you are looking for convenience and longer shelf life, then prepackaged cheese is the way to go.
Other ingredients in this sourdough pimento cheese loaf
Mayonnaise is a typical ingredient in pimento cheese; however, I am not particularly fond of it, so I omitted that ingredient. This loaf doesn’t need any additional fat.
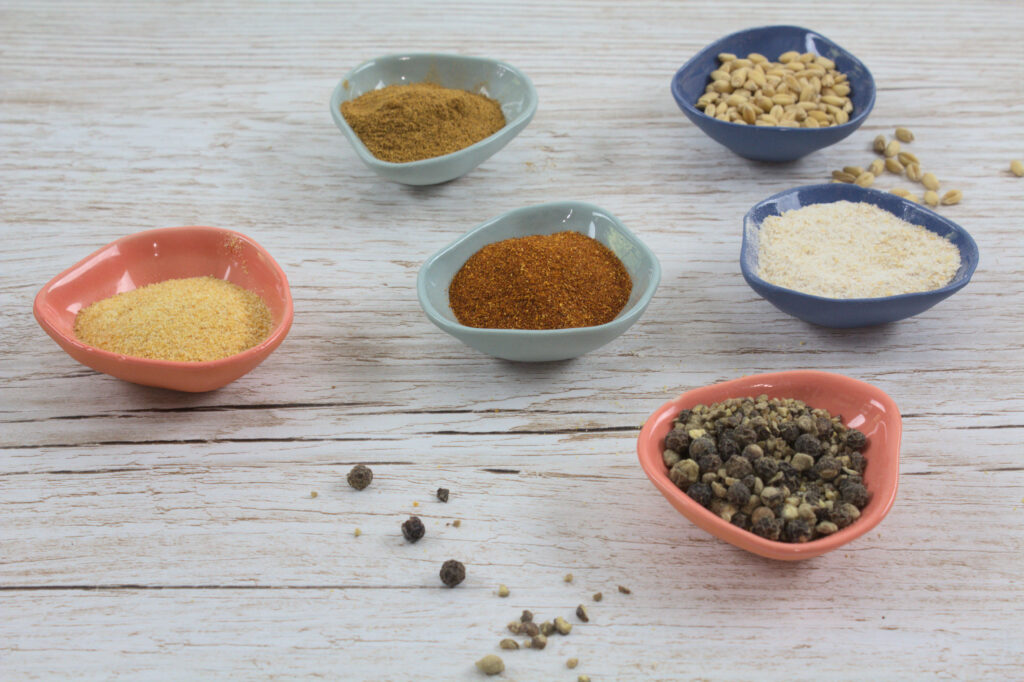
I chose a blend of all-purpose and home-milled white whole wheat flour for added texture and flavor. The white wheat provides a more muted flavor than other whole wheat and doesn’t compete with the other ingredients.
To provide depth of flavor, I included garlic powder, smoked paprika, and cayenne pepper. Feel free to adjust the spices to appeal to your taste buds. If you really want to turn up the heat on this pimento cheddar loaf, add a couple of chopped jalapenos. To decrease the added moisture, you may need to reduce some of the pimentos.
Sourdough Pimento Cheese Loaf
- Yield: 1 Large Loaf 1x
Description
This Sourdough Pimento Cheese Loaf celebrates my love of pimento cheese, by fusing the flavors of this beloved spread with the tangy, chewy goodness of sourdough.
Ingredients
- 100g active sourdough starter (100% hydration)
- 400g all-purpose flour
- 200g white whole wheat flour
- 300g-350g water (start with less until after adding the pimentos)
- 2 cups sharp cheddar cheese, grated
- 1 7oz jar pimentos, pre-chopped & well drained
- 2 packed Tbsp. grated sweet onion
- 12g salt
- 1–2 tsp garlic powder
- 1/2 tsp freshly ground black pepper, or to taste
- 1/2 tsp cayenne pepper, or to taste
- 1/2 tsp. smoked paprika, or to taste
- 2–3 jalapeño peppers, diced (adjust to taste), optional
Instructions
Prepare the dough:
- In the bowl of a stand mixer, combine the active sourdough starter, all-purpose flour, white whole wheat flour, and water. Mix on low speed until the flour is hydrated. Note: The dough may be a little on the dry side at this point, but don’t add extra water just yet. The jarred pimentos will contribute extra moisture.
- Cover the bowl and allow the dough to rest (autolyse) at room temperature for 45 minutes.
- After the autolyse, add the salt and spices. Mix on low speed until thoroughly incorporated. Cover, and let the dough rest for 15 minutes.
- Add the drained pimentos, and grated onion. Mix on low speed until evenly distributed throughout the dough. Gradually add the grated sharp cheddar cheese, one half a cup at a time. Mixing after each addition.
Bulk Fermentation:
- Transfer the dough to a large bowl, Cover and let the dough rest at room temperature for about 2 to 3 hours. During this time, perform a series of stretch and folds every 30 minutes for the first 1 1/2 hours. To do a stretch and fold, wet your hands, then grab one side of the dough, stretch it gently, and fold it over the center of the dough. Repeat this process for all four sides of the dough.
- After the series of stretch and folds, allow the dough to rest for an additional 1-2 hours at warm room temperature.
Shape the Loaf:
- Lightly flour your work surface and carefully shape the dough into a round boule. To do this, fold the edges of the dough towards the center, creating tension on the surface. Once the dough is shaped, place it seam side up in a floured lined or unlined 9-inch round proofing basket. The weight of the loaf should be around 1400 grams.
Final Proofing:
- Cover the dough with a clean kitchen towel or a plastic produce bag to prevent drying. Allow the dough to proof at room temperature for about hour, then cover tightly and place in the refrigerator overnight.
- Note: Due to the moisture from the pimentos and cheese, I found this bread performs better when given a cold ferment in the refrigerator overnight. The cold ferment makes the loaf easier to score and keeps it from flattening as much when removing from the basket.
Baking:
- The next day, about 30 minutes before you are ready to bake, preheat your oven to 475°F (246°C). Place a Dutch oven or bread cloche (aka bread pot) on the lower shelf and allow to preheat with the oven.
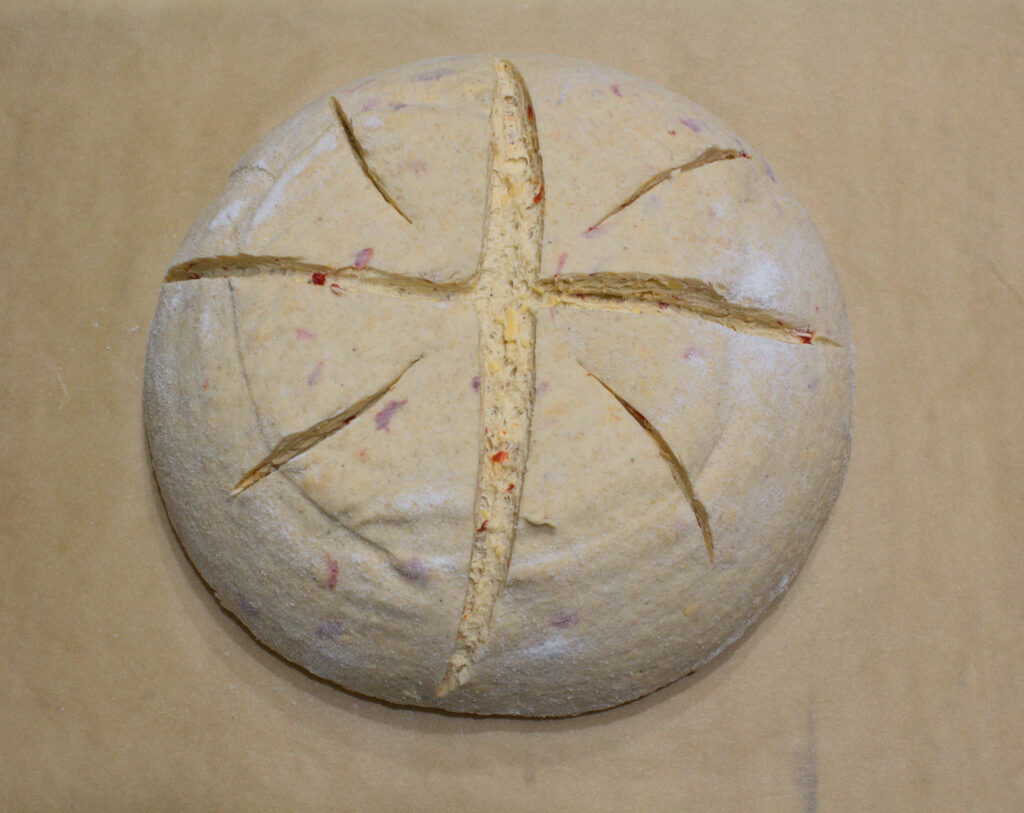
- Remove the proofed loaf from the refrigerator and carefully invert it seam side down onto a piece of parchment paper. Score the top of the dough with a sharp knife or bread lame to allow for controlled expansion during baking.
- Take the preheated bread pot out of the oven and place the lid and bottom on heavy towels to protect your counter. Transfer the shaped and scored loaf (on the parchment) to the bottom of the preheated pot.
- Place the bread pot, with its lid, in the oven and bake for 20-25 minutes with the lid on. Then, remove the lid and continue baking for an additional 20-25 minutes, or until the crust is golden brown.
- Remove the loaf from the oven and let it cool on a wire rack for at least 1 hour before slicing. This allows the crumb to set and results in a better texture.
- Category: Sourdough
Happy Baking!
Cathy
Leave a Reply