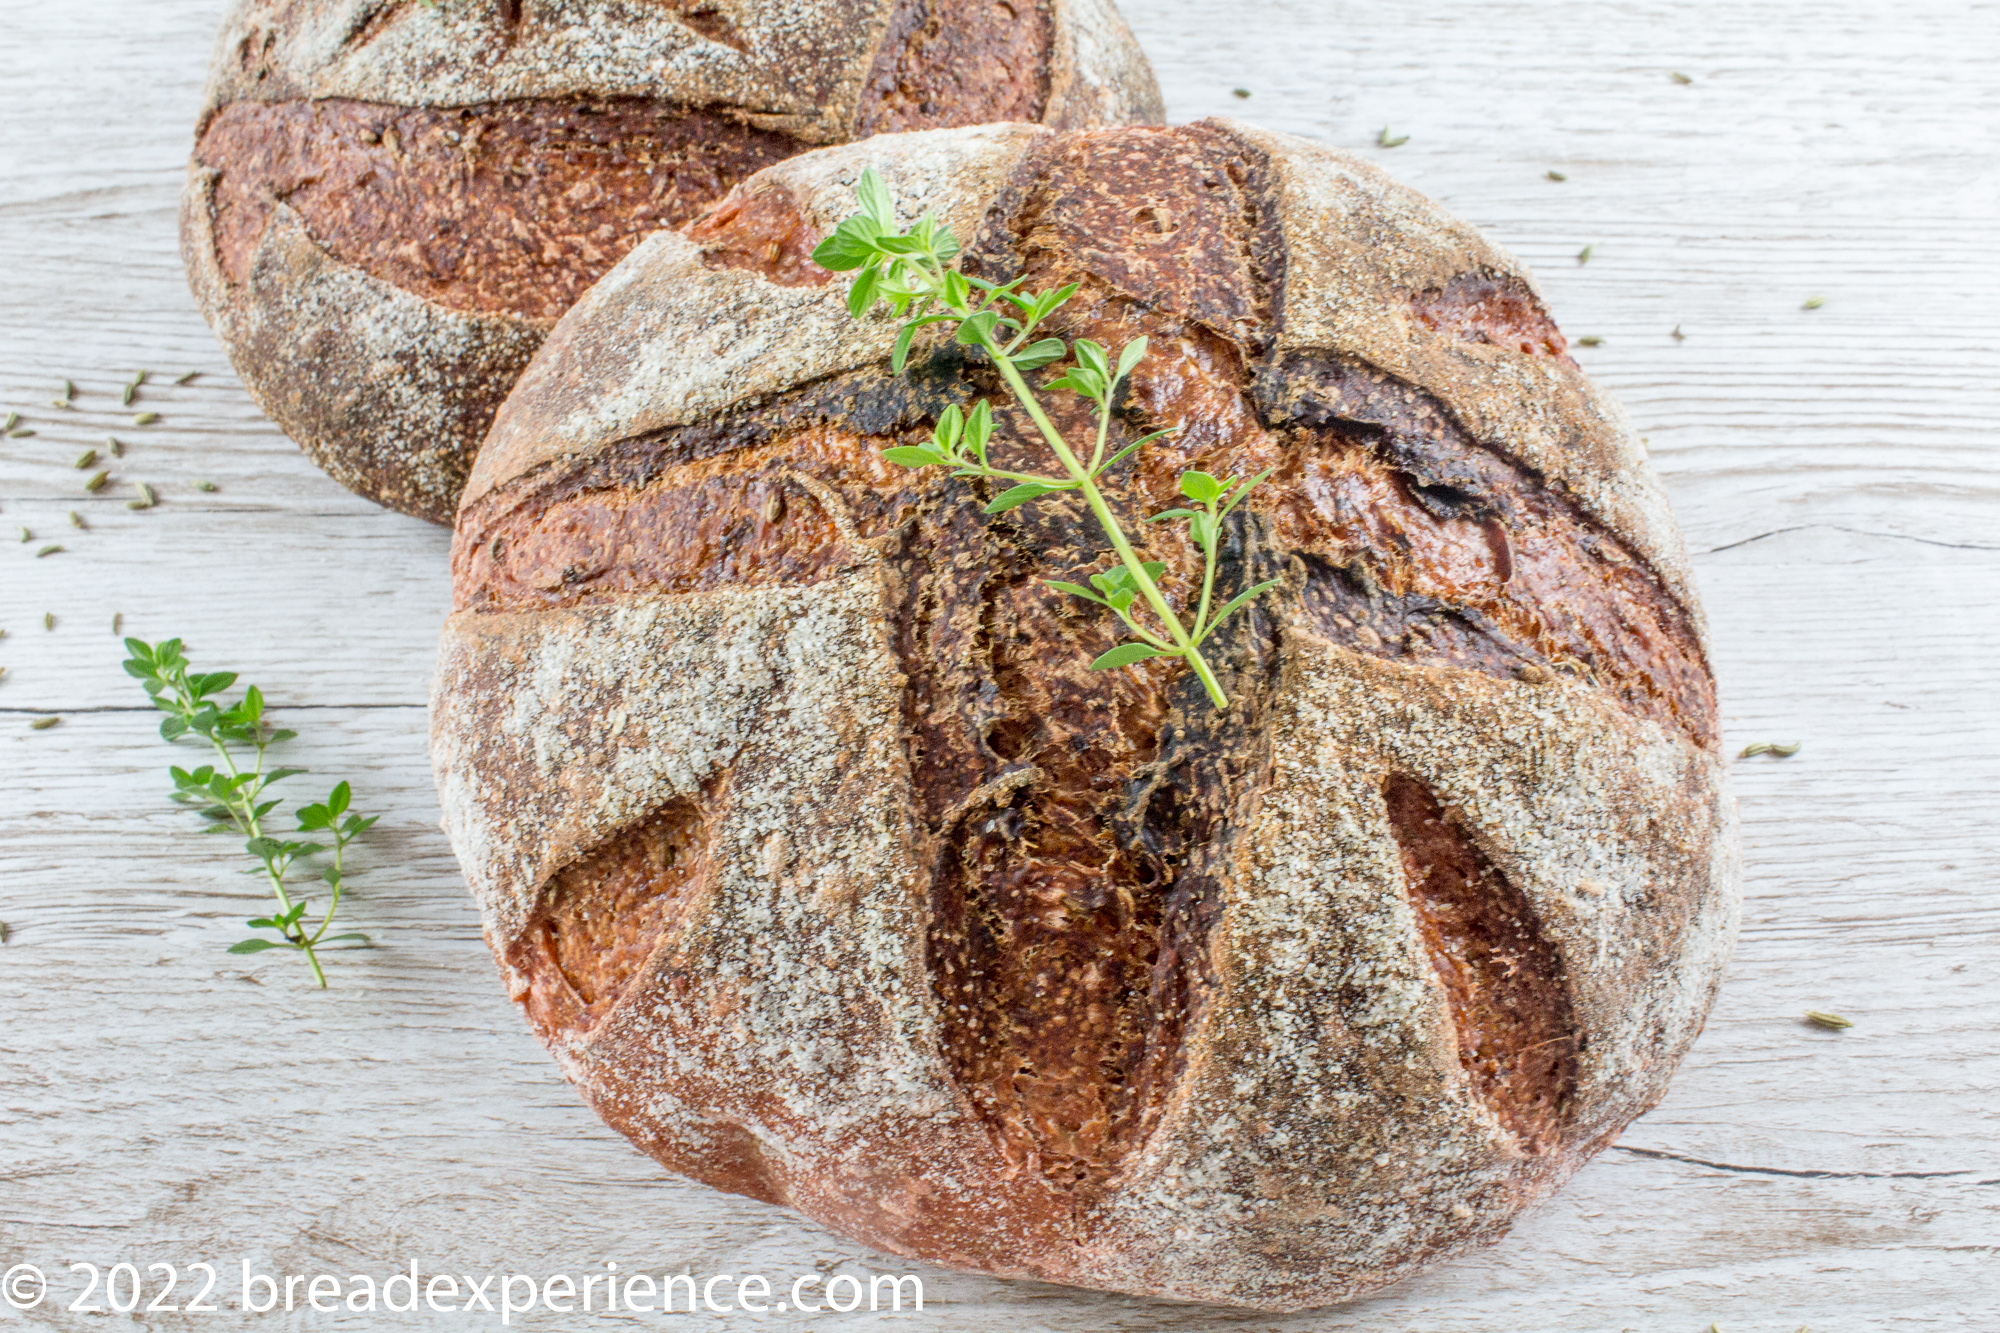
This Sourdough Roasted Beet Bread with Fennel and Thyme showcases beets grown in the hoop house at my local community garden.
I created this bread to celebrate my love of gardening and baking with seasonal ingredients.
Growing vegetables in a Hoop House
Our community garden was gifted a hoop house last year. Volunteers spent several months building the hoop house and preparing it for use. It was a massive project but totally worth it, now that it’s done, that is.
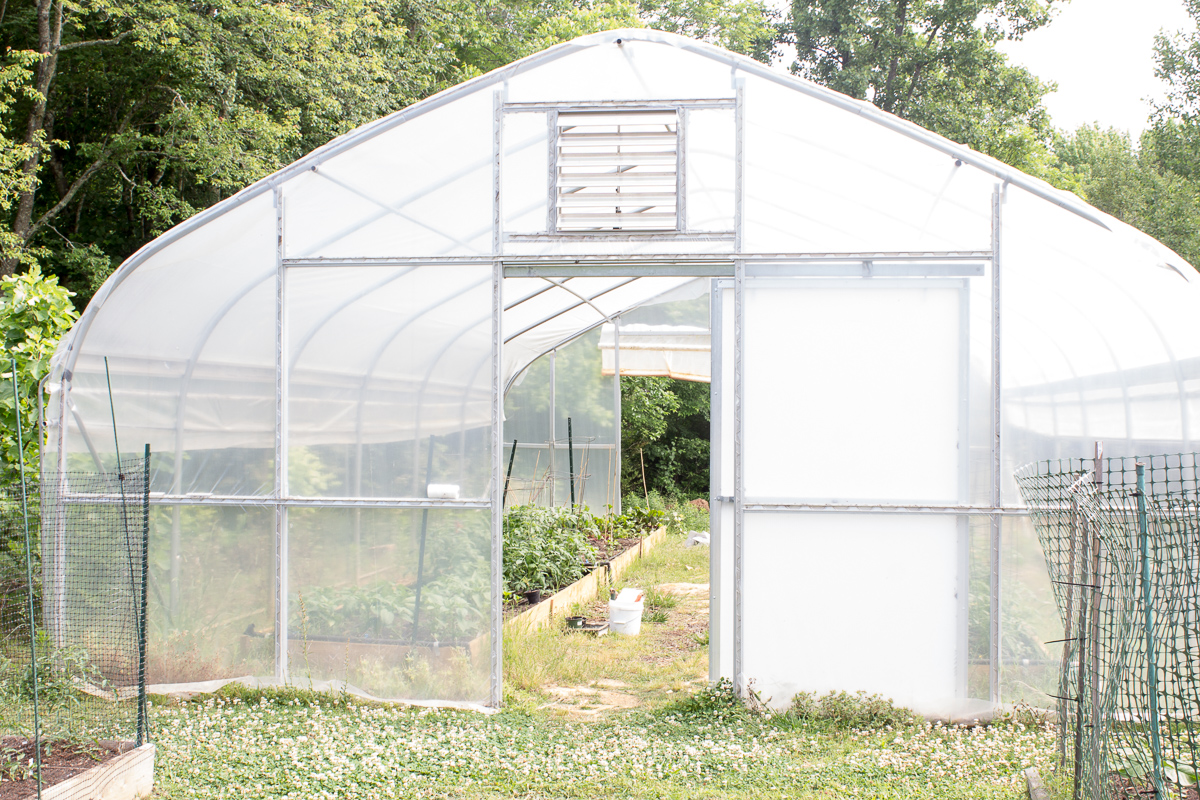
In case you’re wondering, a hoop house is similar to a greenhouse in that it allows you to grow plants no matter the season.
The main difference between a greenhouse and a hoop house (high tunnel) is that a hoop house is taller with high posts than a greenhouse. In greenhouses, heat control is done artificially while in hoop houses, temperature control is natural through doors and window openings.
Source: https://gardenine.com/hoop-house-vs-greenhouse
Now that the high tunnel is built, we’ve been experimenting with growing different vegetables and herbs in the raised beds inside the hoop house.
In late February, we planted kale, different kinds of lettuce and beans, cilantro, red and white radishes, spinach, and a couple of different types of red beets.
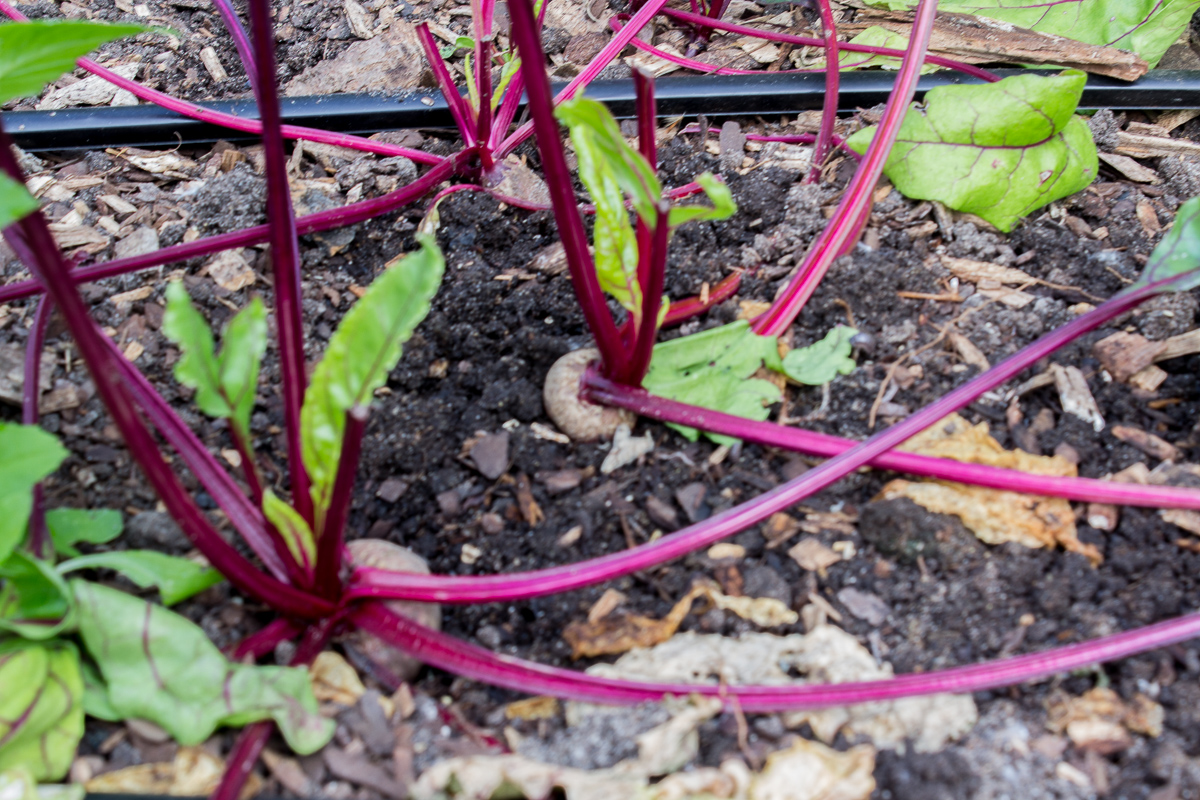
The lettuce, kale, beets, cilantro, and radishes were prolific. I was amazed at how well they grew.
I am so excited about the possibilities of high tunnel gardening and using some of what we grow in the hoop house as well as what I grow in my home garden to make seasonal breads.
The community garden will be donating a portion of what we grow in the hoop house to our local food co-op, but there will be some left over to enjoy.
I decided to feature some of the surplus beets in this roasted beet bread.
What type of beets should you use for this bread?
As I mentioned, the beets I used for this bread were grown in the hoop house at my local community garden.
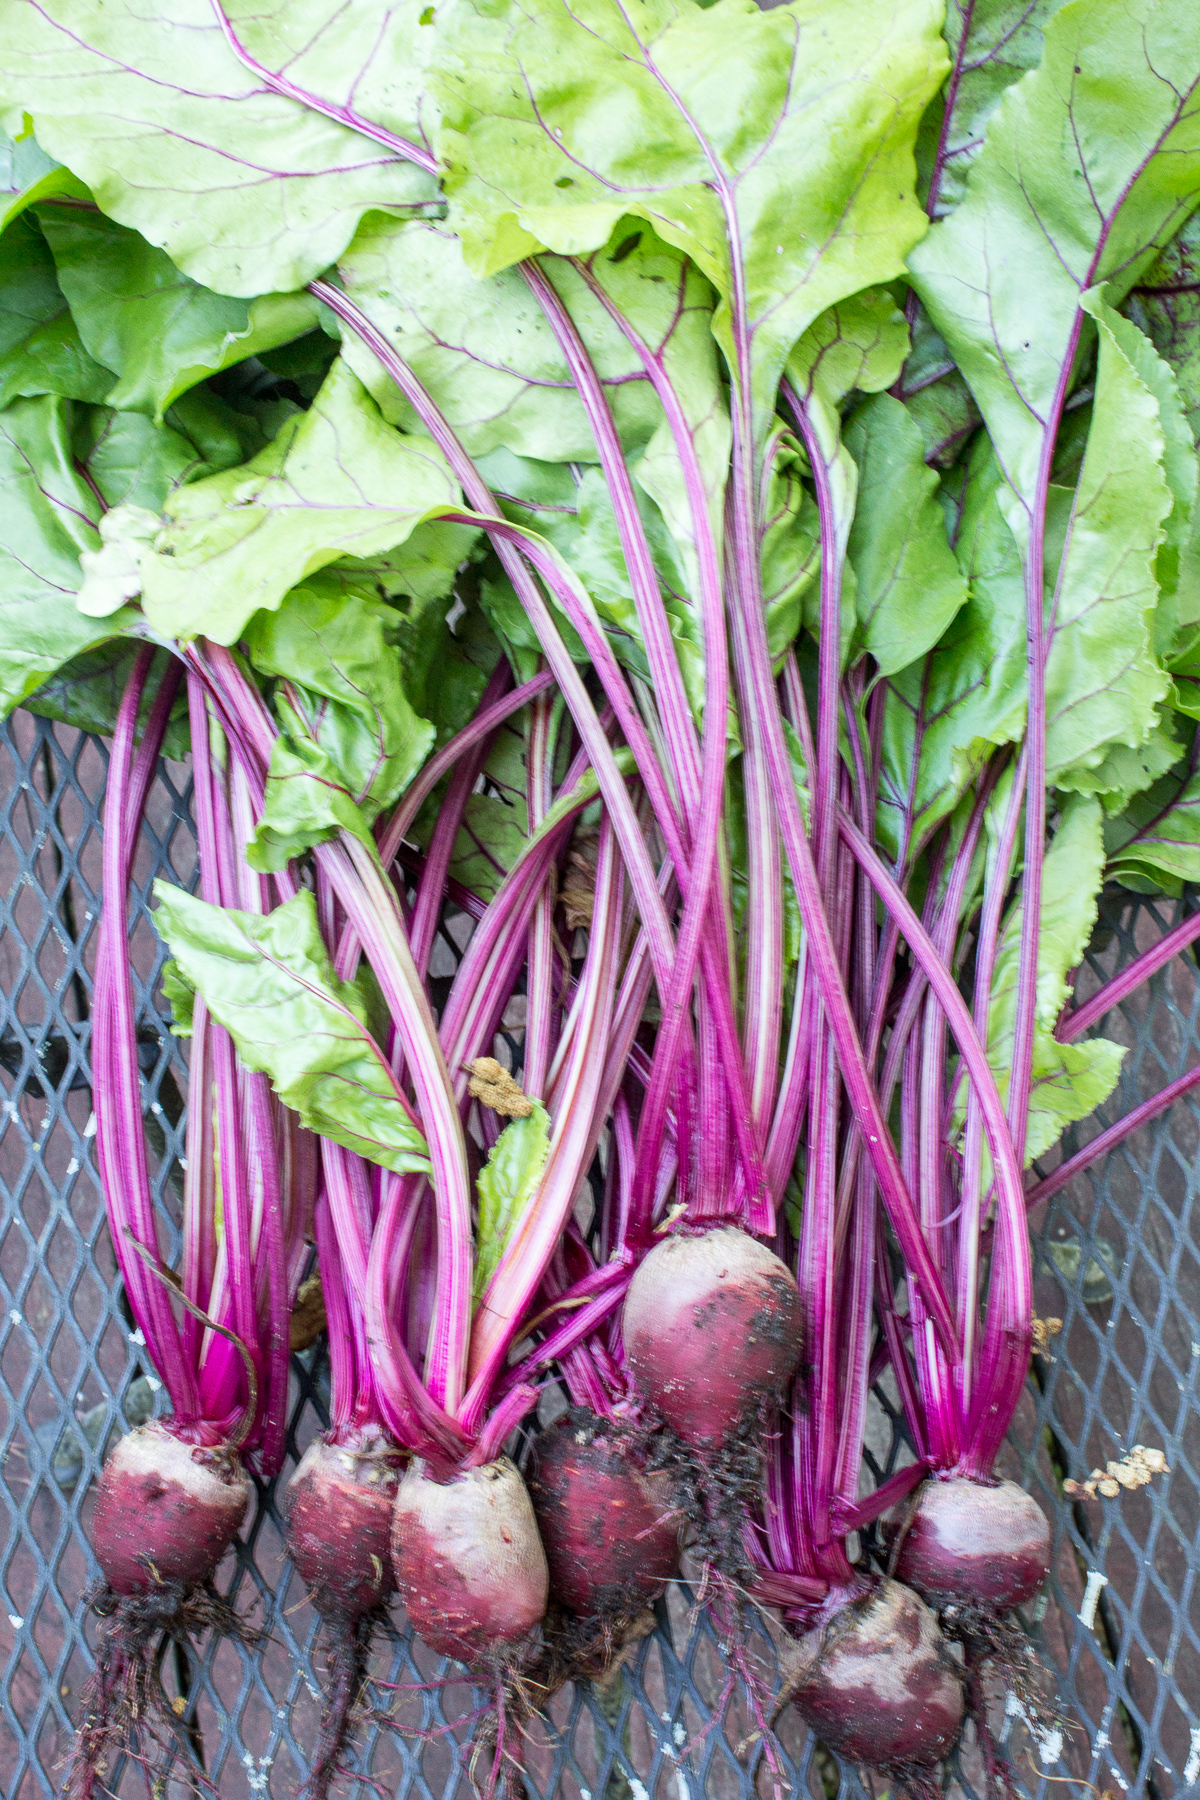
However, even if you don’t have access to homegrown beets, you can still make and enjoy this bread.
Just use the freshest beets you can get – whether they are homegrown or bought at the market.
Using roasted beets vs pureed or boiled beets
In my previous experiments with making beet bread, I was going for color and found that pureeing the beets produced the best color.
Refer to my post on Sourdough Beet Challah for my thoughts on roasting, boiling & pureeing beets to use in bread.
For this bread, I was going for flavor, not necessarily color, but I ended up with a nice color as well.
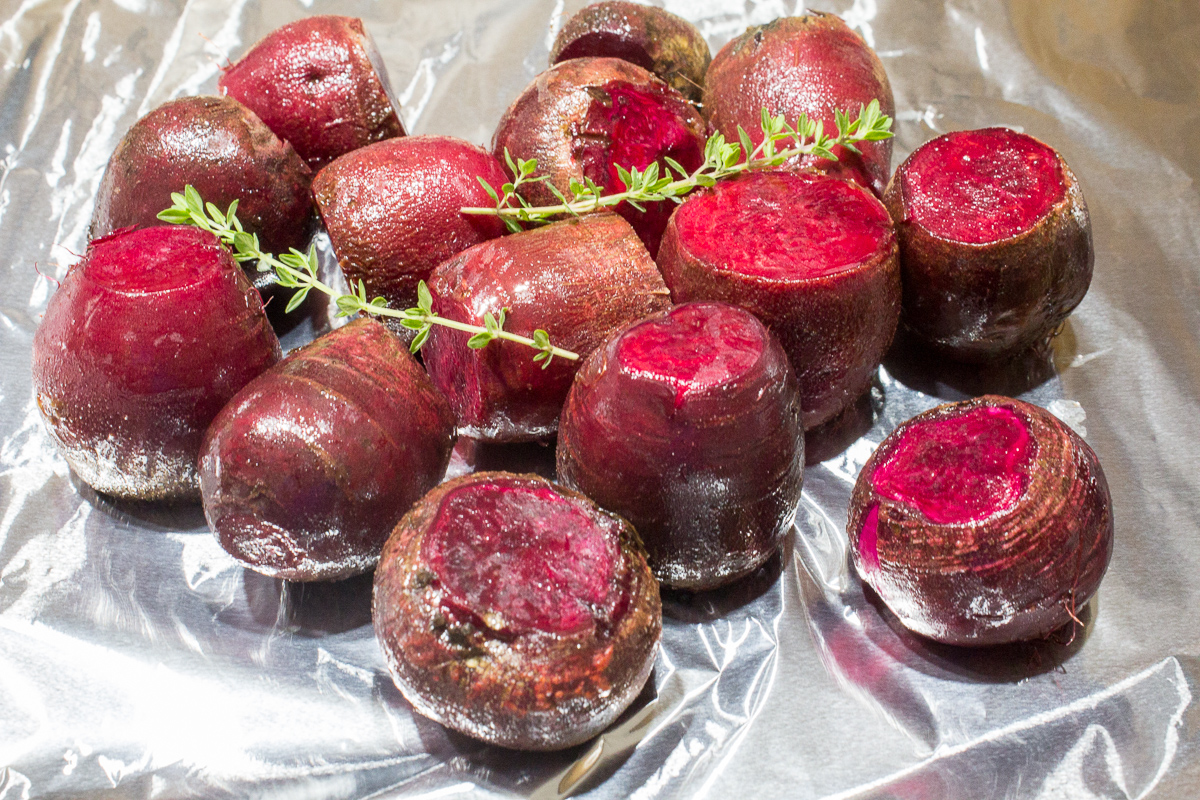
I roasted the beets instead of pureeing them to get rid of the earthy undertones. Roasting the beets gives them a tender and sweet flavor. I added a couple of sprigs of thyme before roasting them.
My previous experiments with roasting beets didn’t produce as nice a color as this experiment. I believe it’s due to the freshness of the beets. The freshly picked beets produce a very rich color.
How many beets should you use?
The first time I made this roasted beet bread, I made two loaves and used ~260 grams of roasted beets (about 130 grams per loaf). For subsequent bakes, I made one loaf and upped the number of beets used to 175 grams (2/3 cup) of roasted beets per loaf. The formula I’ve provided is for one loaf.
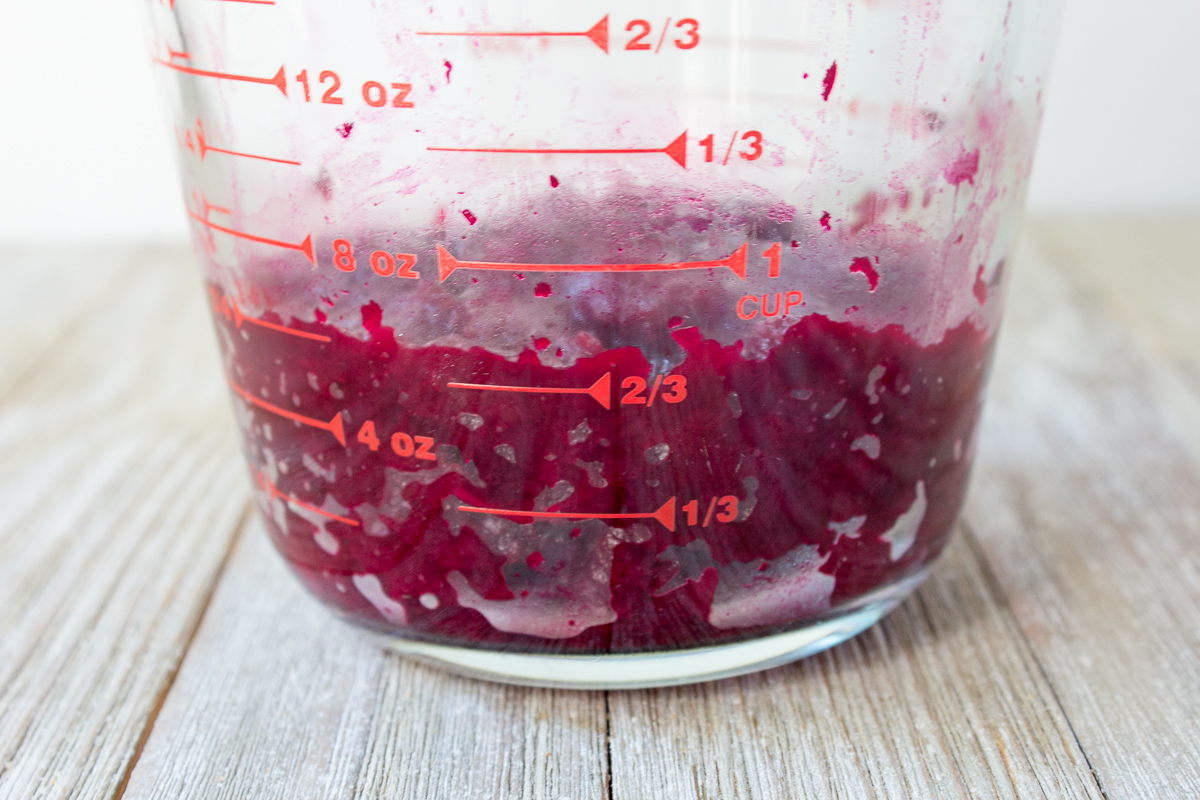
What I found with this experiment is that adding more beets produces a moister loaf and a richer color, but it also intensifies the beet flavor.
I recommend that you start by determining what you want to achieve with this bread – i.e., flavor, color, moisture, etc. If a deep color is what you are aiming for, then add more roasted beets.
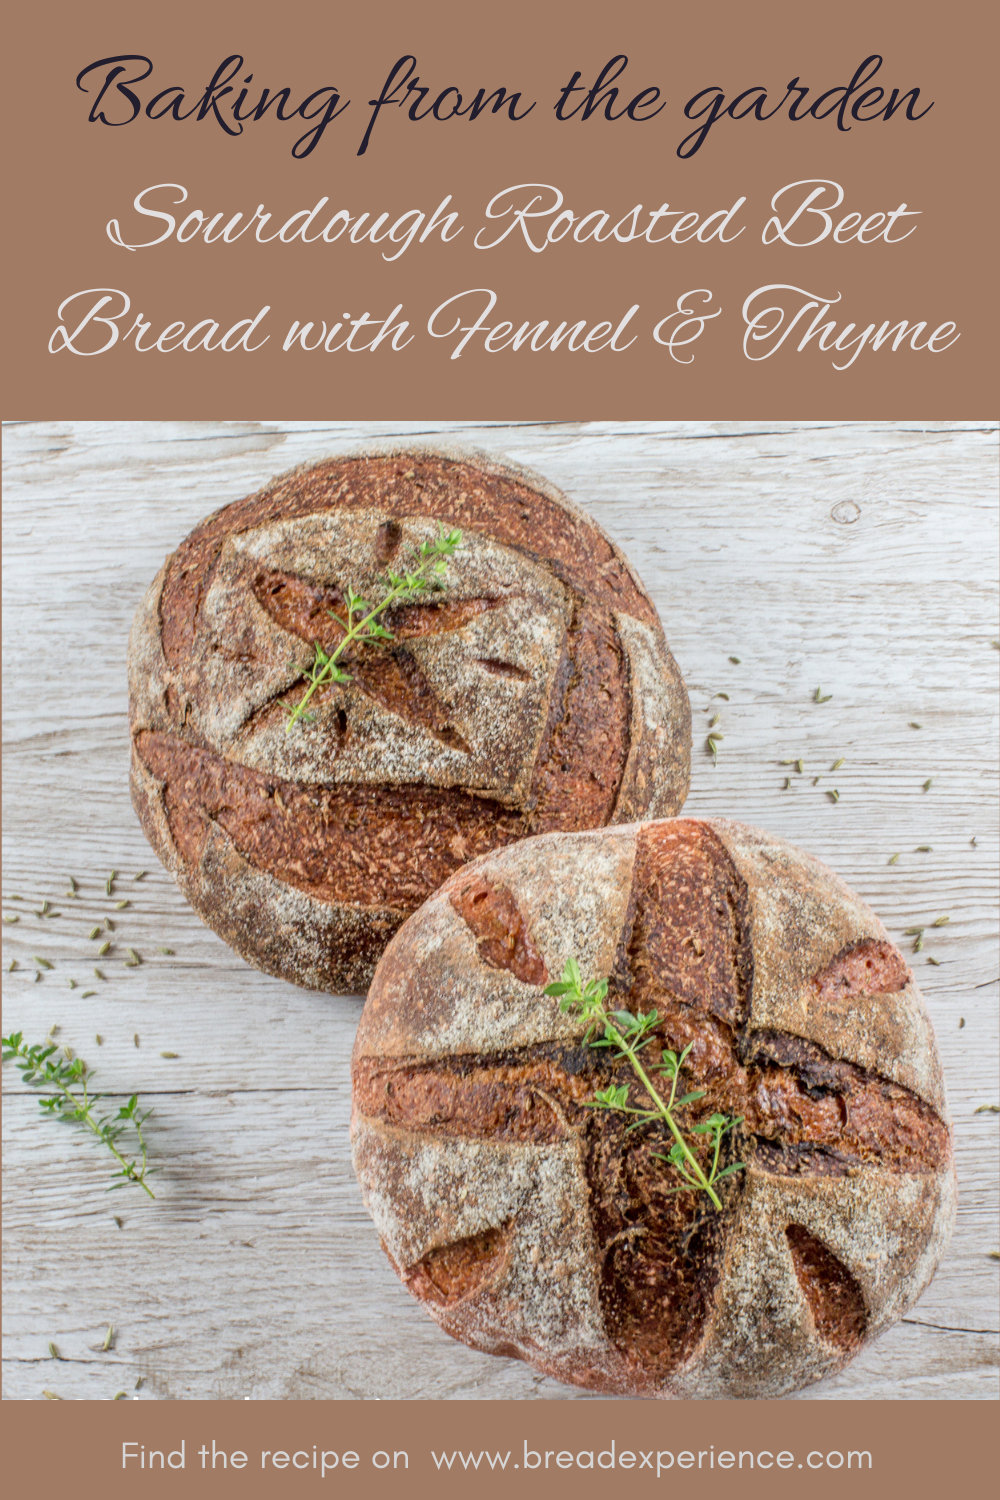
Bake this loaf in your favorite baking pot
I tested baking loaves of this bread in my ceramic Dutch oven and bread cloche.
My favorite way to bake this particular loaf is in a Dutch oven. You could also bake it on a baking stone with a steam pan underneath.
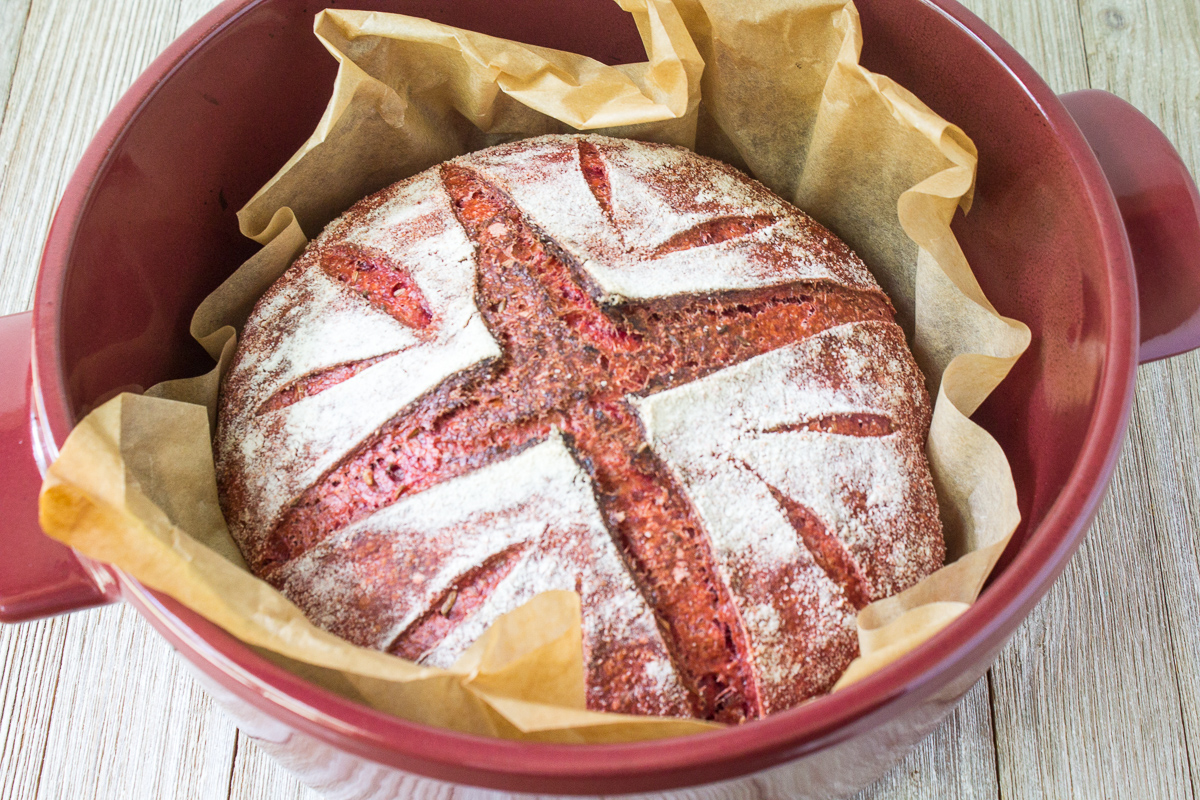
Enjoy the flavor and texture notes of this beet bread
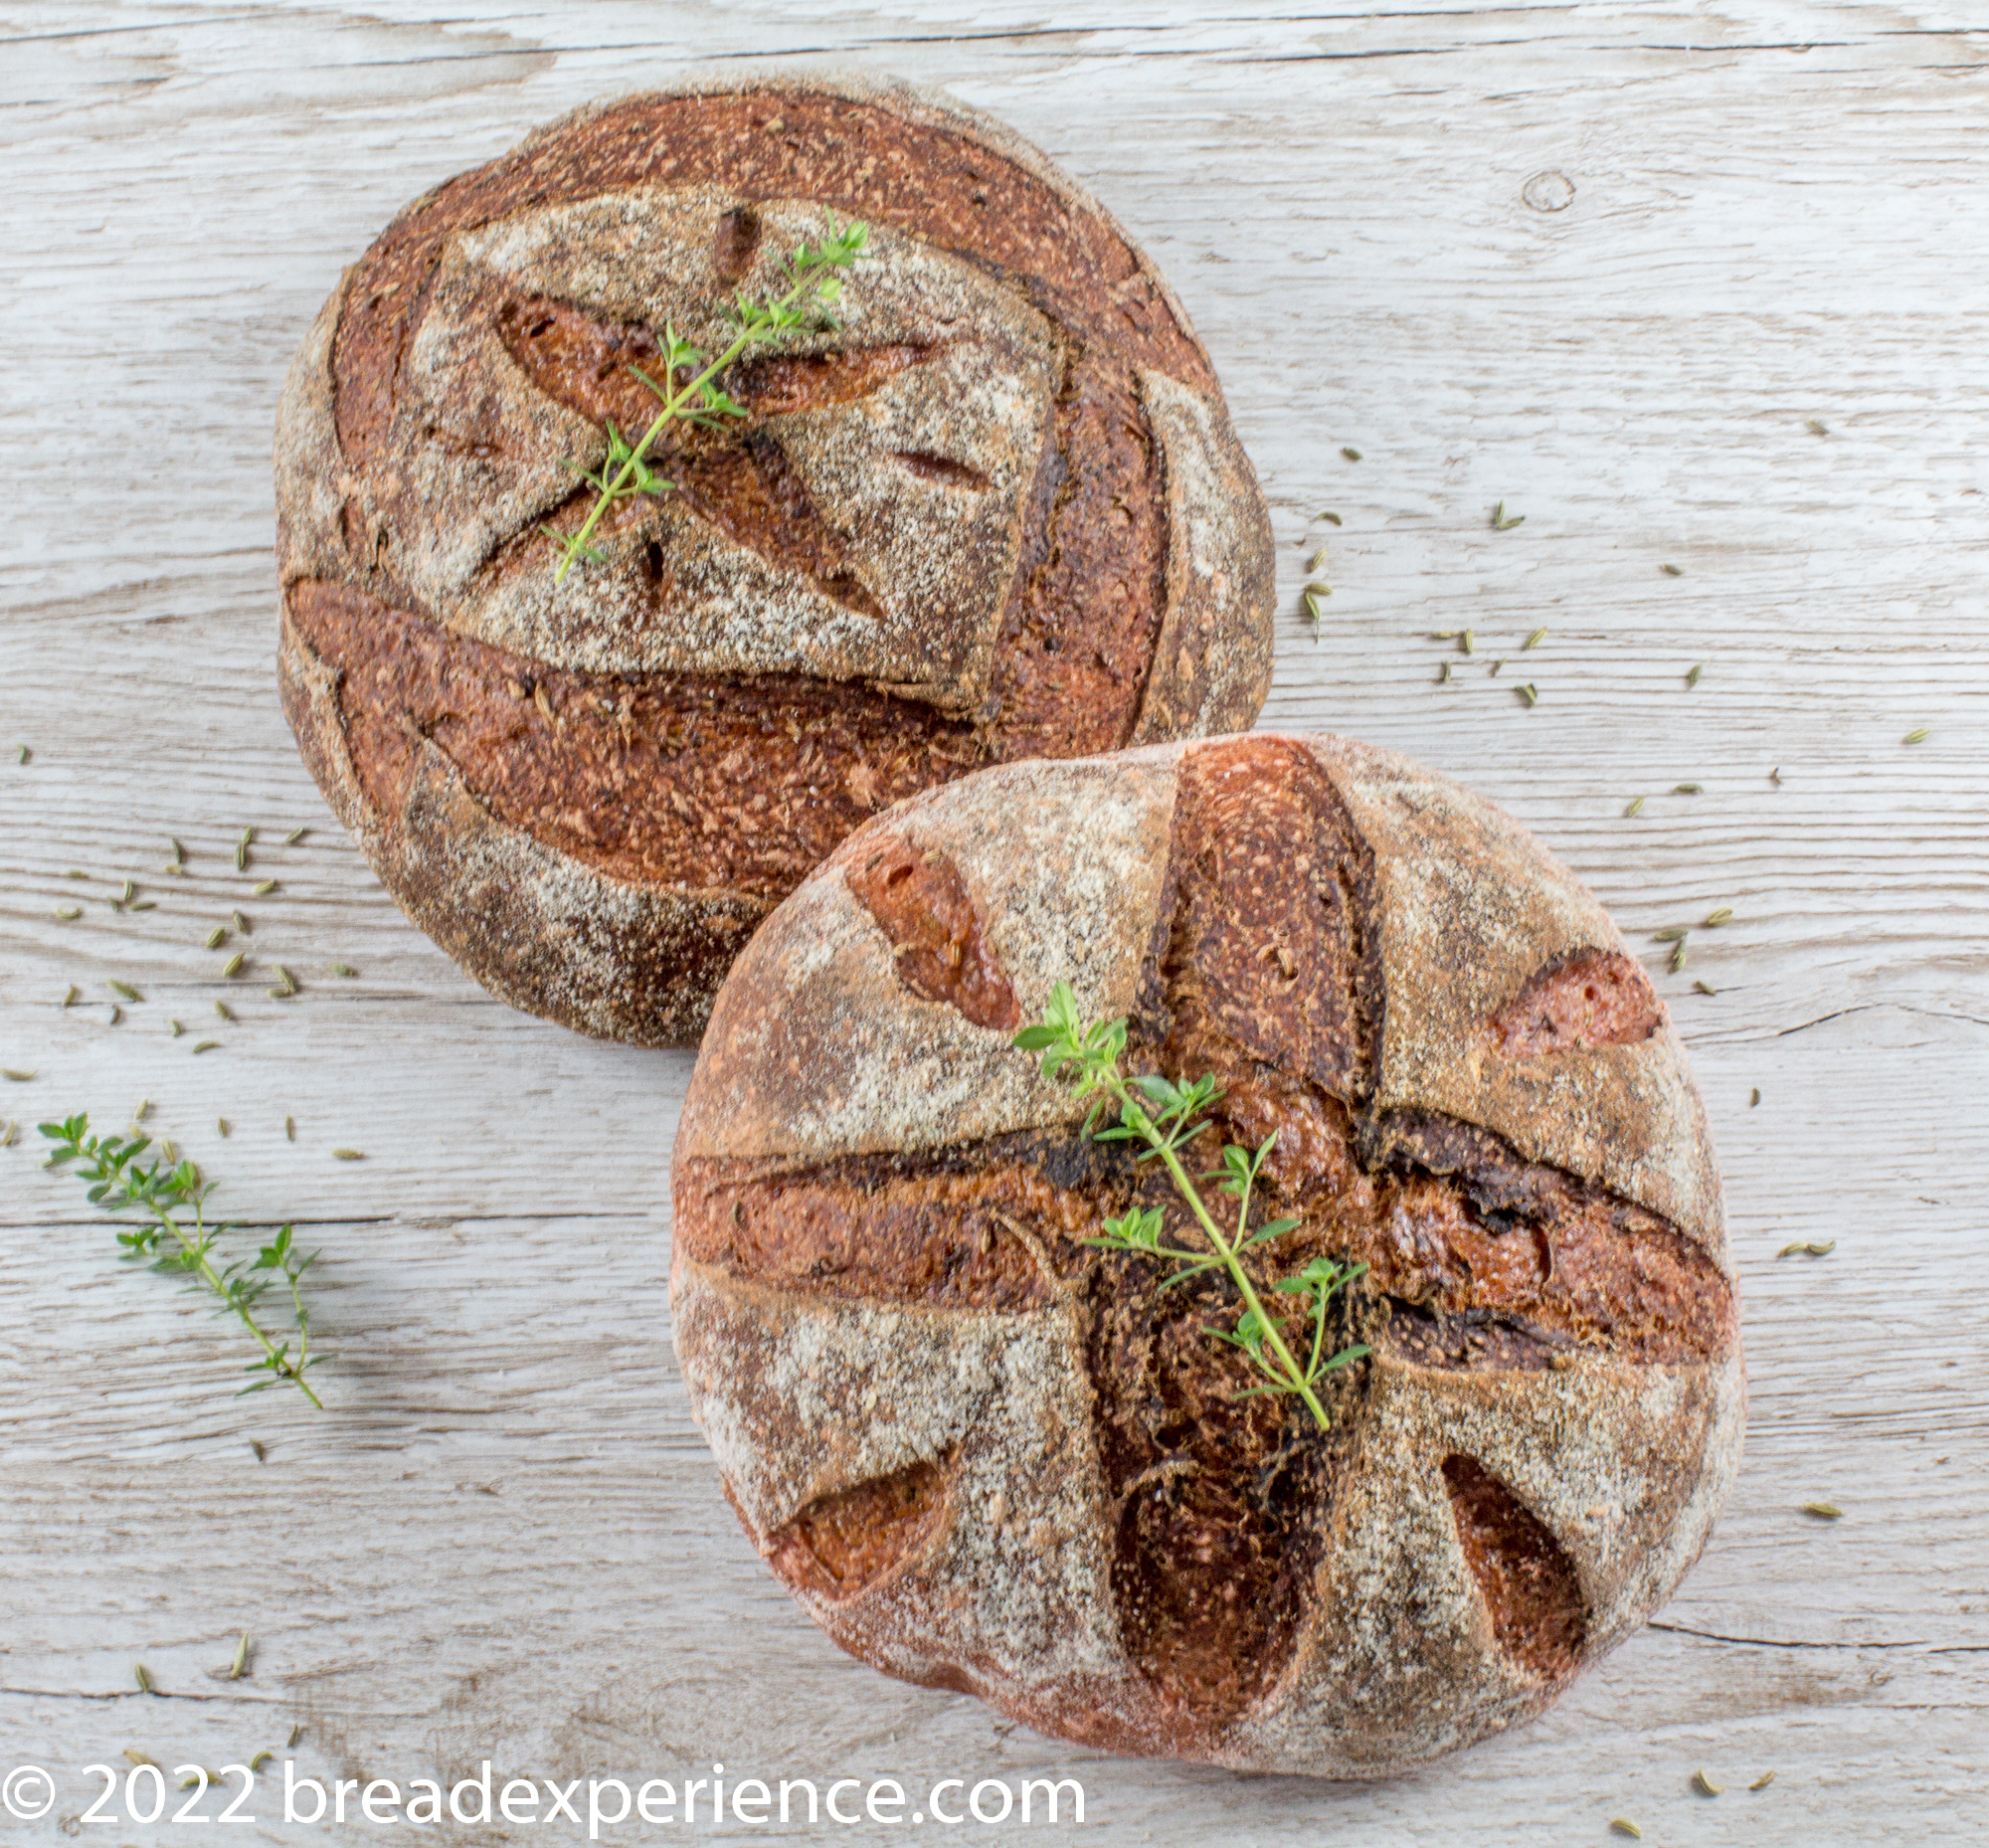
The first thing you’ll notice about this bread is the color.
Depending on the amount and type of beets used, it will have a beautiful deep color, as well as a chewy crust due to the sourdough, and a moist crumb due to the beetroot.
Beets are sweet root vegetables with earthy undertones. Roasting brings out the flavor and mutes the pungent notes, at least in my opinion.
Beetroot pairs well with seeds, such as caraway and fennel, and herbs such as thyme, dill, coriander, and chives.
I roasted the beets with some fresh thyme and added some fennel seeds to the dough to give it a hint of licorice flavor and mute the earthiness of the beets.
A little fennel goes a long way so if you aren’t a fan of licorice flavor in breads, feel free to substitute a different type of seed or just omit the seeds altogether.
All in all, I love the color and the flavor of this bread. It pairs well with tuna salad and makes great toast and grilled cheese sandwiches.
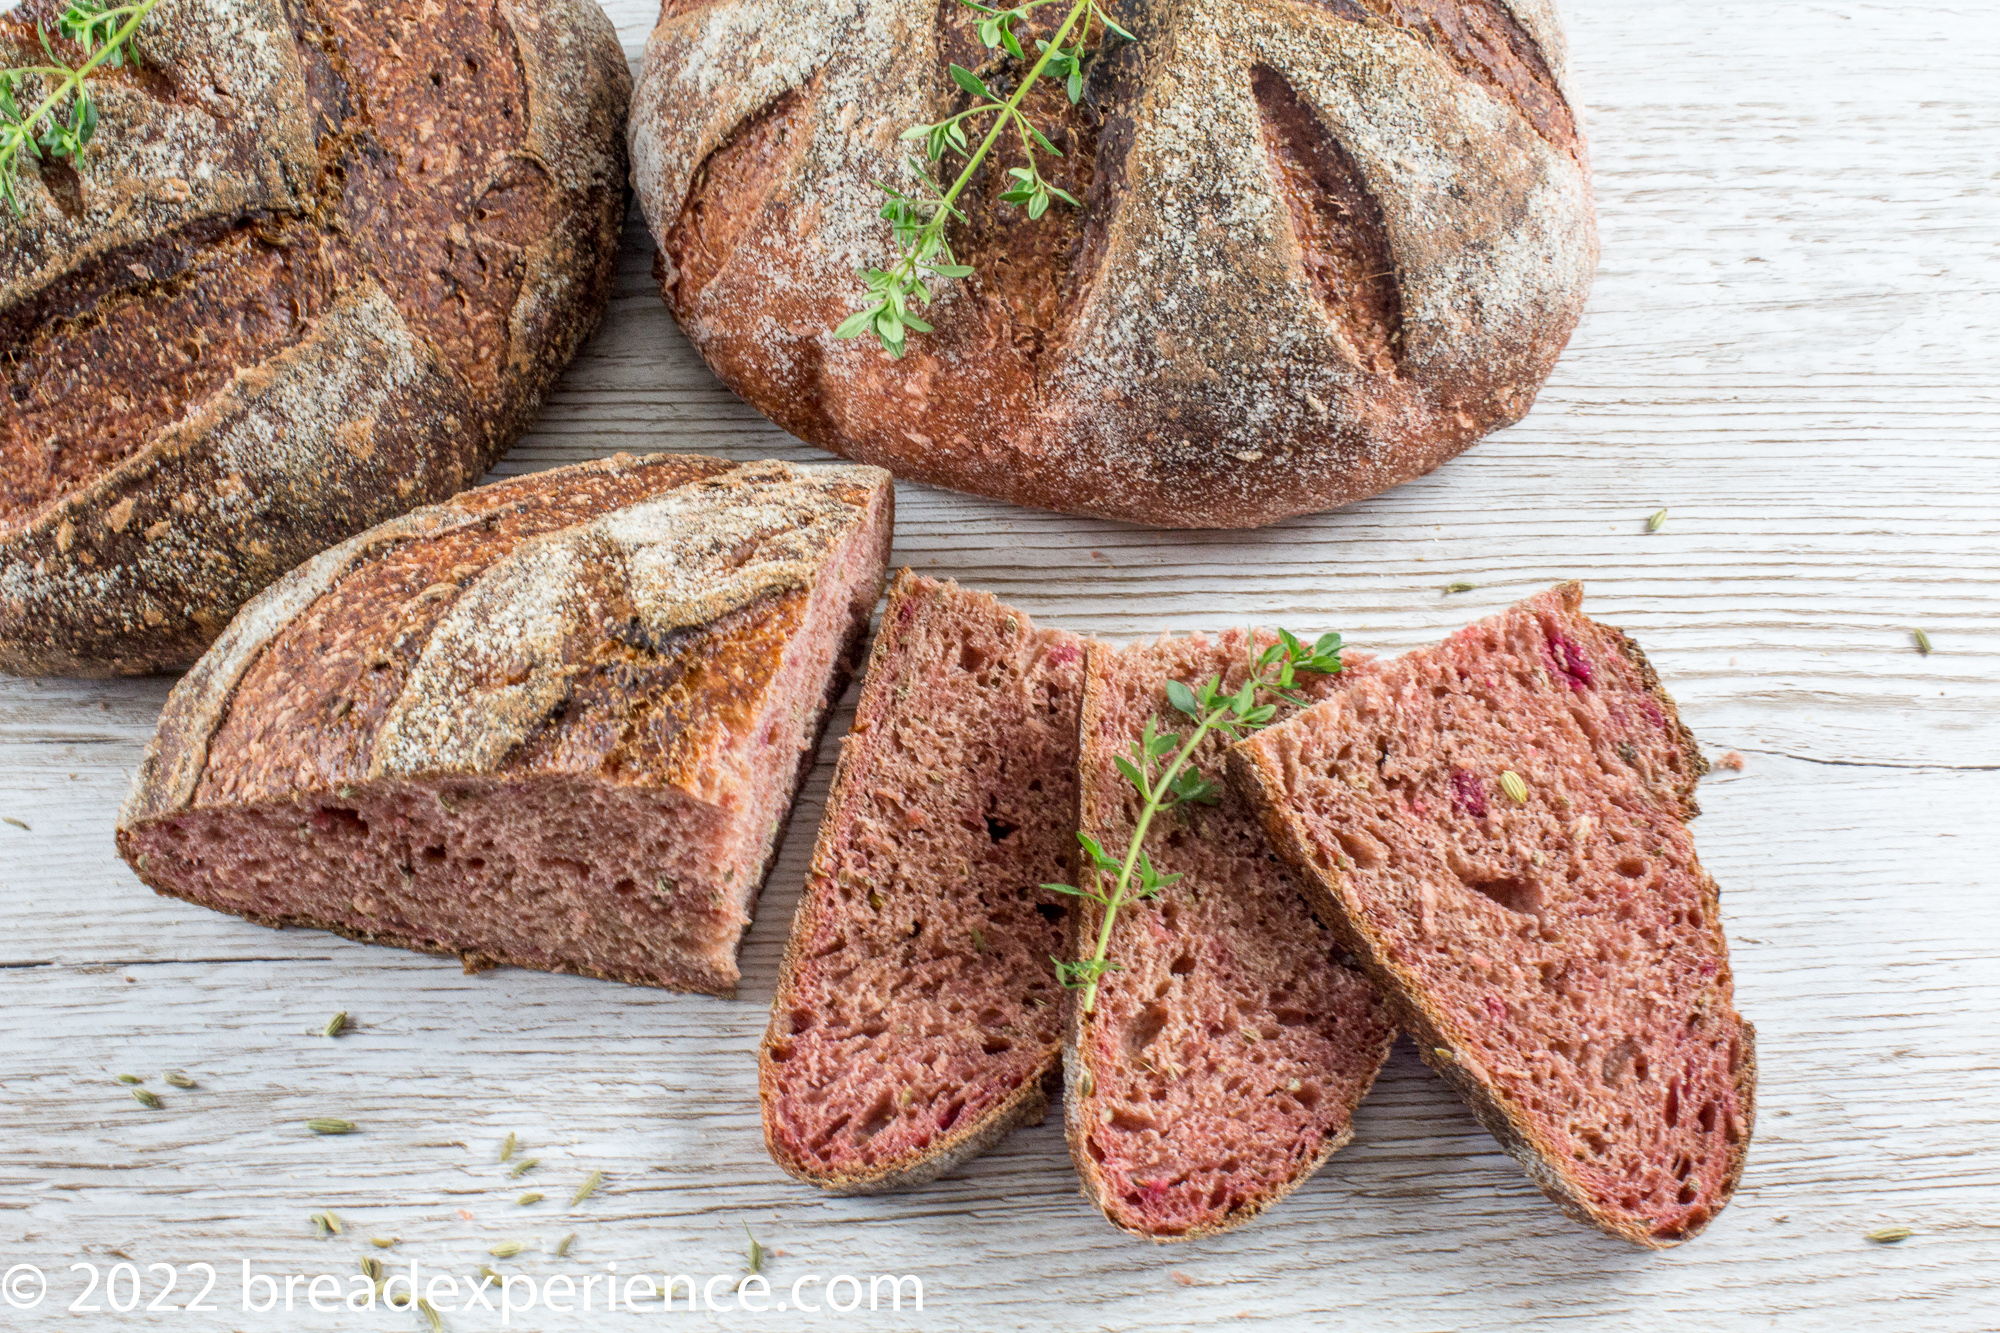
1st bake: ~260 grams roasted beets (130 grams per loaf)
Try your hand at describing the profile of this vegetable bread
If you want to enjoy the flavor of this roasted beet bread, try eating a slice plain before you smother it with butter or jam or make a sandwich with it.
Make a note of the sensory experience.
What does the crust look like? How about the crumb? Is it moist or dry?
Then, close your eyes, take a bite, and describe what you taste. Is it chewy? Is it sweet? Not sweet enough? Do you taste the fennel? What flavors stand out?
Write this down so you know what to adjust, if anything, the next time you make this bread.
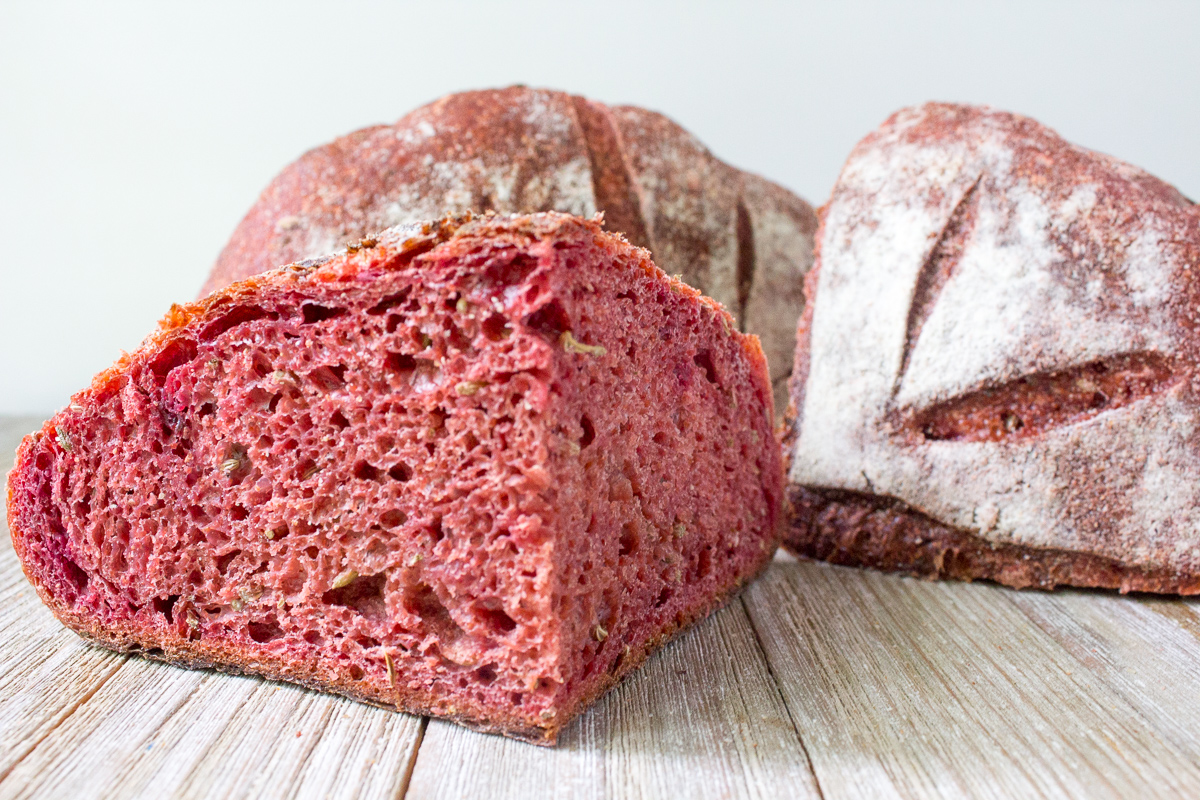
2nd Bake – ~ 175 grams (2/3 cup) roasted beets for one loaf
You might enjoy these other breads made with beets
Print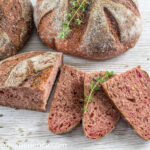
Sourdough Roasted Beet Bread with Fennel & Thyme
- Yield: 1 Large Loaf 1x
Description
This Sourdough Roasted Beet Bread with Fennel and Thyme showcases beets grown in the hoop house at my local community garden. I created this bread to celebrate my love of gardening and baking with seasonal ingredients.
Ingredients
Pate Fermentee:
- 136 grams all-purpose flour
- 90 grams water
- 2.5 grams (1/2 tsp) salt
- 12 grams sourdough starter
Final Dough:
- 225 grams all-purpose flour
- 40 grams whole grain rye flour
- 66 grams whole spelt flour
- 150–200 grams water
- 40 grams (2 Tbsp.) Honey
- 8 grams fine sea salt
- 150–200 grams roasted beets
- 2–3 sprigs of thyme for roasting
- 15 grams (2 Tbsp.) fennel seeds (or other seeds), optional
- Pate fermentee, all of the above
Instructions
Day 1 – Prepare the Pate Fermentee
- The day (or evening) before you plan to make the bread, add all of the ingredients in a medium bowl and mix using a wooden spoon or Danish dough whisk until just smooth.
- Cover tightly with plastic wrap or a tight-fitting lid. Allow the preferment to sit at room temperature for 12-16 hours, depending on temperature in your kitchen.
- After the pate fermentee has fermented on the counter, use it immediately in the final dough or place it in the refrigerator for a day or two before using. If you place it in the refrigerator, allow it to warm up to room temperature before adding to the dough.
Roast the beets
- You may prepare the beets ahead of time and place in the refrigerator or roast them the same day that you make the final dough.
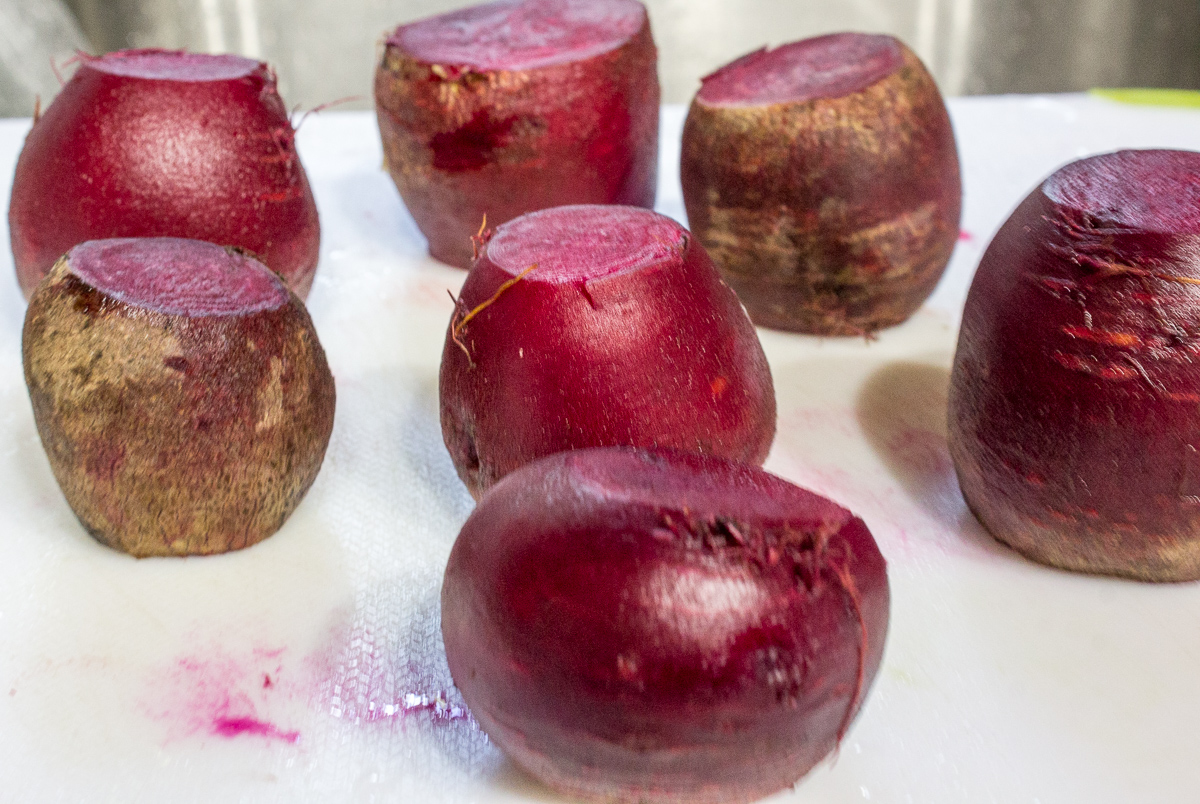
- Preheat the oven to 400 degrees with a rack in the middle position. Line a rimmed baking sheet with foil. Cut off the leafy tops of the beets. Wash and scrub them well. No need to peel them.
- Place the beets on the foil and drizzle lightly with olive oil. Add a sprig or two of thyme or another herb, as desired. Wrap the foil to create a steam packet.
- Roast the beets at 400 degrees for 45 – 60 minutes (smaller beets will take less time). The beets will be done when a skewer slides easily to the center. Allow the beets to cool, then trim the stems and root ends. Rub the skins off. They should come off easily. After peeling, mash the beets with a potato masher.
- Use 150-200 grams of the roasted beet mash in the final dough. I started with about 300 grams of beets and ended up with about 175 grams (2/3 cup) after roasting and peeling the beets.
Day 2 – Mix the Final Dough
- I recommend using a stand mixer for this dough, if you have one.
- Add all the ingredients to bowl of the mixer (except for the preferment and fennel seeds) and mix at first speed for three minutes.
- While the dough comes together add the preferment in small chunks. Then mix on second speed for 4 minutes. The gluten should be moderately developed and the dough should be supple. Add more flour if needed, a tablespoon at a time.
- Add in the fennel seeds, if using. Mix on low speed until incorporated or fold in the seeds by hand.
- Cover the bowl with plastic wrap, bees wrap, a kitchen towel, or plate. Allow the dough to bulk ferment for 2 – 2½ hours; complete 3 folds at 30-minute intervals.
- Turn the dough out onto a lightly floured surface. The dough should be firm and noticeably elastic. Shape into an a round boule. Let rest on the counter for 10 to 15 minutes.
- Dust a lined banneton proofing basket with rice flour. Reshape the dough into a tight boule and place seam side up in the basket.
- Cover with plastic wrap, a plate, or kitchen towel, and let rise at warm room temperature for 45-60 minutes.
- Alternately, proof the loaves on the counter for an hour, then place in the refrigerator overnight. The next day, the loaves can be baked straight from the refrigerator.
- Preheat oven to 450°F (205°C) with a cloche, Dutch Oven or other baking pot on the bottom rack. Let it preheat for 45 minutes prior to baking the loaves.
- Carefully turn out the loaves from the proofing baskets onto parchment paper sprinkled with cornmeal. Score the loaves in the pattern of your choice.
- When the oven and bread pot have preheated sufficiently, remove the lid and transfer the scored loaf (on the parchment) to the bottom of the baker. Use the “parchment sling” to transfer the loaf in and out of the baker to keep from getting burned.
- Bake each loaf 20-25 minutes with the lid on and 15 minutes with the lid off, for a total of 35-40 minutes.
- Carefully remove the loaf from the oven and place it on a wire rack for cooling.
Notes
Sourdough Method:
Here is the link to my favorite starter if you want to go through the process of creating one https://www.breadexperience.com/you-are-apple-of-my-starter/
Yeast Method:
Don’t have a sourdough starter? Add a pinch of instant dry yeast in the Pate Fermentee and follow the rest of the process. Then add 1¼ teaspoons of yeast in the final dough and follow the rest of the process.
- Category: Sourdough Bread
Happy Baking!
Cathy
THIS POST MAY CONTAIN AFFILIATE LINKS. FOR MORE INFORMATION, PLEASE VISIT THE PRIVACY POLICY PAGE.
Leave a Reply