A few weeks ago, a visitor to my blog mentioned that she was experimenting with a sourdough sponge made with spelt & rye and mixing it with various gluten-free flours. She was looking for recipes for breads that used a mixture of gluten-free and gluten flours. I thought this would make an interesting experiment so when I ran across a recipe in one of my grain books, I decided to give it a try.
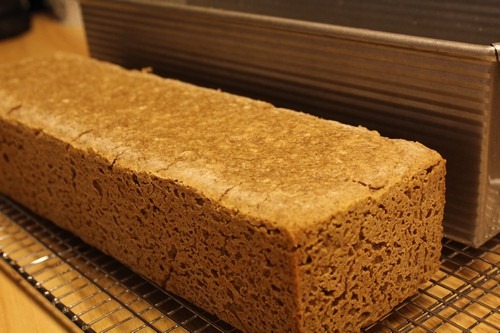
The funny thing about the original version of this recipe is that it listed “wheat less” in the title, but it utilizes a sourdough starter made of all-purpose white flour.
I decided my version would be wheat less so to accomplish this, I used a sourdough rye starter, rye flour, rice flour and a bit of oat flour. It has a really good flavor. I poured off the hooch when I fed my rye starter so this bread is not sour at all.
Breads made with rye and no wheat can become gummy because the gluten structure doesn’t develop very well. This is where the sourdough starter comes in, it actually helps dissolve the gumminess.
This bread also includes a fair amount of active dry yeast to get the activity going. The dough rose really well during the proofing with the added yeast; however, it would be interesting to see how it would do without the added yeast. It might be pretty flat.
Note about gluten: Although this bread doesn’t contain wheat flour, it does contain gluten. Rye contains a different type of gluten, called gliaden.
Sourdough Rye and Rice Bread
Makes
: 1 Large Loaf and 1 Small Loaf or 1 Pullman Loaf
Adapted from: Small-Scale Grain Raising: An Organic Guide to Growing, Processing, and Using Nutritious Whole Grains for Home Gardeners and Local Farmers by Gene Logsdon
Ingredients:
- 1 cup rye sourdough starter
- 1 1/2 cups water
- 2 cups rye flour (I used home-milled whole grain rye flour)
- 1 tablespoon molasses
- 1/2 cup lukewarm water
- 3 teaspoons active dry yeast
- 2 tablespoons oil
- 2 teaspoons salt
- 4 cups organic rice flour
- 2 cups rye flour
- 2 – 3 tablespoons oat flour (I used organic oat flour) *Refer to note below
*Oat flour
– Make your own oat flour by coarsely grinding oatmeal in a blender.
Directions:
1) Feed the Rye Starter –
The day before you plan to make this bread, feed your rye sourdough. I doubled my starter so I would have enough to use in this recipe.
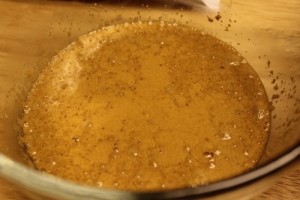
2) Make the Sponge – The night before you plan to make this bread, mix together the rye starter (or regular starter if you prefer), rye flour and water. Set this aside overnight in a warm, draft-free place. The oven (turned off) is a good place for this.
3) Mixing the Final Dough – The next day, dissolve the molasses in the lukewarm water and sprinkle the yeast over the surface. Set the mixture aside for 5 minutes until it is creamy.
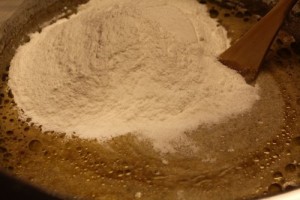
Stir the sponge down, then add the oil, salt, yeast mixture, and all of the rice flour.
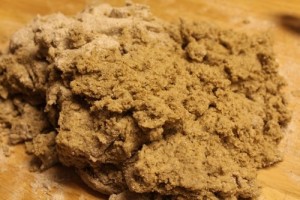
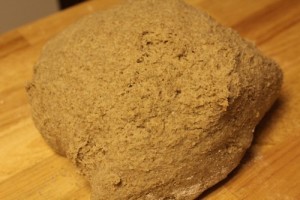
Mix in as much rye flour as you can by hand, then transfer the dough to a working surface that is well floured with rye flour.
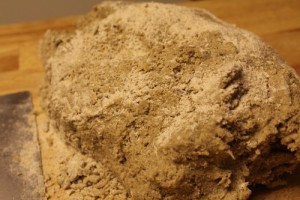
Add the remaining rye flour and knead briefly to incorporate it thoroughly. Finish by adding a couple of tablespoons of oat flour to help reduce the stickiness.
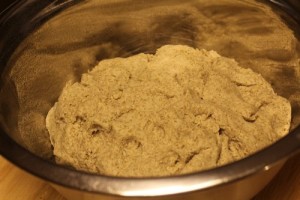
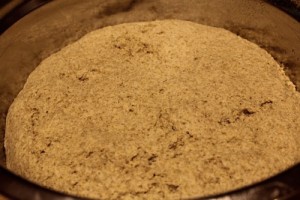
4) Bulk Fermentation – Place the dough in an oiled bowl and turn it to coat in oil. Cover and place it in a warm place. Let it rise until double in bulk.
This can take anywhere from an hour to a couple of hours. I turned the dough in bowl after about an hour, then placed it back in the bowl to rise for another hour or so.
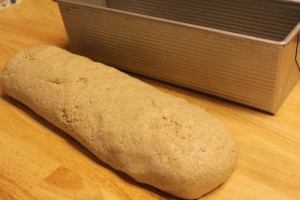
5) Shaping and Proofing the Loaf – You can shape the dough into a large loaf and a small loaf, but I chose to make a Pullman loaf. To make a Pullman loaf, remove the dough from the bowl and shape it into a cylinder.
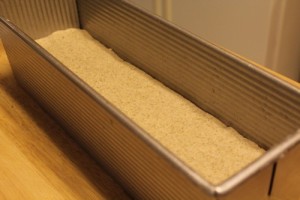
Place the loaf in the greased Pullman pan. This was rather tricky. The log lost it’s shape as I transferred it to the pan so I just patted it gently in the pan to make it even.
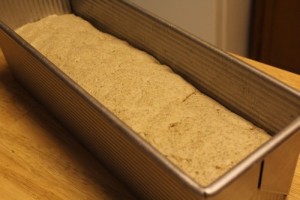
Let it rise for another 1 1/2 to 2 hours until it rises well in the pan. It may not double in size.
6) Baking the Loaf – Preheat the oven to 375 degrees F. Bake for 35 minutes or until done. Make sure the loaf is baked through or it might turn out gummy.
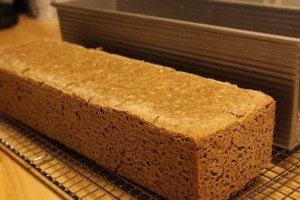
7) Cooling the Loaf – Remove the loaf to a cooling rack to cool completely before serving.
Rye breads are usually better the day after they are baked because it gives the crumb time to set. I decided to try it a couple of hours after baking and then again the next day.
This was my dinner the night I baked the loaf. It was really good, especially with the cheese and grapes.
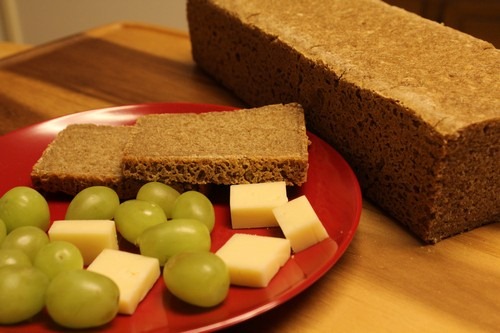
This is the bread the next day. The crumb is set well, but it is still moist and tastes fresh. This bread has good keeping quality due to the rye and sourdough.
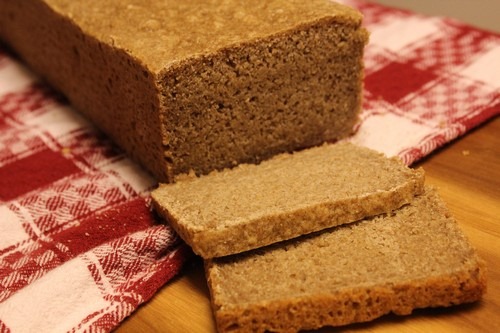
Celeste, this one’s for you! Enjoy!
Happy Baking!
Cathy
Susie T says
I was so excited to see that you’re working with rye and rice flours I have both on hand and plan to give this a try. Rye is so underutilized I think, and it’s much more affordable than other flours or grains.
Cathy says
Hi Susie,
I agree, rye is underutilized. I didn’t like it before but now I enjoy incorporating it into breads. If you do try this one, let me know how it goes.
Happy Baking!
Cathy