I enjoyed my bread-baking weekend last weekend. Although I’ve been baking all month, I hadn’t made any new breads. I was starting to go through bread-baking withdrawals so I made up for lost time. I made four loaves and a batch of dinner rolls. I also messed up almost every mixing bowl in the house, but it was worth it.
The first loaf was French Bread with Apples and Walnuts.
The second bread, and the one featured in this post, is a Sourdough Rye made with toasted sunflower and pumpkin seeds. I’m a little behind on my posting, but this bread is worth the wait.
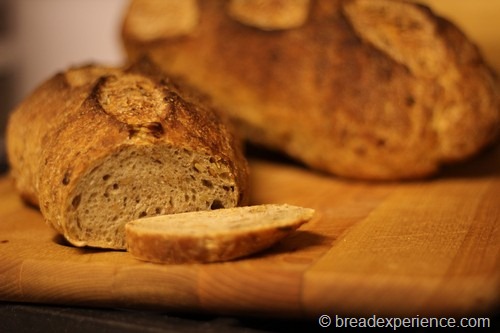
This rye bread is the featured BOM (Bread of the Month) for November for the Artisan Bread Bakers Facebook group. David of Hearth Baked Tunes, one of the administrators of the group, adapted it from one of the breads in Bread: A Baker’s Book of Techniques and Recipes by Jeffrey Hammelman.
I decided to work on my photography skills while I was making this bread. I’m a bread baker not a photographer so I need all the practice I can get. I took about 250 photos of this bread while I was making it. I was really pleased with several of the photos so they’ve been floating around the web in anticipation of this post.
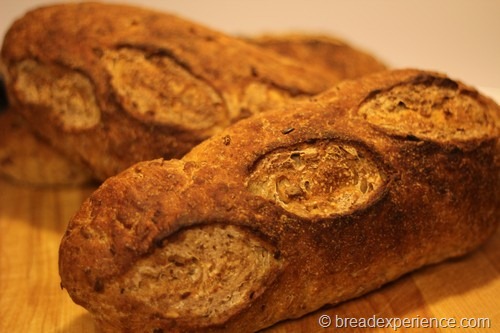
Here’s one of my favorite photos of this bread. The lighting is horrendous in my kitchen so I took this photo on top of my new cooktop. It looks kind of surreal but it is a real photo of real bread.
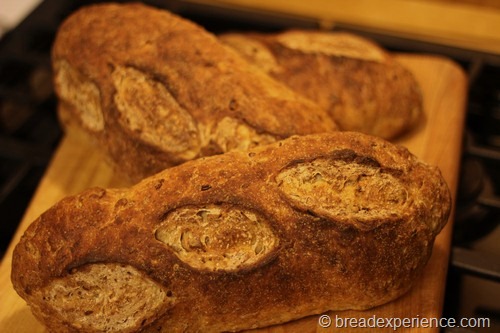
Sourdough Rye with Toasted Pumpkin and Sunflower Seeds
You can access the formula on the Artisan Bread Bakers FB group page.
Makes: 2 large round or oval loaves or 3 batard-shaped loaves
Instructions:
I started the process for making this bread on Friday. The first thing you do is to mix the sourdough using a rye culture, whole rye flour and water. My rye sourdough starter needed to be fed so that was the first thing I did. I let it sit for several hours, then I continued with the rest of the process.
Day 1: Prepare the Sourdough:
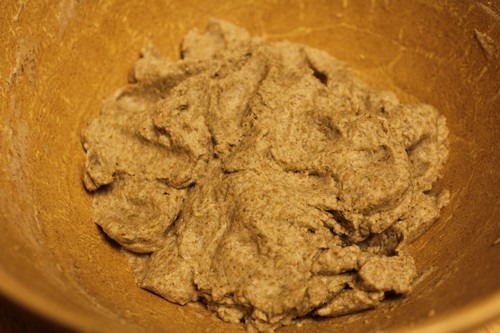
Prepare the sourdough and let it sit for 14-16 hours at 70 degrees F. I used an all rye sourdough made with a rye levain (also referred to as a rye culture or starter) and whole grain rye flour milled from organic rye grains.
If you don’t have a rye sourdough starter, you have a few options:
- Use a regular sourdough starter
- Convert a regular sourdough starter to a rye sourdough
- Create a rye levain/sourdough starter from scratch
Day 1: Prepare the Soaker:
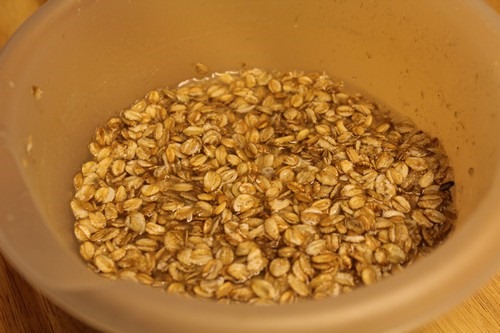
I made a few substitutions to David’s adapted formula because I didn’t have the suggested ingredients. For the soaker, I substituted rye flakes for the rye chops. I created the soaker at the same time as the sourdough and let it sit overnight.
Day 2: Making the Bread
The next day, when you are ready to make the bread:
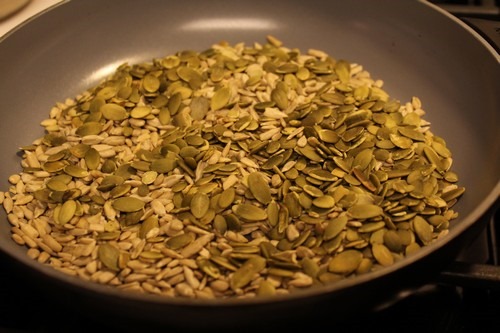
Toast the seeds:
I didn’t have the amount of pumpkin seeds that the formula called for so I used what I had and added more sunflower seeds. I just made sure the combined weight was equal to the amount called for.
This was fun! As the seeds are toasting, they crack in the pan. I know, it’s the little things…
Mix the Dough:
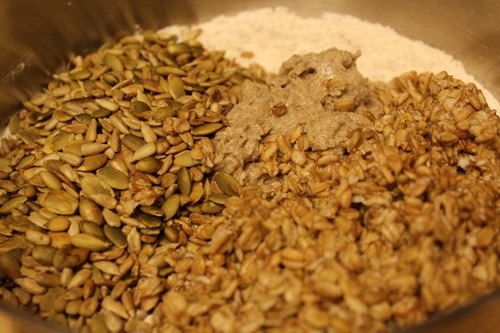
For the final dough, I used powdered malt extract for the malt syrup, and all-purpose flour for the bread flour because I ran out of bread flour. If you don’t have malt extract or syrup, you can use honey.
Just mix all of the ingredients together, including the sourdough and soaker. I used less water in the final dough because I had used a little more water in my rye soaker. You can adjust the amount of hydration while you’re mixing the dough. If it needs more hydration, add a little more water, if it’s too wet, add some more flour.
Bulk Fermentation:
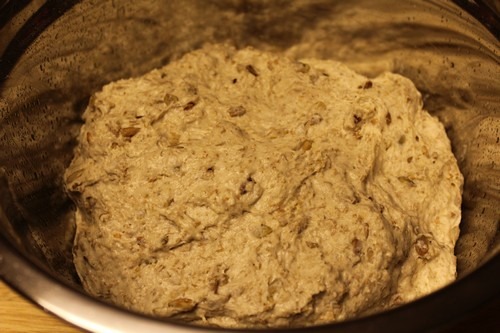
Let the dough ferment for 1 hour, no folding necessary per the original formula. Well, here is where I deviated again. I ran out of time and energy Saturday night, so at this point, I placed the bowl (covered with plastic) in the refrigerator overnight.
Diving and Shaping the Dough:
The next day, I took the dough out of the refrigerator and let it warm up to room temperature (about 2 hours). Then I proceeded with the next step.
Remove the dough from the bowl and divide it into three pieces using a sharp knife or a bench tool.
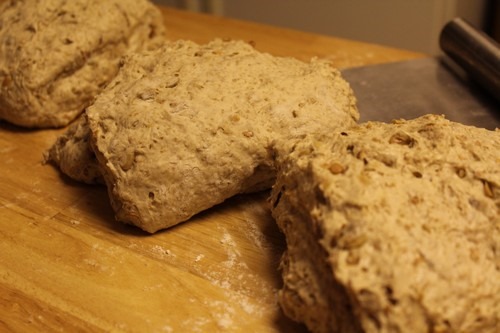
Shape the dough pieces into batards. This is really an easy process and doesn’t have to take very long. Begin by spreading the dough out into a rough triangle. Don’t worry about shaping a perfect rectangle, just make it an even thickness if you can.
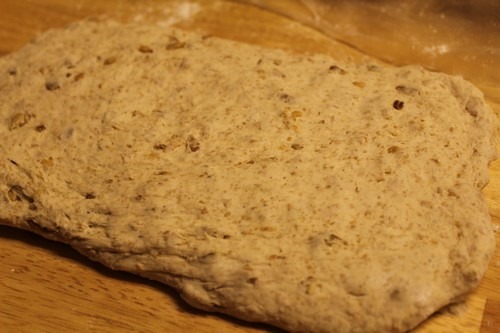
Fold the bottom third up and press gently on the seam to seal it, then bring the top to the middle like you are folding a letter.
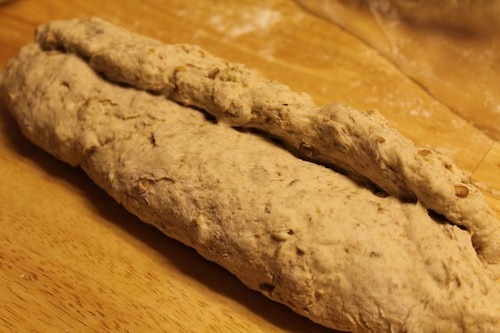
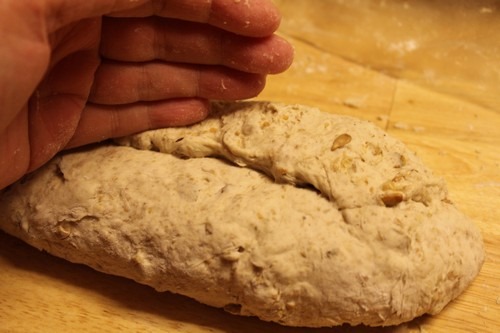
Using the heel of your hand, press gently on the seam to seal it.
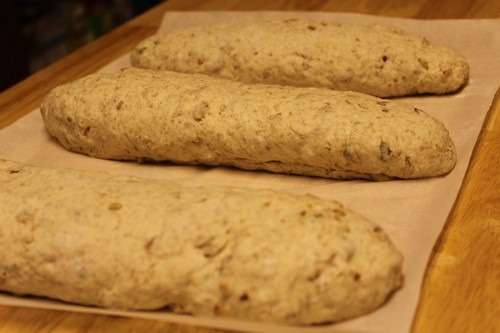
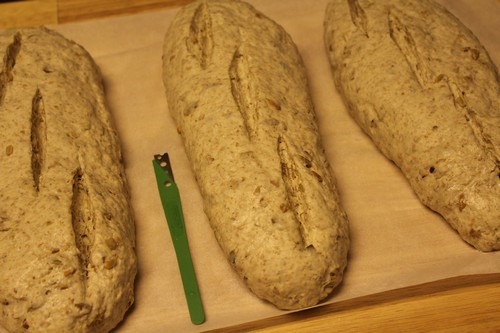
Place the loaves, seamside down on a parchment-lined baking sheet, cover with plastic, and allow to proof for 50 to 60 minutes.
Score the Loaves:
Using a serrated knife or lame, score the loaves.
Baking the Loaves:
Bake the loaves in a preheated 450 degrees F. oven on a baking stone with a steam pan underneath. Bake the loaves for 15 minutes and then lower the temperature to 425 and continue baking for 30 minutes or until the loaves are completely baked.
Cooling the Loaves:
Remove the loaves to a cooling rack and cool completely before serving
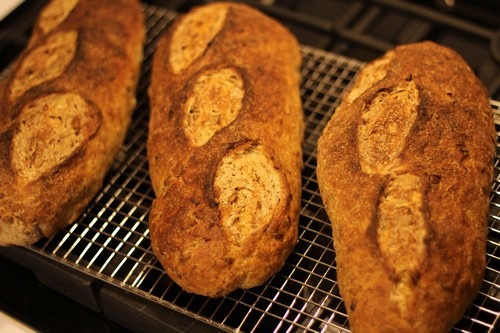
Here are the finished loaves. I really liked the flavor and the texture of this bread.
I’m submitting this bread to YeastSpotting, the weekly bread roundup hosted by Susan of Wild Yeast.
Thanks to David of Hearth Baked Tunes for sharing this formula with us.
Happy Baking!
Cathy
Leave a Reply