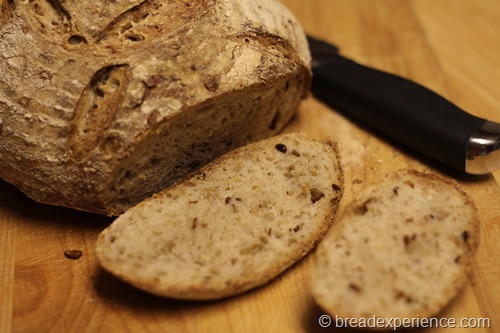
I decided to focus on sourdough this month and so did the Mellow Bakers. The first bread on the list for December is a Sourdough Seed Bread.
This is a naturally leavened bread. It is made with a liquid levain, and a flaxseed soaker. The flax seeds provide taste, color and nutrition and toasted sunflower and sesame seeds provide a nutty flavor.
I used my apple starter to build the liquid levain. It has become a very mature liquid culture over the past couple of months and I really like using it. I’ve neglected my other two starters so this month I’ll be nurturing them back to life.
This sourdough bread can be baked the same day it is mixed, but to develop the fullest flavor, an overnight fermentation is recommended. I changed the process a bit further to suit my schedule and adjusted the ratio of sunflower seeds and sesame seeds because I didn’t have enough sunflower seeds. I liked the result!
Sourdough Seed Bread
Makes
: Two large loaves
Adapted from Bread: A Baker’s Book of Techniques and Recipes by Jeffrey Hamelman
Ingredients:
Liquid Levain Build
- 4.8 oz (1 1/8 cups) bread flour
- 6 oz (3/4 cup) water
- 1 oz (2 T) mature culture (liquid)
Flaxseed Soaker
- 2.2 oz (3/8 cup) Flaxseeds
- 6.7 oz (3/4 cup) water
Final Dough
- 1 lb, 8.6 oz (5 5/8 cups) bread flour
- 2.6 oz (5/8 cup) whole-rye flour
- 2.5 oz sunflower seeds, toasted
- 2.25 oz sesame seeds, toasted
- 11.3 oz (1 3/8 cups) water, plus additional during mixing
- .7 oz (1T + 1/2 tsp) salt
- 8.9 oz soaker (all of above)
- 10.8 oz liquid levain (all of above, less 2T)
Directions:
1) Building the Liquid Levain:
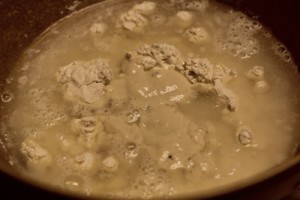
Make the final build 12 to 16 hours before the final mix and let stand in a covered container at about 70 degrees F.
I started the liquid levain about 6:30 am in the morning.
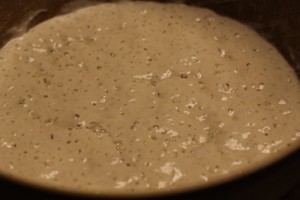
This is the liquid levain after about 14 hours.
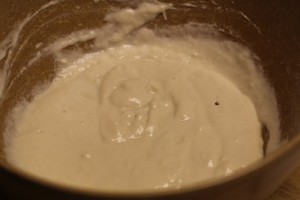
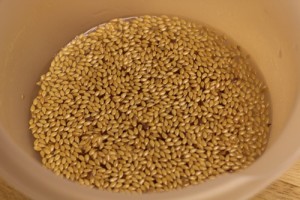
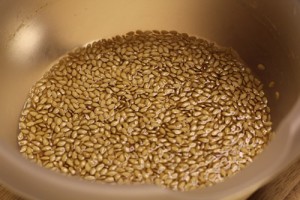
2) Flaxseed Soaker: Make a cold soaker with the flaxseeds and water at the same time you build the liquid levain. Cover the container with plastic and let it stand along with the liquid levain.
The flaxseed soaker looks like gelatin after the seeds have soaked for about 14 hours.
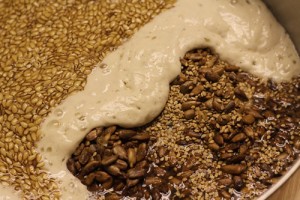
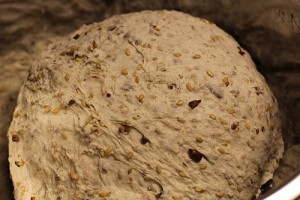
3) Mixing the Dough: Add all of the ingredients to the mixing bowl of a spiral mixer and mix on first speed for 3 minutes, adjusting the hydration as necessary. I had to add more water. Even though I used less seeds than the original formula called for, they still soaked up all of the water.
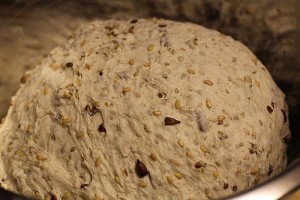
Mix on second speed for another 3 minutes or so. The dough should have moderate gluten development.
4) Bulk Fermentation: 2 1/2 hours. Fold the dough once after 1 1/4 hours or, if the dough needs more strength, fold it twice at 50-minute intervals. This is where I varied the process. It was getting late so I let the dough ferment for about an hour and a half, then I folded it, recovered it with plastic and placed it in the refrigerator to ferment overnight.
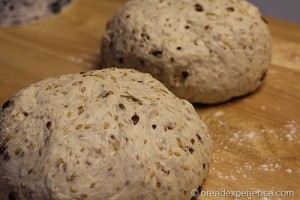
5) Dividing and Shaping: The next day, I let the dough warm up to room temperature. This took a couple of hours. Then I divided it into two pieces – about 2 pounds each and lightly shaped the pieces into rounds.
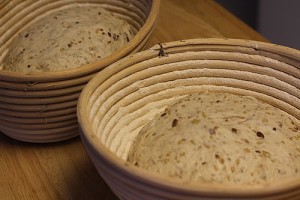
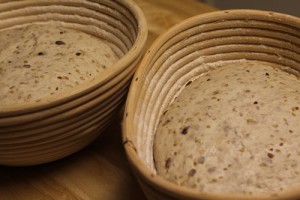
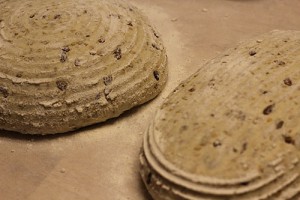
I shaped one piece into an oval and placed it in my 9.5” oval banneton basket and shaped the other one into a round shape and placed it in my 9” round banneton basket.
6) Final Fermentation: The dough can be fermented up to 8 hours at 50 degrees F. or up to 18 hours at 42 degrees F. I had already fermented the dough in the refrigerator overnight so I just let it proof in the baskets for a few hours before baking.
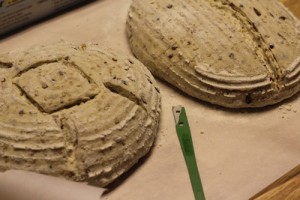
7) Scoring the Loaves: Remove the loaves gently from the banneton baskets onto parchment paper.
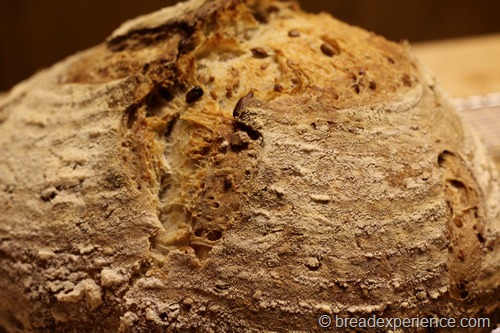
Score the loaves using a lame or serrated knife. I experimented with the scoring on the round loaf.
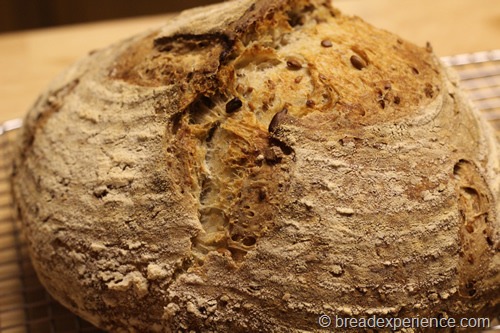
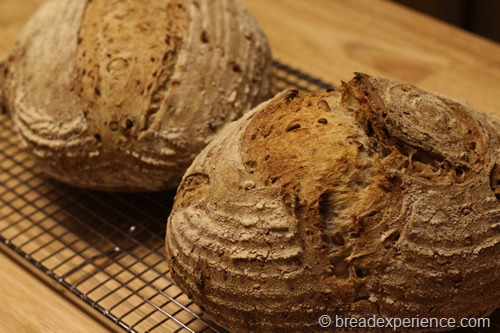
8) Baking the Loaves: Preheat the oven to 450 degrees F., with a baking stone on the middle rack and a steam pan underneath. Place the loaves on the hot baking stone (the the parchment paper) using a baker’s peel or the back of a baking sheet. Fill the steam pan with hot water and close the door of the oven. (I also sprayed the walls of the oven with a spray bottle filled with water about 3 times during the first few minutes.) Let the loaves bake for 40 to 45 minutes, until the loaves are golden brown. I removed the parchment paper partway through the baking cycle to make sure the bottom of the loaf was baked through.
9) Cooling the Loaves: Let the loaves cool completely on a wire rack before slicing and serving.
10) Enjoy! You can slice and eat the bread before it cools completely, but it develops better flavor if you wait. You know what they say “could things come to those you wait…!” This is one of those times you need to be patient.
This bread has been YeastSpotted. Please visit Wild Yeast to view all of the lovely breads in the weekly roundup.

Mellow Bakers was started by Paul at Yumarama. We baked breads from Bread: A Baker’s Book of Techniques and Recipes by Jeffrey Hamelman.
Happy Baking!
Cathy
Judd WeekendLoafer says
Great post!
This is one of my all time favorite breads…the toasted seeds add a real dimension to this bread.
I sent a link to a friend who is just learning to make sour dough breads… With the great pictures and detail, I am sure it will be a big help to her!
Cathy (breadexperience) says
Thanks Judd! Good to hear from you. I liked this bread as well. I hope your friend finds this info helpful.
MC says
Gorgeous bread! The flavor must have been awesome…
Cathy (breadexperience) says
Thanks MC. Yes, the flavor was great! I need to make this one again.
Aisha Jeewa says
Hi, Your bread look very tempting and amazing! Does it taste sour?If yes then what adjustment should I do not to get sourness ?If I want soft crust should I pull it out a little earlier from the oven?Thank you.
Cathy says
Hi Aisha, this isn’t a sour bread. Just be sure to use a starter that has recently been fed.
Since this loaf is typically baked with steam, it will be a crusty loaf on the outside, but the inside is softer. If you want a softer crust, you can bake it without steam. Just bake it on a baking sheet instead of on a baking stone. The loaf might not have as much oven spring (rise as much in the oven), but the crust will be softer. Or, you can try removing it from the oven a little earlier. Just make sure the bread is done.