The Back to the Future, Buddies revisited Cuban Bread this month. Carola, the hostess of the group, called it Speedy Gonzalez Bread because you can make it in about 2 hours (from mixing the dough to taking it out of the oven). I thought that name was very appropriate.
Since I’ve made Cuban Bread before and this version is made with spelt, I decided my bread should be named Speedy Gonzalez Spelt Bread.
Cuban Bread is generally made with a small amount of lard or fat which is what differentiates it from French and Italian Breads. It is typically shaped long like a baguette, not in a round shape. So, as Carola surmised, this bread wouldn’t be considered true Cuban Bread, but it sure is good.
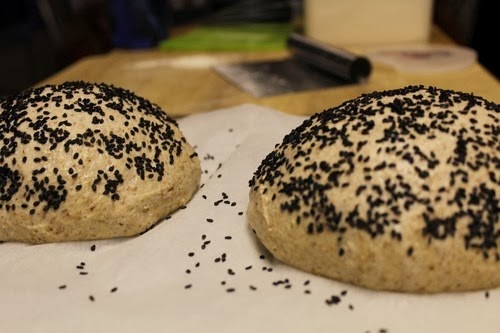
These round loaves would make great bread bowls. I thought about making bread bowls to hold the white turkey chili I made from leftover Thanksgiving turkey, but my son wanted to take some bread back with him to school. I ended up making two bigger loaves so they would be sliceable.
Refer to Renee’s post, if you want to see how these loaves can be shaped and served as bread bowls.
Cuban Spelt Bread
My original blog post for this Cuban Bread can be found here.Carola made several different versions of this bread
. Visit her blog for more details.
Makes: 2 medium round loaves or 4 smaller loaves
Ingredients:
- 460 g all-purpose spelt flour, plus additional for dusting
- 175 g whole grain spelt
- 11 g instant yeast
- 15 g (1 T) Kosher salt
- 25 g (2 T) raw sugar
- 60 g ground flax seeds
- 420 g lukewarm water, more if necessary
- Sesame or poppy seeds for sprinkling, optional
Directions:
1) Mixing the dough
You may use a stand mixer for this part, but I prefer to do it by hand.
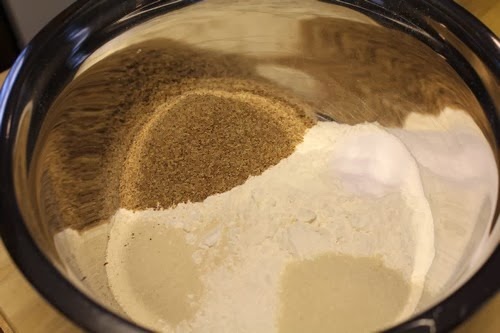
Place 300 g all-purpose spelt and 175 g whole grain spelt in a large mixing bowl. Add the instant yeast, salt, sugar and ground flax seed meal. Make sure the salt doesn’t touch the yeast. Using a wire whisk or large spoon, stir until the dry ingredients are well blended.
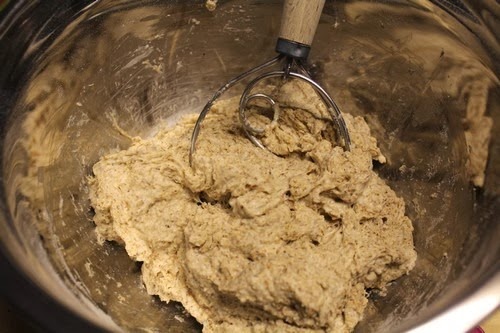
Pour in about half of the warm water and stir with a wooden spoon or Danish dough whisk until thoroughly incorporated. Gradually add in the remaining water and work in the remaining flour (using fingers if necessary), a little at a time until the dough takes shape and is no longer sticky. I only used about 420 g of water. You may need more or less depending on the type of flour used.
2) Kneading the Dough
Sprinkle the work surface with flour. Work in the flour as you knead, keeping a dusting of it between the dough and the work surface. Knead for about 5 minutes until the dough is smooth, elastic, and feels alive under your hands. Use a light hand if you are working with spelt.
3) Bulk Fermentation
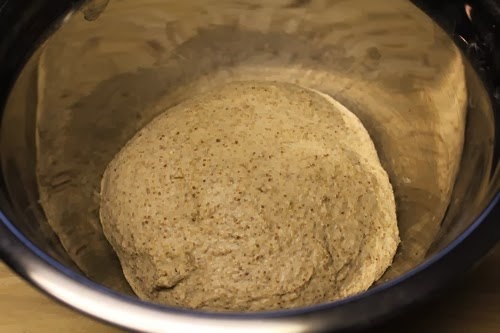
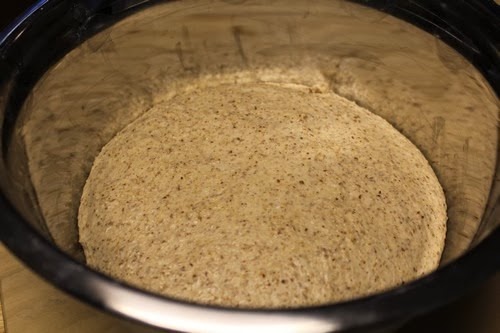
Place the dough in a greased bowl, cover with plastic wrap, and put in a warm (26-37°C/80-100°F) place until double in bulk. I let mine proof for about 30 minutes in a proofing box at 80 degrees F. The original recipe says to let if proof for 15 minutes, but I was preparing the chili so I let it proof a little bit longer.
4) Shaping the Loaves
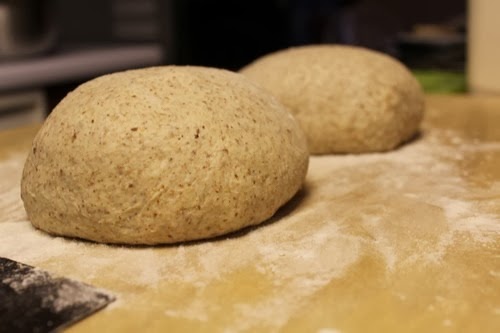
Punch down the dough, turn it out on the work surface, and cut into two pieces. Shape each piece into a round and place on a parchment-lined baking sheet.
5) Preparing the Loaves for Baking
If you’re using seeds, now is the time to add them. Spritz the loaves with water and sprinkle the sesame or poppy seeds over the top. I used black sesame seeds. I found that using my index finger to pick up the seeds and gently press them into the spritzed loaves made the seeds stick better. I added the seeds on top and on the sides.
6) Scoring the Loaves:
With a sharp knife, razor, or lame, slash an X on each of the loaves or score them using the pattern of your choice.
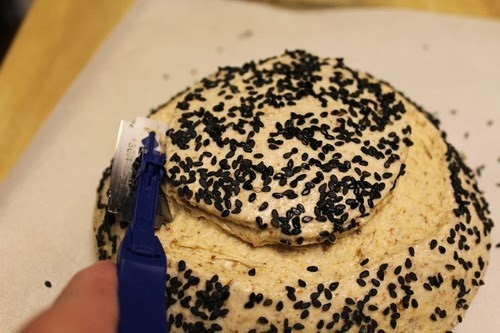
I used my new Mure & Peyrot Adour lame to score a design I’ve been wanting to try. This lame is designed for curved scoring so it was perfect for this particular method.
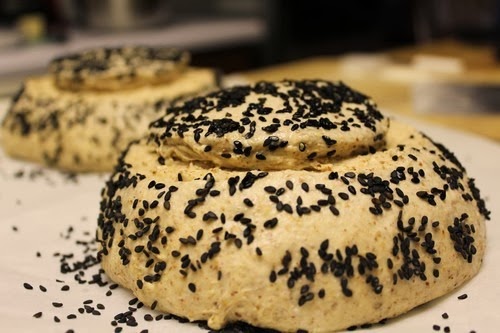
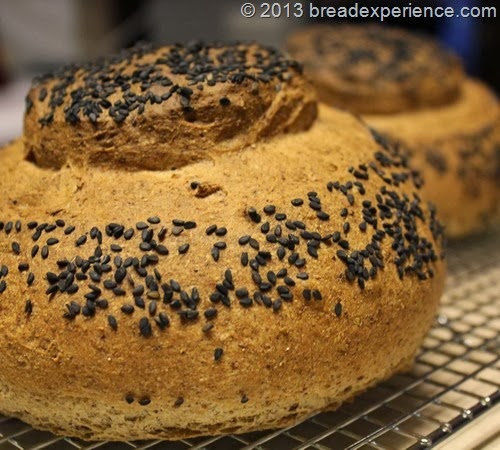
For this scoring technique, take the lame (or razor blade) and slide it around the top of a round loaf to form a top. If you score it at the correct angle, the edges of the top will develop a sharp ear while baking. I still need some practice at that. Mine ended up looking like a hat with rounded edges, but for my first try, I’m okay with that.
 |
 |
7) Baking the Loaves
Place the baking sheet on the middle shelf of a cold oven. Place a pan of hot water on the shelf below, and heat the oven to 205°C/400°F. The bread will continue to rise while the oven is heating. Bake for about 40-50 minutes, or until the loaves are a deep golden brown. Thump on the bottom crusts to test for doneness. If they sound hard and hollow, they are baked.
6) Cooling the loaves
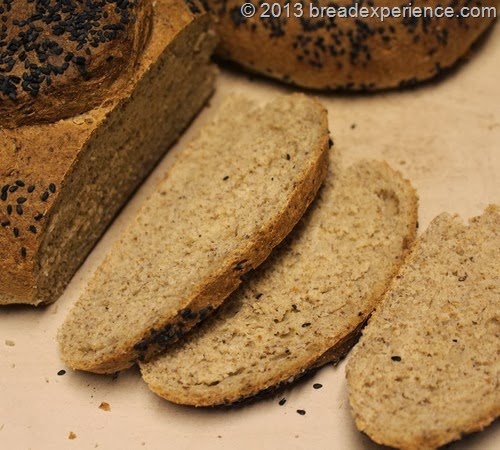
Cool the loaves on a wire rack for about an hour before slicing. My loaves cooled while the chili was cooking. They were ready to be eaten when we were ready for them. I like it when that happens.
I had forgotten how easy this bread was to make. It was the perfect bread for holiday weekend baking. The spelt adds wonderful texture and flavor without making the bread heavy. We enjoyed this loaf with the turkey chili.
Would you like to bake with the Back to the Future, Buddies bread baking group? Visit Carola’s website, “Sweet and That’s It” (or click on the image below) for details.
Happy Baking!
Cathy

Sweet and That's it says
Cathy, what an artistic bread you’ve made. It’s lovely.
It’s so sunny in Cuba that every bread should get its hat 🙂
I love it!
Many thanks for baking along!