This Sprouted Einkorn Bread with no Flour is made completely with sprouted grains. Just sprout the grains and grind them in a food processor or meat grinder.
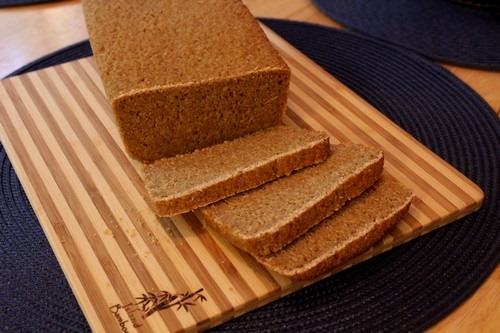
I started this experiment a few weeks ago when a visitor to my blog commented on the sprouted wheat bread with no flour post.
She wanted to know if I had experimented with sprouted bread lately. It had been awhile since I’d made bread using only sprouted wheat. So, that meant it was time to experiment again.
For this test, I used the ancient grain Einkorn rather than hard red spring wheat.
I really enjoy making sprouted wheat bread. The sprouting process is fun and it provides a host of nutritious benefits.
Sprouting the grain produces vitamin C and increases the vitamin B and Carotene content, and neutralizes phytic acid, which is a substance that inhibits the absorption of calcium and a number of other minerals. Complex sugars are also broken down and enzymes which aid in digestion are produced during the germination. All good things in my book.
The first time I made this Sprouted Einkorn Bread, I let the grains soak for about 12 hours, then rinsed and drained them and let them sprout overnight at room temperature.
The next morning, I rinsed and drained them again and put them in the refrigerator for a day before I baked the bread. In this heat, that turned out to be a bit too long to let the sprouts grow, particularly since they continue to grow a bit in the refrigerator.
I also used the wrong size loaf pan for the first attempt. I used a 9” x 5” loaf pan, but should’ve used the smaller 8” x 4” size.
Here is a photo of the first test. This bread was a bit dense, but had great flavor. It tasted good with Spicy Peach Butter and with cheese.
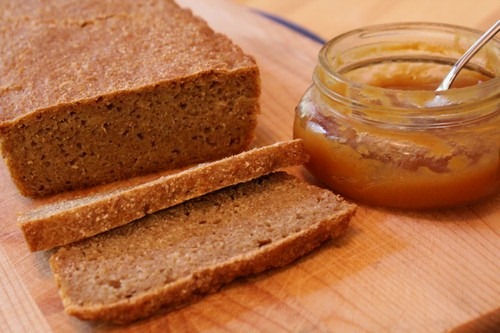
The key to success with this bread is to only let the grains sprout until the tiny sprouts are just barely beginning to show. So for the second attempt, I only let the grains soak about 16 hours. The sprouts were just barely peeking out. After the 16 hours, I drained the grains thoroughly and put them in the refrigerator overnight. I started the process of making the loaf the next day.
Sprouted Einkorn Bread
Makes:
One Loaf
Adapted from The Laurel’s Kitchen Bread Book: A Guide to Whole Grain Breakmaking by Laurel Robertson.
Ingredients:
- 3 cups (575 g) Einkorn berries (makes about 6 cups sprouted)
- 1 teaspoon (3.5 g) active dry yeast
- 2 tablespoons (30 ml) warm water
- 2 teaspoons (11 g) salt
- 3 scant tablespoons (40 ml) honey
Directions:
Step 1: Sprouting the Einkorn BerriesTip:Only sprout the berries until the sprout is just beginning to show and the berry is tender. In hot weather, it doesn’t take very long.
Begin by rinsing the grains and covering them with tepid water. Let them soak for about 12 to 18 hours at room temperature.
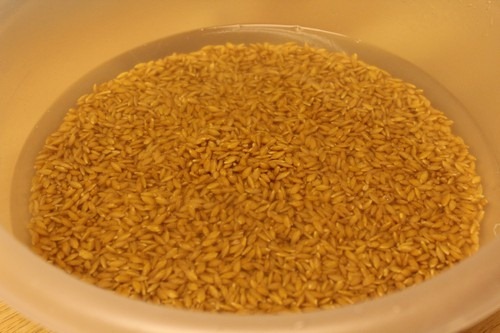
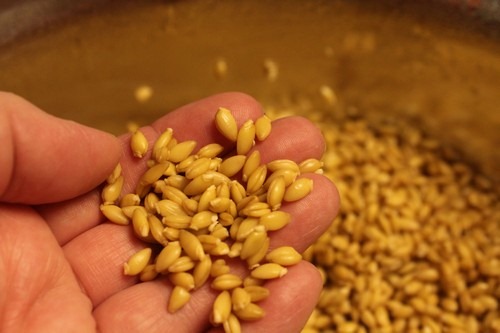
Here are the Einkorn grains after soaking for 16 hours. The sprout is just barely peeking out.
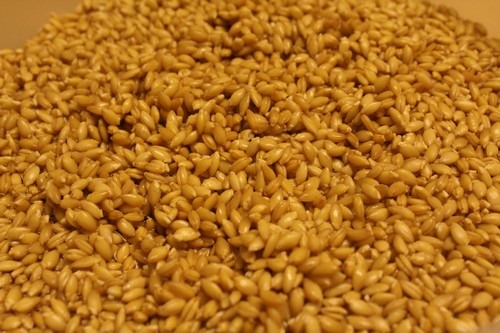
At this point, the grain should have tiny sprouts and be soft and pliable.
If you aren’t ready to grind them, place the sprouts in the refrigerator until they are cool. You can leave them in there a day or two, but keep in mind the sprouts will continue to grow in the refrigerator so don’t leave them in there too long or you’ll end up with a sticky and dense bread that doesn’t bake through all the way.
Step 2: Mixing the dough
Dissolve the yeast in the warm water and let it sit for about 10 minutes until foamy. Then add the sprouts, the dissolved yeast, honey and salt and process in a food processor fitted with a metal blade, not the dough blade. You can do this part in 2 or 3 batches, depending on the size/power of your food processor. I recently got a more powerful food processor so it was able to handle the whole batch at one time.
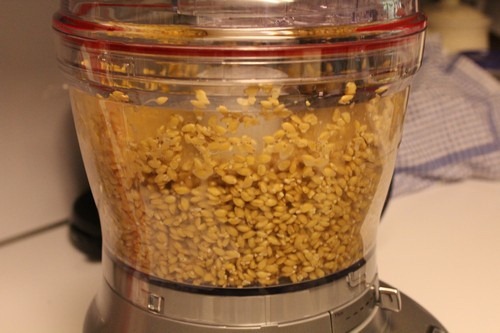
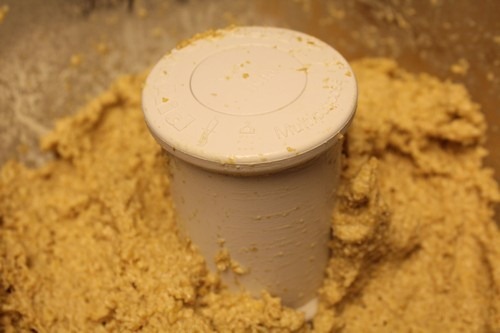
Process until the sprouted grains form a ball. This will take about a minute. Then scrape down the sides of the bowl, and process two minutes more. If you’re doing this in several batches, divide the ingredients by thirds and process each batch, then knead the dough balls together.
Step 3: Bulk Fermentation
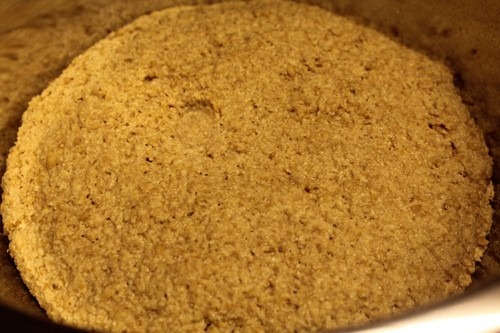
Form the dough into a ball and place in a lightly greased bowl. Cover and place it in a warm draft-free place. Let the dough proof for about an hour and a half.
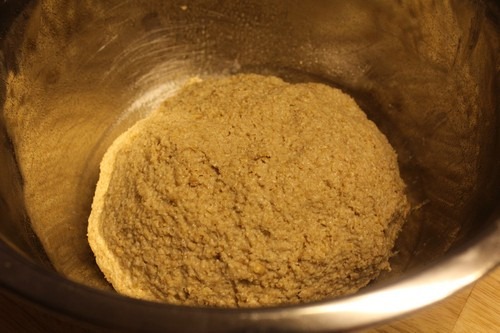
Gently poke the center of the dough with a wet finger. If the hole doesn’t fill in, then the dough is ready. If is does fill in, let it proof a little while longer.
Note: At this point, I ran out of time so I placed the dough in the refrigerator overnight.
Next Day:
I took the dough out of the refrigerator and let it sit on the counter for a couple of hours to warm up to room temperature.
Continue Step 3: Bulk Fermentation:
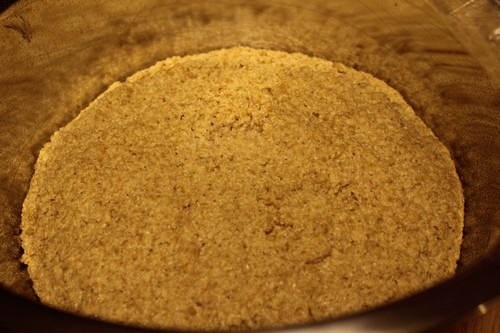
Press the dough flat and form it again into a smooth ball. Place the dough ball in a greased bowl and allow it to rise again. This second rise shouldn’t take as long as the first rise since the dough will be warmer.
Step 4: Shaping the Dough:
Using water to prevent your hands from sticking, gently spread out the dough into a rough rectangle.
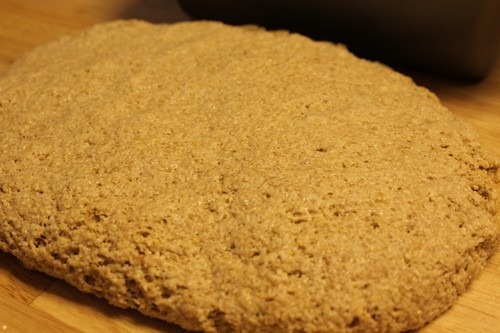
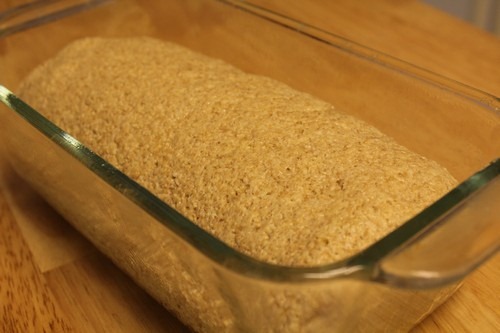
Shape the dough into a smooth loaf and place in a greased 8” x 4” loaf pan. This time I used the appropriate size loaf pan.
Step 5: Proofing the Dough
Let it rise about 30 minutes in a warm, draft-free place (such as your oven with the light turned off).
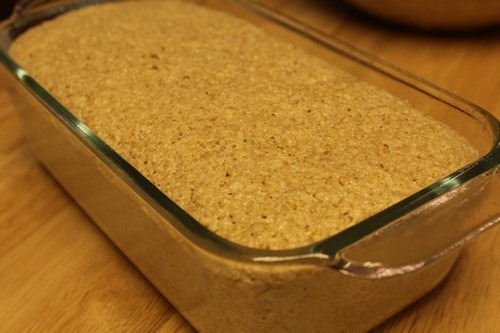
Step 6: Baking the Loaf
Bake the loaf for about an hour at 350 degrees F. If your bread rises really well, it may not take that long. It didn’t take mine quite an hour to bake through.
Step 7: Cooling the Loaf
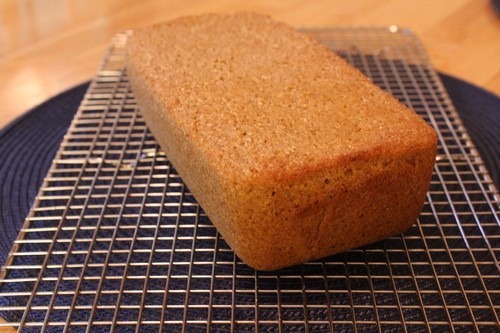
Remove the loaf from the oven to a wire rack and let it cool completely before slicing.
Step 8: Slice and Enjoy!
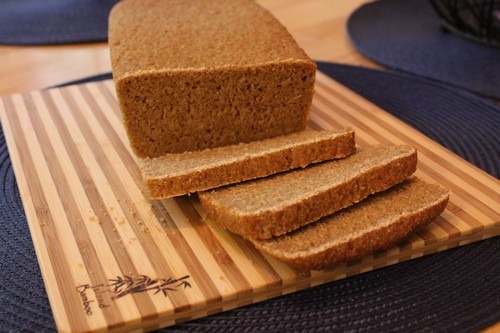
This bread rose better than the first attempt, but I think it would’ve risen better if I hadn’t put the dough in the refrigerator overnight. It was dense, but not as dense as the first one. It had a great flavor. I gave this one to my taste tester to enjoy.
I hope you’ll try this bread and let me know how it works out for you.
Happy Baking!
Cathy

Heather Schmitt-Gonzalez says
I am completely and absolutely intrigued! I’ve never really sprouted any grains (though I know there are amazing benefits) and I guess I didn’t realize that you could even make bread without the flour. Very cool. So this is sort of a meal(??) or a wet form of the “regular flour”. I just want to grab a slice so I can try it! Thanks for adding this to the bread basket this month, Cathy. 😀
Cathy (breadexperience) says
Hi Heather, making sprouted bread is a very interesting process. Yes, the dough is wet due to the sprouted grains. For this bread, you don’t even need to add water. However, you could also dry the sprouts, grind them into a dry flour and use it that way to make bread.
Michelle K says
Your description and step by step instructions are great. You have introduced me to a new kind of bread making! Thank you for sharing this with BYOB.
Anonymous says
This recipe sounds delicious! Will SAF instant yeast work with this recipe? Any changes required when using it?
Sue
Cathy W. says
Yes, instant yeast should work in this recipe. You only need a scant 3/4 tsp of the instant yeast and you don’t have to activate it with the warm water. Just add all of the ingredients to the food processor and process.
Steffanie Caudill says
Hello Cathy, I want to start off by saying, Thank you! I love this recipe, and have made it a few times, although like you, had more success the second time around. I am looking to purchase a food processor, mine recently broke. I am wondering, what brand you have, or if you would recommend one? Thank you!
Cathy W. says
Hi Stephanie! Sprouted breads do take some practice. I have a KitchenAid Food Processor. I’m not sure what model but it’s pretty powerful and does a really good job with the sprouted grains.
Chris_Christian says
Cathy, thank you for sharing. Could you use a knife or something else more natural to grind the berries and would it be okay to add seeds or anything else into the dough for more added flavor?
Cathy W. says
Hello Chris, you can knead it by hand without using a food processor or any electric mixing device, but it takes a long time; at least 15 to 30 minutes. I’ve tried it that way with regular sprouted wheat bread (not Einkorn) and I couldn’t get it to work, but from what I understand, it is possible.
I think seeds or raisins would be fine, but you might want to get the texture/method down before adding anything else.
Happy Baking!
Cathy
Tammy says
I am definitely going to try this. Once I get this down, I may take some of the berries and try making them into a sourdough starter. Sometimes my ideas work, sometimes they don’t, but it would be an interesting experiment, nonetheless. Chemistry-in-the-kitchen. 🙂
Cathy W. says
I like the way you think. Let me know if your starter works. That is an interesting idea.
Jeanette Mullane says
I would love to try this, and I was wondering if I could use my Vitamix? (I don’t have a food processor.)
Cathy says
Hello Jeanette, thanks for visiting the Bread Experience. I don’t have a Vitamix so I have never tried it. However, I have heard that you can use a high-powered blender such as the Vitamix to process the sprouts. You’ll need to add a bit of water. It won’t process the pulp as effectively as a food processor or meat grinder so you might not get as light of bread, but you can certainly try it.
Ivan says
Can I use a sourdough started made with Eikorn flour instead of dry yeast. If so how much of the starter should I use in the recipe?
Cathy says
I have not tried this recipe with a sourdough starter but you could certainly try it.
Donna L Hummer says
Are the Einkorn berries hulled or unhulled and from whom do you buy the berries? I’m just getting started in trying to make my own healthy bread. Your site has answered so many of my questions. Thank you for such wonderful instructions and photos.
Cathy says
Hi Donna,
The einkorn berries are de-hulled. I get einkorn from different sources. I plan to carry einkorn in my store soon.
I’m so glad you’ve found my site helpful. Kudos to you for learning how to bake your own bread.
Happy Baking!
Cathy