The Bread Baking Babes and Friends have been making Swedish Rye Bread this month. Astrid chose this bread and I really like the flavors: honey, grated orange peel, anise seeds, and caraway seeds. It also includes some white bread flour, rye flour and whole wheat flour.
The Swedish Rye (Limpa) we made in the BBA Challenge was flavored with molasses, citrus peel, anise seeds, fennel seeds, and ground cardamom and utilized an overnight sponge. I was interested to see how this bread compared to that one.
Since it’s National Flour Month, I’ve been baking breads with different types of flours. I had about 2 cups of sprouted whole wheat flour in the freezer so to make this bread even more interesting, I substituted the sprouted wheat flour for regular whole wheat flour and part of the rye flour. I liked the result.
I got a little bit confused trying to decipher the process as outlined in the original recipe. Fortunately, I read some of the other BBB posts before I made this bread and was able to adjust accordingly.
Elizabeth decided to ignore part of the recipe in the hopes that it would go away. I laughed my head off because that’s the way I felt when I read that part. It made my head spin.
I decided to do what Elizabeth did and ignore the part that didn’t make sense and follow my own process. I omitted the part about folding in the rest of the ingredients because I thought it was contradictory.
Swedish Rye Bread with Sprouted Wheat Flour
Adapted from Tassajara Bread Book by Edward Espe Brown
Makes: 2 large loaves or 3 Medium Loaves
You can bake the loaves in a loaf pan or freeform.
Ingredients:
Sponge:
- 3 cups lukewarm water
- 1 1/2 tablespoons dry yeast
- 1/3 cups honey
- 1 cup dry milk
- 1 tablespoon of dried orange peel
- 2 teaspoons anise seeds
- 2 teaspoons caraway seeds
- 4 cups unbleached white bread flour
Final Dough:
- 4 teaspoons salt
- 1/4 cup olive oil
- 2 1/2 – 2 3/4 cups rye flour
- 2 cups sprouted wheat flour
Method:
1) Making the SpongeDissolve the yeast in water.
Add the honey and dry milk plus the oranges and seeds.
Add the flour to get a thick batter. Add one cup of flour at a time, stirring good after each addition. The more flour you add the more you knead to go into a beating mode with your spoon. Best way is to stir up and down in a circular mode from the bottom of the bowl to the surface of the dough. Don’t forget to scrape the sides of the bowl from time to time. After the 4 cups of flour you should have a thick mud-like dough. I just stirred it with my Danish dough whisk in a circular motion.
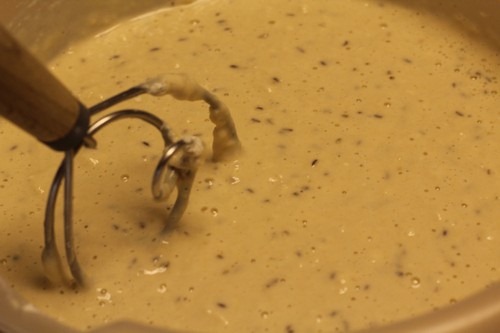
Beat well with a spoon (100 strokes). Continue to beat until you have a smooth dough. Again pull your spoon under the dough and bring it up to the surface again in a circular mode. The batter will be more elastic while you are doing this as more and more air gets incorporated.
2) Let rise for 45 minutes.
Cover the bowl with a damp towel and let rise in a warm place.
3) Mixing the Final Dough
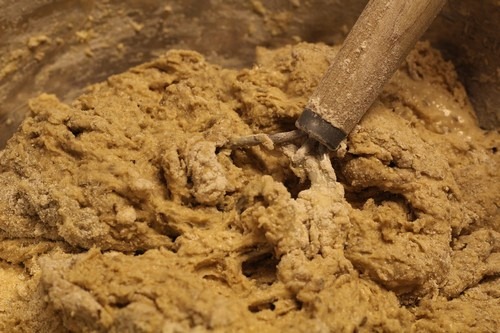
Sprinkle on the salt and pour on the oil. Stir around the side of the bowl working carefully your way towards the center. Rotate your bowl a little with every stroke you do. Repeat until all of the salt and oil is incorporated.
Sprinkle the flour 1/2 a cup at a time onto the dough. Fold it in while rotating your bowl. Continue until the dough comes away from the sides of your bowl.
4) Knead the Dough
Plop your dough on your kneading board and scrap the remaining flour from the bowl onto the dough. Keep in mind that your surface should be floured enough to prevent the dough from sticking to much on the board.
Flour your hands and the top of the dough. From the middle of your down stretch it away from you and then fold it back onto the remaining part of the dough. Continue to push down and forward. Turn the dough a quarter turn. Again continue with the pushing and folding.
Turn, fold, push. Rock forward. Twist and fold as you rock back. Be careful not to stretch the dough too much and tear it. Add flour to the boards as needed. While you continue with the kneading the dough will become more and more elastic, smooth and shiny.
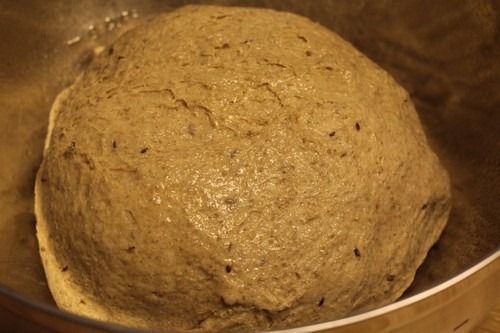
When you are finished, place the dough in your lightly oiled bowl smooth side down, then turn it over so the dough ball is covered lightly with oil. This will prevent the dough from forming a crust on the top while rising.
5) Bulk Fermentation
Cover the bowl with a damp towel (or plastic wrap) and set aside to rise in a warm place. (50.60 minutes until doubled in size)
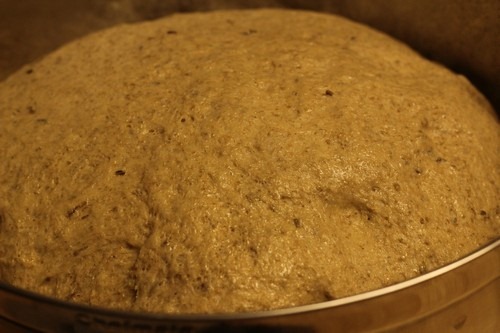
Punch down your dough with your fists steadily and firmly about 15-20 times. Let rise again 40-50 minutes until doubled in size again.
6) Preheat oven to 350°F.
7) Shape the Loaves
Turn your dough onto the work surface. Form the dough into a ball. Cut the dough into two or three even pieces and form smaller balls again. Cover and let rest for 5 minutes.
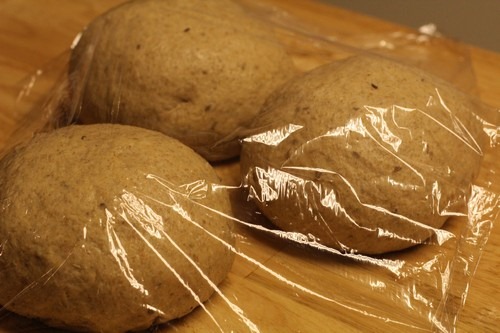
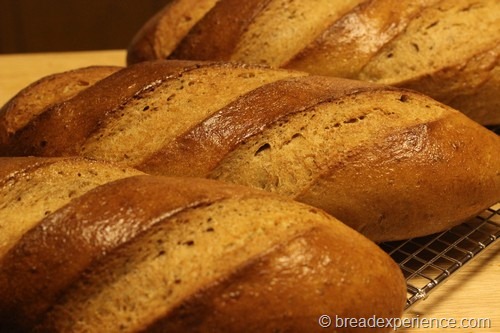
This is where I deviated from the instructions. I shaped my dough balls into batards rather than placing them in loaf pans.
To make the batard shape, gently pat the dough into a rough triangle.
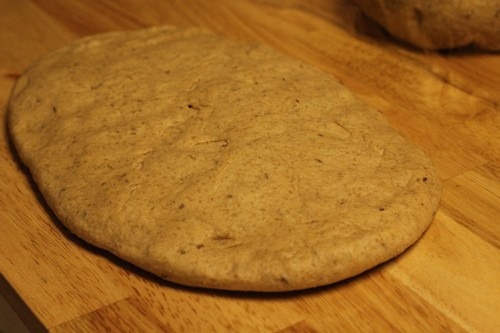
Fold the bottom third of dough, letter-style, up to the center and press to seal, creating surface tension on the outer edge.
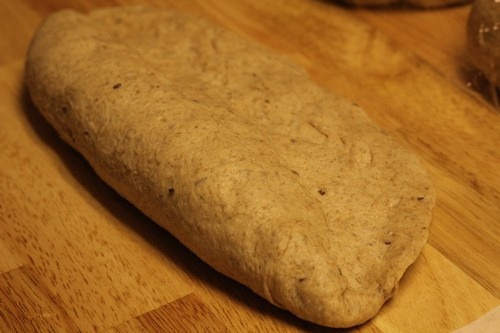
Fold the remaining dough over the top and use the edge of your hand to seal the seam closed and to increase the surface tension all over.
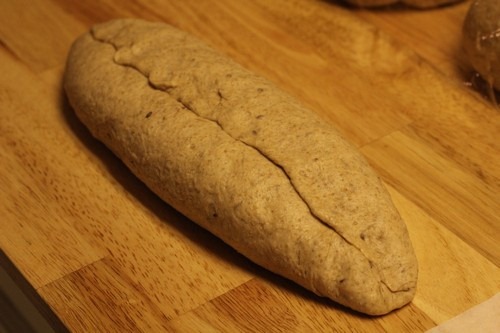
Transfer the loaf to parchment paper, seam-side down.
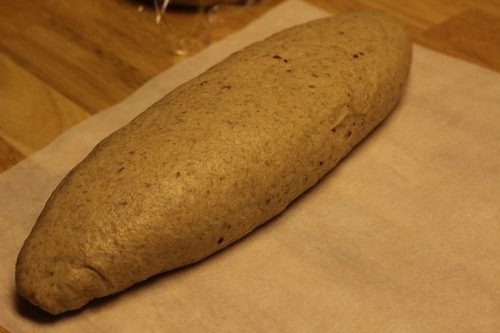
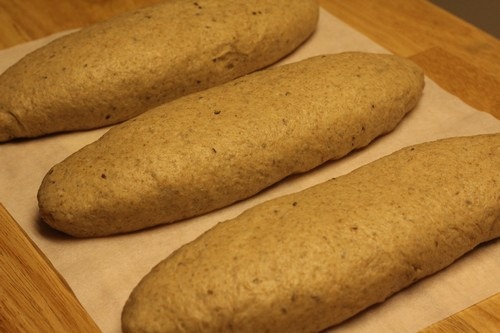
Follow the same process to shape the other two loaves and place them side-by-side on the parchment paper.
8) Scoring the Loaves
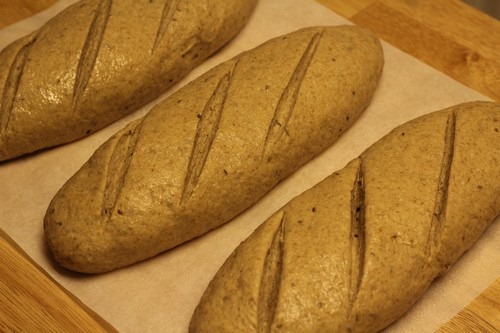
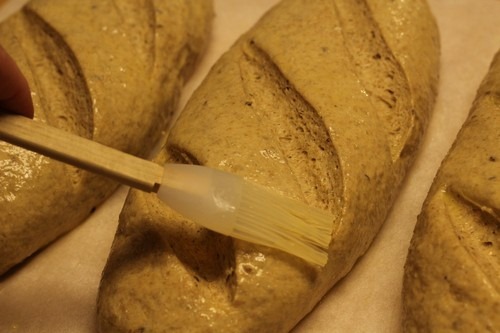
Score the tops of the loaves with a 1/2 deep slits to allow the steam to escape. If you make the scores before the final proofing, they will open up more and give the bread a unique look.
9) Final Proofing
Cover and let rise again. This will take 20-25 minutes.
Brush with egg wash and sprinkle with poppy seeds or sesame if you want! I used the egg wash but not the seeds.
10) Bake the Loaves.
Bake for about 50-60 minutes.
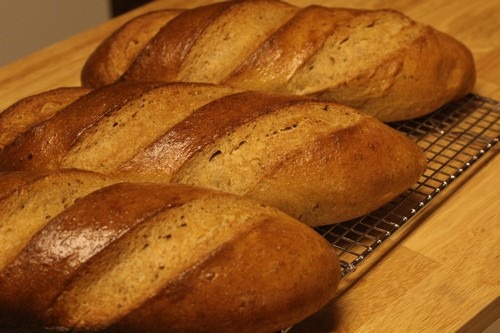
I decided to bake the loaves on a baking stone so I had turned the oven up to 450. Then I placed the loaves (on the parchment paper) directly on the baking stone and baked it with a steam pan underneath. The bottom of the loaves got a little burnt in a few spots so I probably should’ve turned the oven down to 400. Otherwise, the bread turned out fine.
11) Cool the Loaves
Remove from pan to cool down completely.
12) Slice and Enjoy!
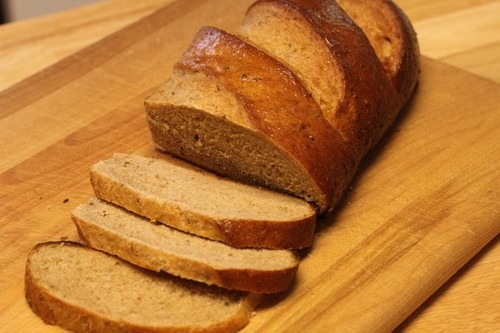
This bread tastes great as a grilled cheese sandwich with turkey and mustard. I forgot to take a photo of the sandwich but it was delicious. It also tastes great plain and with peanut butter. Yum!
This bread has been YeastSpotted. Please visit Wild Yeast to view all of the lovely breads in the roundup.
I would just like to say, that after it’s all said and done, this bread is wonderful and definitely worth the effort of deciphering the original instructions. I hope you’ll try it!
Happy Baking!
Cathy
Elizabeth says
It looks beautiful!! I’m so glad that my renegade ways to follow (or not) the instructions were helpful.
So? How did the two different versions compare? (Now I want to try the one that has cardmamom and molasses)
Many thanks for baking with us.
Elwood says
What beautiful loaves…yummy.