The BBA Challenge continues … for me anyway. Several of the other bakers have finished, but I slowed down a little bit to enjoy the ride and to try and master some of these breads. I’m on Swedish Rye (Limpa) #37, only six more breads to go…
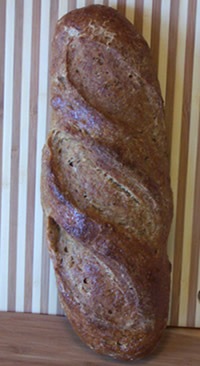
Swedish Limpa is flavored with molasses, citrus peel, anise seeds, fennel seeds, and ground cardamom. This version also utilizes an overnight sponge made with the barm we created at the beginning of the sourdough series.
I loved the idea of all of the spices in this dough; however the smell of licorice was pretty strong. I’m not a big licorice fan so I wasn’t sure if I would like this bread. I tasted the dough and thought “yuck”. Fortunately, the baked bread tasted much better than the dough. I liked it and so did my taste testers. My youngest son said, “I’m going to have some more of that!”
A friend on FB from Sweden saw the photo I posted of this bread on Facebook and told me that traditional Swedish Limpa isn’t scored. That’s too bad because I love the slashes!
Note: This bread was part of the BBA Challenge so the formula is not provided.
If this bread sounds good to you, you might also enjoy Swedish Rye Bread with Sprouted Wheat. Since the ingredients are similar, you can refer to the list of ingredients for that bread and follow this process for making it.
Here is the process I used to make this Swedish Rye Limpa.
Making the sponge
The day before you make the bread, make the sponge by combining the water, molasses, orange peel, aniseeds, fennel seeds, and cardamom in a saucepan. Bring the mixture to a boil, and then turn off the heat. Cool to lukewarm.
Stir in the barm and rye flour until the flour is fully hydrated and evenly distributed. It should make a thick sponge. Cover with plastic wrap and ferment at room temperature for 4 hours, or until the mixture becomes foamy. Refrigerate overnight.
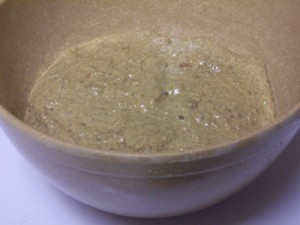
The next day, remove the sponge from the refrigerator 1 hour before making the bread dough to take off the chill.
Making the Dough
Stir together the bread flour, yeast, salt, and brown sugar. Add the sponge and the melted shortening or warm vegetable oil. I used vegetable oil. Mix until the dough forms a ball. I used my dough whisk instead of a mixer.
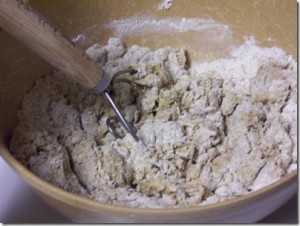
Transfer the dough to a counter sprinkled with flour and begin kneading for approximately 4 minutes. Add more bread flour if needed.
The dough should be tacky but not sticky. Don’t over knead because over kneading makes rye breads gummy. The entire process should be completed within 6 minutes.
Fermenting the Dough
Lightly oil a bowl and transfer the dough to the bowl, rolling it around to coat it with oil. Cover the bowl with plastic wrap.
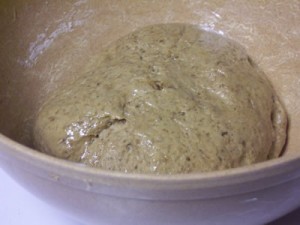
Ferment the dough at room temperature for about 2 hours, or until the dough doubles in size.
Shaping the Loaves
Remove the dough from the bowl, and knead it for 2 minute to degas. Divide the dough in half using a bench knife or serrated knife. Then, shape the dough balls into batards (torpedo) or sandwich loaves. I chose the batard shape. I just love this shape!
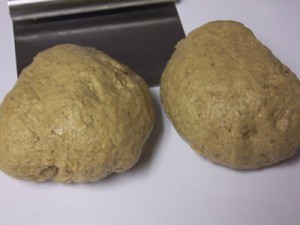
To make the batard shape, gently pat the dough into a rough triangle.
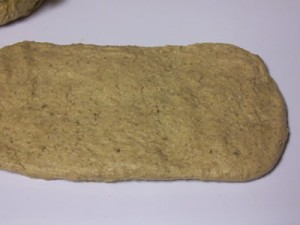
Without degassing the piece of dough, fold the bottom third of dough, letter-style, up to the center and press to seal, creating surface tension on the outer edge.
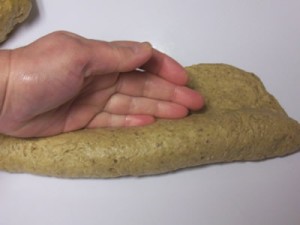
Fold the remaining dough over the top and use the edge of your hand to seal the seam closed and to increase the surface tension all over.
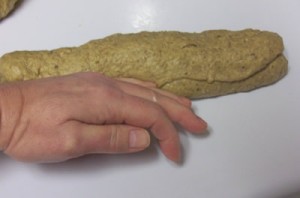
Set the batard aside while you shape the other one.
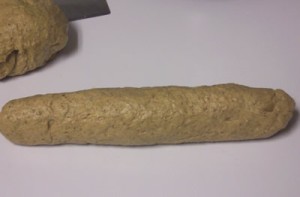
Line a baking sheet with parchment paper and sprinkle it with cornmeal. Transfer the loaves to the baking sheet.
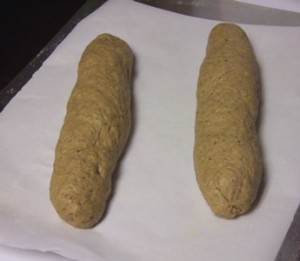
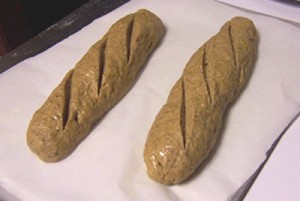
Score the top of the loaves with 3 parallel slashes. I used a serrated knife to slash the loaves. The serrated knife worked really well although I think I made some of the slashes a little bit too deep – 1/2 inch rather than 1/4 inch.
Proofing the Loaves
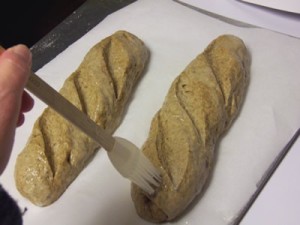
Mist the loaves with spray oil and cover loosely with plastic wrap. Proof at room temperature for approximately 90 minutes, or until the dough rises 1 1/2 times its original size.
Preparing the Loaves for Baking
Preheat the oven to 350 degrees and brush the egg wash over the surface of the dough just prior to baking.
As you can see, the slashes opened up very nicely.
Baking the Loaves
Bake the loaves for 20 minutes, then rotate the pan(s) 180 degrees for even baking.
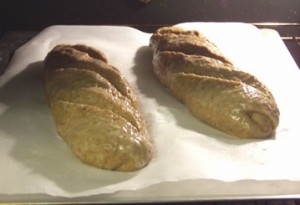
Continue to bake for 15 to 30 minutes, depending on the size of the loaves. The loaves should be a light golden brown color and make a hollow sound when thumped on the bottom.
Remove the loaves from the oven and immediately transfer them to a wire rack to cool for at least an hour before slicing or serving.
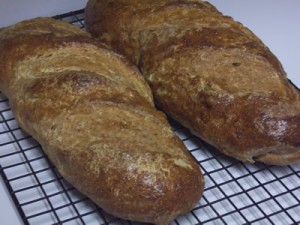
Here are the finished loaves. Cooled and ready to be sliced.
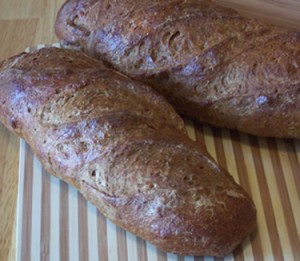
I really liked this bread. The flavor was great! It tasted really good with peanut butter and jelly. That’s my favorite test! I’ll be making this one again.
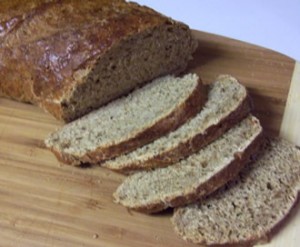
This bread has been YeastSpotted. Please visit Wild Yeast to view all of the lovely breads in the roundup.
Thanks for joining us in the Bread Baker’s Apprentice Challenge. The next bread in the Bread Baker’s Apprentice Challenge is Tuscan Bread.
Happy Baking!
Cathy
Lynda says
Great tutorial and beautiful pictures. That one goes on my list to make. Yum!
Cathy (breadexperience) says
Thanks Lynda! This is definitely a keeper!
görel says
They look gorgeous, and what I great write-up! I definitely have to make this soon.
Cathy (breadexperience) says
I hope you do make it and let me know how you like it.
Nina says
That is awesome…I have never thought abt making it.Lovely recipe.I also wanted to join BBA..how do I go abt it? Please let me know.My id – foodielovers@gmail.com
Anne Marie says
Cathy, I love your slashes. Beautiful loaves.
Cathy (breadexperience) says
Thanks! I thought this was a great bread! I enjoyed making it.
biz319 says
That bread looks delicious! I love the smell of fresh bread – nothing like it! I just joined the HBin5 so I will be making the avocado guacamole buns this weekend.
And last weekend I made America’s Test Kitchen bread recipe after my husband saw it on their episode – hands down the best bread I’ve ever made!
Check it out if you have time:
http://biz319.wordpress.com/2010/03/01/best-bread-ever/
Happy Friday!
Mimi says
Your rye bread looks so delicious!
Margie says
Your bread is spectacular, your instructions are too!
I have made this bread before and I think it is one of the best items there is. The day I made it I didn’t let on to anyone other than to tell them that it was a rye bread. Now they want me to make it again, my problem is, I don’t think I can share it. 😉 I’ll have to hide myself away, and air the house of the splendid scent before anyone learns what I was up to…;)
This is a definite keeper.
Cathy (breadexperience) says
Thanks Margie! Lol…:)
Michelle says
Gorgeous loaves. Reinhart’s techniques are the best!
ap269 says
The slashes ARE gorgeous, even if they are not authentic. Unfortunately, I didn’t really like the bread, because the smell was kind of weird…
Cathy (breadexperience) says
I agree, the smell was definitely strong, but I liked it after it was baked.
Debbie Laudone says
Your tutorial is very good, easy to follow. I am excited to try making this bread. However,I don’t see a recipe! Am I missing something? Is there another place to get the actual recipe?
Cathy (breadexperience) says
Hi Debbie, Thanks for visiting. This post doesn’t include the recipe since it was part of the BBA Challenge. Here is a similar bread that you might enjoy http://breadmakingblog.breadexperience.com/2012/03/swedish-rye-bread-with-sprouted-wheat.html