Have you ever looked longingly at those exquisitely scored breads that show up in your Facebook, Instagram, and Pinterest feeds and thought I could never do that? Me too.
I’ve gotten pretty good at scoring deep cuts and creating different patterns in the dough to help the loaf open up during baking, and sometimes even achieving the coveted “ear,” but I didn’t think I had the skills to create a bread masterpiece.
Well, it just so happens that Elizabeth of Blog from OUR Kitchen decided now was the time for the Bread Baking Babes to up our bread-scoring game.
In Elizabeth’s words, “This month’s decorated bread is not really about creating an ear or directing the rise, it’s about decorating the bread with shallow knife cuts.”
Old habits are hard to break as they say, so I had a hard time trying not to create an ear or directing the rise. I suppose that’s not a bad thing…
At first, I was excited about this challenge, but then I got cold feet. I couldn’t quite decide what pattern I wanted to use. So I waffled.
Round Loaf Attempt #1
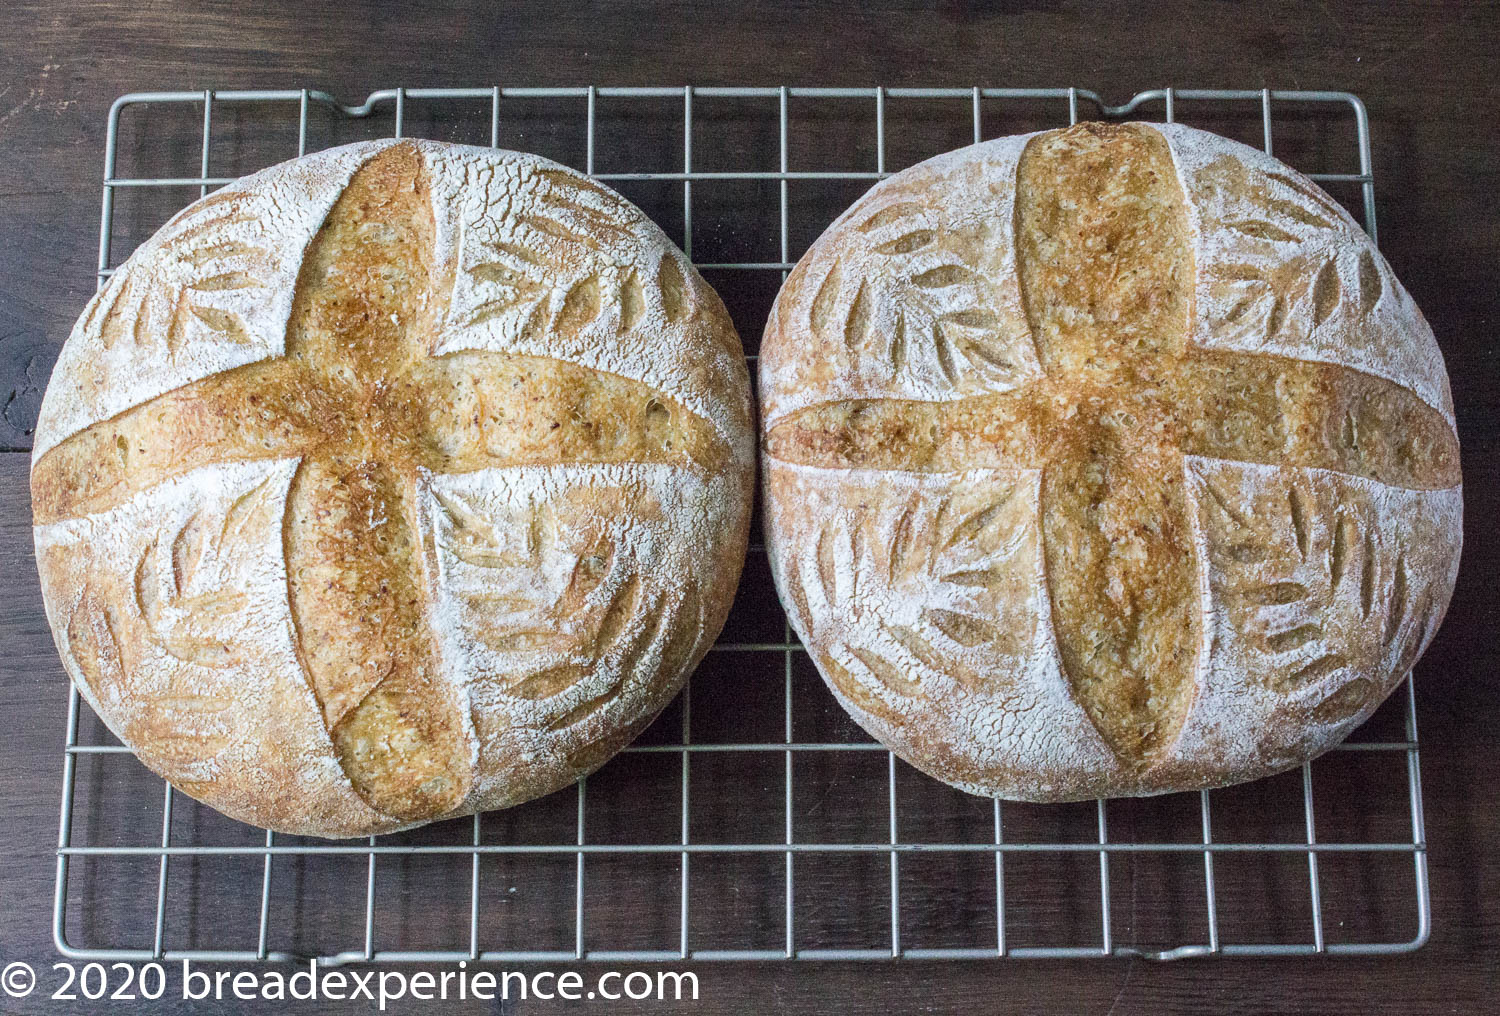
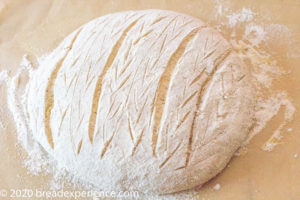
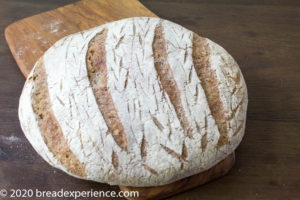
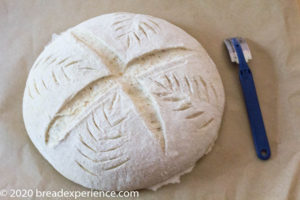
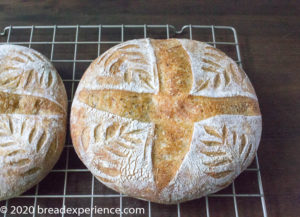
For my first attempt, I tried scoring a round loaf which usually works pretty well for me for regular scoring; however, when it came time to bake it, I realized I hadn’t quite worked out the steam issue (with my new oven) for baking round loaves. I used a Dutch Oven, but the loaf and the scores didn’t open up very much.
I think my lackluster results are due to several variables: where I placed the DO in the oven, the type of flours I used, and not being decisive about the scores.
I had sketched the pattern on paper so I had something to go by, but I must say, it looked better on paper. The scores ended up being so tiny, they look like chicken feet. I used a curved lame to make the deep scores and a straight-blade lame to make the chicken feet.
Tip #1: Be decisive in your scoring. You must be confident or you’ll end up with chicken feet. Lol…
Originally, I wasn’t going to show these photos, but I decided others might benefit from learning from my mistakes (er, attempts).
Even though my first attempt at decorative scoring a round loaf didn’t turn out to be a scoring showpiece, the flavor was wonderful! I used a blend of stone-milled local GA all-purpose flour and home-milled red fife to give it some color. I also added some flax seed meal which provided a lovely rustic appeal.
Tip #2: Use strong all-purpose flour so the dough holds its shape during proofing and doesn’t flatten out on the counter. Until you get the hang of this type of scoring, it’s probably best not to test out new flours, Cathy.
I plan on trying decorative scoring on a round loaf again soon, and will add it to this post; however, in the meantime, to build my confidence, I decided to switch to oval loaves. After baking oval and pan loaves for the local farmer’s market for several weeks, I knew I could at least control some of the variables.
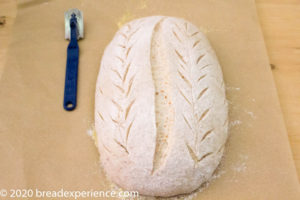
Oval Loaf Attempt #1 – Deep Score Down the Middle
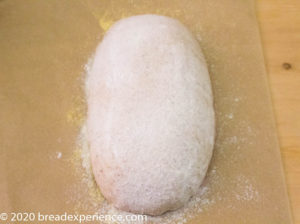
I doubled the recipe to make two oval loaves. I used the same formula, but this time I used a blend of KAF all-purpose flour and home-milled red fife flour. I’m saving the GA all-purpose flour for other purposes.
I baked the loaves on a preheated baking steel with a deep roasting pan on top. This method has been working well for me, but I can only bake one loaf at a time or they stick together. I do have two ovens but opted to only use one so I could gauge the results of the first loaf before scoring and baking the second one.
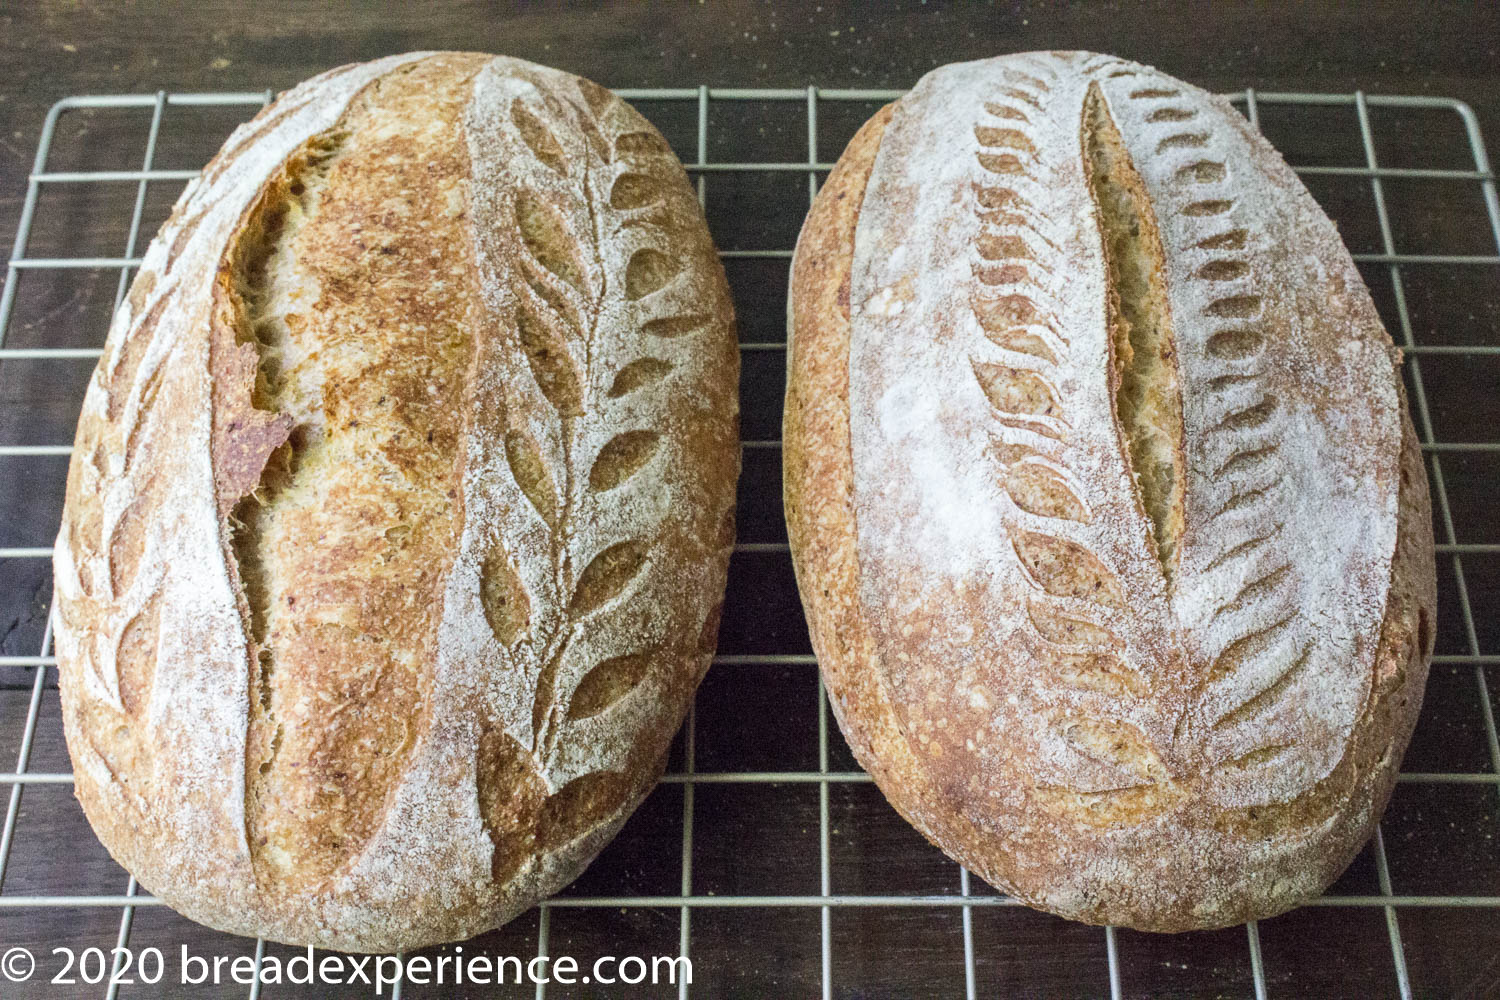
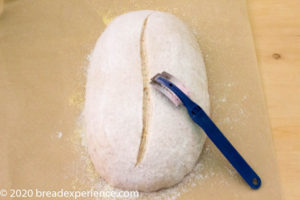
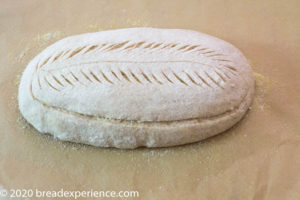
My inspiration for the first oval loaf is from @ruthtam on Pinterest although she used more flour on top so the contrast was more significant.
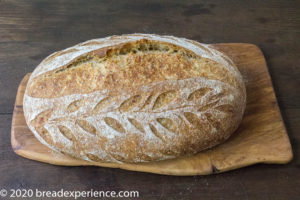
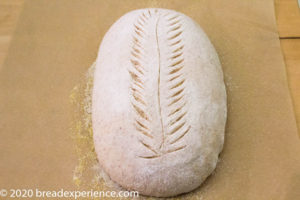
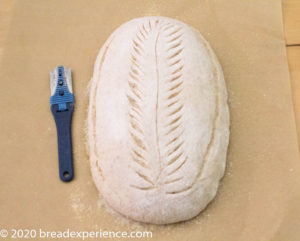
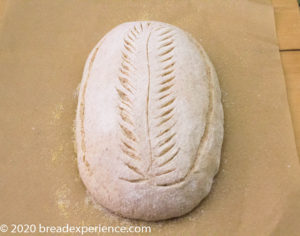
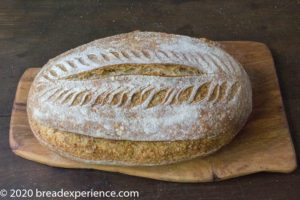
I used a curved lame to score a slightly wavy slash down the middle and to make decorative slashes on either side of the deep score. I got an ear with the score down the middle which I wasn’t aiming for, but hey, I’ll take it.
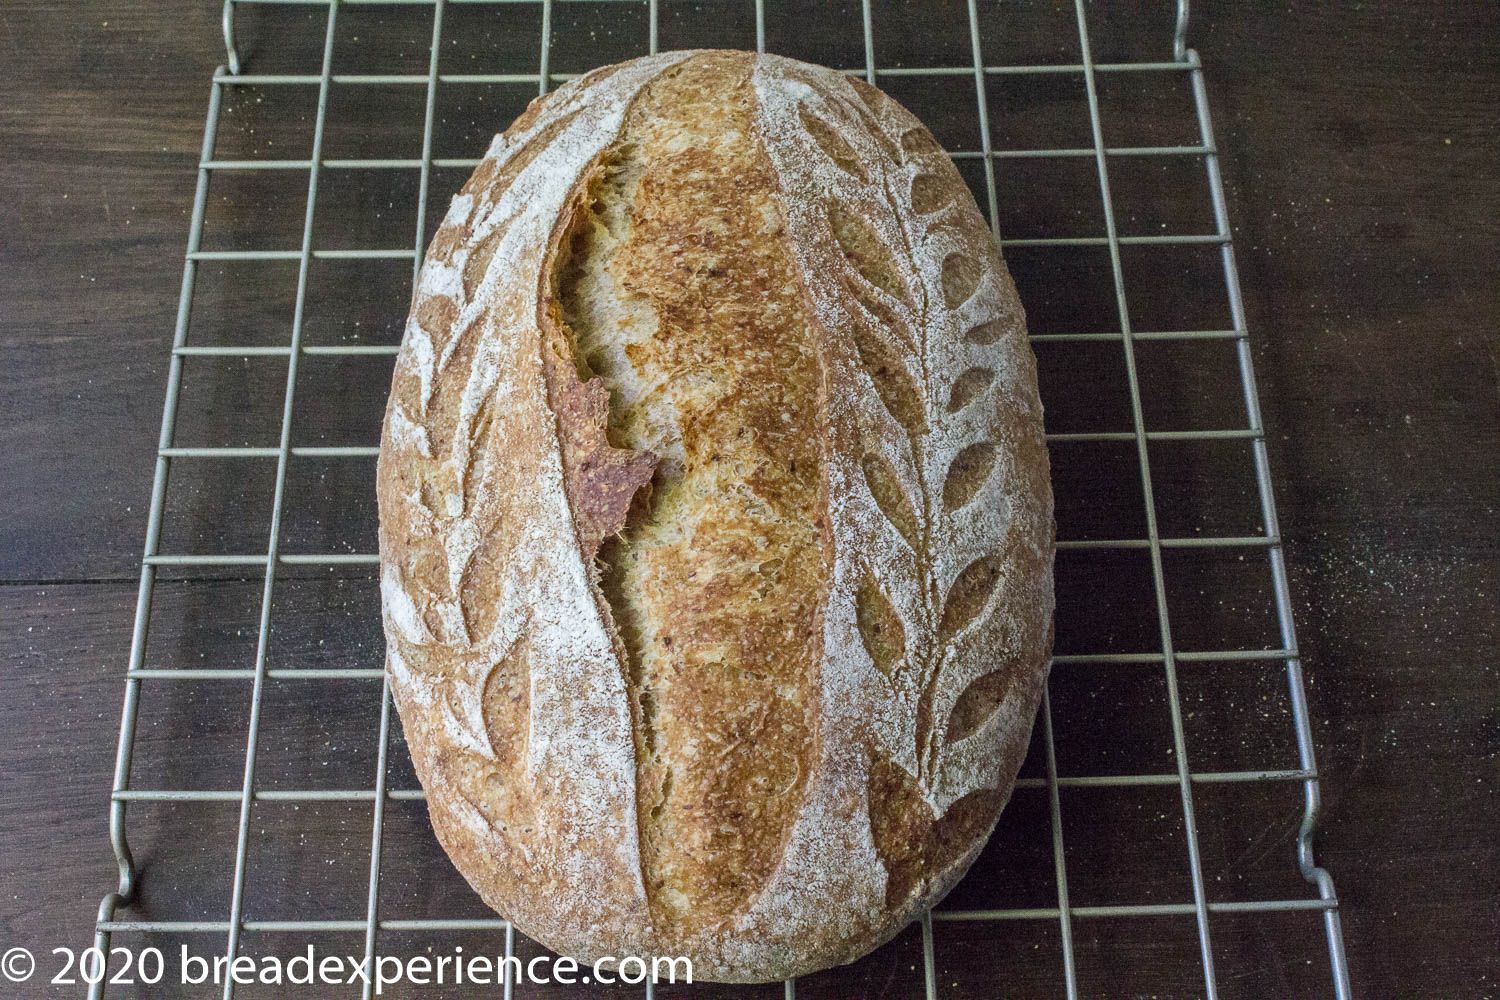
The decorative pattern on the right side looks the best. I need to work on making the scores consistent on both sides, but all in all, I was pleased with this one. I texted a photo of both oval loaves to my mom and this is the one she preferred.
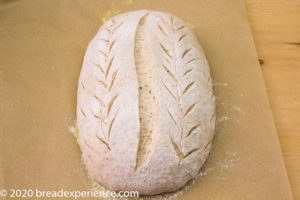
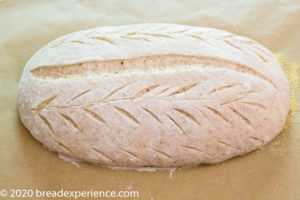
Oval Loaf Attempt #2 – Deep Scores on Either Side
My inspiration for the second loaf is from @danlarn on Instagram and posted on Pinterest
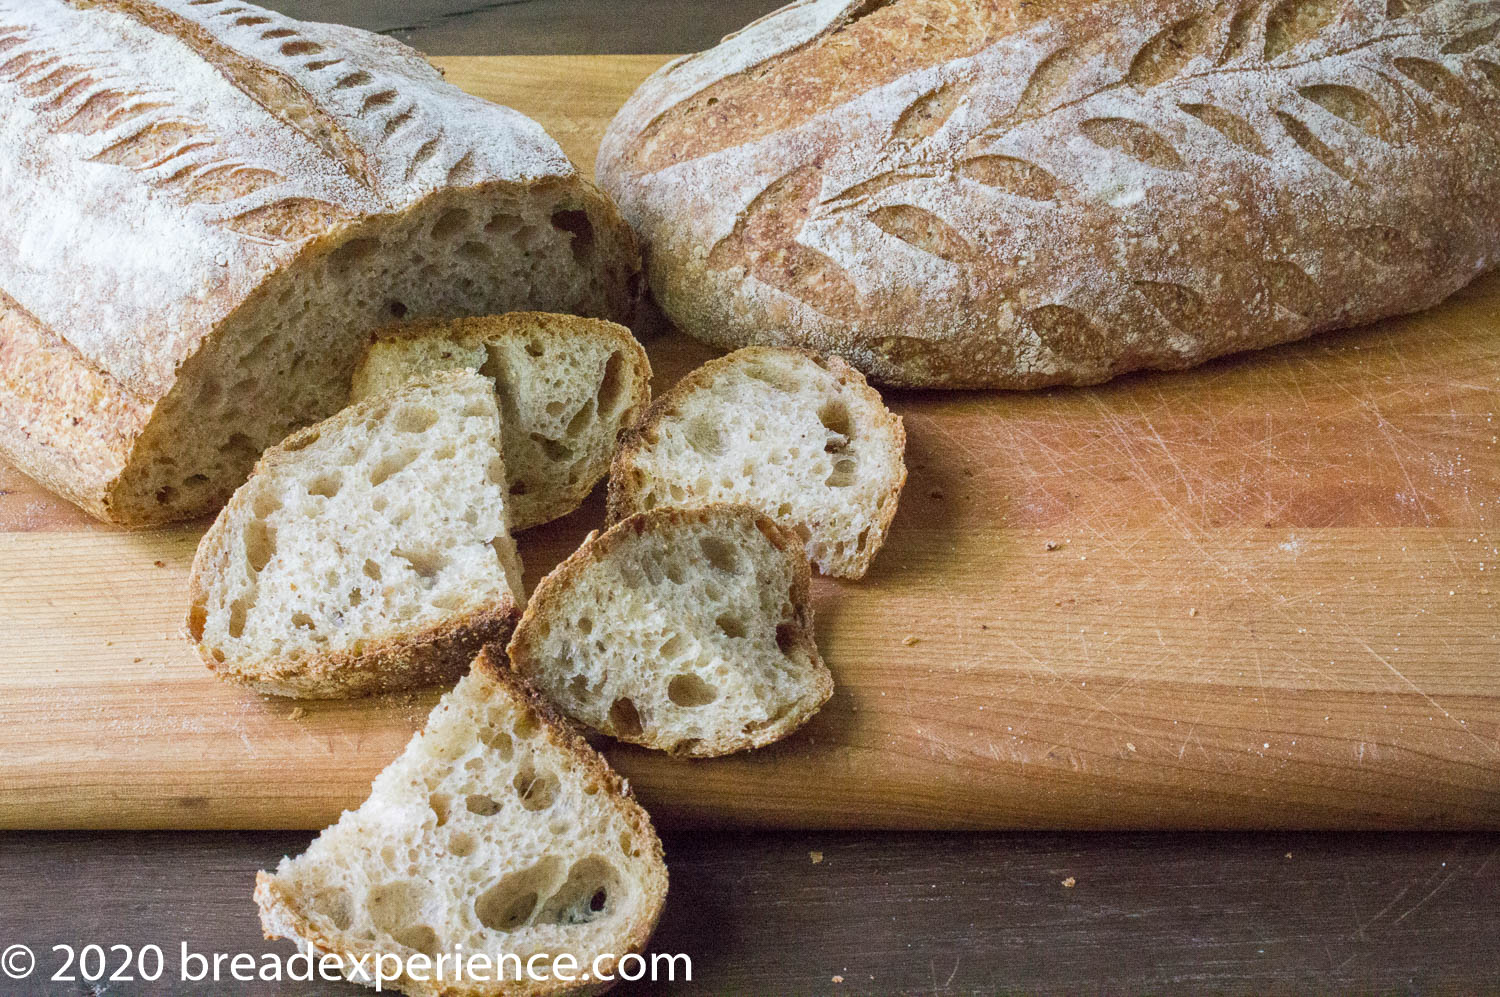
This time, I added more flour on top of the loaf. I liked the result although it got a bit smudged so the design doesn’t show up as well on the left side. Even so, this was my favorite of the oval loaves.
I used a curved lame to make the decorative scoring down the middle and a straight blade to make the deep scores on either side.
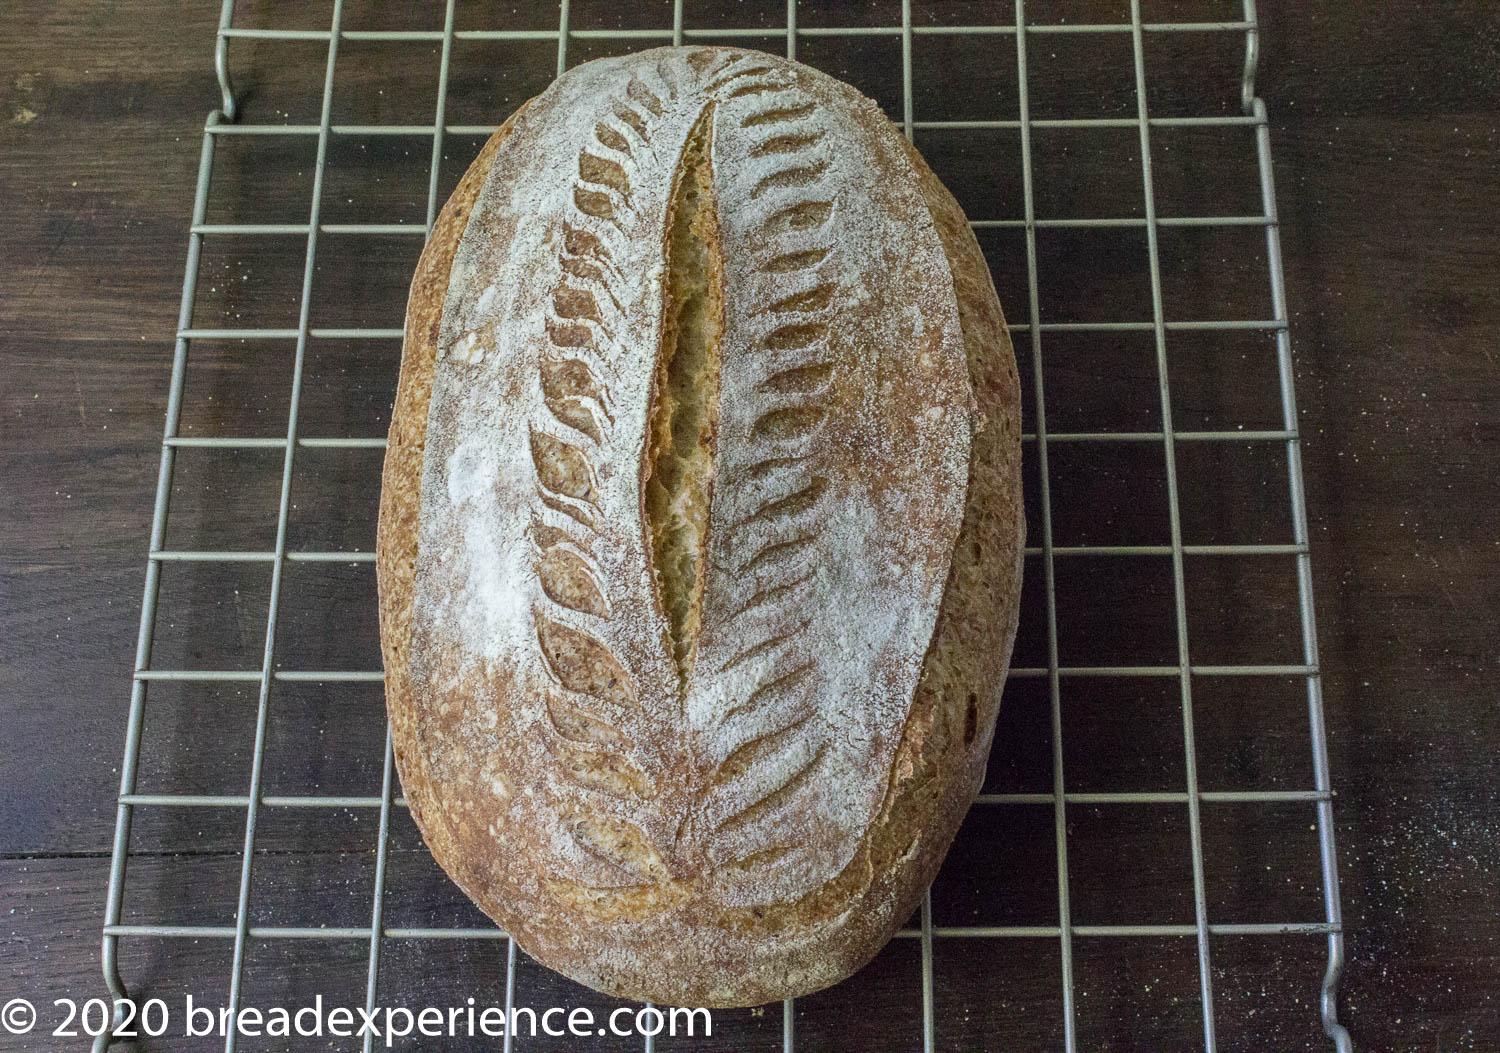
For some reason, I decided to add a hairline score between the decorative scoring, and wouldn’t you know it, it opened up. I got three ears on this loaf. Don’t think that’s happened to me before.
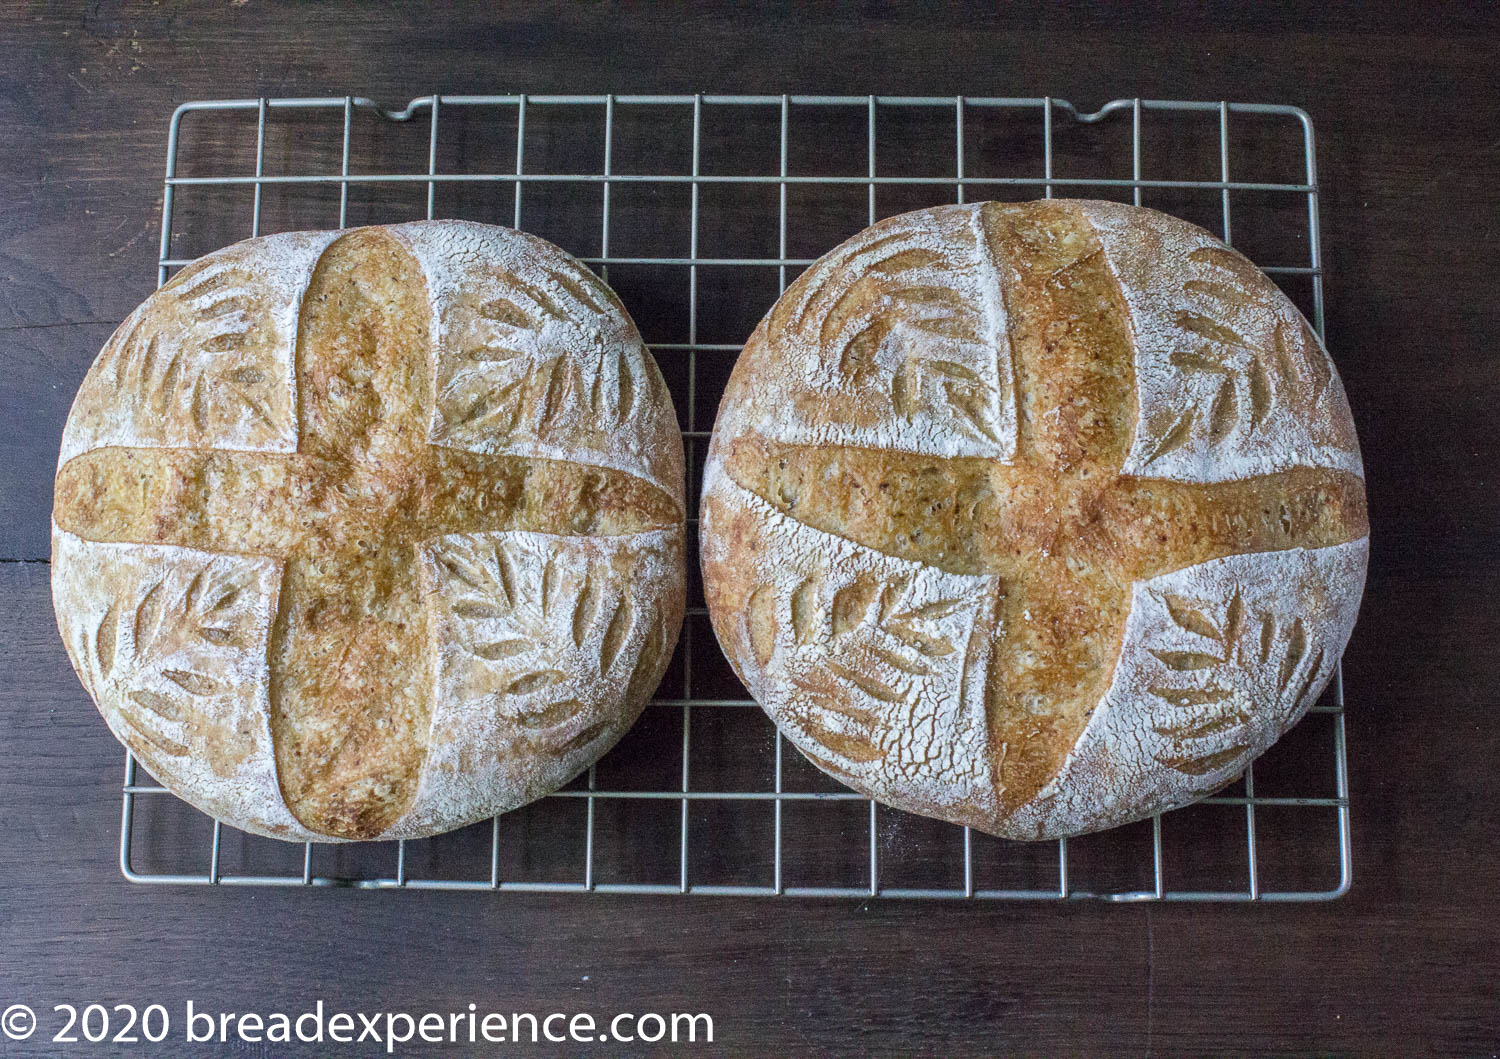
Round Loaf Attempts #2 & 3 – several days later
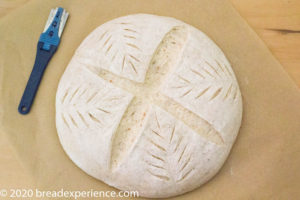
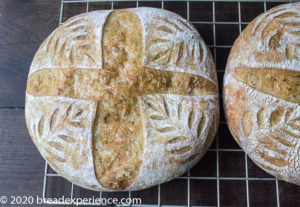
My inspiration for these loaves comes from @serapeylulservet’s loaf which was posted on Instagram and then pinned to Pinterest.
- Scored with straight blade
- Scored with curved blade
This was a fun challenge and something I’ve been wanting to try for a while.
I have not arrived, but you have to start some place. And you know what they say. Practice makes perfect! The only way to get skilled is to jump in, try it, and then practice, practice, practice.
So ready or not, it’s time to get out of your comfort (and confidence) zone and venture into the wonderful world of decorative bread scoring.
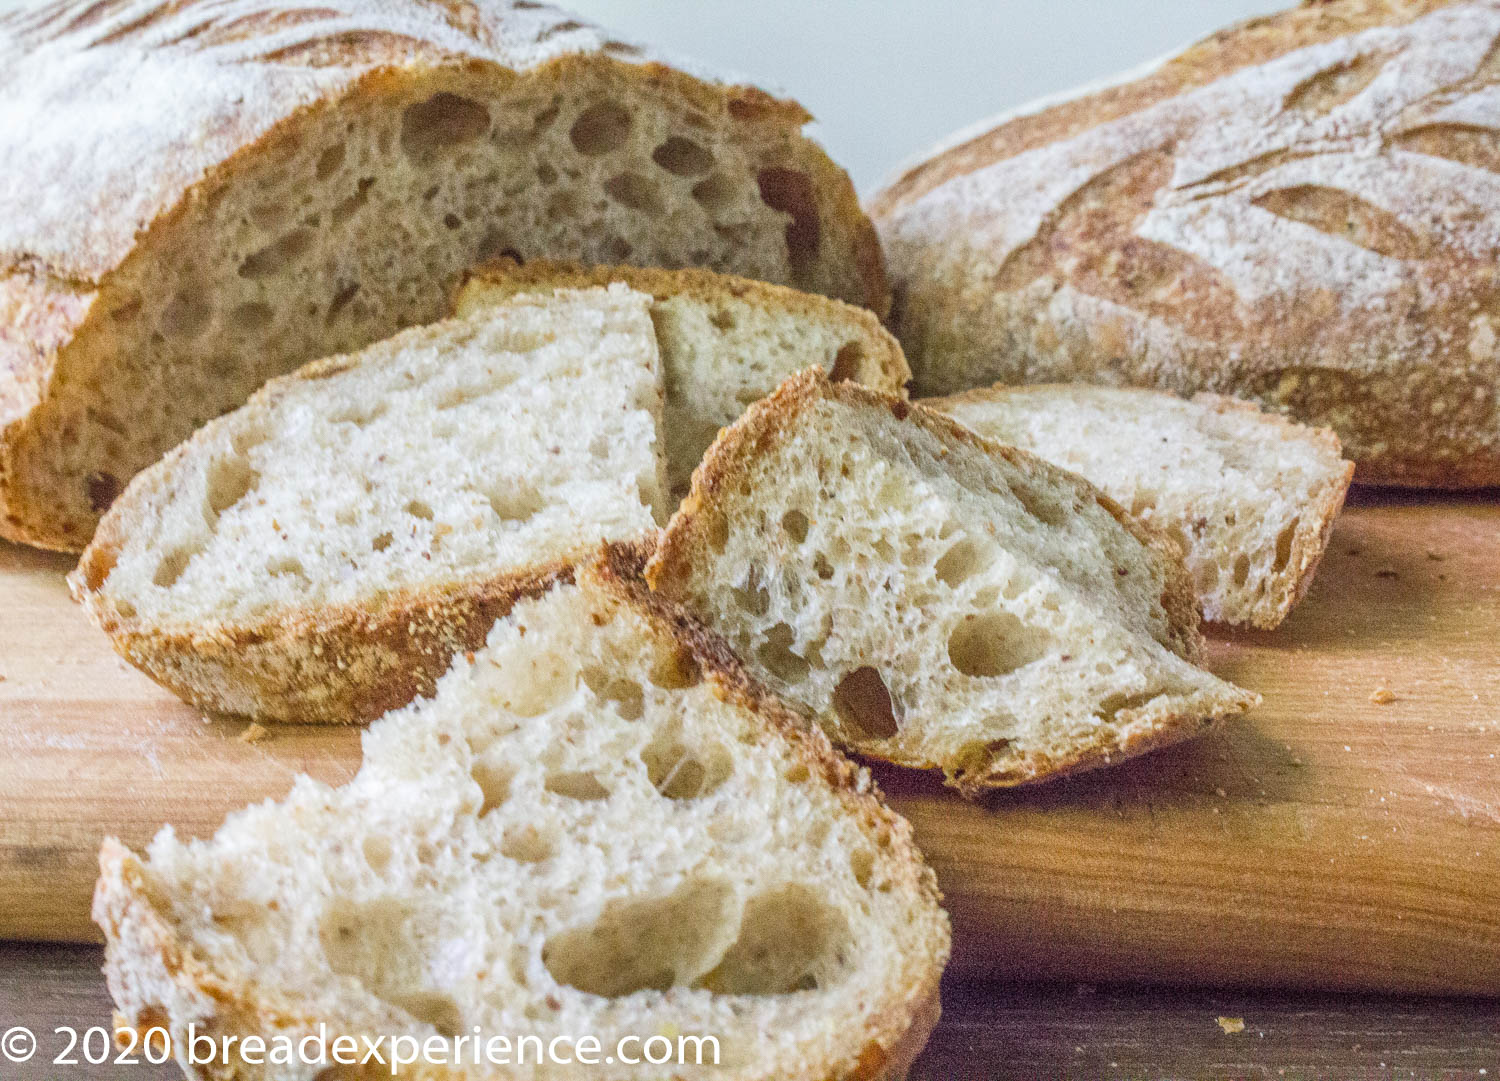
You may use any slack dough you like or if you need inspiration, try Elizabeth’s suggested formula below.
Slack Dough Bread for Decorating
This formula is for slack dough (about 73% hydration) that can be made into a boule, ciabatta, or fougasse. It also works well for oval loaves or batards. I doubled the formula to make two loaves. My edits are in blue.
Yield: When doubled, 2 loaves about 680 – 690 grams each
Overnight Leavener (start around 9 pm)
- 50 grams whole wheat flour (I used home-milled red fife)
- 50 grams water
- dessert spoon of starter from the fridge (10-15 grams)
9am until noon Leavener
(because starter is too active to make bread for dinner without firing up the barbecue in the middle of the day) (I omitted this step. I placed the loaves in the proofing baskets in the refrigerator to cold ferment overnight.)
- All of above
- 15 grams 100% whole wheat flour
- 15 grams water
Actual Dough
- 255 grams unbleached all-purpose flour
- 70 grams home-milled red fife flour
- 10 grams wheat germ (I used ground flax meal)
- 5 grams malted barley chops (I omitted this)
- sploosh olive oil (about a tablespoon/approx. 10-12 grams)
- 220 grams water (plus more if it seems too dry or the dough tears)
- 20 grams water + 7 grams salt
Scoring
- add’l all-purpose flour for dusting the top of the loaf
Leavener: In the evening of the day before making the bread:
Put the starter, flour and water into a smallish bowl. Mix with a wooden spoon until the flour is stirred in well. Cover the bowl with a plate and set aside overnight in the oven with only the light turned on. Unless it is ridiculously hot in the kitchen. In that case, leave the oven light turned off. Or you may leave it on the kitchen counter.
Leavener, continued: In the morning of the day you will be making the bread, if it is ridiculously hot in the kitchen: Using a wooden spoon, stir 15 grams of whole wheat flour and 15 grams of water into the leavener bowl. Cover the bowl with a plate and leave on the counter until about noon. As noted previously, I omitted this step since I was planning on cold fermenting the dough.
Mix the dough: When a small spoonful of the leavener floats in a small bowl of room temperature water, you can go ahead and mix the dough: Put flours, flax seed meal, olive oil, all but 20 grams water, and the leavener into a large mixing bowl. Use a dough whisk or wooden spoon to mix these ingredients together to make a rough dough. Cover the bowl with a plate, kitchen towel, or bees wrap and leave on the counter for about 30 minutes.
Adding the salt: In a small bowl, whisk the salt into the final 20 grams water. Pour the salt mixture over the dough.
Kneading: Use one of your hands to squoosh the salt and water into the dough; use the other hand to steady the bowl – this way you always have a clean hand. At first the dough might be a bit messy and seem like it’s coming apart. Persevere. Suddenly, it will seem more like dough than a horrible separated glop. Keep folding it over onto itself until it is relatively smooth. Add more water if the dough tears while you are folding it over itself. Cover and leave to rest for about 30 minutes.
Stretching and folding the dough: Turn the bowl as you fold and re-fold the dough into the center. Cover the bowl and leave on the counter (or if the kitchen is cool like ours in winter and spring, into the oven with only the light turned on). Repeat the folding step about 3 times in all at 30 minute intervals. I folded the dough 3 times at 40 minute intervals. You’ll notice that after each time, the dough will feel significantly smoother. After the final time of folding, the dough is probably ready to pre-shape.
Preparing the Pattern: Draw a circle on a piece paper and roughly sketch the design you would like to achieve.
Tip #3: I recommend researching and creating your design the day before you plan to start so that you’re prepared and ready to go. No waffling!
Pre-shaping: If you are going to make a round loaf (if you are making ciabatta, skip this step): Scatter a dusting of all-purpose flour on the board and gently place the dough on the flour. Fold the dough over in half, gently patting off any extra flour that might be there. Continue folding in half until the dough is shaped in a ball. Cover with a tea towel and let rest for about 30 minutes.
Shaping:
- Round or Oval Loaf or Batard: Without breaking the skin, use the dough scraper on the sides to tighten the dough ball further. Once it has been tightened, put the shaped loaf seam-side up in a lined banneton proofing basket.
- Ciabatta or Fougasse:Scatter a dusting of all-purpose flour on the board and very gently place the dough on the flour. Fold the dough over in half, gently patting off any extra flour that might be there.
Cover with the tea towel, an overturned mixing bowl or bees wrap and let sit for an hour or so to allow the loaf to almost double. “Almost” is the key here….
Tip #4: Cold ferment the dough in the refrigerator overnight: although you can bake the loaf the same day, I recommend proofing the dough on the counter for 40 minutes to one hour, then placing it the refrigerator overnight. This will help the dough develop a “skin” and make it easier to score.
Baking your loaf without the overnight cold proof:
To know when it’s time to bake, run your index finger under water and gently but firmly press it on the side of the bread. If the dough springs back immediately, recover the bread and leave it on the counter for another 15 minutes of so. If the dough gradually returns back after being pressed, leave the tray on the counter. Continue to preheating step.
Baking your loaf after the overnight cold proof:
Preheating the oven:
Put a baking stone or steel on the middle shelf or lower shelf of your oven, depending on your oven. My new oven has 5 shelves so I place the baking steel on the 4th shelf so that it gets enough oven spring but doesn’t burn the loaf on the bottom.
Place a large stainless steel mixing bowl or roasting pan on the stone or steel and preheat the oven to 400F.
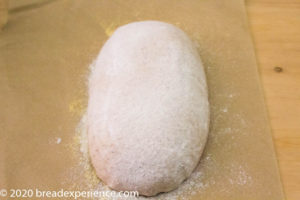
Scoring: When the oven is preheated about fifteen minutes later, depending on your oven, lightly spray the loaf with water, then using a sieve, scatter all-purpose flour over the loaf and gently pat away any excess.
If you cold ferment your loaf, remove it from the refrigerator and gently overturn the loaf onto a baking sheet lined with parchment paper. Since the dough will already be moist, you may not need to spray it with water.
Using your design as a guide, score the loaf. Remember that the deeper the score, the wider the final opening will be. (For fougasse, be sure to cut right through to the bottom in at least 2 places.
Baking: Using a peel, or the baking sheet, transfer the bread (on the parchment) to the stone and immediately put the hot overturned mixing bowl or roasting pan on top as a lid. Bake for 20-30 minutes with the lid on. After 30 minutes, remove the lid and, without stopping to stare in amazement at the fantastic design, close the oven door to continue baking for another 20-30 minutes, until the crust is a lovely dark golden brown and the bread sounds hollow when knuckle-rapped on the bottom.
Cooling: When the bread has finished baking, remove it from the oven and allow it to cool on a wire rack before slicing and eating; the bread is still cooking internally when first removed from the oven!
If you wish to serve warm bread, reheat it after it has cooled completely: To reheat any uncut bread, turn the oven to 400F for 5 minutes or so. Turn the oven OFF. Put the bread into the hot oven for about ten minutes. This will rejuvenate the crust and warm the crumb perfectly.
Get out of your comfort zone with the Bread Baking Babes!
Our Kitchen of the Month is Elizabeth of blog from OUR kitchen. She has some great scoring resources on her blog as well as instructions on how to submit your bread for the monthly roundup. Be sure to check it out.
For more inspiration, check out the other Babe’s decorative bread scoring posts below:
- blog from OUR kitchen – Elizabeth (Host Kitchen)
- A Messy Kitchen – Kelly
- Karen’s Kitchen Stories – Karen
- My Kitchen in Half Cups – Tanna
- My Diverse Kitchen – Aparna
- Judy’s Gross Eats – Judy
- Bread Experience – Cathy
- Thyme for Cooking – Katie (roundup)
Remember, new recipes are posted every month on the 16th. Check the Bread Baking Babes Facebook group to see the participants’ baking results during that time.
Happy Baking!
Cathy
Elizabeth says
I’m so glad you showed your first results! Even those look quite lovely. But. The next loaves look fabulous! I love that you did both kinds of scoring – directing the rise with an ear AND the decorative viney kind lining the middle slashes. Wow. Wow. Wow.
Cathy says
Thanks Elizabeth! I wanted to see the difference between the two. Kind of neat how scoring affects the loaf.
Karen says
Well done! Now I’m hooked! Thanks for all of the tips.
Cathy says
Thanks Karen! Me too!
Kelly says
Wow, gorgeous loaves, inside and out! My slashes were very imprecise and my loaf looks very rustic as a result. I love how your designs show off so well.
Cathy says
Thank you Kelly! My designs were imprecise as well, but hey, rustic is not a bad thing in my opinion.
Tanna says
Both your loaves are positively perfect in my book. Very effective patters on both the loaves and very lovely contrast.
Reading your post I realize I just lucked into using a dough refrigerated overnight 😊Sometimes accidents work in our favor.
Cathy says
Thanks Tanna! Very true. Or perhaps you meant to do that and just didn’t realize it at the time. 😉
Katie Zeler says
I am totally impressed….. Both are lovely.
I’m also totally intimidated.
Cathy says
Thank you Katie! Practice, practice, practice, but it’s a fun project to practice on.