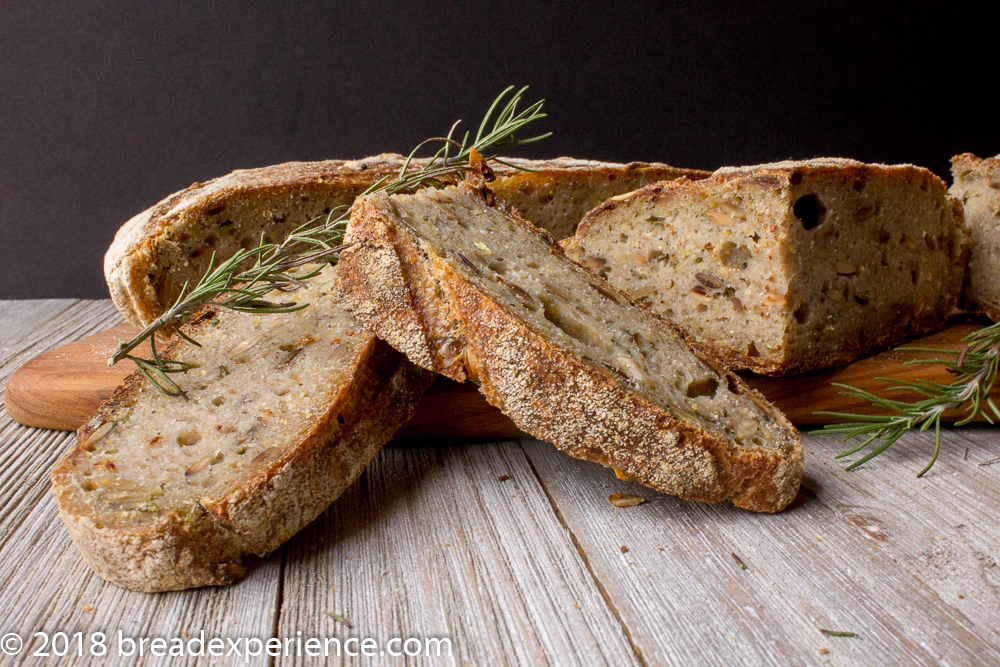
This Tartine-Style Sourdough Rosemary Polenta Loaf is crunchy on the outside and very flavorful and moist, but not gummy, on the inside. The inclusion of toasted pepitas and polenta gives it a nice chew.
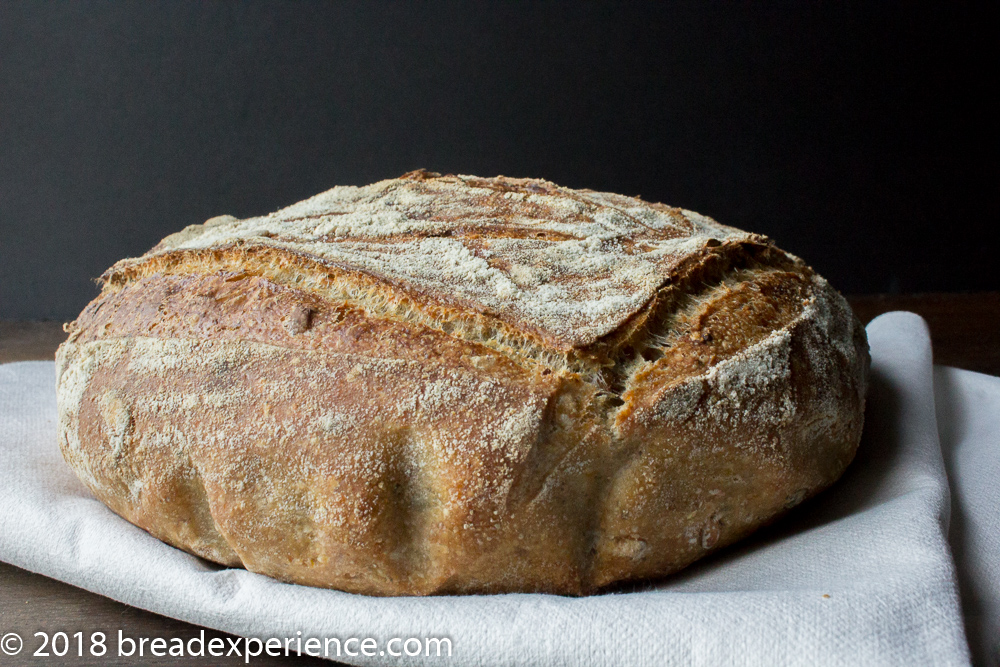
2nd Loaf had nice oven spring
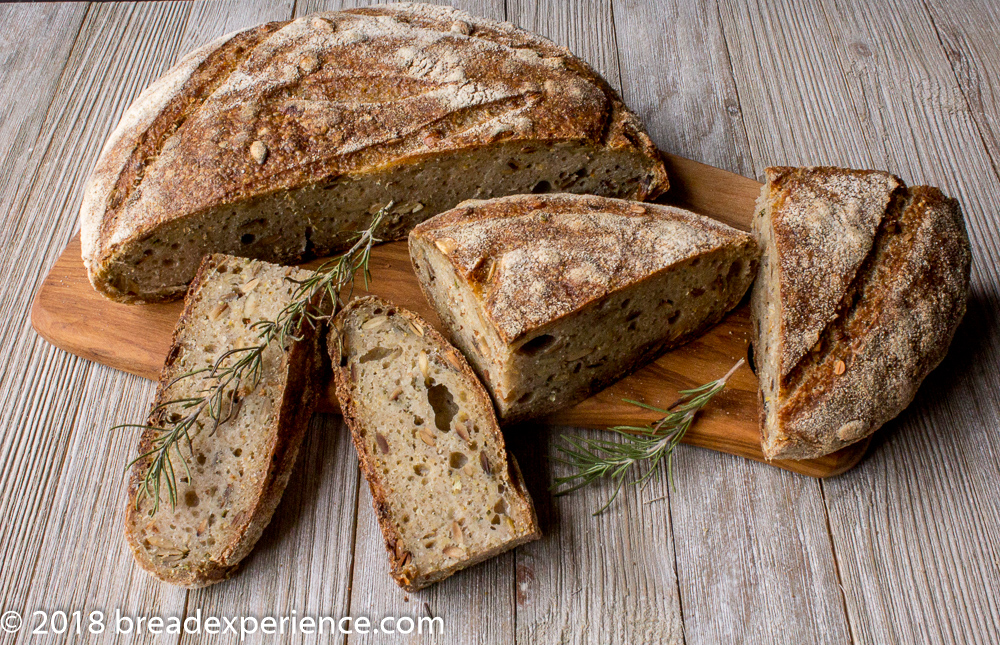
1st loaf didn’t rise as well, but had a nice flavor
Elizabeth, of blog from OUR kitchen, has jumped full swing into the wonderful world of sourdough baking, and she chose this bread as the monthly challenge for the Bread Baking Babes.
I learned a lot about polenta from the information Elizabeth shared. I didn’t realize you could use almost any type of grain to make polenta. You can even use grits, and being the grits-loving Southerner I am, I almost did!
However, in the end, I went with a coursely ground cornmeal and prepared it like grits instead of using a polenta soaker. Some of the other bakers mentioned that the soaker provided too much hydration for the dough so I reduced the amount of liquid and cooked it to help reduce the liquid. When I tasted my cornmeal mush, the only thing that was missing, besides butter, was salt; otherwise, I so could’ve eaten and enjoyed it like grits.
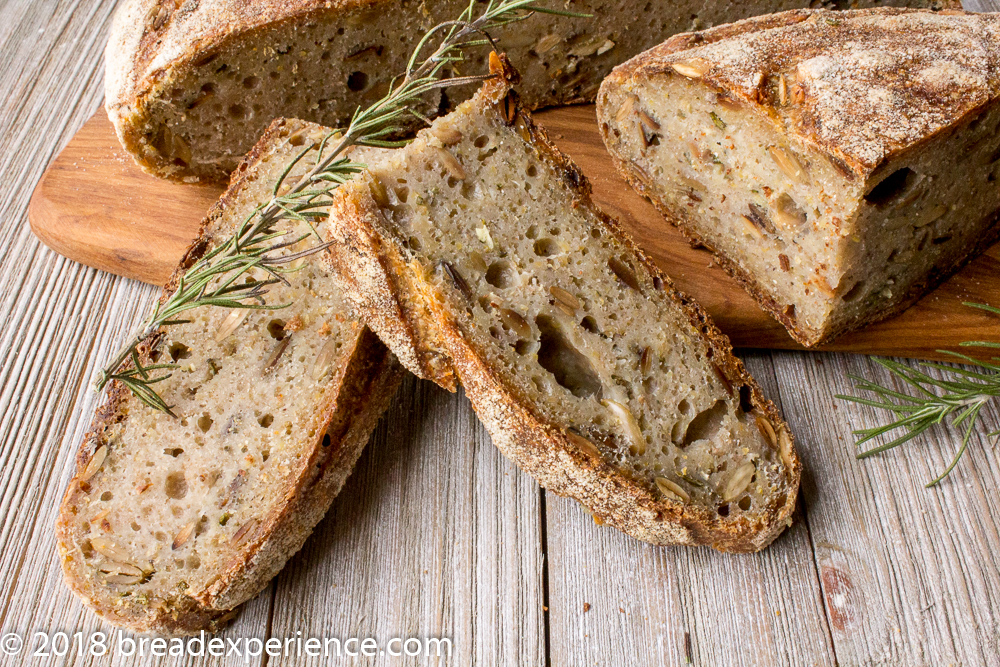
1st loaf was a little gummy but it had a great flavor
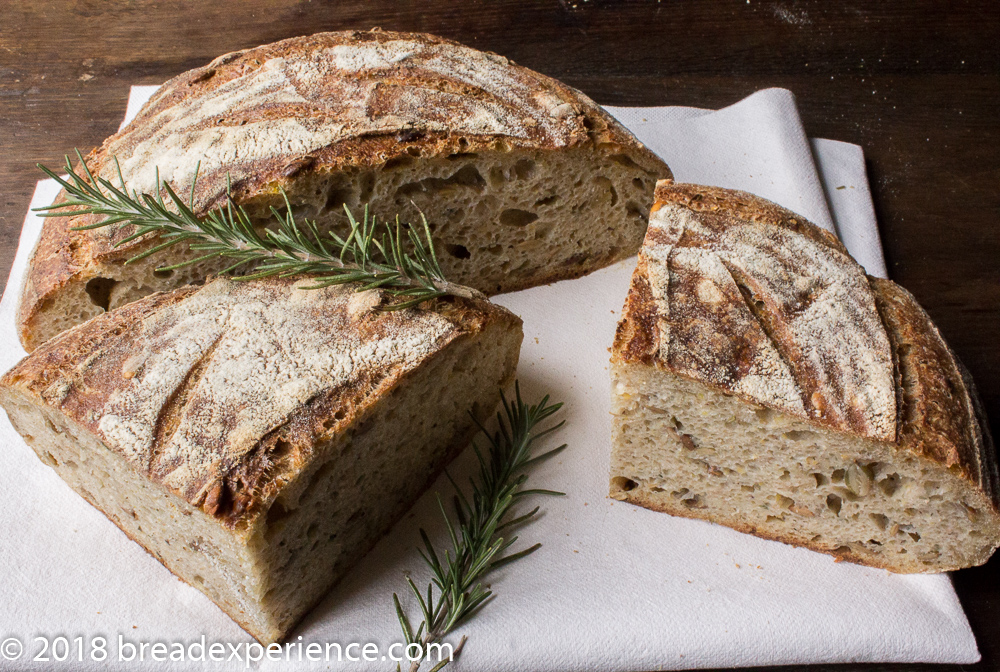
2nd loaf – 1 week later – better oven spring and a nice crispy crust
The first time I made this loaf, it didn’t rise as well as I would’ve liked, but I believe part of that was due to the extended cold ferment in the refrigerator. I was not completely on my baking game when I made this bread and didn’t take copious notes, so it could’ve been any number of variables that went wrong.
When I made the first loaf, after the bulk ferment, I placed it in a lined (and floured) banneton basket, covered it with plastic, and put it directly into the refrigerator to rest overnight. For the second bake, I let the loaf proof on the counter for a couple of hours before placing it in the refrigerator overnight. I only let it cold ferment for about 16 hours instead of 23 hours.
I also don’t think I let the cast iron combo baker preheat enough for the first loaf. I was baking distracted and rushed that day and this is not a good combination. Bread doesn’t like to be rushed.
For the second loaf, I let the combo baker and oven preheat for over an hour so the baker was good and hot when I placed the loaf in it. The loaf deflated a bit when I tipped it out of the proofing basket and onto the parchment paper, but it sprang back up during the bake cycle. It also didn’t hurt that to give it a fighting chance, I added a teaspoon of vital wheat gluten to the second loaf.
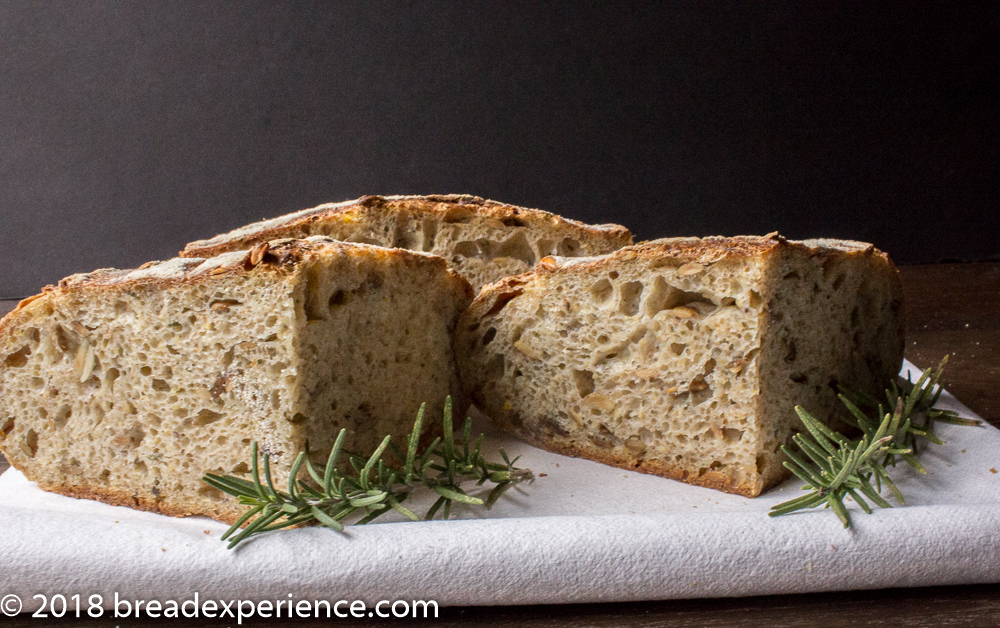
When I tasted the first loaf, I thought it needed a bit more salt. So for round two, I added just a pinch or two of salt to the polenta and this seemed to provide the right amount of salt. The resulting loaf was really tasty.
However, what I noticed with the first loaf is that even with less salt, if you spread a slice with peanut butter (my favorite taste test) or serve it toasted with cheese, or jam you won’t need any more salt.
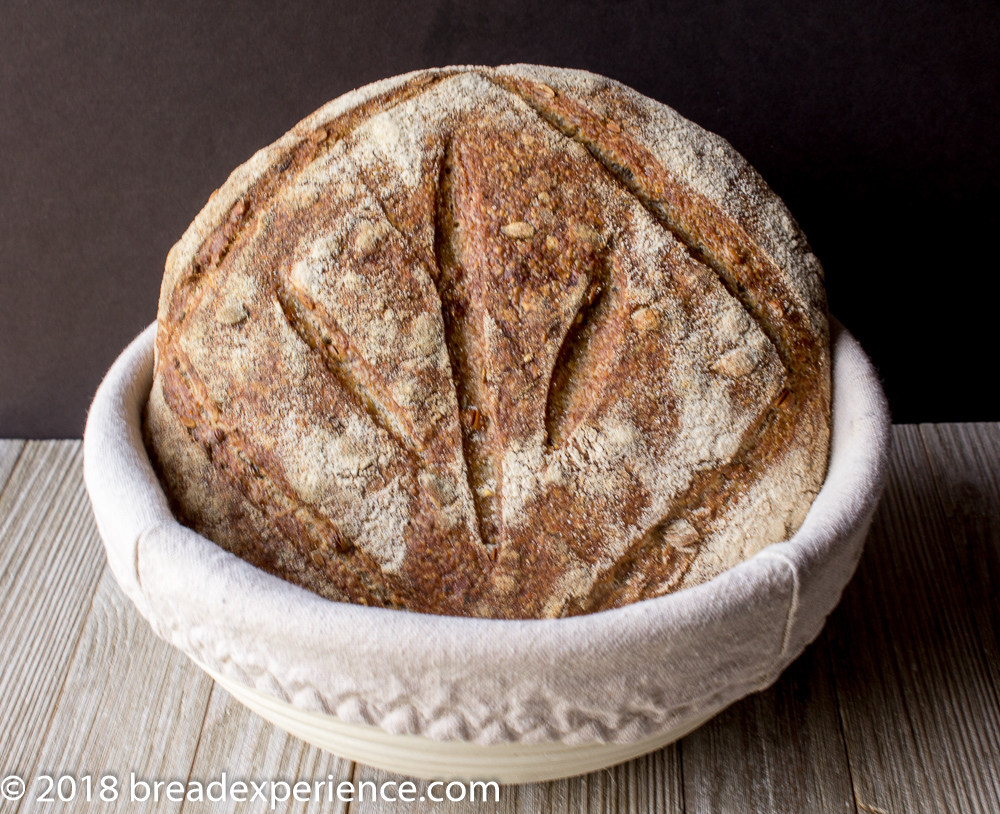
1st loaf
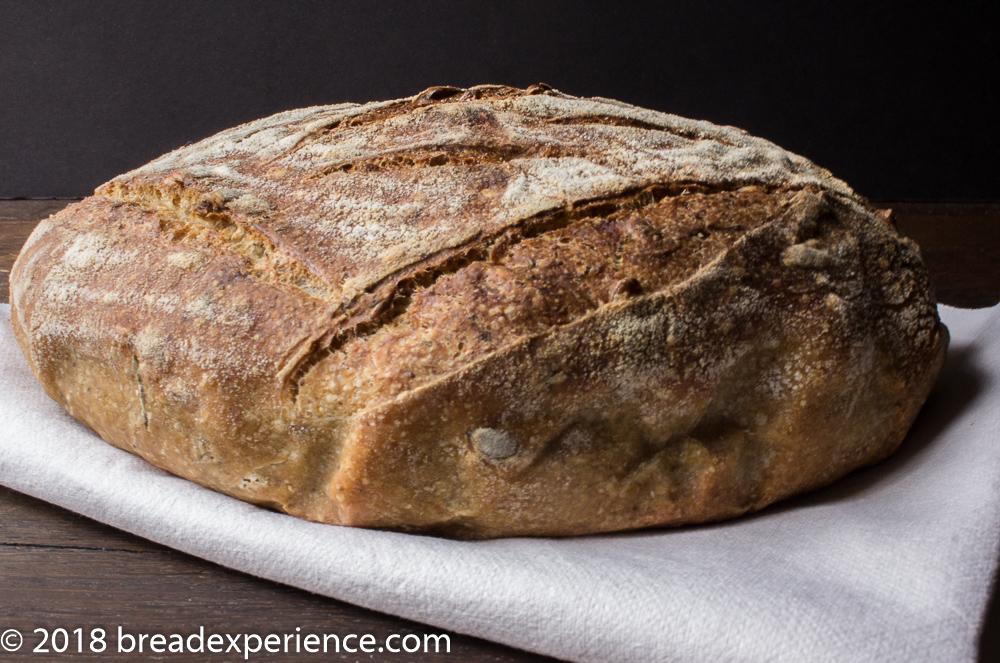
2nd loaf
I baked my loaf in a Lodge cast iron combo baker. It’s a little heavy, but it does produce a nice loaf!
Tartine-Style Sourdough Rosemary Polenta Loaf
based on the recipe for ‘Polenta Bread’ in “Tartine Bread” by Chad Robertson
makes one round loaf
Leavener
- dessert spoonful of bubbling wheat starter from the fridge
- 75gm (~2/3 c) 100% whole wheat flour
- 75gm (75ml) water at body temperature
Polenta mixture
- 70gm (.5 c) raw pepitas (shelled dried pumpkin seeds)
- 61gm (.5 c) grains for polenta (coarse grind) – I used coarse-grind cornmeal
- 240gm (1 c) boiling water (I used about 175 grams water)
- 21gm (1.5 Tbsp) sunflower oil (Robertson calls for unfiltered corn oil)
- 1 Tbsp fresh rosemary, chopped
Dough
- 100gm floating leavener (stir the rest into the jar in the fridge)
- 500gm flour:
» 375gm (~3 c) unbleached all purpose (no additives) flour
» 125gm (~1 c) 100% whole wheat (no additives) flour, sifted (reserve the bran – should be approximately 4gm) I used freshly-milled and sifted spelt – I sifted out more of the bran for the second loaf
» 4gm (~1.5 tsp) wheat germ (I omitted this and added flax meal instead) - Vital wheat gluten – I added 1 tsp to the 2nd loaf, but none to the 1st loaf
- 350gm (350ml) water, at body temperature
Adding the Salt
- all of the Dough mixture
- 10gm salt (approx 1.5 tsp table salt – but please see Salt is salt, right?)
- 25gm (25 ml) water at body temperature
Pre-Baking
- rice flour (I used a 50/50 mixture of rice/all-purpose flour to dust the brotform basket)
- lined or unlined brotform basket (or bowl)
- reserved bran from sifting whole wheat flour
Baking
- parchment paper
- cast iron frying pan
- large stainless steel mixing bowl
Procedure
- Leavener and refreshing the starter: On the evening before baking the bread, put the leavener ingredients into a medium-sized bowl. Using your dough whisk (use a wooden spoon if you don’t have a whisk), mix the leavener ingredients until all the flour is incorporated. Leave 100gm in the bowl. Mix the extra into the jar in the fridge. Cover the bowl containing the 100gm with a plate and leave in the oven with only the light turned on overnight – until it becomes bubbly and frothy like mousse.
- polenta mixture:
- Spread pumpkin seeds evenly in one layer into a dry cast-iron frying pan over medium-high heat. Cook, stirring from time to time with a wooden spoon, until the seeds begin to pop, changing from light green to brown (Roberston says this takes about 10 minutes). Set aside and allow to cool for at least 20 minutes.
- Pour boiling water into a bowl and stir in cornmeal (or whatever grain you are using). Set aside for about 10 minutes.
- Add oil, rosemary and pumpkin seeds.
- dough: When a small spoonful of the leavener floats in a small bowl of room temperature water, you can go ahead and mix the dough. (If the leavener does not float, stir in a little more whole wheat flour and water – even amounts by weight – cover with a plate and leave for about 30 minutes more. Chances are that it will now float.) Put all the dough ingredients into a large mixing bowl along with the now bubbling leavener. Mix as well as you can with a wooden spoon. Cover the bowl with a plate and leave on the counter to rest for about 40 minutes. Chad Robertson says Do not skip the resting period. Working with the nature of the dough, the resting perod allows the protein and starch in the flour to absorb the water, swell, and then relax into a cohesive mass.
- adding the salt: Pour the 25gm water over-top of the mass of dough. Sprinkle on the salt, making sure that it goes onto the water. (Alternatively, you could stir the salt into the water in a little bowl and pour in the salty water.)
- kneading: Use one of your hands to squoosh the salt and water into the dough; use the other hand to steady the bowl – this way you always have a clean hand. At first the dough might be a bit messy. But persevere. Suddenly, it will seem more like dough than a horrible separated glop. Keep folding it over onto itself until it is relatively smooth. Cover with a plate and leave to rest for about 30 minutes.
- stretching and folding (part 1): About 30 minutes after adding the salt, run your dough-working hand under water. Reach down along the side of the bowl and lift and stretch the dough straight up and almost out of the bowl. Fold it over itself to the other side of the bowl. Turn the bowl and repeat until it’s a little difficult to stretch the dough up any more. You’ll notice that the dough feels significantly smoother. Cover with a plate and leave on the counter (or if the kitchen is cool like ours in winter, in the oven with only the light turned on) for about 30 minutes.
- Repeat the above step
- adding the polenta mixture: Add the polenta mixture to the dough. Run your dough-working hand under water and use it to squoosh the polenta, pepitas and rosemary into the dough. Allow to rest for 30 minutes
- stretching and folding (part 2): Repeat the stretching and folding step 1 or 2 more times (Robertson says it should be done 4 times in all). Robertson writes [N]otice how the dough starts to get billowy, soft, and aerated with gas. At this later stage, you should turn the dough more gently to avoid pressing gas out of the dough. […] A well-developed dough is more cohesive and releases from the sides of the bowl when you do the turns. The ridges left by the turn will hold their shape for a few minutes. You will see a 20 to 30 percent increase in volume. More air bubbles will form along the sides of the container. These are all signs that the dough is ready to be […] shaped
- prepare the brot-form: Put rice flour into a brotform and distribute it as evenly as possible. (If you don’t have a brot-form, you can line a bowl, basket or sieve with parchment paper. You can also use a liberally rice floured tea towel (but then you have to deal with a floured tea towel once the bread is baked). If you do not have rice flour, you can use wheat flour. However, it makes it significantly more difficult for the bread to be released from the basket….
- shaping: Scatter a dusting of wheat flour on the board and gently place the dough on the flour. Using wet hands, stretch the dough into a longish rectangle, then fold it like a letter, gently patting off any extra flour that might be there. Continue folding until the dough is shaped in a ball. Place it seam side UP in the well floured (rice) brot-form. Evenly spread the reserved bran on and around the seam. Loosely wrap the basket and bread with a clean tea towel and enclose the whole thing inside a plastic bag and leave it in the oven with only the light turned on for 2 or 3 hours (until it has about doubled). You can also refrigerate the shaped bread overnight, but we have had problems with it over-rising – even in the fridge(!!)
- baking: To know when it’s time to bake, run your index finger under water and gently but firmly press it on the side of the bread. If the dough springs back immediately, recover the bread with the plastic bag and leave it in the oven with only the light turned on. If the dough gradually returns back after being pressed, put the cast-iron frying pan and stainless steel bowl into the oven and preheat all to 425F.
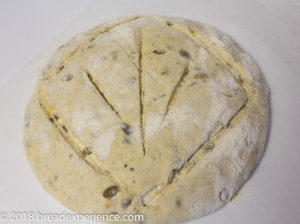
- About fifteen minutes later, put a square of parchment paper on the counter (the paper should be large enough to cover the bottom and sides of the frying pan). Overturn the shaped bread onto the parchment paper. Using a lame (or scissors, or serrated knife), score the bread. Take the pan and bowl out of the oven (wear oven mitts!!) and place the frying pan on the stove (to prevent burning your countertop…). Transfer the bread to the middle of the frying pan and immediately put the stainless steel bowl overtop like a hat. Put everything into the oven and immediately turn it down to 400F. Bake for 30 minutes. Remove the hat and bake for a further 30 minutes or so, until the crust is a nice dark brown and the bread sounds hollow when tapped on the bottom.
- cooling: When the bread is done, remove it from the pan and allow it to cool on a footed rack before slicing and eating; the bread is still baking internally when first removed from the oven!
Photos of the process from the first bake.
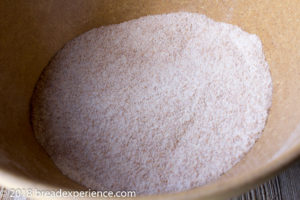
- Sifted Spelt
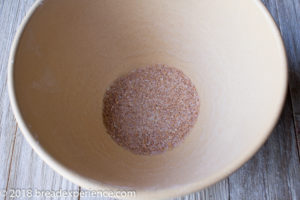
- Spelt Bran
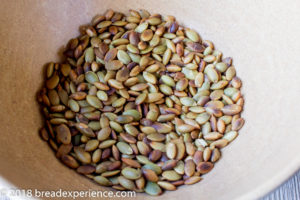
- Toasted pepitas
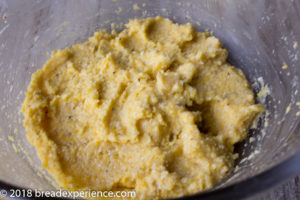
- Polenta grits
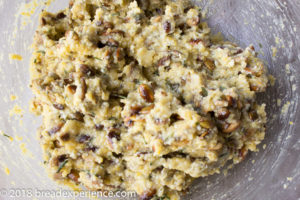
- Polenta/pepita/rosemary mixture
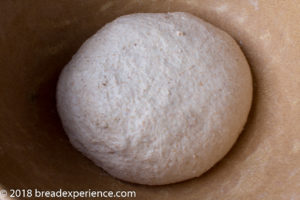
- Dough after mixing
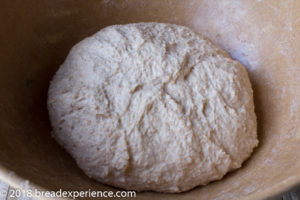
- Dough before adding polenta mixture
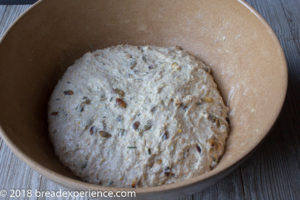
- Dough after adding polenta mixture
- Scored Loaf
- 1st Loaf
- 2nd loaf – 1 week later
Notes on reheating bread (from Elizabeth): If you wish to serve warm bread (of course you do), reheat it after it has cooled completely: To reheat any uncut bread, turn the oven to 400F for 5 minutes or so. Turn the oven OFF. Put the bread into the hot oven for about ten minutes. This will rejuvenate the crust and warm the crumb perfectly.
Would you like to bake along with us?
Elizabeth is the host kitchen this month and we’re making polenta bread. Look for the details on blog from OUR kitchen. Be sure to check out the resources Elizabeth provides in her post and visit all of the Bread Baking Babes to get their take on this month’s recipe:
- blog from OUR kitchen – Elizabeth
- A Messy Kitchen – Kelly
- Judy’s Gross Eats – Judy
- Karen’s Kitchen Stories – Karen
- Notitie Van Lien – Lien
- Bread Experience – Cathy
- Feeding My Enthusiasms – Elle
- Thyme for Cooking – Katie
- My Kitchen in Half Cups – Tanna
- My Diverse Kitchen – Aparna
Happy Baking!
Cathy
Karen says
Your loaf is so pretty, and the little step by step photos are so helpful! I used a Dutch oven too.
Cathy says
Thank you Karen! I forgot to take a photo of the dough in the proofing basket, but oh well!
Kelly says
I love your scoring! I was too afraid to use much of anything that might not do well with the extra hydration, though I did use a bit of sprouted einkorn in my first loaf, which turned to dough soup. Ironically, that was the one that gave me the best crumb!
Cathy says
Thanks Kelly! Dough soup! I like that analogy!
Elizabeth says
I used our cast-iron combo cooker (that I was given for Christmas!) too – but didn’t change the recipe because the cast-iron pan with inverted stainless steel bowl works almost as well. Almost….
Now that you mention it, I too think that there isn’t quite enough salt. Next time, instead of adding a pinch of salt to the polenta, I think I’ll taste the polenta and add enough salt. Or. I could be smart about it like you, calculate the percentage needed and adjust accordingly.
Your loaf is gorgeous! Good idea to put all the photos of how the polenta should look. But I especially like the photo at the bottom of the post – the one with all the rosemary branches garnishing the sliced bread. Beautiful.
Cathy says
Thank you Elizabeth! What a great Christmas present! I like baking in the cast-iron combo cooker, but it is a bit heavy.
Lien says
Your loaf looks as beautiful as they always do on your blog here. Very nice to see all those grains specks through the bread. Love it.
Cathy says
Thank you Lien! I enjoy seeing the grain specks as well.
Katie Zeller says
I love the addition of rosemary! And your loaves are so pretty!
Cathy says
Thanks Katie! I think the rosemary is a great addition as well. It goes well with the polenta.
Tanna says
Gorgeous scoring! Beautiful crumb!
I must remember the “peanut butter” test! That’s great!
Cathy says
Thank you Tanna! Peanut Butter goes really well with this bread.
Aparna Balasubramanian says
Your loaf looks perfect, scoring and all. I’d say you definitely aced this challenge.
Cathy says
Thank you Aparna! I was more pleased with oven spring on the second loaf, but I do Iike the scoring on the first loaf.