Bread Baking Day BBD #36 is hosted by Heather of GirliChef. The theme for this month’s bread baking day is CORNy breads. I like that!
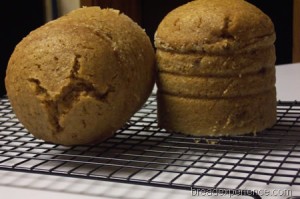
Togus Bread is a sweet, rich bread that the colonists adapted from the steamed cornmeal bread of the Algonquian-speaking peoples, who dominated most of northeastern America. It is cooked on the stove in a pot of steaming water and is similar to Boston Brown Bread. I’ve been wanting to make this particular bread for awhile so this event provided me with the perfect opportunity.
Togus Bread
Source: The Cornbread Gospels by Crescent Dragonwagon
Ingredients:
- 2 cups stone-ground white cornmeal, plus extra for dusting the molds
- 1/2 cup unbleached white flour
- 1/2 cup whole wheat flour
- 1 heaping tablespoon white sugar (or granulated maple sugar)
- 1 1/2 teaspoons baking powder
- 1/2 teaspoon baking soda
- 1/2 teaspoon salt
- 1 1/3 cups buttermilk (I used homemade buttermilk)
- 1/2 cup pure maple syrup, preferably Grade B
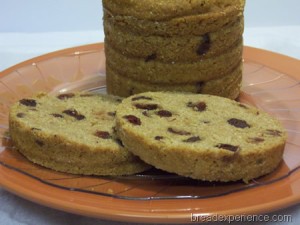
- 3/4 cup dried blueberries or cranberries (I used cranberries)
Other Items/Equipment needed:
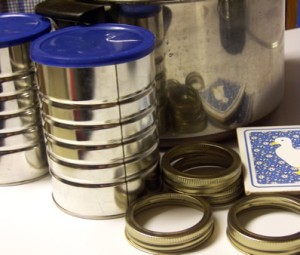
Large Pot (must be big enough to hold the breads in their molds, the trivets, the water the breads cook in, and it must have a tight-fitting lid). I used a Dutch oven.
Molds for steaming the bread. (coffee cans, soup or tomato cans or bread molds)
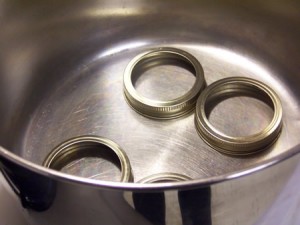
Heat-proof trivet (a few metal canning rings, some wadded-up foil, or a cake rack) to keep the mold from coming in contact with the bottom of the pot, thus preventing the bread baking inside from burning.
Aluminum foil for top of molds
Kitchen string or rubber bands
Boiling water, for steaming the bread
Cooking spray for spraying the molds
Directions:
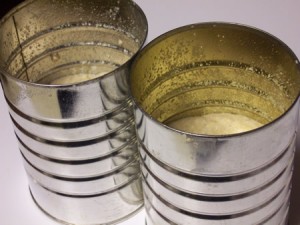
Get the molds, a heat-proof trivet, and a pot to steam your bread in. Wash and dry the molds and spray the insides thoroughly with oil, and dust the insides with cornmeal.
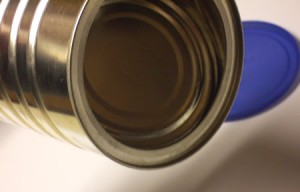
I used 1-pound coffee cans. These cans had a rim at the top and the bread would get stuck so I had to get creative. I used a can opener to remove the lid from the bottom and then turned the can over and pushed the lid to the top which was now the bottom. I’ve used these molds several times now and the breads don’t get stuck at the top, but my little experiment also makes it easier to remove the bread because you can slide the bread up and out of the can using the lid like a spring form pan. Just be careful not to touch the edges of the lid since they are probably jagged from the can opener.
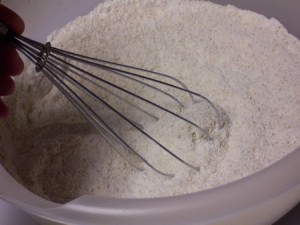
Stir together the cornmeal, flours, sugar, baking powder, baking soda, and salt in a medium bowl.
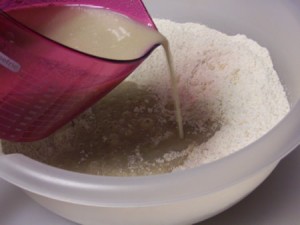
Whisk together the buttermilk and maple syrup in a small bowl. Combine the wet and dry mixtures, stirring just enough to blend well but not overbeating.
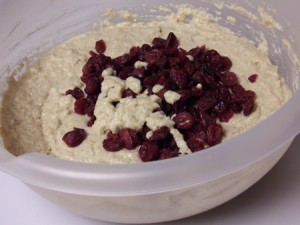
Stir in the dry fruit with a few quick strokes.
Scrape the batter into the prepared molds filling each about two-thirds of the way full. I didn’t think the batter would fit in one mold so I used two. Not sure that was necessary because the loaves didn’t rise that much.
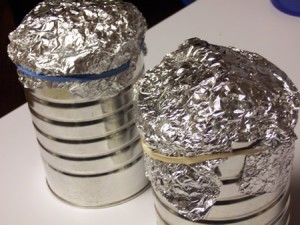
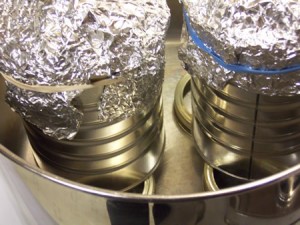
Tear off a piece of foil that is twice as large as the mouth of a mold. Fold in half, and spray one side with oil. Place it oiled-side down on top of the mold, puffing it up a bit to allow for the bread’s expansion as it steams. Repeat with any remaining molds. Secure each piece of foil tightly with kitchen string or a rubber band.
Place the trivet in the cooking vessel. I started out using canning rings, but they kept slipping underneath the molds so I switched to my trivets. If I use canning rings again, I will try the larger size and see if that works better.
Place the molds on top of the trivets.
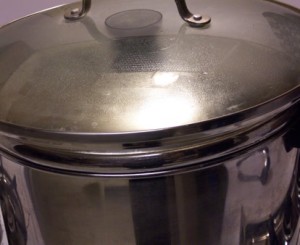
Pour enough boiling water into the cooking vessel to come halfway up the sides of the molds. Secure the lid of the vessel. The lid to my Dutch oven is not completely tight so I put a glass lid on top of it to hold it down. It worked pretty well to keep the steam in.
Steam the bread for about 3 1/2 hours, then test the bread with a long skewer. Make sure you get way down deep into the bread’s interior to make sure it’s done. The bread should be moist in the middle but not sticky. If the bread is sticky when you test it, steam it a little bit longer. It it’s wet, keep steaming and check it about every 20 minutes until the moist-but-not sticky point is reached. It takes awhile.
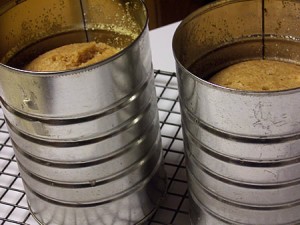
When the bread is done, remove it from the cooking vessel, and let it cool in the molds, uncovered, on a rack, for at least 45 minutes.
Reverse the bread out of the molds – it should come out quite easily – slice it, and serve.
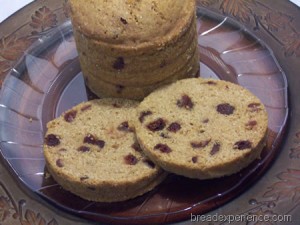
This bread is really good! It reminds me of date nut bread and Boston Brown Bread. Enjoy it for breakfast or a snack spread with cream cheese. Yum!
Heather of GirliChef is hosting BreadBakingDay #36. Be sure to check out all of the fabulous breads in the BBD #36 Roundup.
BreadBakingDay was created by Zorra of http://kochtopf.twoday.net/stories/4124192/. Read more about Bread Baking Day and access the previous roundups on her blog.
girlichef says
I adore your homemade molds, Cathy! I have trouble finding ones that aren’t lined. I’ve always wanted to make the Boston Brown Bread, and now I really want to try this as well! It’s so different and intriguing. I’m so happy that you shared this w/ BBD #36 this month 😀
BangaloreBaker says
These are beautiful Cathy. You steamed them for 3 1/2 hours? That is probably why I haven’t tried a steamed bread till today.
Swathi says
Beautiful bread I was planning to make this New England favorite, but dropped that idea, yours looks perfect.
Cathy (breadexperience) says
Yes, I did steam it for about 3 1/2 hours. I started checking it at about the 2 1/2 hour mark because it just seemed like a long time. It was a long time, but you pretty much leave it alone to steam and just check on it periodically.
zorra says
Thank you for this very interesting recipe. I will try it soon.
Anonymous says
I finally found a vendor who sells stainless steel cylinders specifically for steaming breads; they come in two sizes. I have the ones that correspond approximately to the content of a 1 lb. coffee can.
Cathy W. says
Great! Thanks for sharing.
Marijke Warners says
I use a cookie jar with lid, saves the fumbling with foil.
In the bottom of the pan I use a tea towel folded in a strip. Put the mould/can/jar on it and it is easy to lift out.
Make sure to fold the ends of the towel on top of the lid to keep them away from the heat.